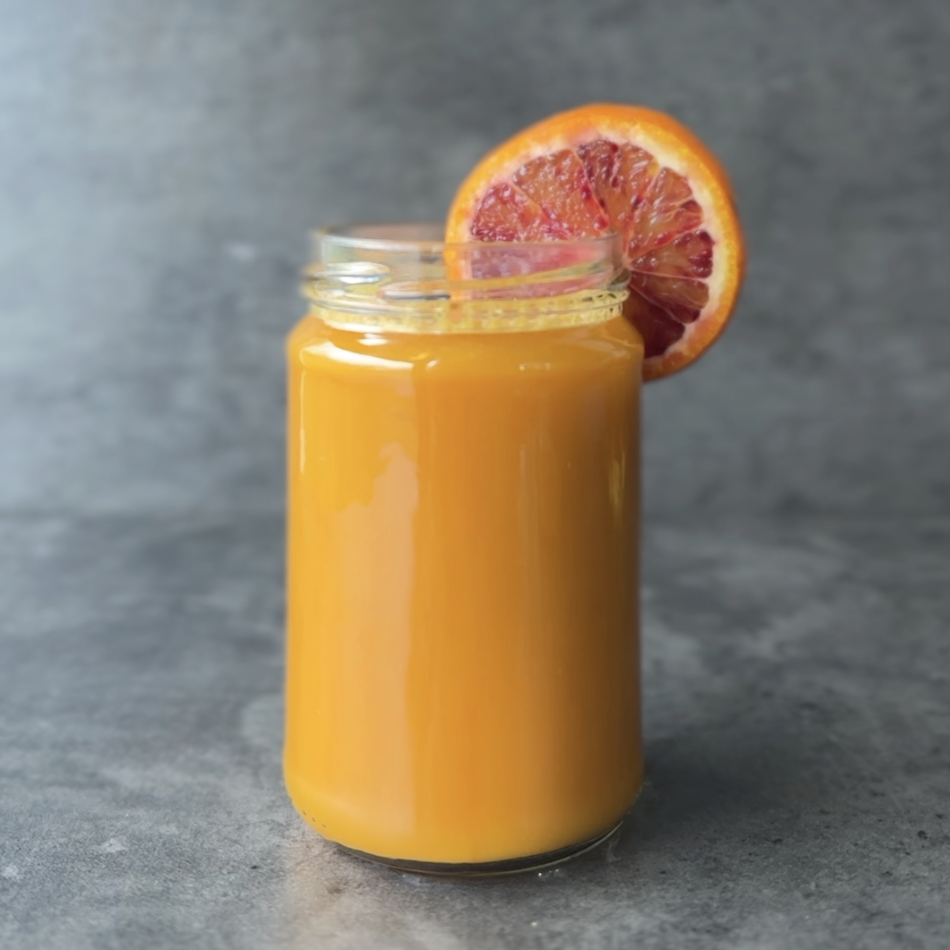
Golden Immunity Juice
Takes 8 minutes
Serves 6
Ingredients
- 6 large carrots
- 4 oranges peeled
- 2- inch piece fresh turmeric
- 2- inch piece fresh ginger
- 2 lemons peeled
Instructions
- Prepare your ingredients – Wash the carrots well (no need to peel if organic). Peel the oranges and lemons to remove the bitter outer skin. No need to peel the turmeric and ginger if using a slow juicer.
- Juice the ingredients – Feed the carrots, oranges, turmeric, ginger, and lemons through your juicer one at a time, alternating between softer and harder ingredients to keep the juicer running smoothly.
- Mix & taste – Stir the juice well to blend the flavors. If you’d like a stronger kick, add a little more ginger.
- Serve & enjoy – Drink fresh over ice or store in a sealed bottle in the fridge for up to 48 hours. Shake well before drinking.
Get creative!
- Daily Immunity Shots: Pour into small bottles or shot glasses and take 1-2 shots per day for an immune boost.
- Tea Ice Cubes: Freeze the juice in ice cube trays and add to herbal teas for an extra punch of flavor and nutrients.
- Golden Elixir: Mix with warm water and a pinch of black pepper (to enhance turmeric absorption) for a soothing anti-inflammatory drink.
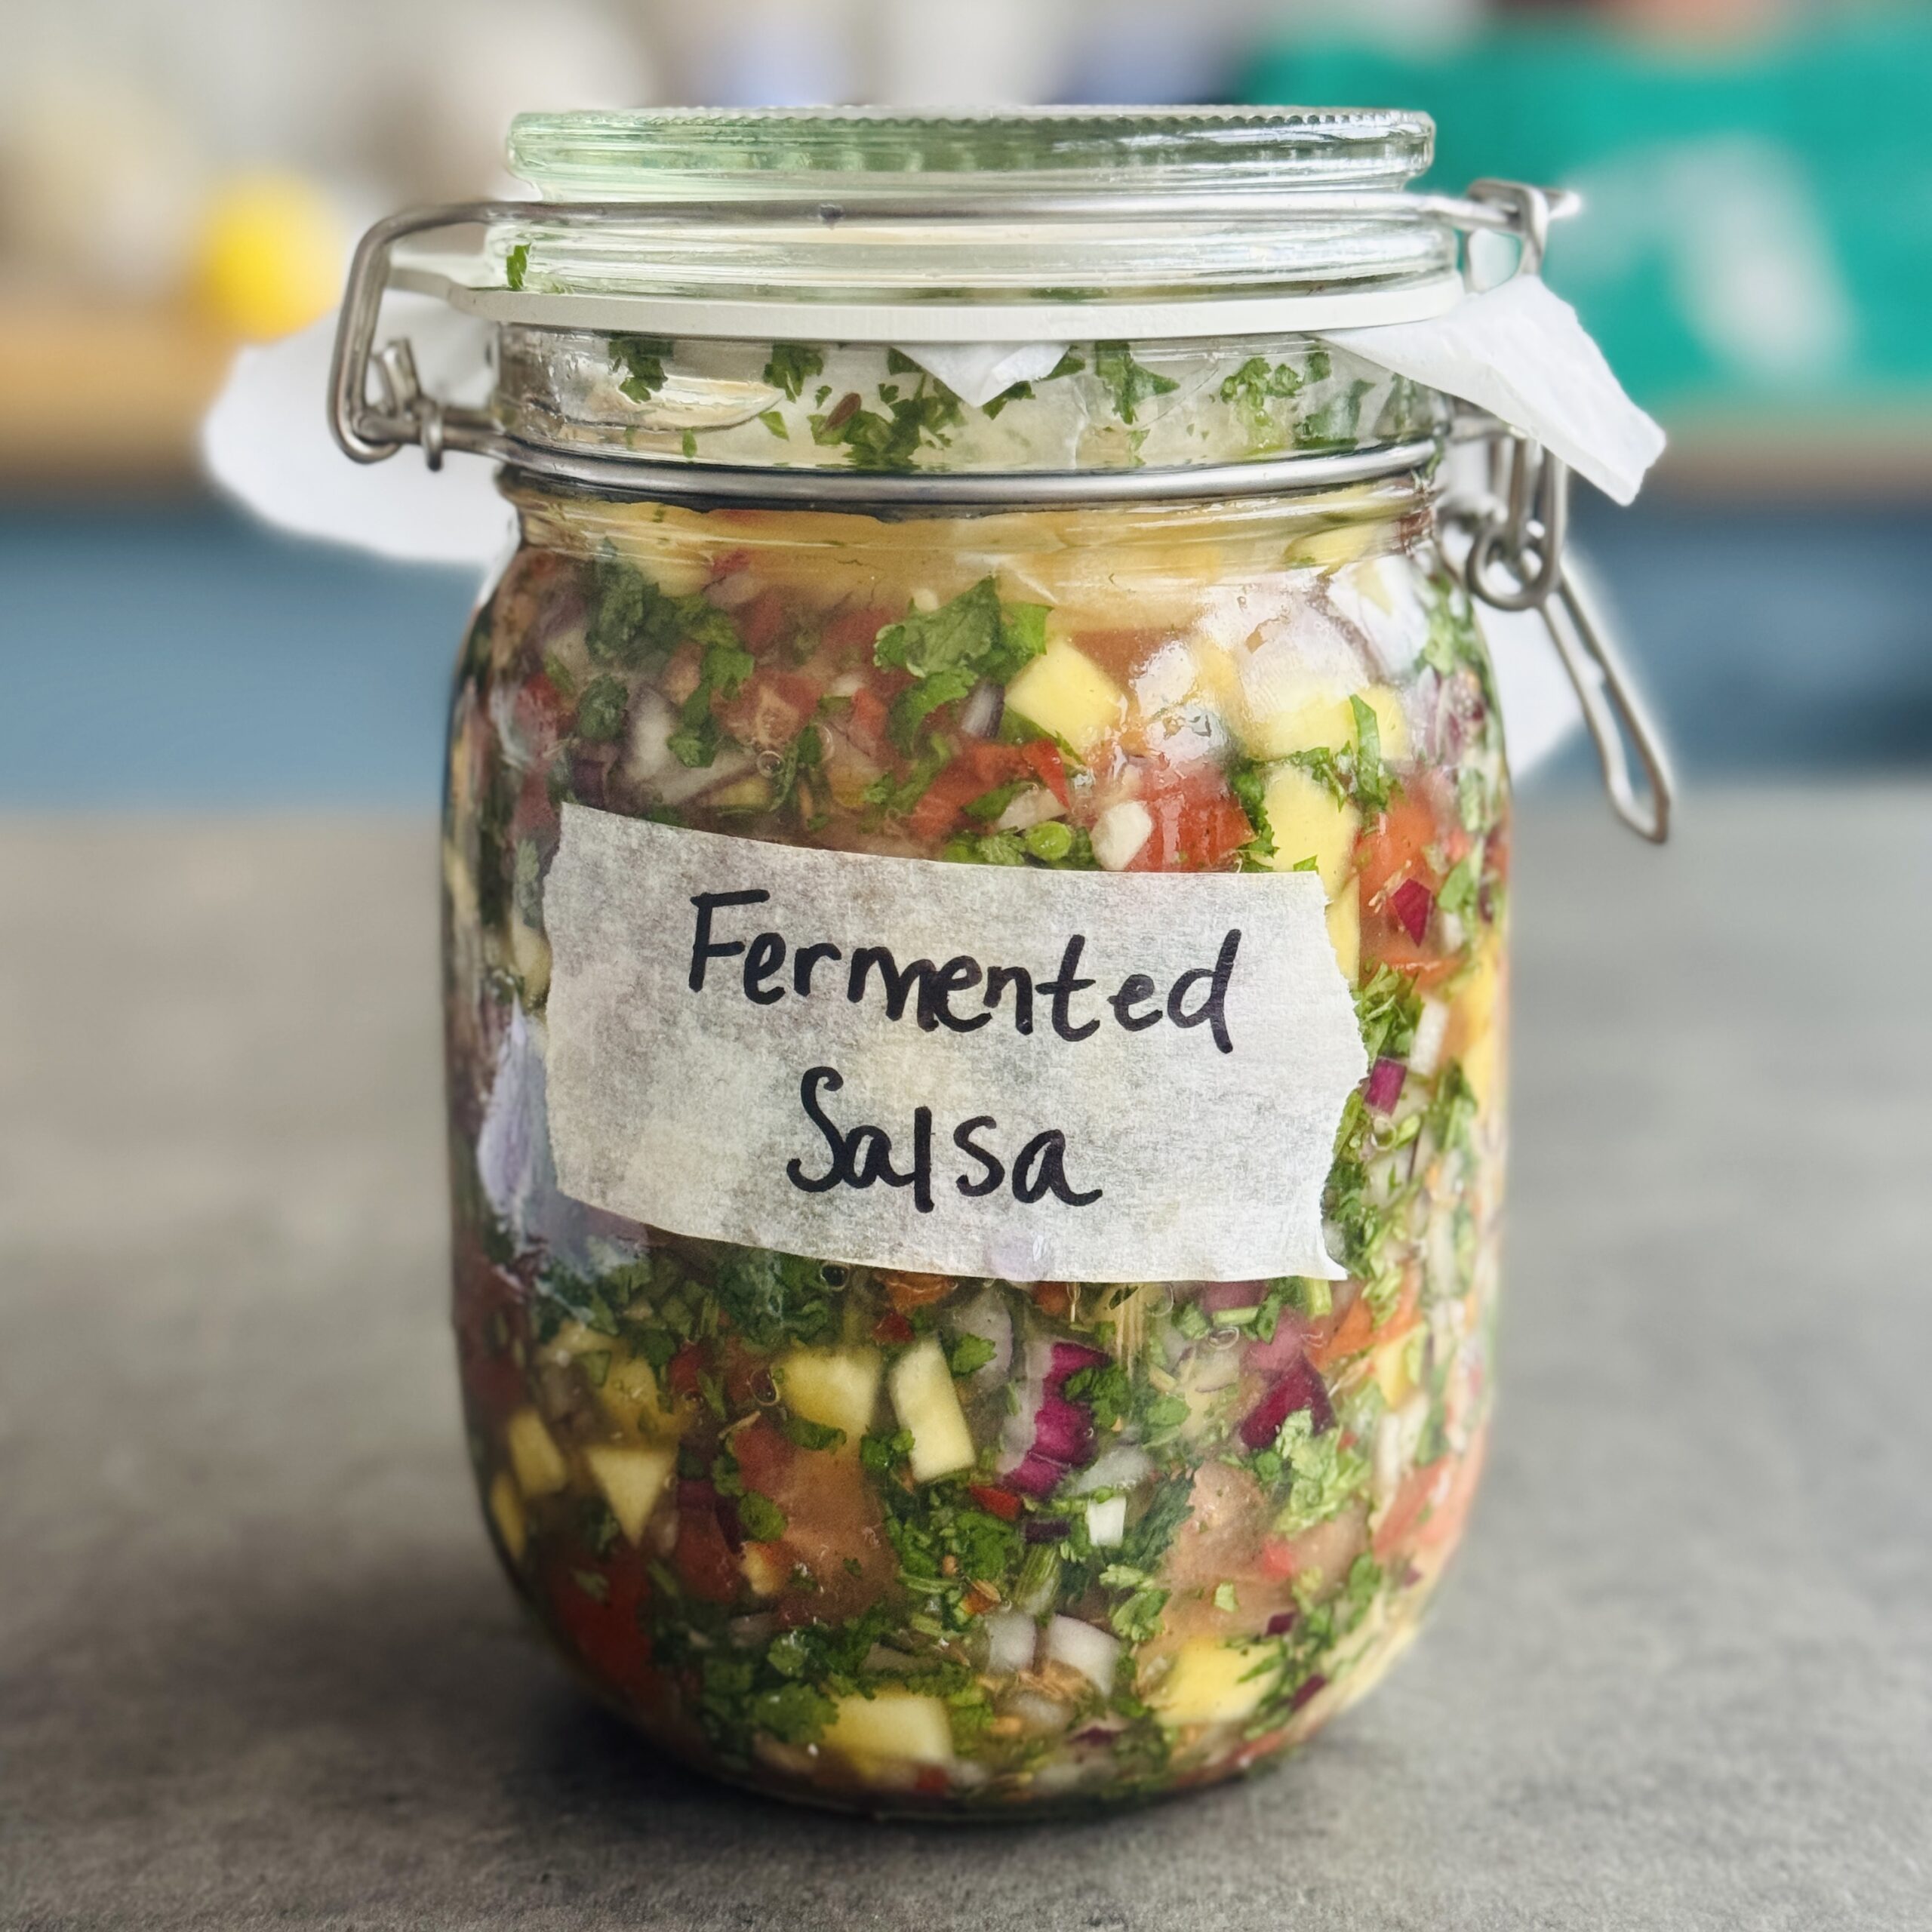
Lacto-Fermented Salsa with Mango
Takes 6 days 15 minutes
Serves 8
Ingredients
- 5 medium ripe tomatoes diced
- 1 small red onion finely chopped
- 3 garlic cloves minced
- 1 small red chilli or more to taste, finely chopped
- 50 g fresh coriander chopped
- 1 ripe mango diced (optional, for a sweet twist)
- 1 tsp ground cumin optional, for depth of flavour
- 1 tbsp sea salt non-iodised, such as Himalayan or kosher salt
- 100 ml water if needed
- 1 tbsp cumin seeds
- Juice of ½ lemon or 1 lime optional, for added brightness
Instructions
Prepare the Ingredients
- Dice the tomatoes and mango into small chunks.
- Peel and finely chop the red onion.
- Finely dice the chilli and chop the coriander.
- Mince the garlic, then combine all ingredients in a large bowl.
Salt & Pack the Jar
- Weigh the total amount of ingredients and calculate 2% of their weight in salt. (For example, if the ingredients weigh 1kg, use 20g of salt.)
- Mix well and let sit for 10 minutes to release natural juices.
- Pack the salsa tightly into a clean 1-litre jar, pressing down with a spoon to remove air pockets.
- If the mixture isn’t fully submerged in liquid, add a small amount of water.
Fermentation
- Place a small weight (such as a lemon, clean stone, fermentation weight, or small jar) inside the jar to keep the salsa submerged.
- Cover loosely with a fermentation lid or a cloth secured with a rubber band to allow gases to escape.
- Leave at room temperature (18–22°C) for 5–7 days, tasting daily until the desired tanginess develops.
Storage & Serving
- Once fermented to your liking, taste and adjust the seasoning if needed.
- Blend for a smooth texture or leave chunky.
- Seal the jar with a proper lid and store in the fridge, where it will continue developing flavour and last for several months.
- Serve with tacos, burritos, grilled vegetables, nachos, or as a probiotic-rich dip!
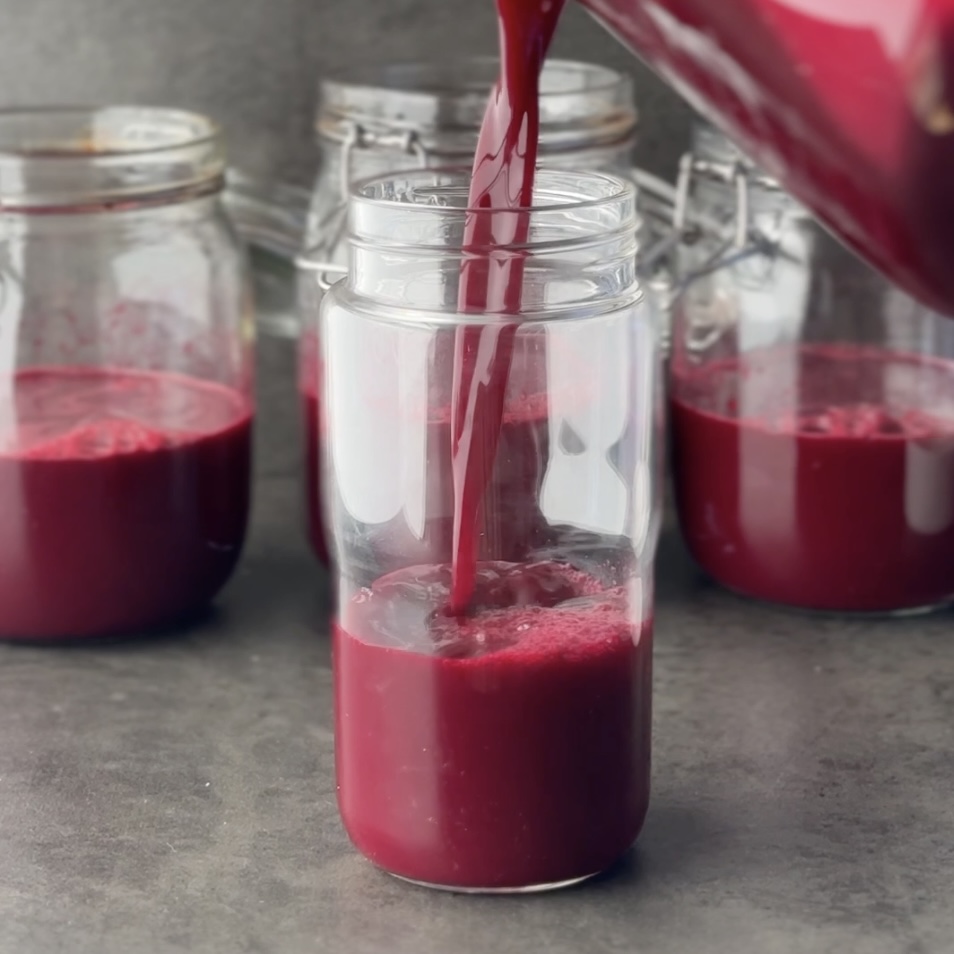
Beet the Blues Juice
Takes 10 minutes
Serves 6
Ingredients
- 3 medium beets
- 4 large carrots
- 3 apples
- 2 lemons peeled
- A handful of fresh mint
Instructions
- Prepare your ingredients – Wash the beets, carrots, and apples thoroughly. Peel the lemons to remove any bitterness. No need to peel the beets and carrots if using a slow juicer.
- Juice the ingredients – Feed the beets, carrots, apples, and lemons through the juicer, alternating between soft and hard ingredients for smooth extraction. Add the mint leaves last for a refreshing twist.
- Mix & taste – Stir the juice well to blend the flavors. If you’d like a slightly sweeter juice, add an extra apple.
- Serve & enjoy – Drink fresh over ice or store in a sealed bottle in the fridge for up to 48 hours. Shake well before drinking.
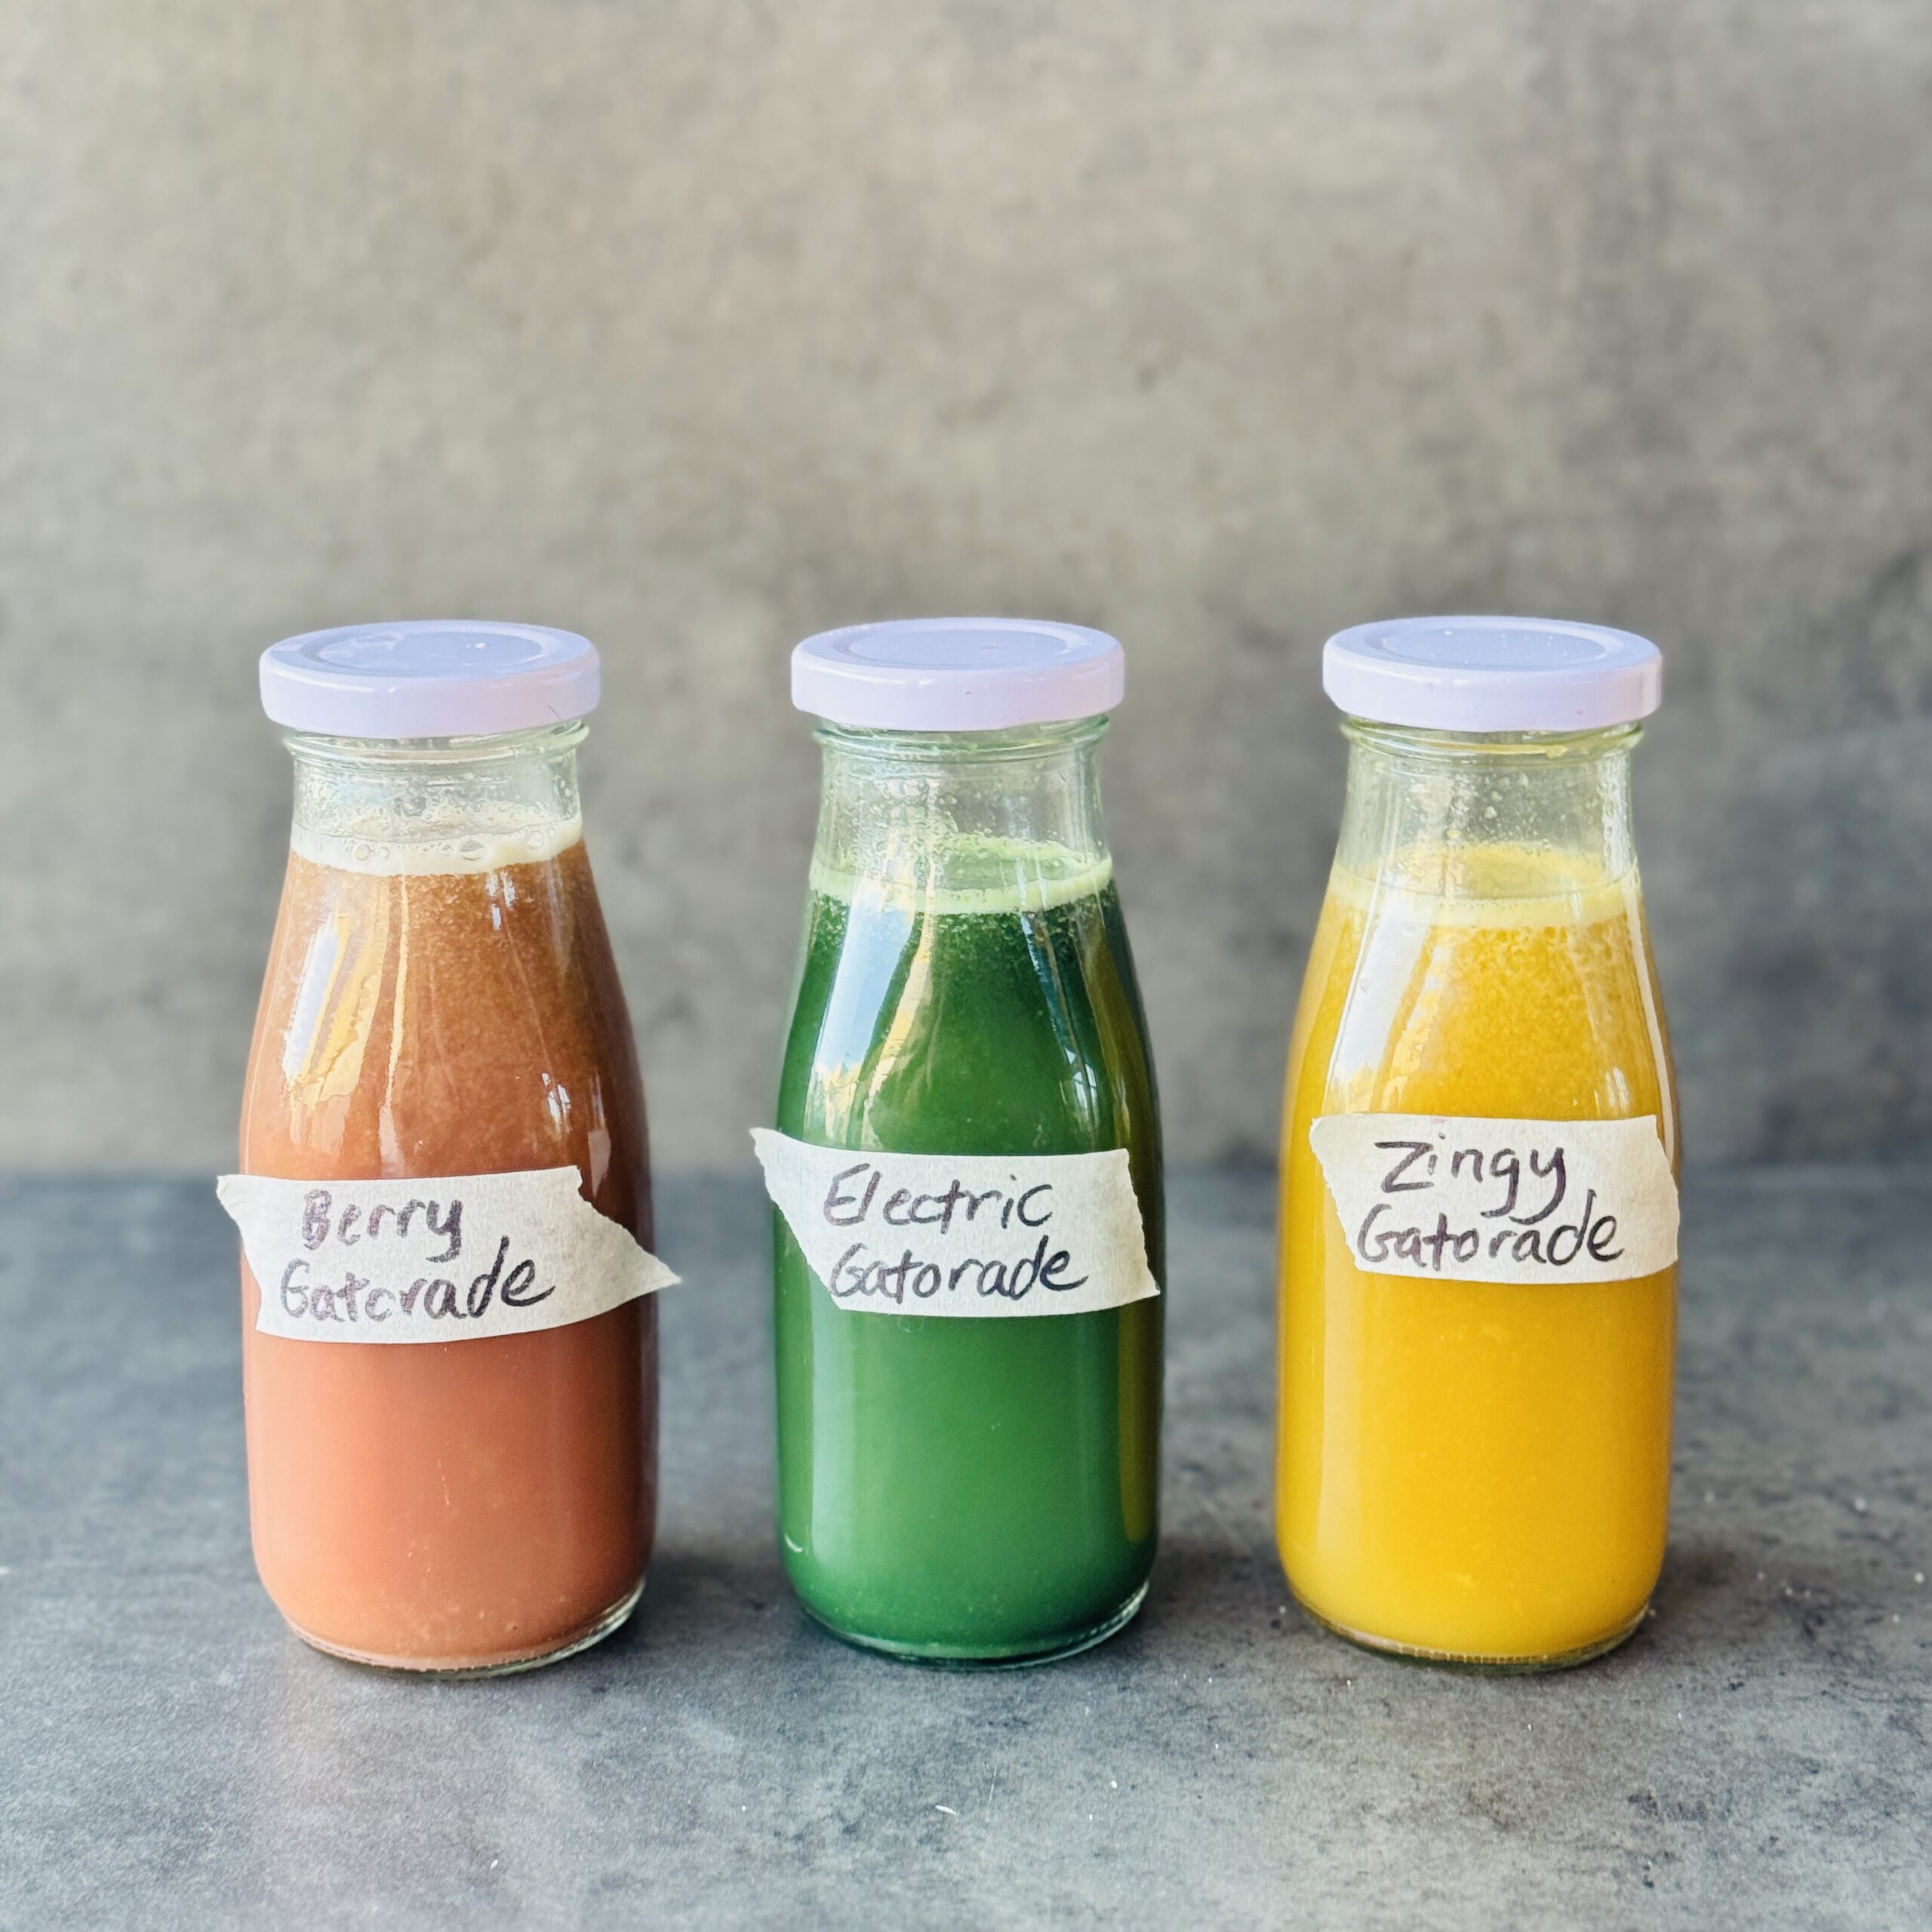
Natural Gatorade 3 Ways
Takes 20 minutes
Serves 6
Ingredients
Berry Lime (Red)
- 1 cucumber
- 2 celery
- 2 apples
- 100 g fresh or frozen raspberries
- 50 g fresh blueberries
- 1/2 lime juiced
- 1/4 cup coconut water
- Pinch of flaky sea salt
Blue Electrolyte Boost (Blue/Green – with spirulina)
- 1 cucumber
- 2 celery
- 2 apples
- 100 g fresh blueberries
- ½ lime
- 1/4 cup coconut water
- 1/2 tsp blue spirulina
- Pinch of flaky sea salt
Citrus Zing (Yellow)
- 1 cucumber
- 2 celery
- 2 apples
- 1 lemon juiced
- 2 carrots
- 2 orange juiced
- 10 g fresh turmeric
- 1/4 cup coconut water
- Pinch of flaky sea salt
Instructions
For the Berry Lime Juice:
- Juice the cucumber, celery, apples, lime blueberries and raspberries together.
- Stir in the coconut water, and a pinch of sea salt.
- Serve chilled and enjoy immediately for a fresh, hydrating boost.
For the Electrolyte Boost (Blue/Green – with spirulina)
- Juice the cucumber, celery, apples, lime and blueberries together.
- Stir in the blue spirulina, coconut water, and sea salt until well combined.
- Pour into a glass and drink immediately for a natural, energizing boost.
For the Citrus Zing (Yellow)
- Juice the cucumber, celery, apples, carrots, and turmeric together.
- Stir in the freshly squeezed lemon and orange juice, coconut water, and sea salt.
- Mix well, serve over ice, and enjoy a revitalizing citrus punch.
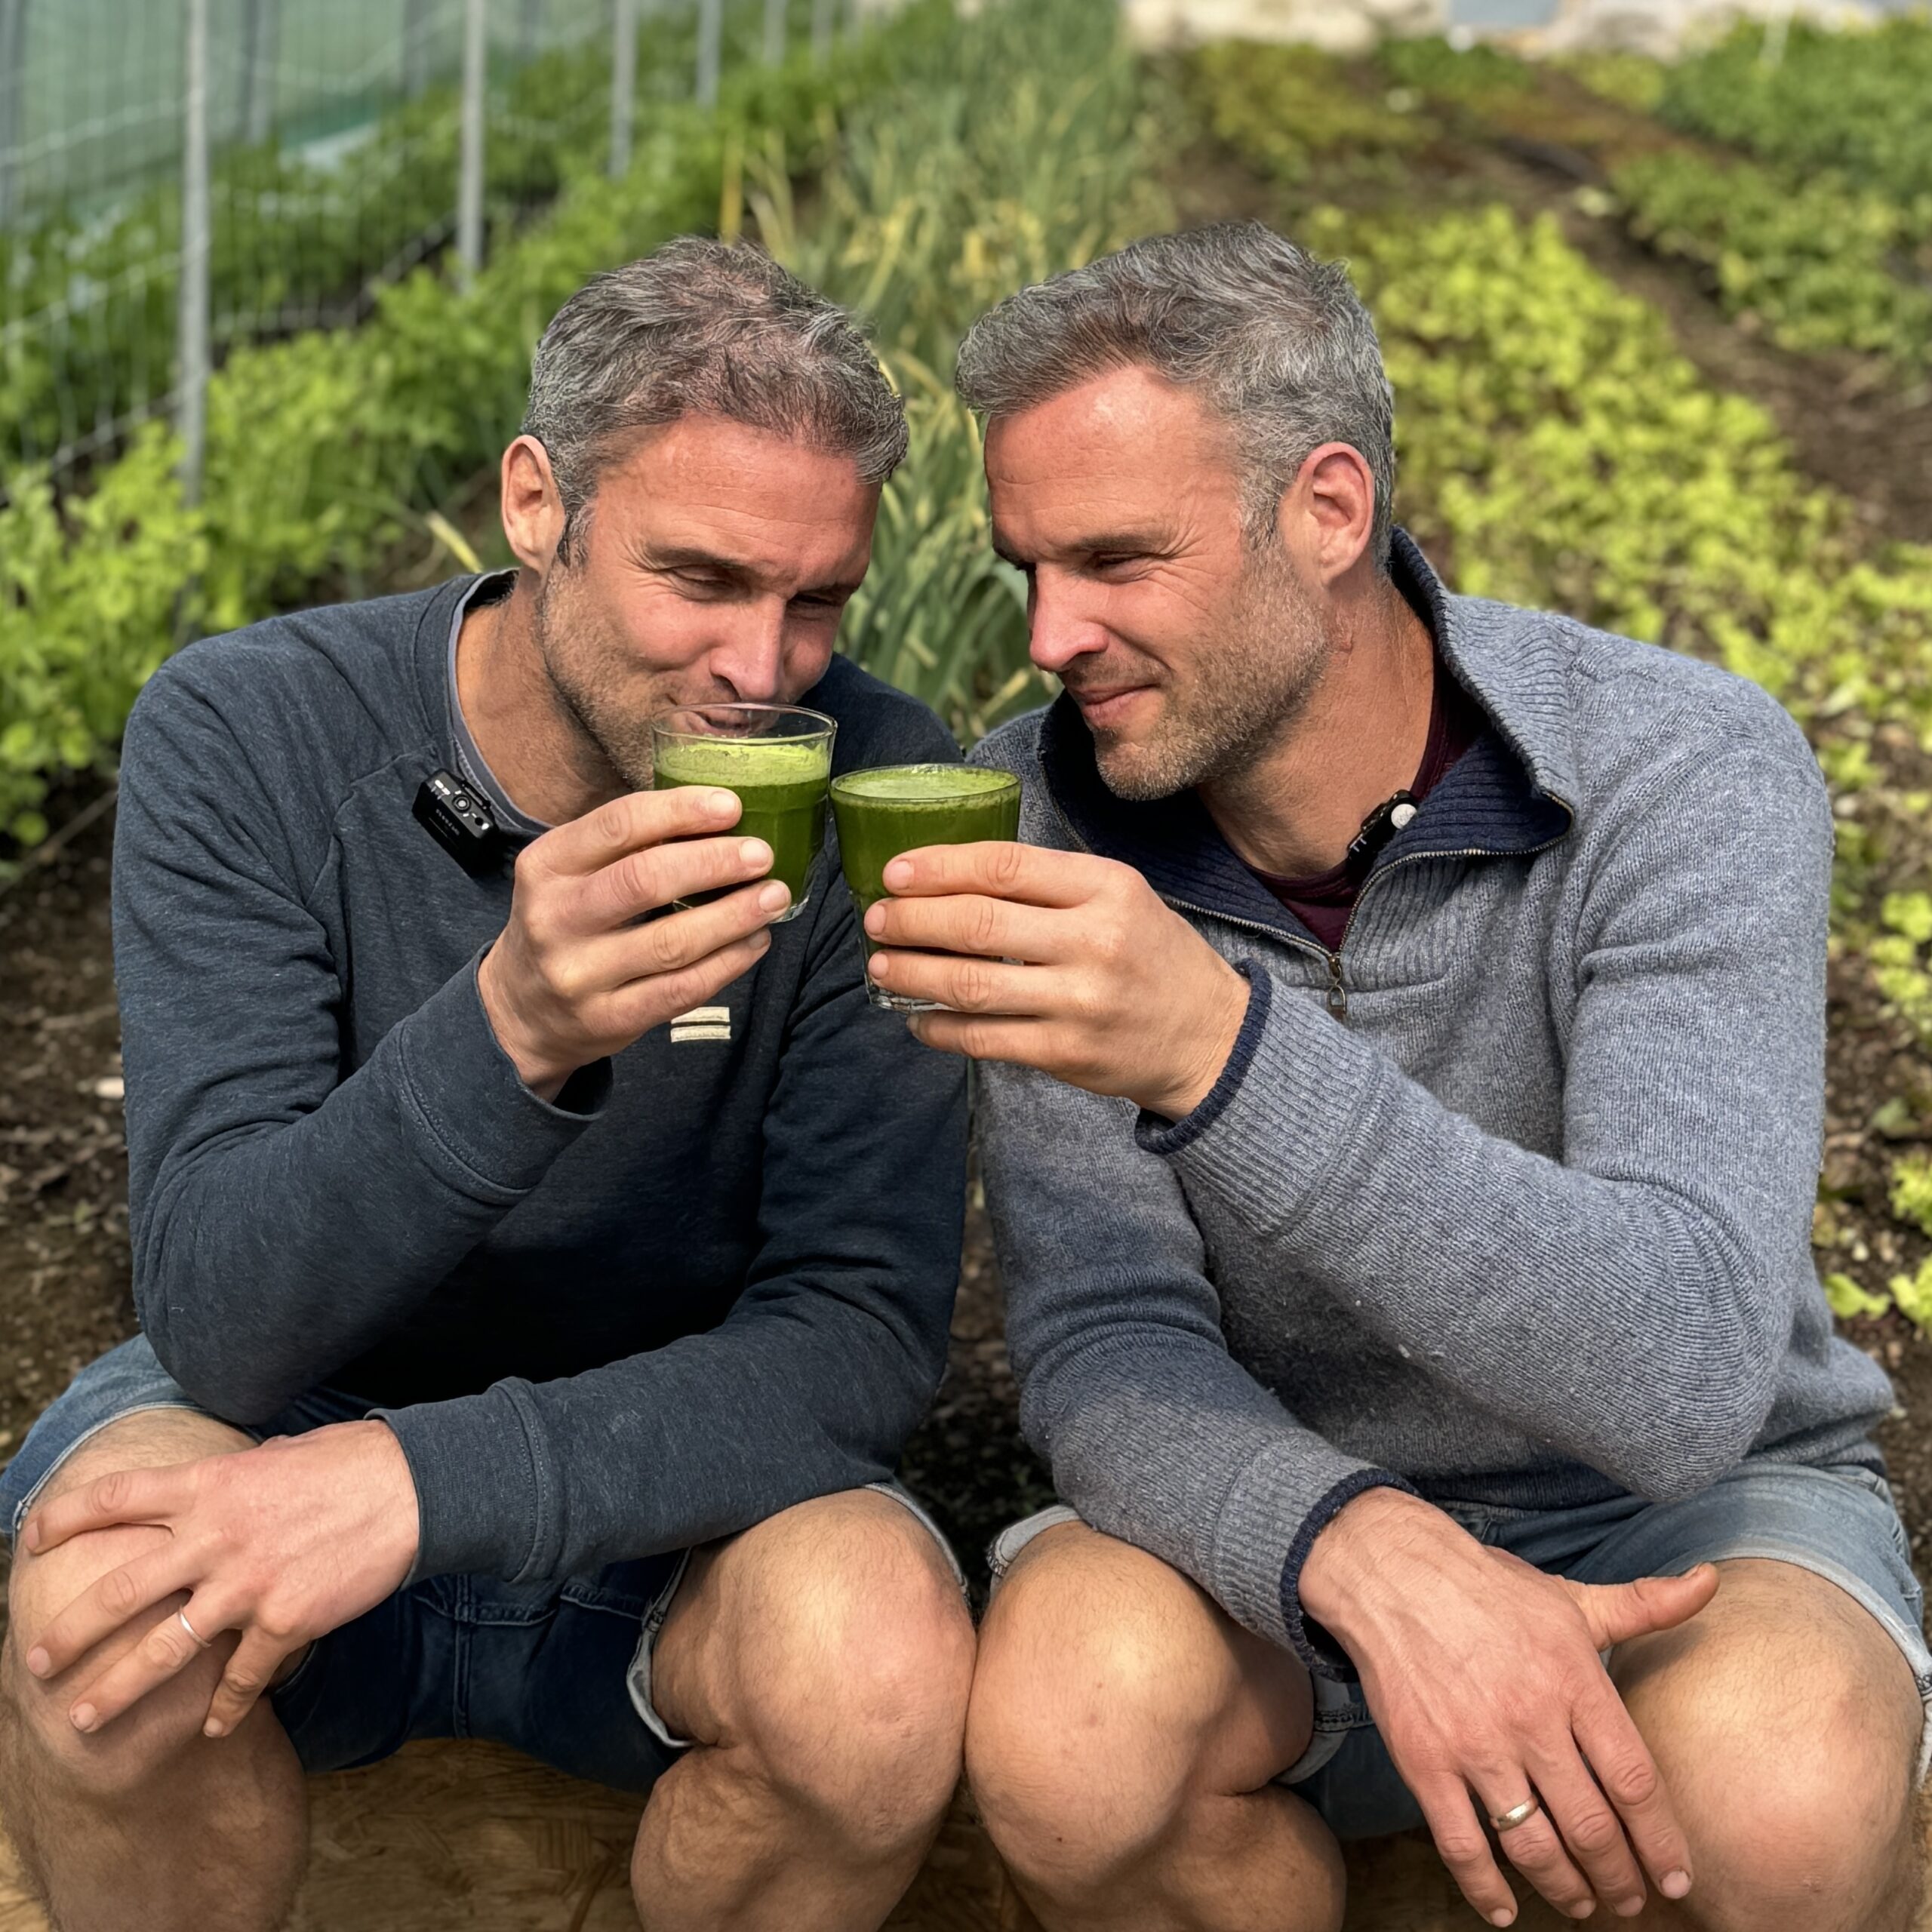
Nourishing Greens Juice
Takes 10 minutes
Serves 6
Ingredients
- 2 large handfuls spinach
- 2 large handfuls kale
- 1 small handful fresh parsley
- 2 green apples
- 1 cucumber
- 2 limes peeled
Instructions
- Prepare your ingredients – Wash the spinach, kale, parsley, cucumber, and apples thoroughly. Peel the limes to remove any bitterness from the rind.
- Juice the ingredients – Feed the spinach, kale, parsley, apples, cucumber, and limes through your juicer one at a time, alternating between leafy greens and juicier ingredients (like apples and cucumber) to keep the juicer running smoothly.
- Mix & taste – Stir the juice well to combine the flavors evenly. If you prefer a slightly sweeter taste, add an extra apple.
- Serve & enjoy – Pour into a glass over ice and enjoy immediately for the freshest taste and maximum nutrient absorption. Store any leftovers in a sealed bottle in the fridge for up to 48 hours. Shake well before drinking.
Notes
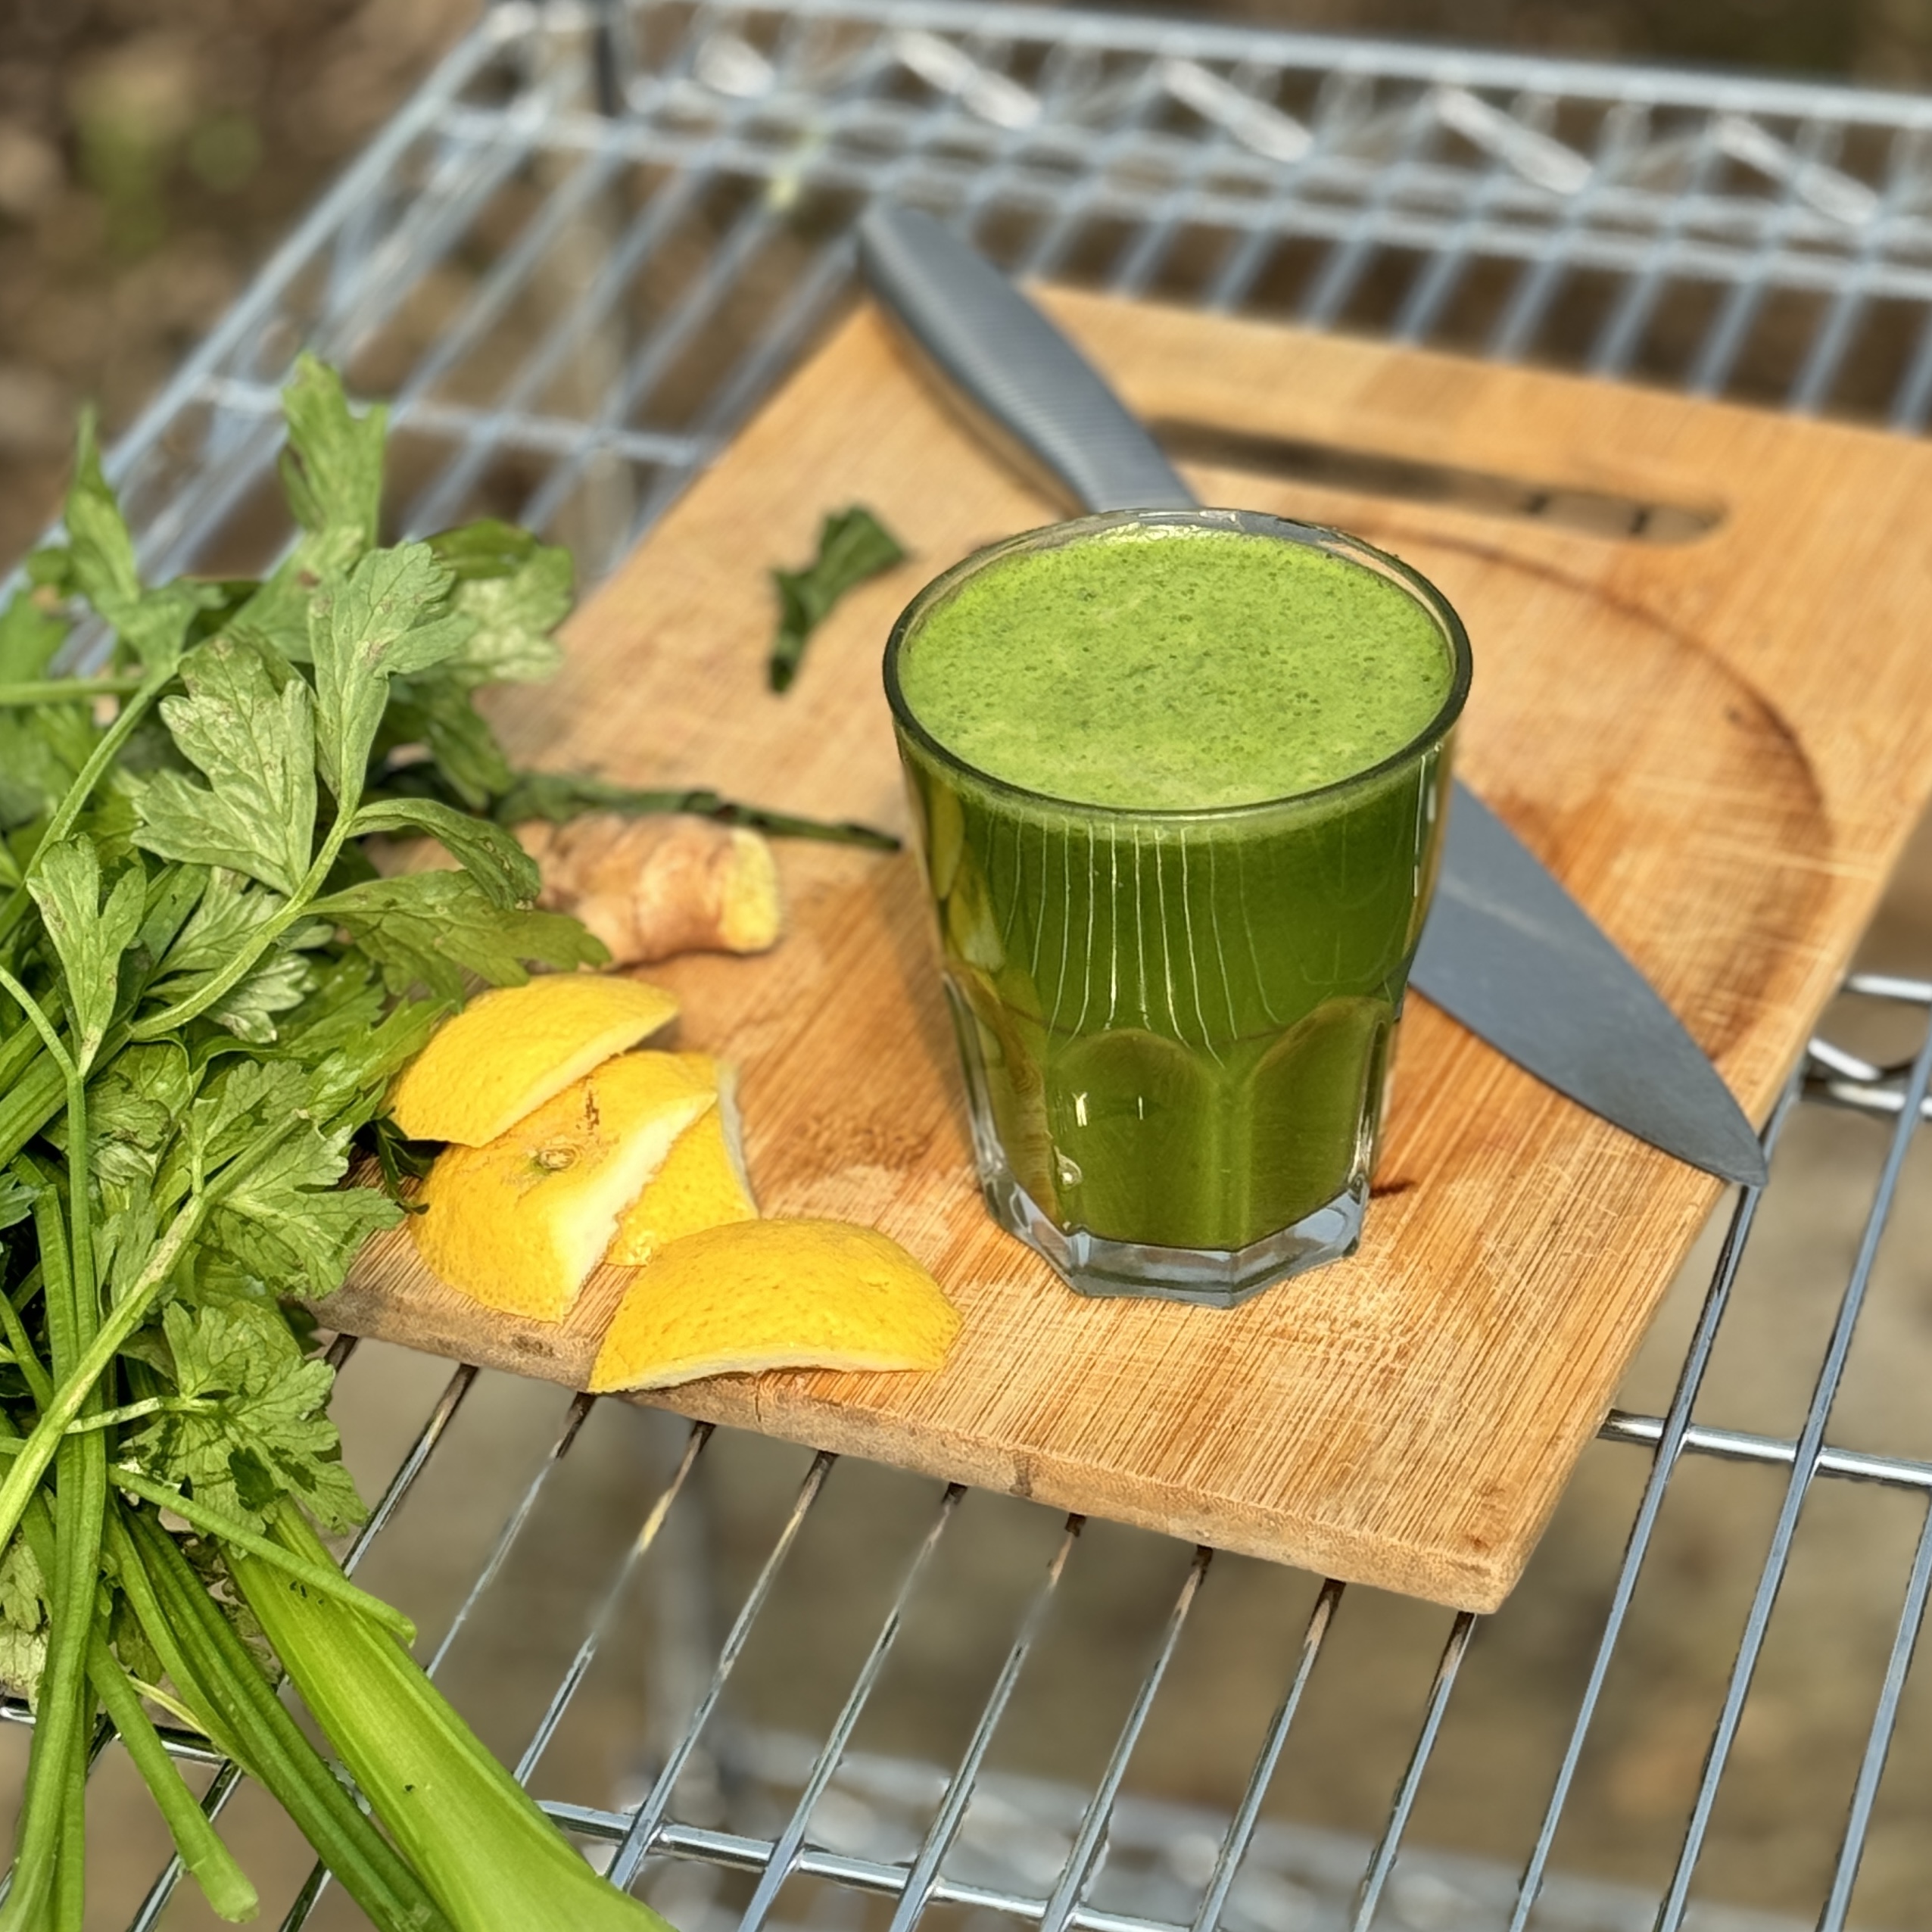
Glow & Go Juice (Hydration & Energy Boost)
Takes 10 minutes
Serves 6
Ingredients
- 2 cucumbers
- 4 stalks celery
- 2 lemons peeled
- 2 green apples
- 2- inch piece of fresh ginger
- Optional: 1 litre coconut water
Instructions
- Prepare your ingredients – Wash the cucumbers, celery, and apples thoroughly. Peel the lemons to avoid bitterness from the rind. No need to peel the ginger if using a slow juicer, but you can if preferred.
- Juice the ingredients – Feed the cucumbers, celery, lemons, apples, and ginger through your juicer one at a time, allowing the machine to extract as much juice as possible. If using a slow juicer, alternate between softer (cucumbers, lemons) and harder (celery, apples) ingredients for smooth juicing.
- Optional boost – Pour the fresh juice into a large jug or bottle. If you’d like an extra hydration boost, mix in coconut water and stir well.
- Serve & enjoy – Pour into a glass over ice for an extra refreshing hit. Store any leftovers in a sealed bottle in the fridge for up to 48 hours. Shake well before drinking.
Notes
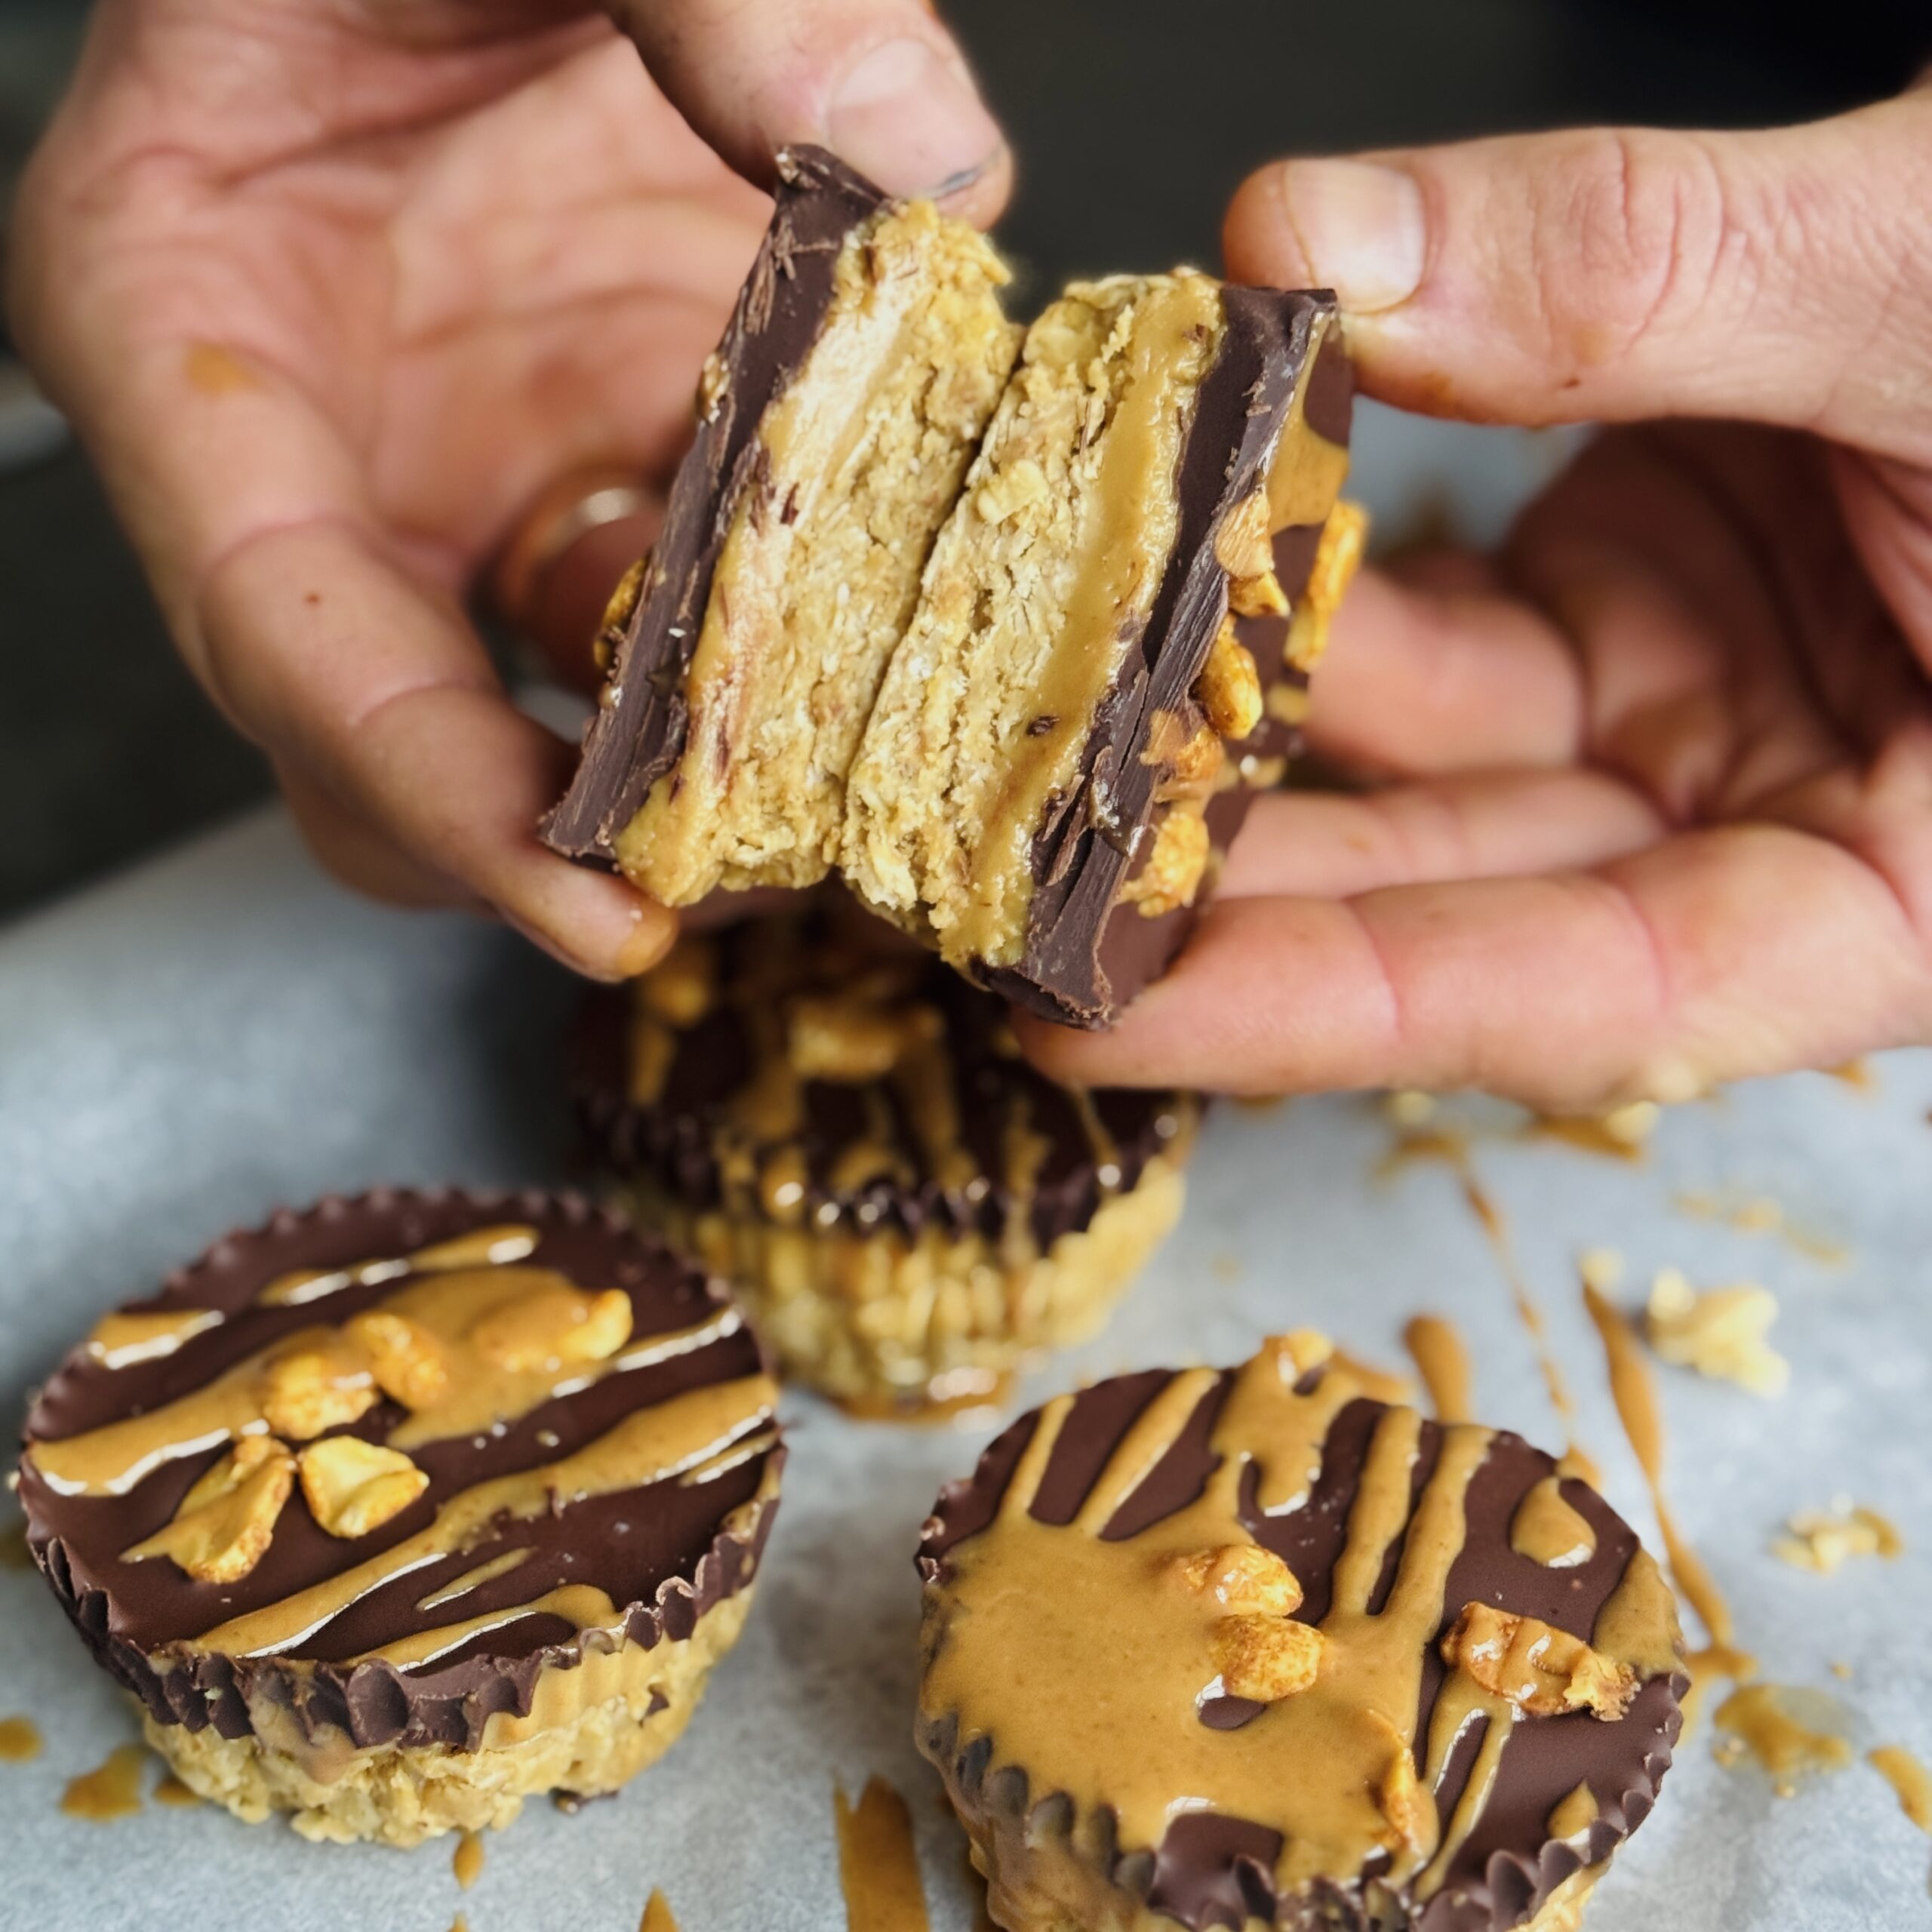
Chocolate Peanut Butter Oat Cups
Takes 1 hour 15 minutes
Serves 8
Ingredients
Oat Base
- 100 g rolled oats use jumbo oats for texture (approx. 1 cup)
- 100 g smooth peanut butter or tahini for a nut-free version (approx. ½ cup)
- 2 tbsp maple syrup
Peanut Butter Filling
- 100 g smooth peanut butter approx. ½ cup
- 2 tbsp maple syrup
Chocolate Topping
- 200 g dark chocolate approx. 1 cup
Decoration
- Handful of roasted salted peanuts for crunch and flavour
- Pinch of salt optional, for sprinkling on top
Instructions
Prepare the Base
- Line a cupcake tin with 8 paper cases.
- In a mixing bowl, combine the rolled oats, peanut butter, and maple syrup. Stir well until all the oats are evenly coated.
Form the Base Layer
- Divide the oat mixture evenly between the 8 cupcake cases, pressing it down firmly to create a compact base approximately 1cm (0.4 inches) thick.
Make the Peanut Butter Filling
- In a small bowl, mix the peanut butter and maple syrup until smooth.
Layer the Filling
- Spoon the peanut butter mixture evenly on top of the oat base in each cupcake case, ensuring it is spread evenly.
Melt the Chocolate
- Break the dark chocolate into small pieces and melt it using a bain-marie (double boiler) or in the microwave, heating in short bursts and stirring between each interval.
Top with Chocolate
- Pour the melted chocolate over each cup, ensuring a ½ cm (0.2 inches) thick chocolate layer.
Decorate & Set
- Sprinkle with roasted salted peanuts and a pinch of salt (if using).
- Place the tray in the fridge for at least 30 minutes, or until fully set.
Serve & Enjoy
- Once firm, remove from the fridge and enjoy these deliciously crunchy and creamy peanut butter chocolate oat cups!
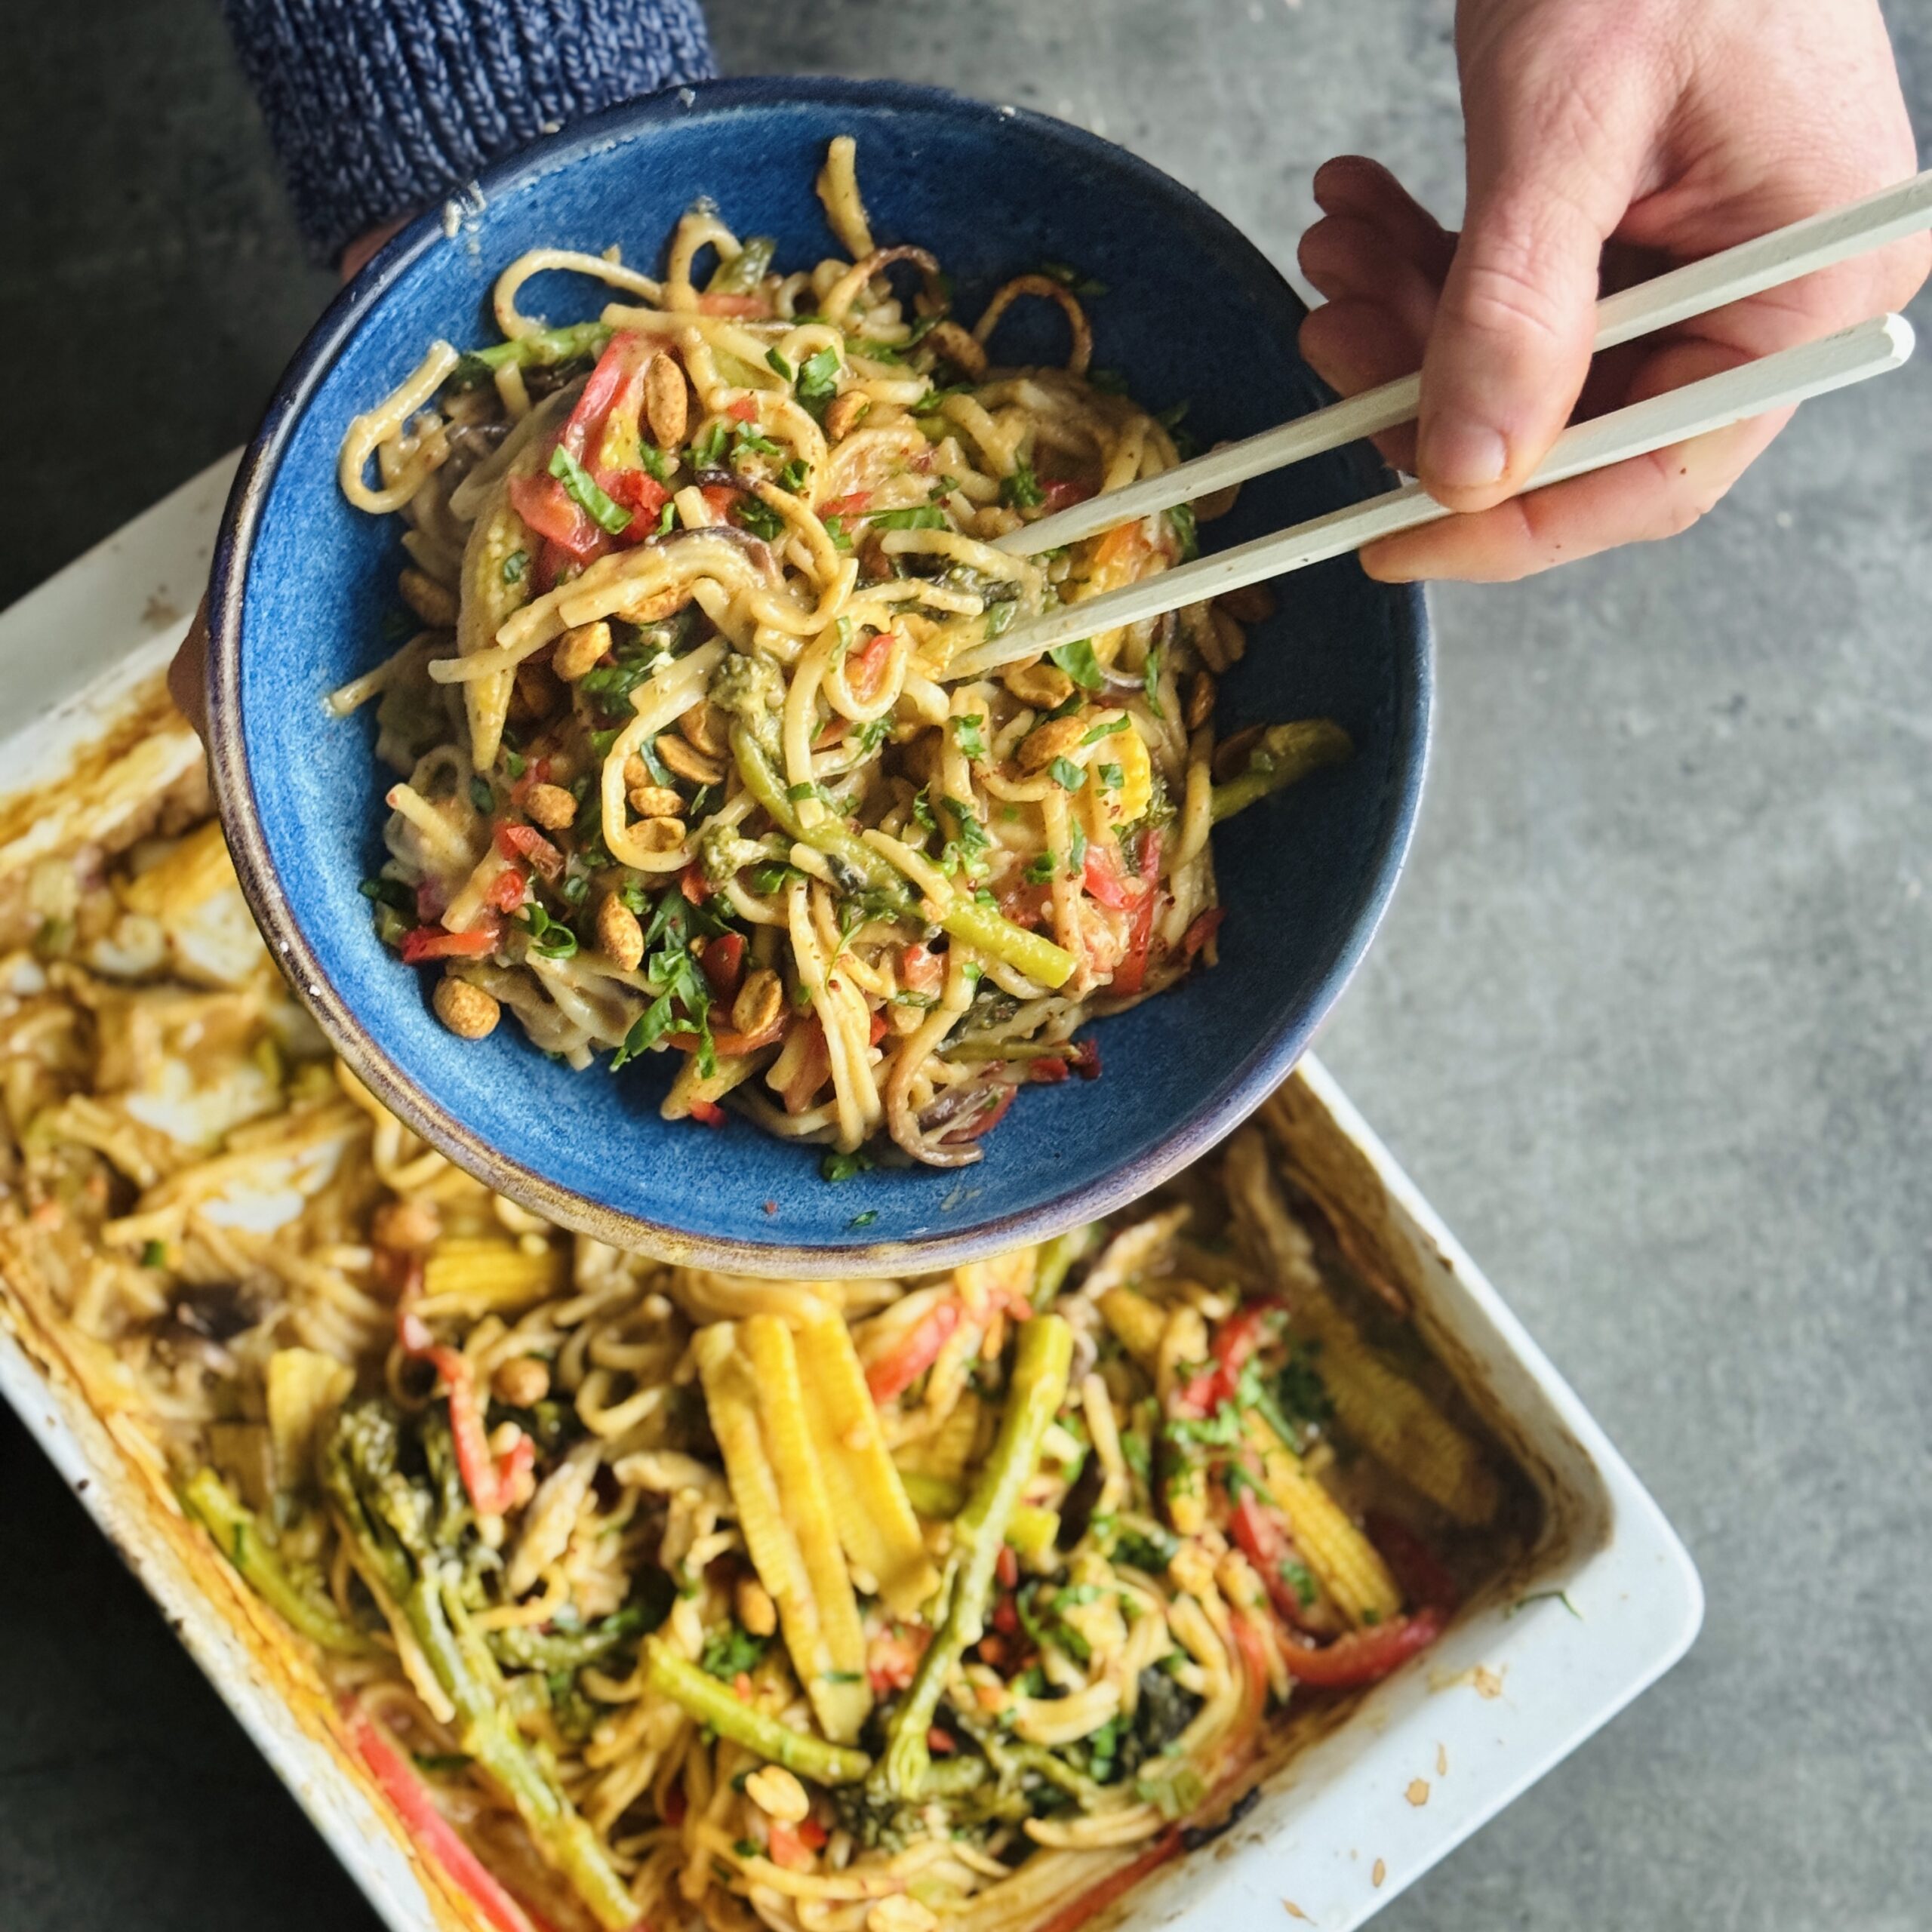
Creamy Peanut One-Pan Baked Noodles
Takes 25 minutes
Serves 4
Ingredients
Noodles & Vegetables
- 300 g noodles of choice approx. 3 cups cooked, we used udon
- 200 g shiitake mushrooms approx. 2 cups, roughly chopped
- 150 g tenderstem broccoli
- 1 red pepper thinly sliced
- ½ red onion finely sliced
- 4 green onions scallions, sliced
- 150 g baby corn halved lengthwise
- Small handful of coriander or chives for garnish
Sauce
- 4 tbsp chunky peanut butter
- 600 ml vegetable stock approx. 2½ cups
- 12 g fresh ginger approx. 1 tbsp, grated
- 2 cloves garlic minced
- 2 tbsp tamari or soy sauce
- 1 tbsp vinegar e.g., rice vinegar or apple cider vinegar
- 2 tbsp maple syrup
- ½ tsp chilli powder
- 200 ml water
- Pinch of salt
Garnish
- 50 g peanuts roughly chopped
- 1 lime cut into wedges
- Red sauerkraut optional, for added tang and colour
Instructions
Preheat the Oven
- Preheat your oven to 200°C (400°F) so it’s ready by the time everything is assembled.
Prepare the Vegetables
- While the oven heats, prepare your vegetables:
- Slice the green onions.
- Finely slice the red pepper.
- Roughly chop the mushrooms.
- Halve the baby corn lengthwise.
- Peel and finely slice the red onion.
Assemble Everything in the Baking Tray
- In a large baking tray, spread out the noodles, mushrooms, and prepared vegetables.
- Ensure the noodles are at the bottom so they absorb the sauce properly.
Make the Sauce
- In a large jug, whisk together all the sauce ingredients, ensuring the peanut butter is fully incorporated.
- Pour the sauce evenly over the noodles and vegetables.
Bake to Perfection
- Place the tray in the preheated oven and bake for 20–25 minutes.
- Halfway through, give everything a quick stir to ensure even cooking.
- The dish is ready when the sauce has thickened slightly and the noodles are tender.
Final Touches & Serving
- Remove from the oven and give everything a final mix.
- Garnish with peanuts, a squeeze of lime, and a sprinkle of fresh coriander or chives.
- Optionally, serve with red sauerkraut for extra tang and colour.
- Dish up and enjoy this rich, umami-packed meal—perfect for a cosy dinner!
Notes
Notes & Variations
- Noodles: Udon works well, but you can also use soba, rice noodles, or whole wheat noodles.
- Vegetables: Feel free to swap or add any vegetables you have on hand, such as bok choy, carrots, or courgette.
- Spice Level: Adjust the chilli powder to your heat preference.
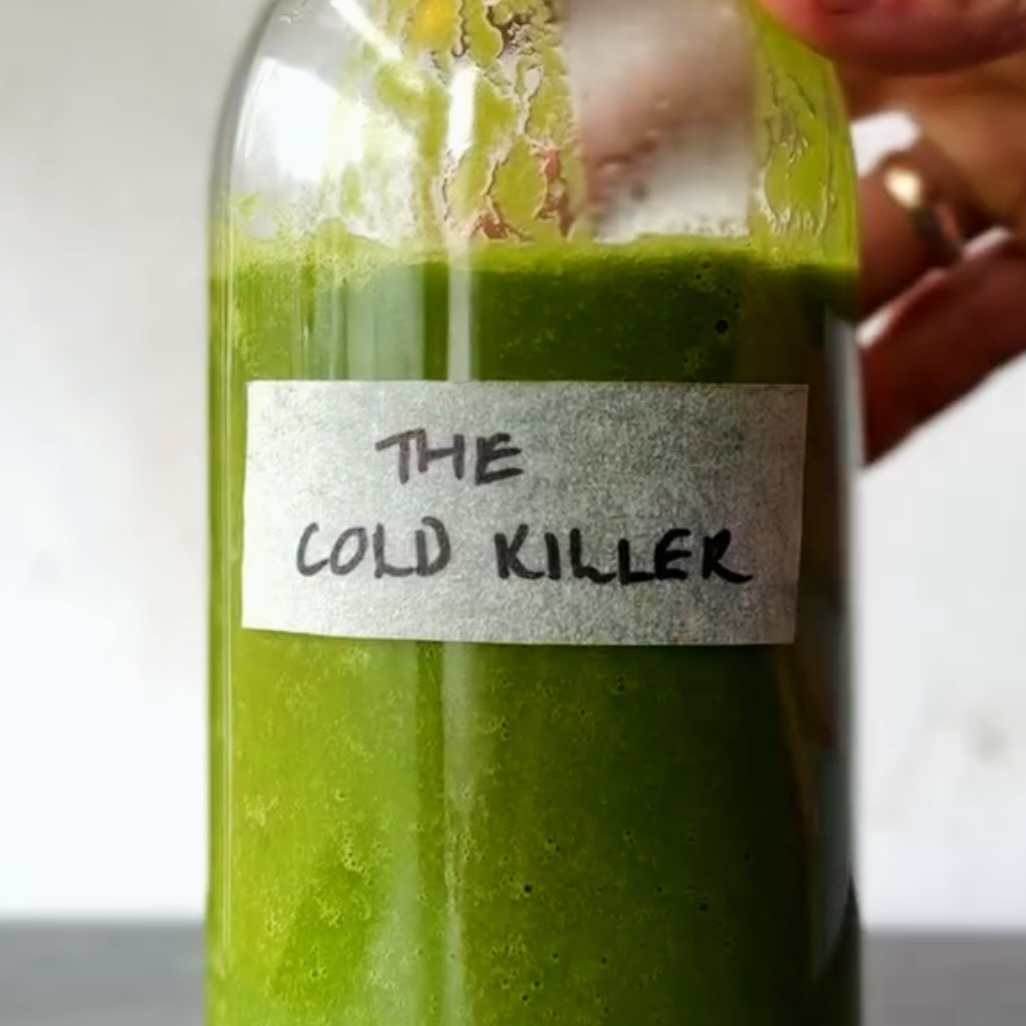
Cold Killer Juice
Takes 10 minutes
Serves 2
Ingredients
- 50 g 2 cups baby spinach
- 10 g 1 tbsp fresh turmeric, peeled
- 15 g 1 tbsp fresh ginger (about ½ thumb-sized piece), peeled
- 2 limes peeled (remove as much white pith as possible)
- 1 grapefruit peeled (remove as much white pith as possible)
- ½ cucumber chopped (about ½ cup)
- 1 green apple cored and chopped (about ¾ cup)
- 5 g 2 tbsp fresh mint leaves (about a small handful)
- 120 ml ½ cup water (plus more if needed)
- Ice cubes optional, for a colder drink
Instructions
Prepare the ingredients:
- Peel the limes and grapefruit, ensuring you remove as much of the white pith as possible to avoid bitterness.
- If not using organic turmeric and ginger, peel them before use.
- Chop the cucumber and apple into small pieces for easier blending.
- Remove the mint leaves from their stalks.
Blend:
- Add all ingredients to a high-speed blender.
- Blend until smooth and well combined.
- If the consistency is too thick, add more water or a few ice cubes to thin it out.
Serve:
- Pour into glasses and enjoy immediately for the freshest flavor and maximum nutrients. Enjoy!
Notes
- Add a pinch of black pepper to enhance the absorption of turmeric’s beneficial compounds.
- For a milder flavor, swap grapefruit for an extra apple or orange.
- If you prefer a lighter texture, strain the juice through a fine mesh sieve or nut milk bag.
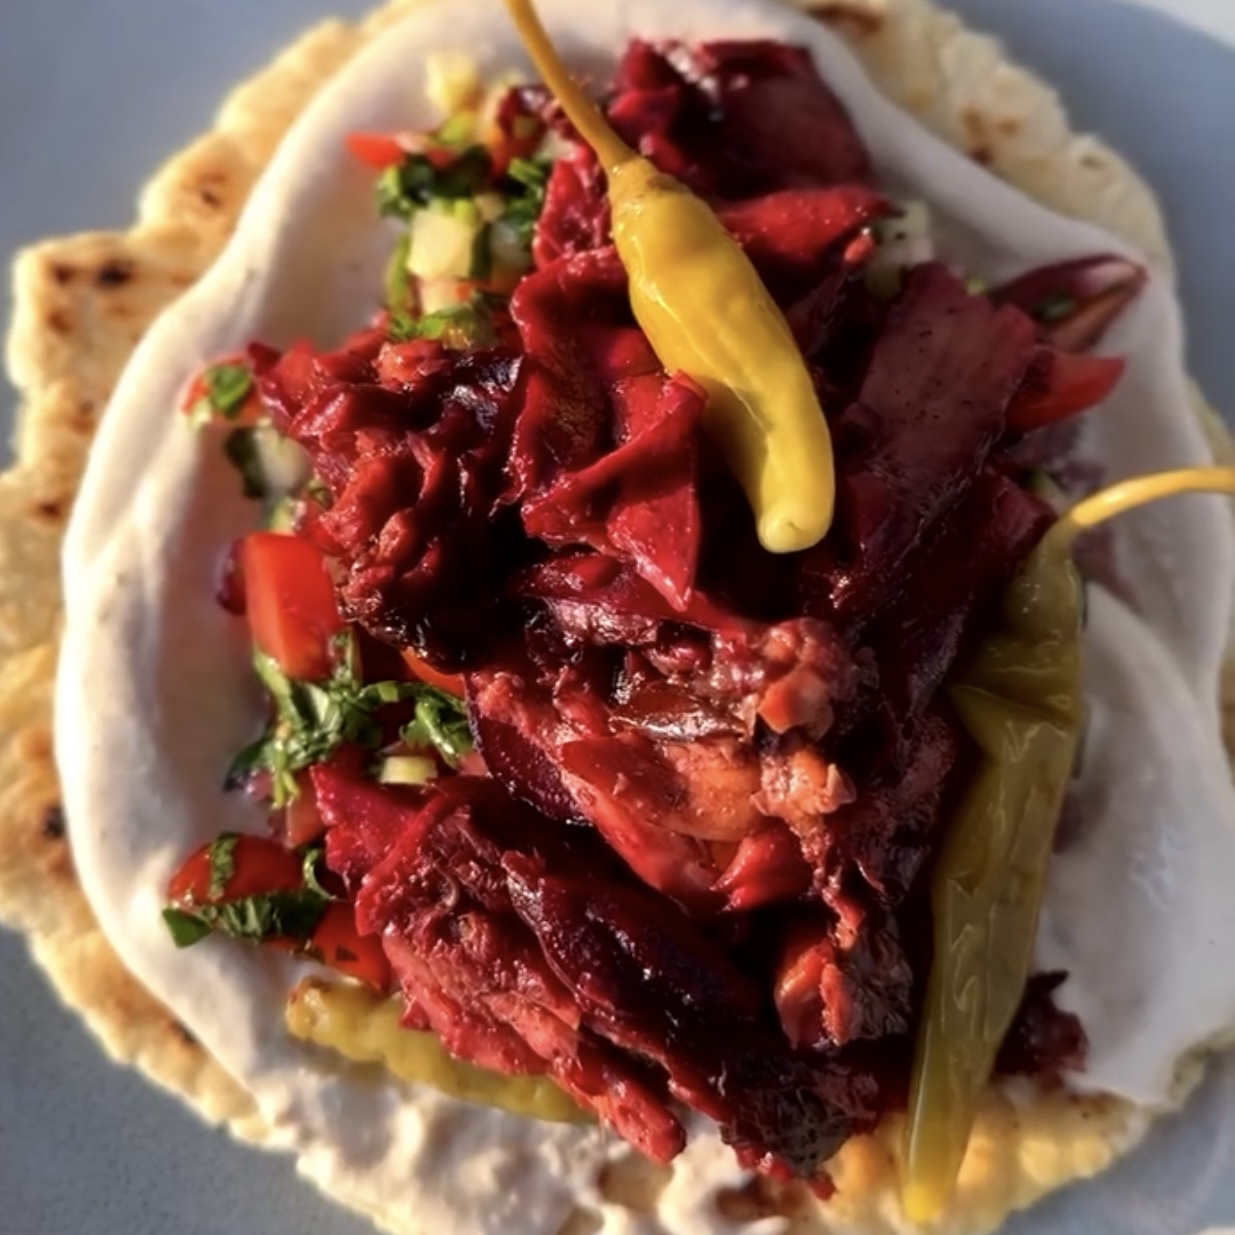
Shawarma Skewers with Oyster mushrooms
Takes 35 minutes
Serves 4
Ingredients
- 1 medium beetroot
- 250 g (2 ½ cups) mushrooms oyster if you can get
- 1 tbsp sumac
- 1.5 tbsp smoked paprika
- 1 tsp ground black pepper
- 1/2 tsp salt
- 3 tbsp tamari
- 2 tbsp maple syrup
Tahini cream
- 300 g (1 ¼ cups) Natural soy yoghurt
- 6 tbsp light Tahini
- Juice of 1/2 Lemon
- Pinch of salt
- Pinch garlic powder
Coriander salad
- 1 pomegranate
- 10 cherry tomatoes
- ½ cucumber
- 10 g (⅓ cup) fresh coriander leaves
- Pinch salt
To serve
- 4 flat breads
- Pickled chillies
Instructions
- Cut the beetroot in half, lengthwise and use a peeler to peel long strips the width of the beetroot, (be careful of your fingers!), get as many strips as you can. Rip the oyster mushrooms in half lengthwise.
- In a large bowl add the beetroot strips and the mushrooms along with the sumac, salt, black pepper, smoked paprika, tamari and maple syrup and mix well. Leave to marinate while you make the coriander salad and tahini cream.
- For the coriander salad finely dice the cucumber, and coriander, shuck the pomegranate seeds and quarter the cherry tomatoes. Add to a bowl along with a pinch of salt and mix well. Taste and season to your taste
- For the tahini cream, add the yoghurt, tahini, garlic powder, lemon juice and pinch of salt and mix well until it comes together. Taste and season to your liking by adding more salt or lemon. This is to be the base creamy flavour.
- To cook the skewers.
- Take the 2 metal skewers and carefully layer on the mushrooms and beetroot, we went 2 layers of mushroom then 1 layer of beetroot and continued with this pattern until we had filled the skewers.
- Heat a large frying pan on high heat, once hot add 2 tbsp of oil and carefully add the skewers with the beet and mushrooms, cook on each side for 2-3 mins until they start to lightly char and beetroot starts to almost caramelise. Remove and using a sharp knife carve the mushrooms and beetroot off the skewers into bite sized pieces.
- To plate up: Take a flatbread and add a good dollop of tahini cream, a generous amount of coriander salad, add some of the mushrooms and beet mix and lastly finish with some pickled chillies. Repeat with the remaining flat breads and enjoy!
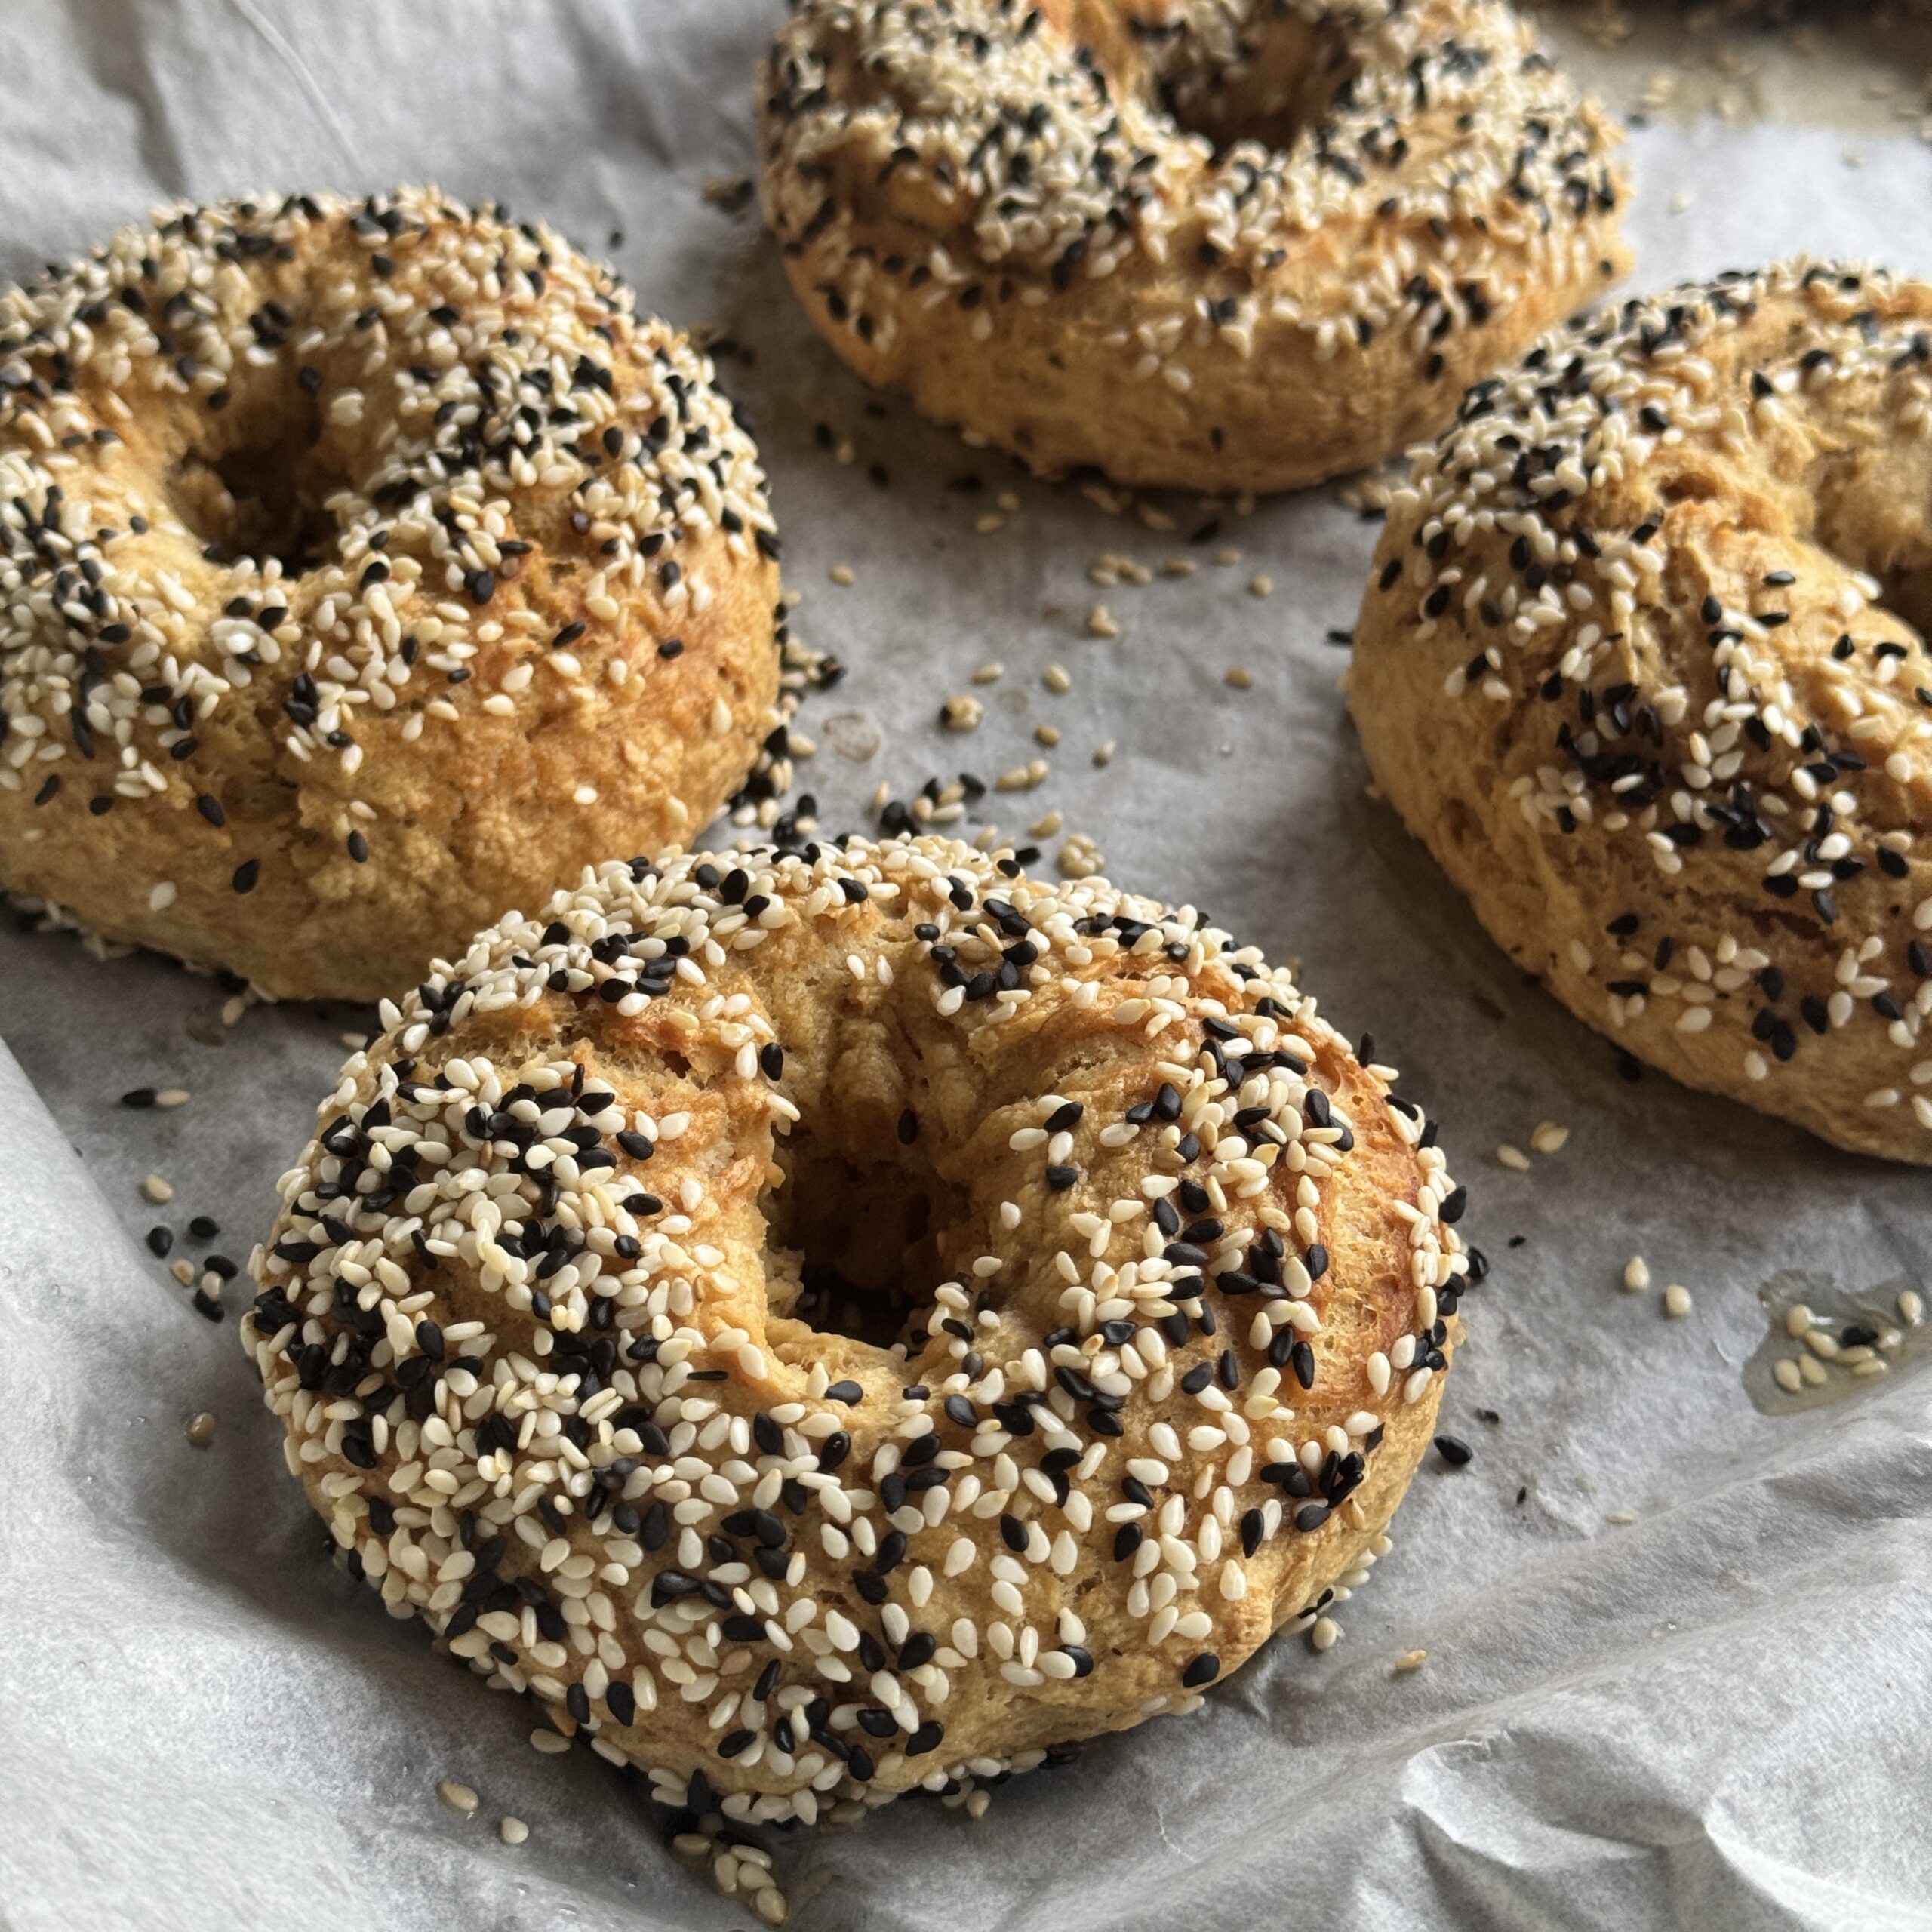
Tofu Bagels
Takes 45 minutes
Serves 4
Ingredients
- 340 g silken tofu approx. 1½ cups, drained and patted dry
- 380 g self raising flour approx. 3 cups or gluten-free flour
- ½ tsp salt
- 2 tbsp tamari/ soy sauce
- ½ tsp garlic powder optional, for flavor
- Toppings Optional
- Sesame seeds or poppy seeds
Instructions
- Preheat the oven to 200°C (400°F) and line a baking sheet with parchment paper.
- Mix the tofu with the dry ingredients
- In a bowl mash the tofu, and sieve in the flour, salt, and garlic powder (if using).
- Add the tamari/ soy sauce and knead until it comes together
- Knead briefly for a few more minutes until a soft dough forms. If it's too sticky, add a little more flour.
- Shape the bagels
- Lightly dust your hands with flour and divide the dough into 6 equal pieces. Roll each piece into thin sausage shape approx 2cm or ¾ inch and link them together until they are bagel shaped or look like doughnuts.
- Boil the bagels
- Bring a large pot of water to a boil, and reduce to a simmer. Drop in the bagels one at a time and cook each one for approx 30 seconds, they should start to float. Using slotted spoon transfer the bagels to the lined baking tray
- Bake
- Generously sprinkle with sesame seeds or bagel seasoning.
- Bake for 30-35 minutes, until firm and golden brown.
- Cool & Enjoy
- Let them cool on a wire rack before slicing. Enjoy with your favorite spreads like hummus, smashed avocado, or vegan cream cheese!
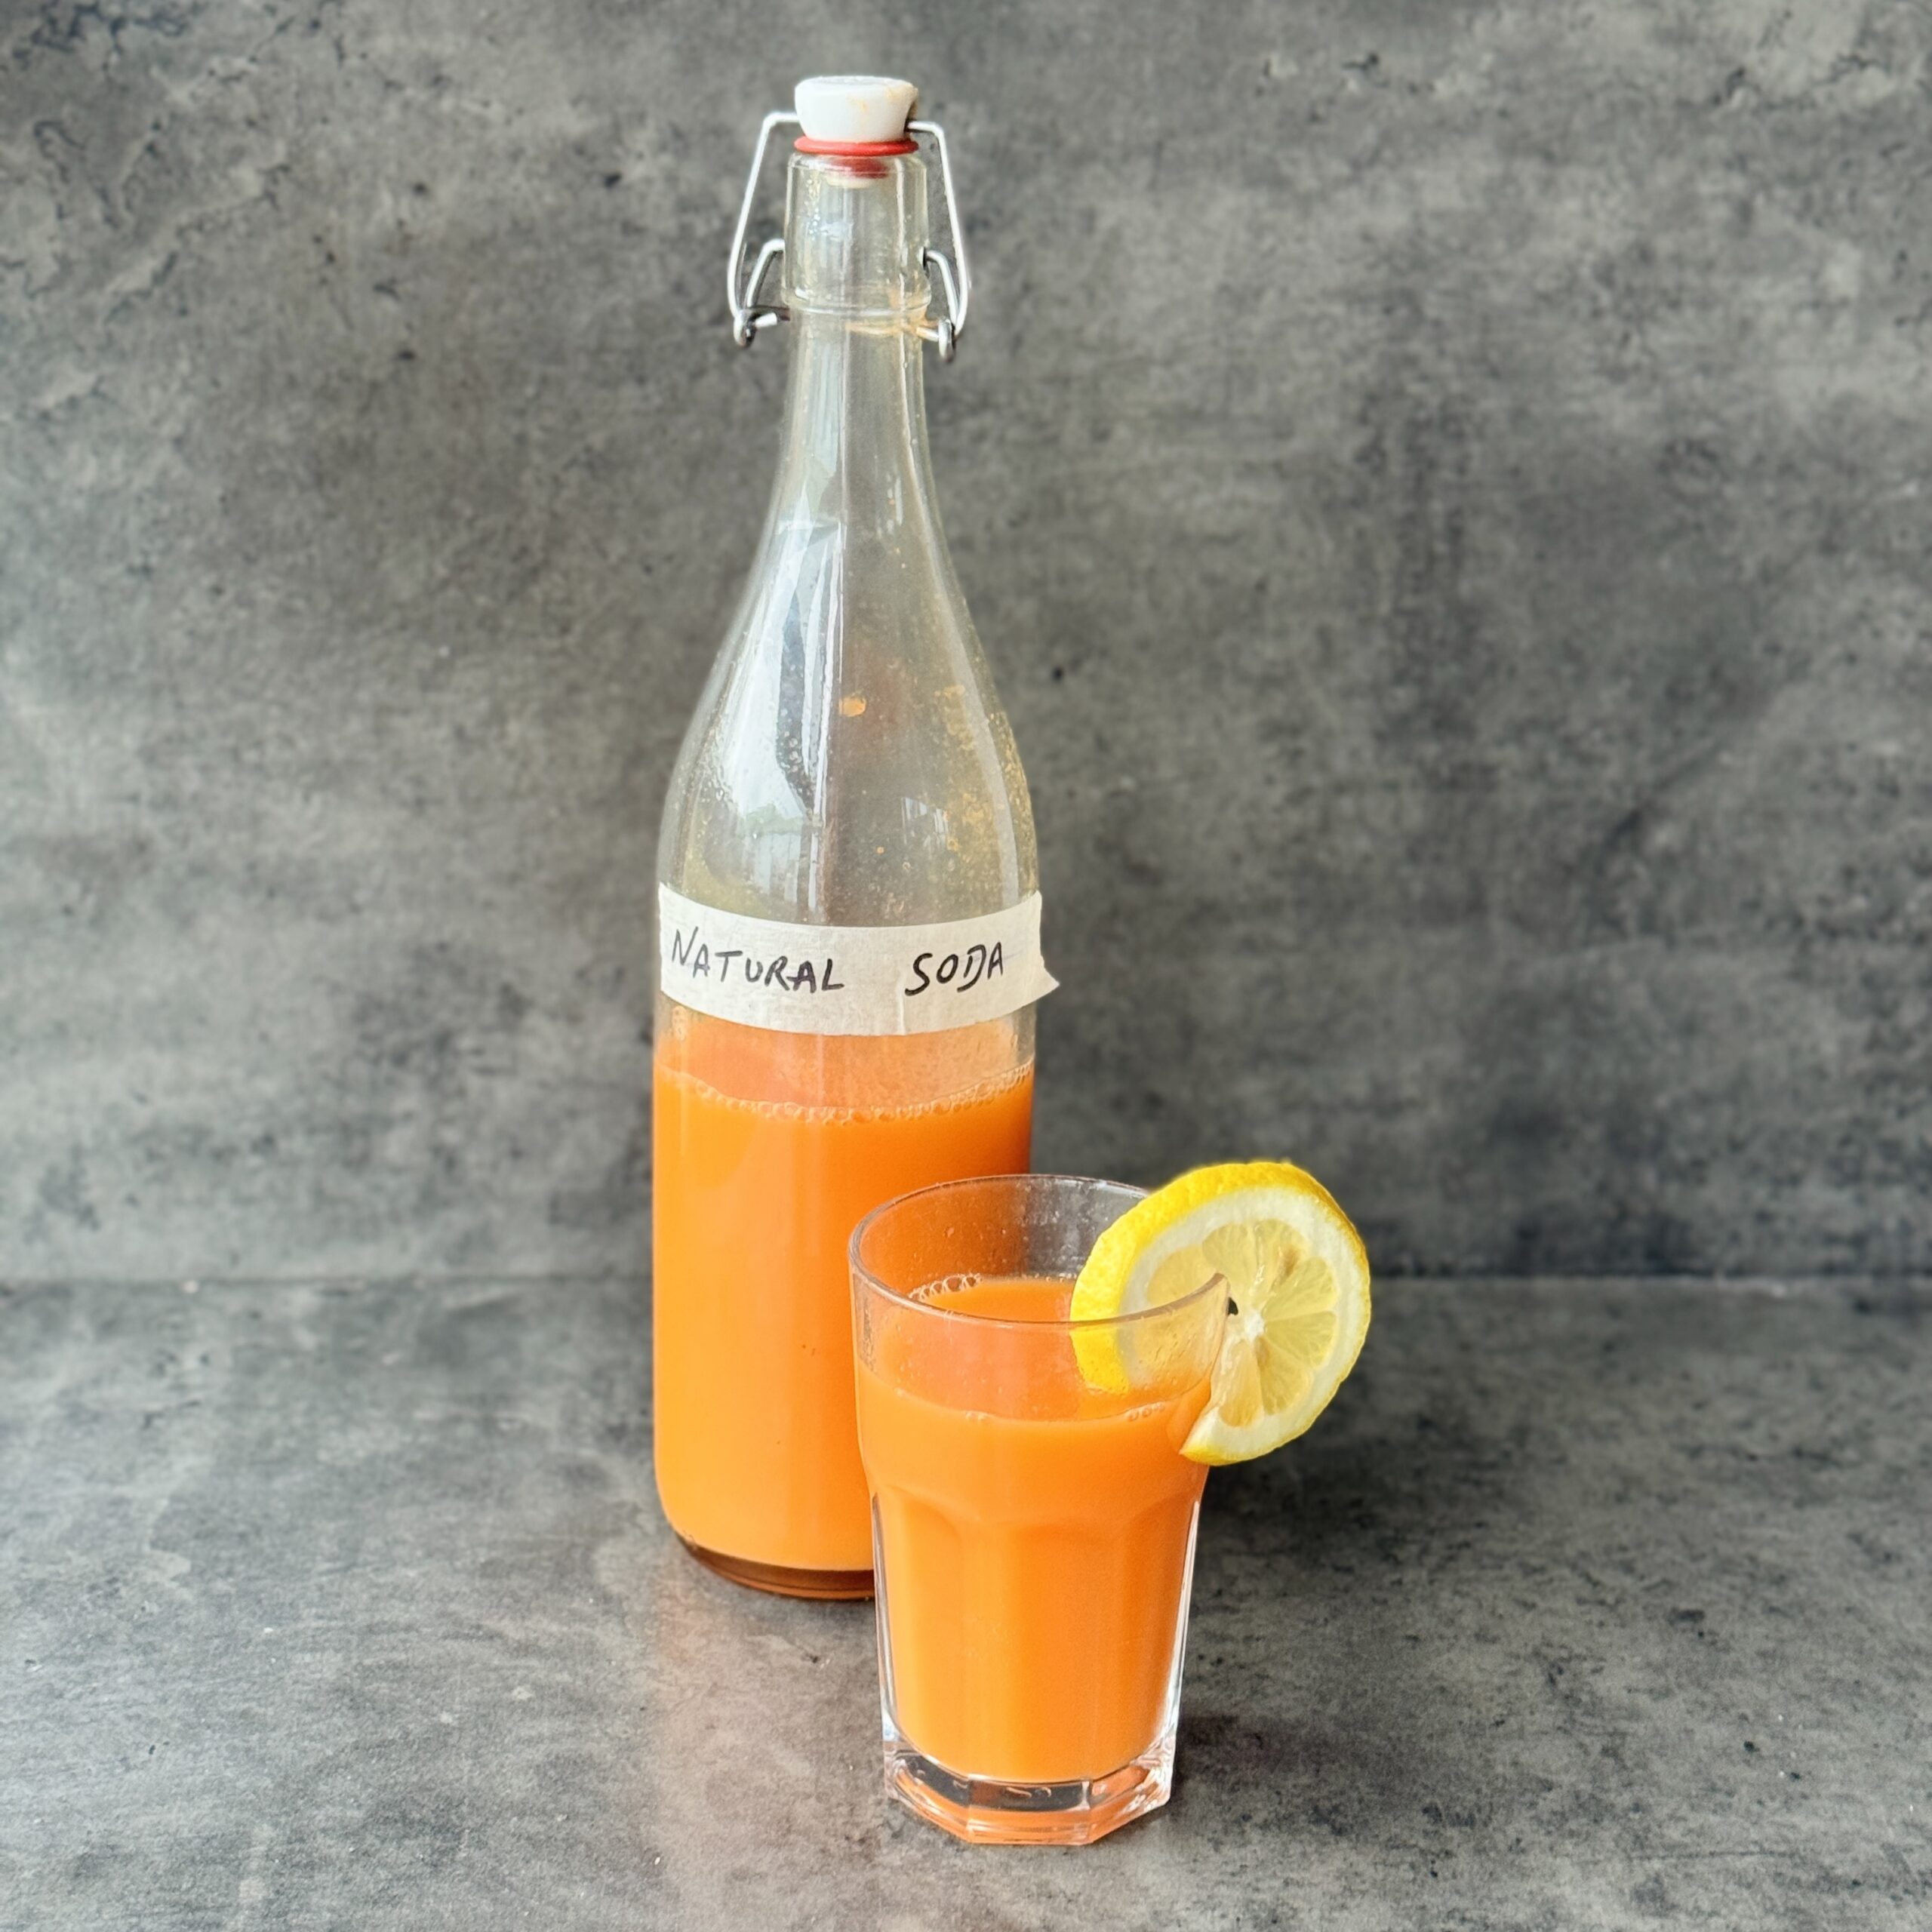
Natural Juice Soda
Takes 6 days 30 minutes
Serves 4
Ingredients
For the Juice
- 5 carrots
- 2 apples
- 1 pear
- 1 orange
- 1 lime
For Fermentation
- 1 apple
- 2 oranges
- 1 thumb sized piece fresh ginger
Instructions
- Peel the orange and lime: Remove the outer skins of 1 orange and 1 lime.
- Juice the base ingredients: Using your Nama juicer, juice 5 carrots, 2 apples, 1 pear, 1 peeled orange, and 1 peeled lime. You should yield approximately 600–700ml (2 ½ – 3 cups) of juice.
- Prepare the fermentation jar: Roughly slice 10g of fresh ginger (leave out the ginger if you prefer) and quarter 1 apple and 2 oranges. Add these to a 1-litre (4¼ cups) jar.
- Combine and ferment: Pour the freshly prepared juice into the jar over the prepared fruit and ginger. Close the lid tightly and leave the jar to ferment for 3–5 days.
- Fermentation timing: At room temperature (20°C / 68°F), fermentation takes approximately 3 days. In cooler conditions, it may take up to 5 days.
- Strain and bottle the soda: Once fermented, strain the juice and use a funnel to decant it into 1–2 swing-top lid bottles. Seal the lids securely.
- Secondary fermentation: Allow the bottles to ferment for 3–7 days at room temperature, burping them daily to release carbon dioxide. Burp by opening the lid for 1–2 seconds.
- Fermentation timing: Warmer environments speed up fermentation, while cooler environments slow it down. Monitor the carbonation and taste until it reaches your desired fizziness.
- Refrigerate and enjoy: Once the soda is fizzy and to your liking, transfer the bottles to the refrigerator. The soda will keep for up to 1 week in the fridge.
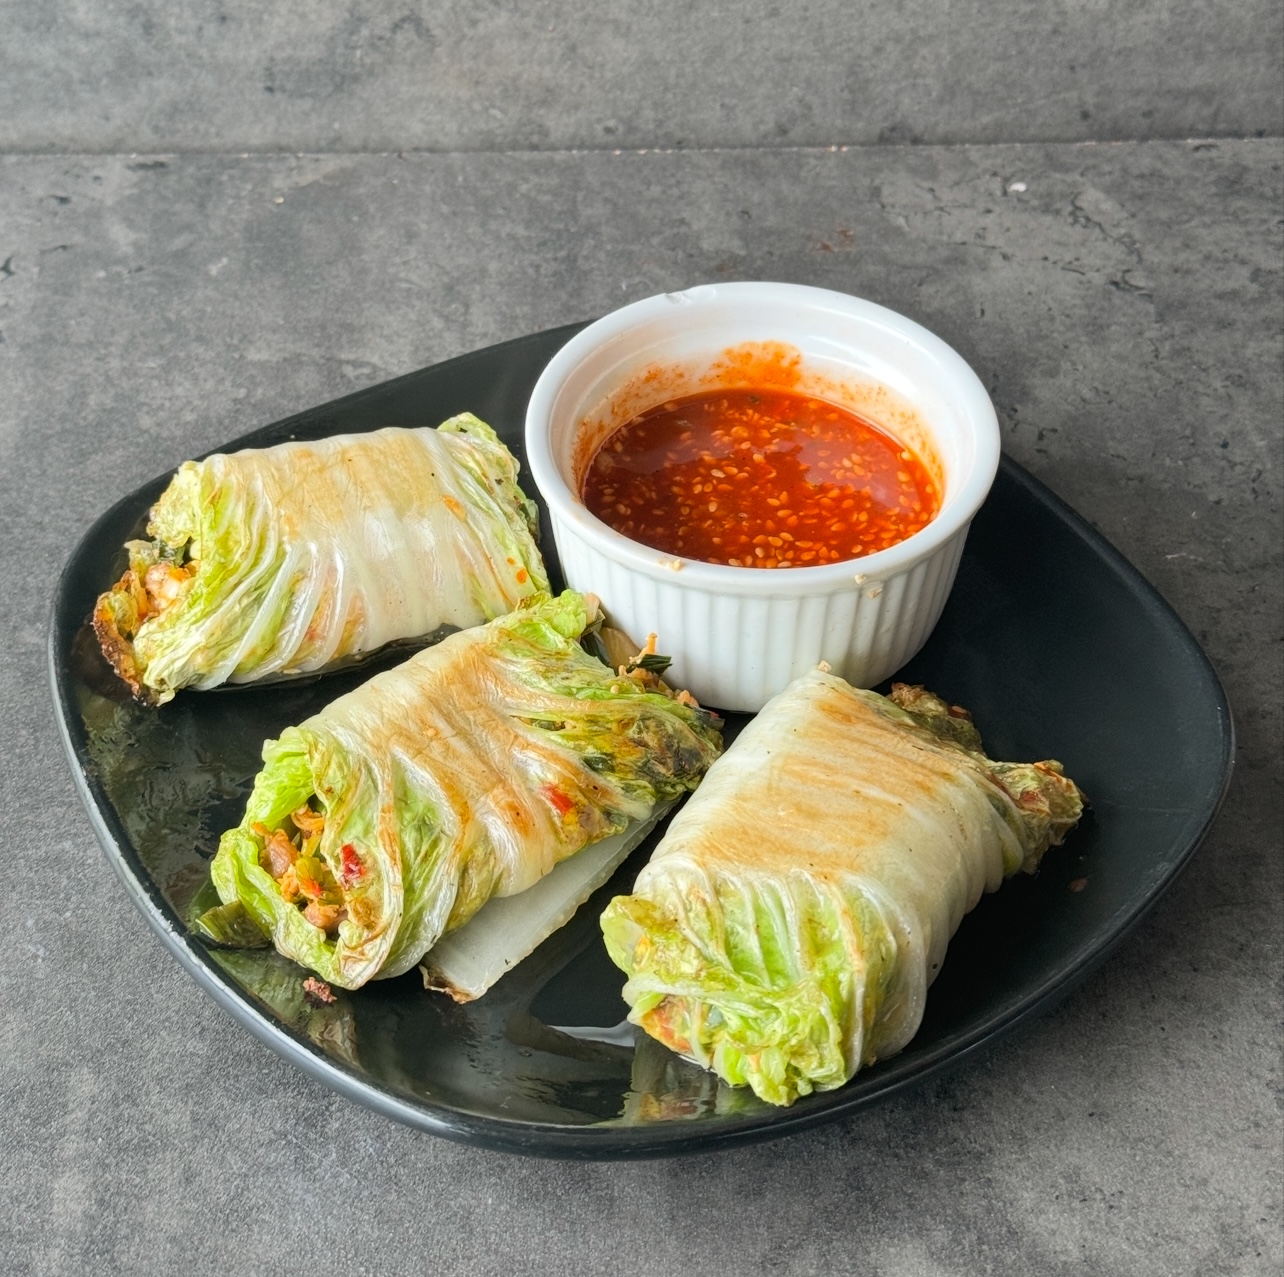
Tofu and Mushroom Cabbage Rolls
Takes 25 minutes
Serves 8
Ingredients
- 10 large leaves of cabbage Napa cabbage works well
- 1 bunch scallions green onions
- 2 cloves garlic
- 1/2 thumb-sized piece of ginger
- 1/2 red chilli
- 150 g 7 oz mushrooms
- 200 g 7 oz firm tofu
- 1 tbsp sesame oil for frying
- Salt and pepper to taste
Dressing:
- 1 tbsp Tamari
- 2 tbsp gochujang
- 1/2 tbsp rice vinegar
- 1 tbsp maple syrup
- 2 tbsp sesame seeds
- 2 tbsp water
Instructions
Prepare Ingredients:
- Fill and boil the kettle.
- Peel and grate the garlic and ginger.
- Slice the scallions and mushrooms, and finely dice the red chilli, removing the seeds if desired.
- Grate the tofu using a fine grater.
- Remove the larger outer leaves from the cabbage.
Blanch Cabbage Leaves:
- Fill a saucepan with just boiled water and a pinch of salt.
- Blanch cabbage leaves for 3-4 minutes, then remove and rinse in cold water to stop them from cooking further.
Make Dressing:
- Mix together the ingredients for the dressing in a bowl.
Prepare Filling:
- Heat a wide-bottomed frying pan over high heat.
- Add 1 tbsp sesame oil, tofu, mushrooms, and a pinch of salt. Cook for 4-5 minutes, stirring regularly.
- Once tofu starts to turn golden, add grated ginger, garlic, scallions, chilli, and 3 tbsp of the dressing. Mix well and cook for an additional 2-3 minutes, stirring regularly. Transfer this filling to a bowl and rinse the frying pan quickly.
Assemble Rolls:
- Lay out 1 cabbage leaf and place approximately 2 tbsp of the tofu and mushroom filling in the centre.
- Carefully roll up the cabbage, folding in the sides as you go to create a mini burrito-like shape. Repeat with remaining cabbage leaves and filling.
Cook Cabbage Rolls:
- Heat the frying pan over high heat.
- Add 1/2 tbsp sesame oil, then cook 4-5 cabbage rolls at a time for 2-3 minutes on each side until they turn slightly golden.
- Repeat with any remaining cabbage rolls.
Serve:
- Serve cabbage rolls with the remaining dressing as a dipping sauce. Enjoy this delicious dish!
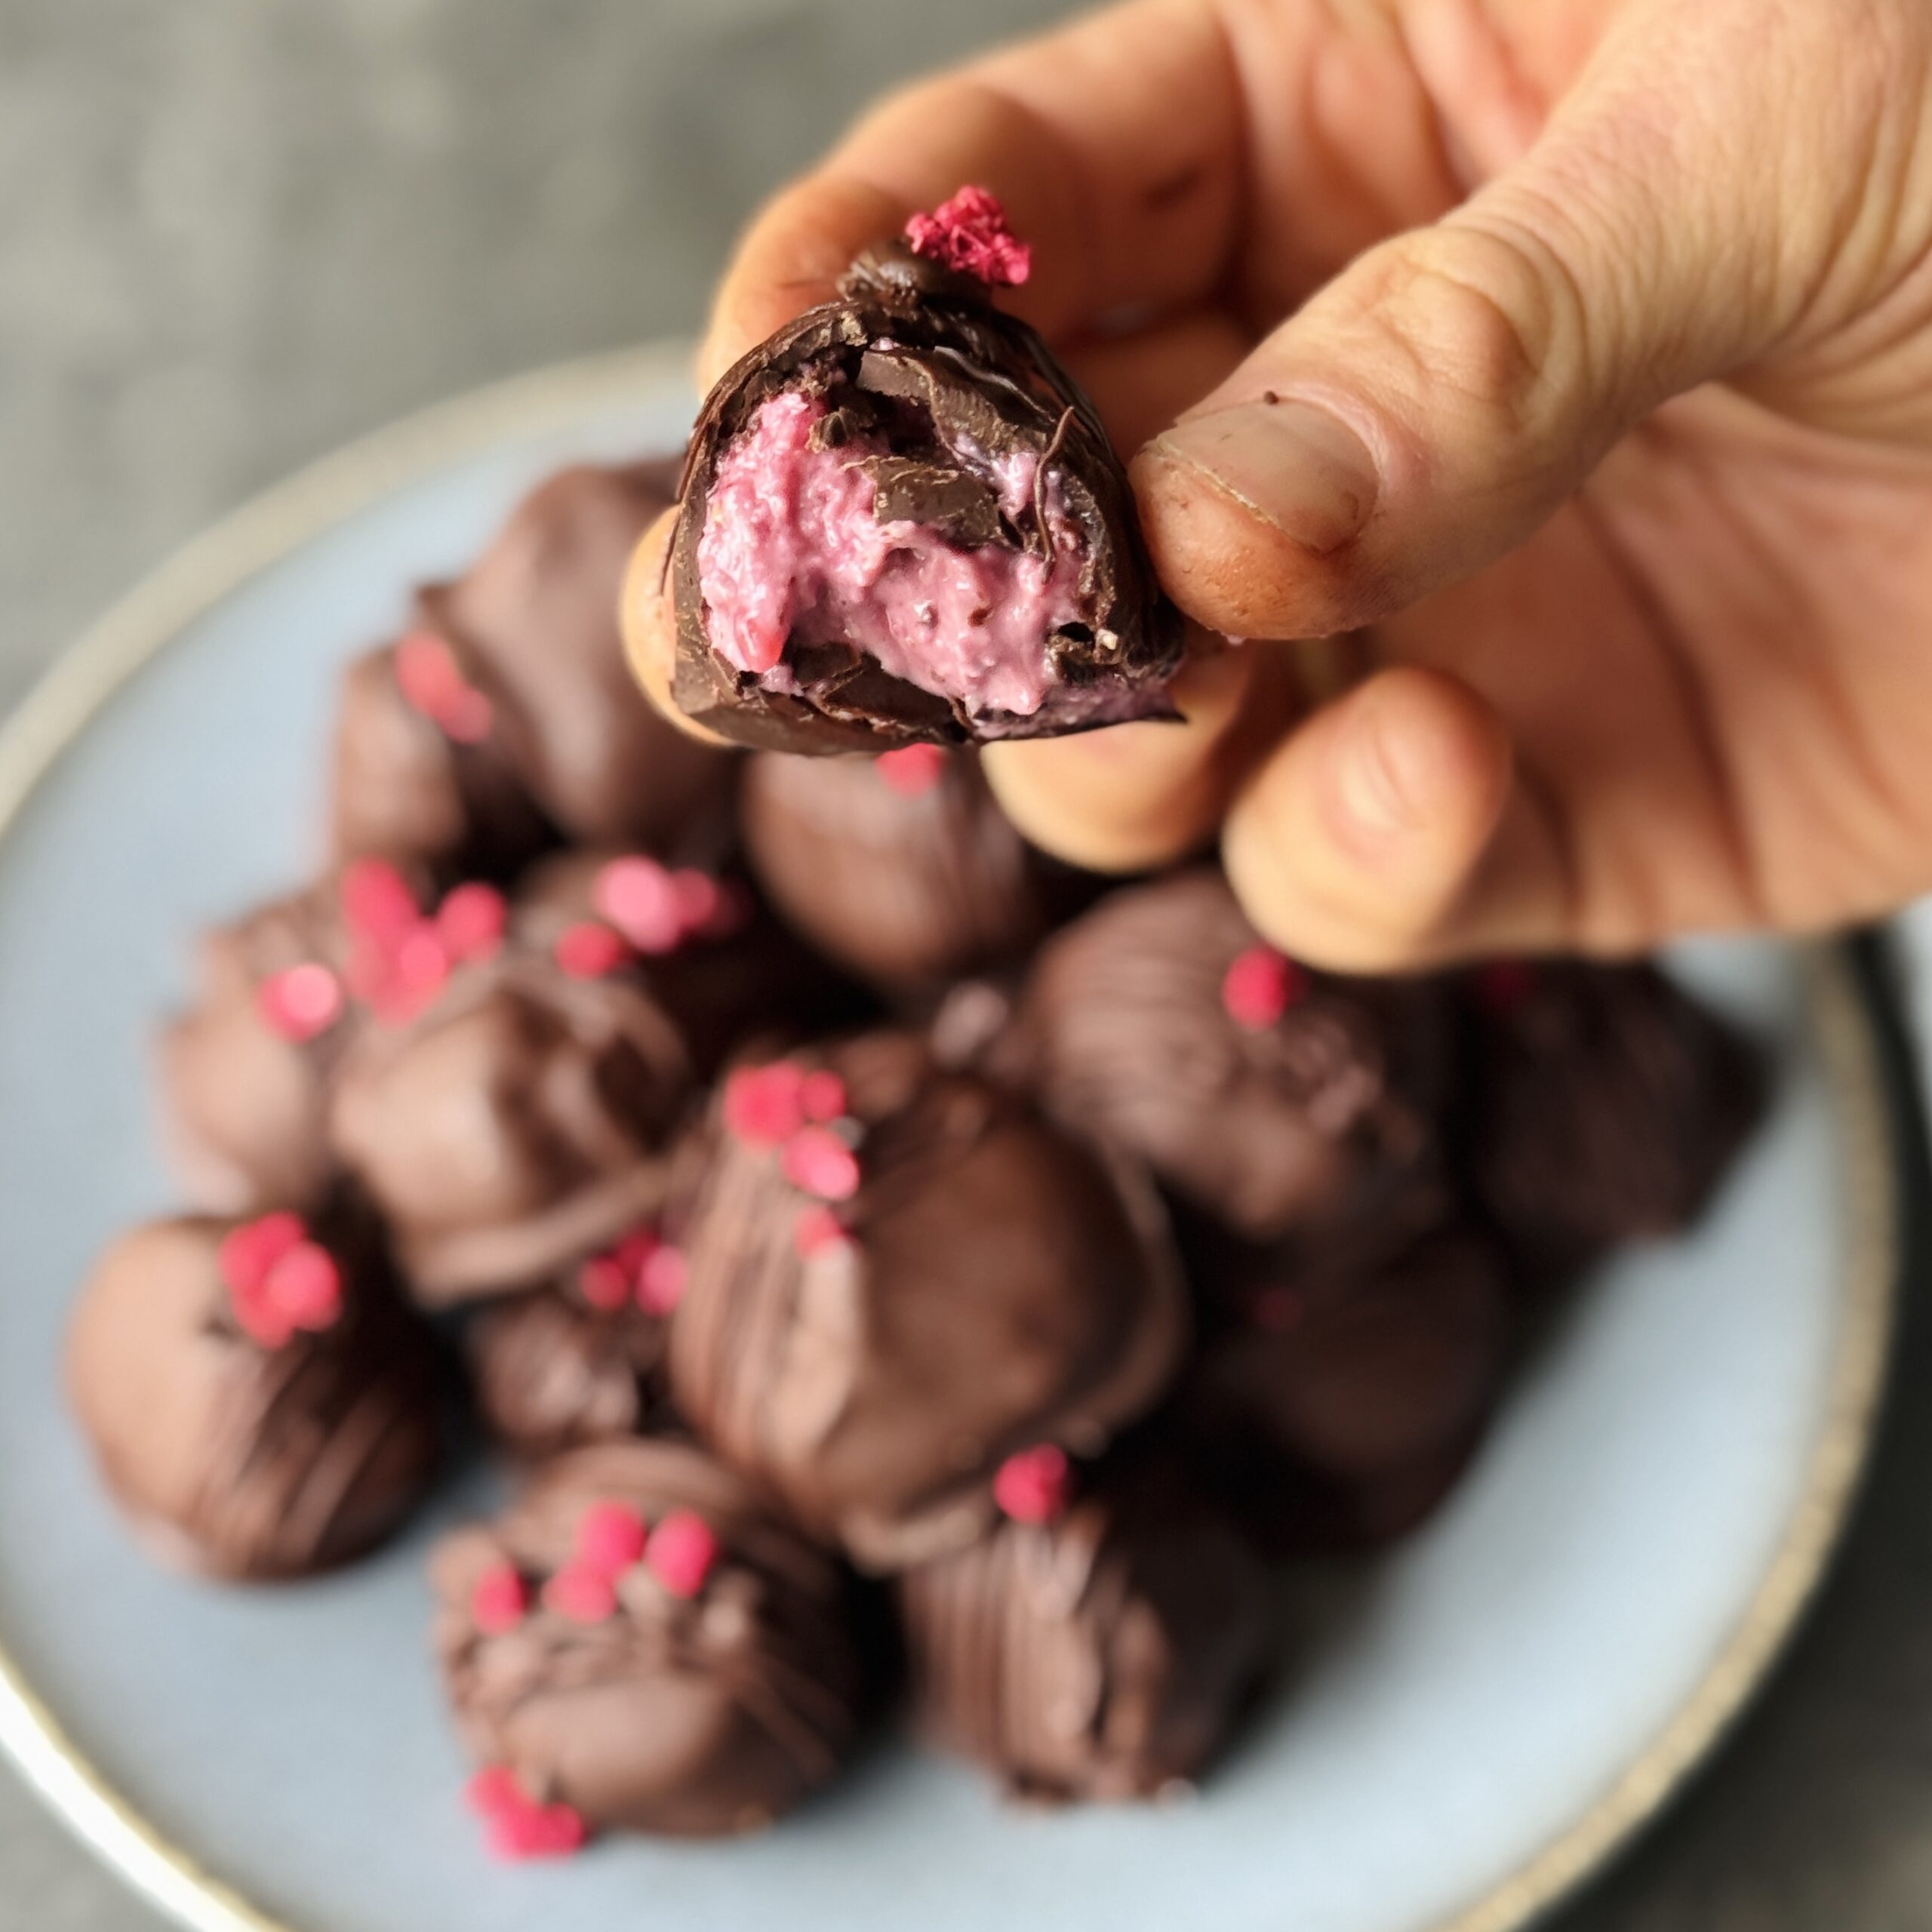
Raspberry Love Chocolate Truffles
Takes 1 hour 15 minutes
Serves 12
Ingredients
- 300 g frozen raspberries 2 ½ cups
- 100 g cashew nuts ¾ cup
- 125 g desiccated coconut 1 ½ cups
- 75 ml maple syrup ⅓ cup
- 1 tsp vanilla extract
- Pinch of salt
- 200 g dark chocolate 54–70% cocoa solids (1 ¼ cups, chopped)
Instructions
Blend the Filling:
- Add the cashews, desiccated coconut, maple syrup, vanilla extract, and salt to a food processor. Blend for 30–60 seconds until it starts to combine.
- Add the frozen raspberries and blend for another 30–60 seconds until the mixture turns a vibrant pink and comes together into a sticky dough.
Shape & Freeze:
- Scoop out small amounts of the mixture (approx. 1 tbsp per ball) and roll them into bite-sized balls. Place them on a baking tray lined with parchment paper and freeze for 30 minutes until firm.
Melt the Chocolate:
- Break the dark chocolate into small pieces and melt it in a heatproof bowl over a bain-marie (water bath) or in the microwave in 20-second bursts, stirring in between.
Coat the Balls in Chocolate:
- Once firm, take the raspberry balls from the freezer. Using a fork or a skewer, dip each ball into the melted chocolate, ensuring they are fully coated. Let excess chocolate drip off before placing them back onto the parchment paper.
Set & Enjoy!
- Place the chocolate-coated raspberry love balls in the fridge for 10–15 minutes until the chocolate has set.
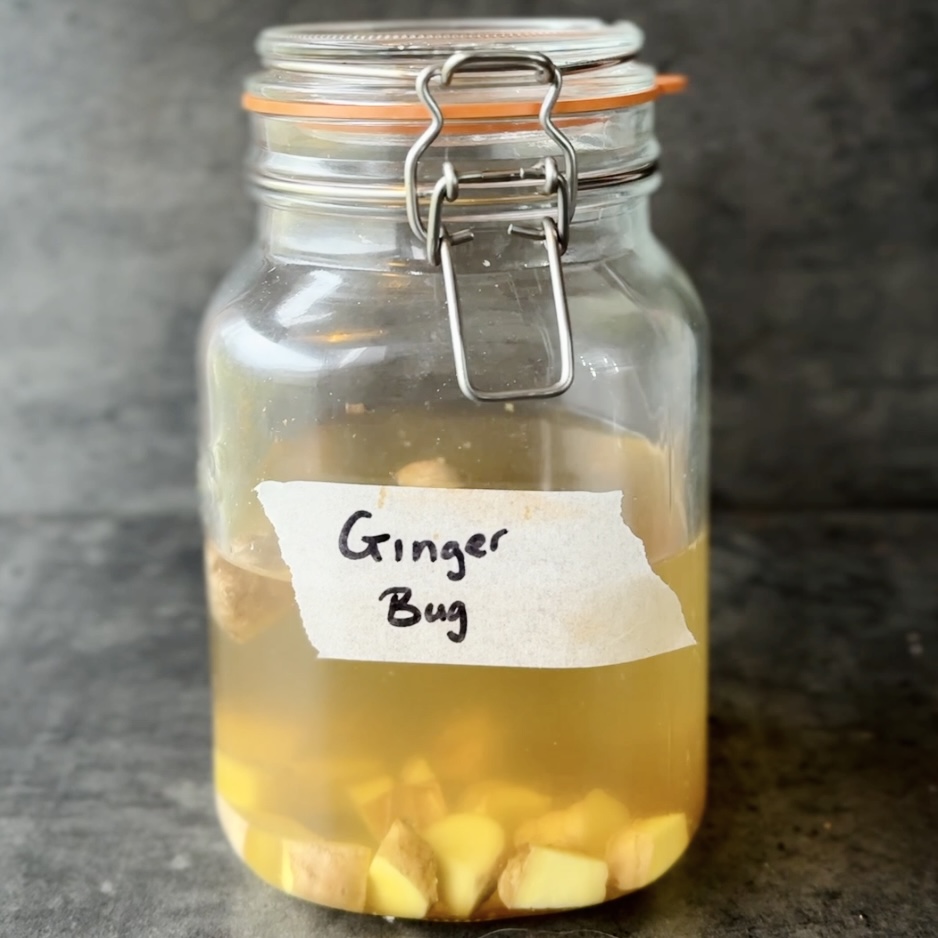
Ginger Bug
Takes 5 days 10 minutes
Serves 10
Ingredients
- 50 g about ¼ cup fresh ginger, finely chopped or grated, plus more for feeding
- 50 g about ¼ cup brown sugar, plus more for feeding
- 500 ml 2 cups water
Instructions
- Add the chopped ginger, sugar, and water to a sterilized 1L jar. Stir well to dissolve the sugar.
- Cover loosely with a lid or cloth and label it with the date.
- Leave it to ferment at room temperature and make sure to burp and feed it daily for 5 days.
Daily Feeding (For 5 Days)
- 5–10g (about 1 tsp) fresh ginger, finely chopped
- 1 tsp brown sugar
- Each day, add the fresh ginger and sugar to the jar.
- Stir well and reseal.
- Burp the jar by quickly opening the lid to release built-up gas, then close it again.
After 5 Days – Ready to Use!
- Your ginger bug should now be bubbly and smell yeasty, like beer or bread. It’s ready to use!
- Use immediately to ferment homemade sodas.
- Store in the fridge for up to a week.
- To enjoy a quick probiotic drink, mix it with fizzy water, maple syrup, and lemon juice for a refreshing boost!
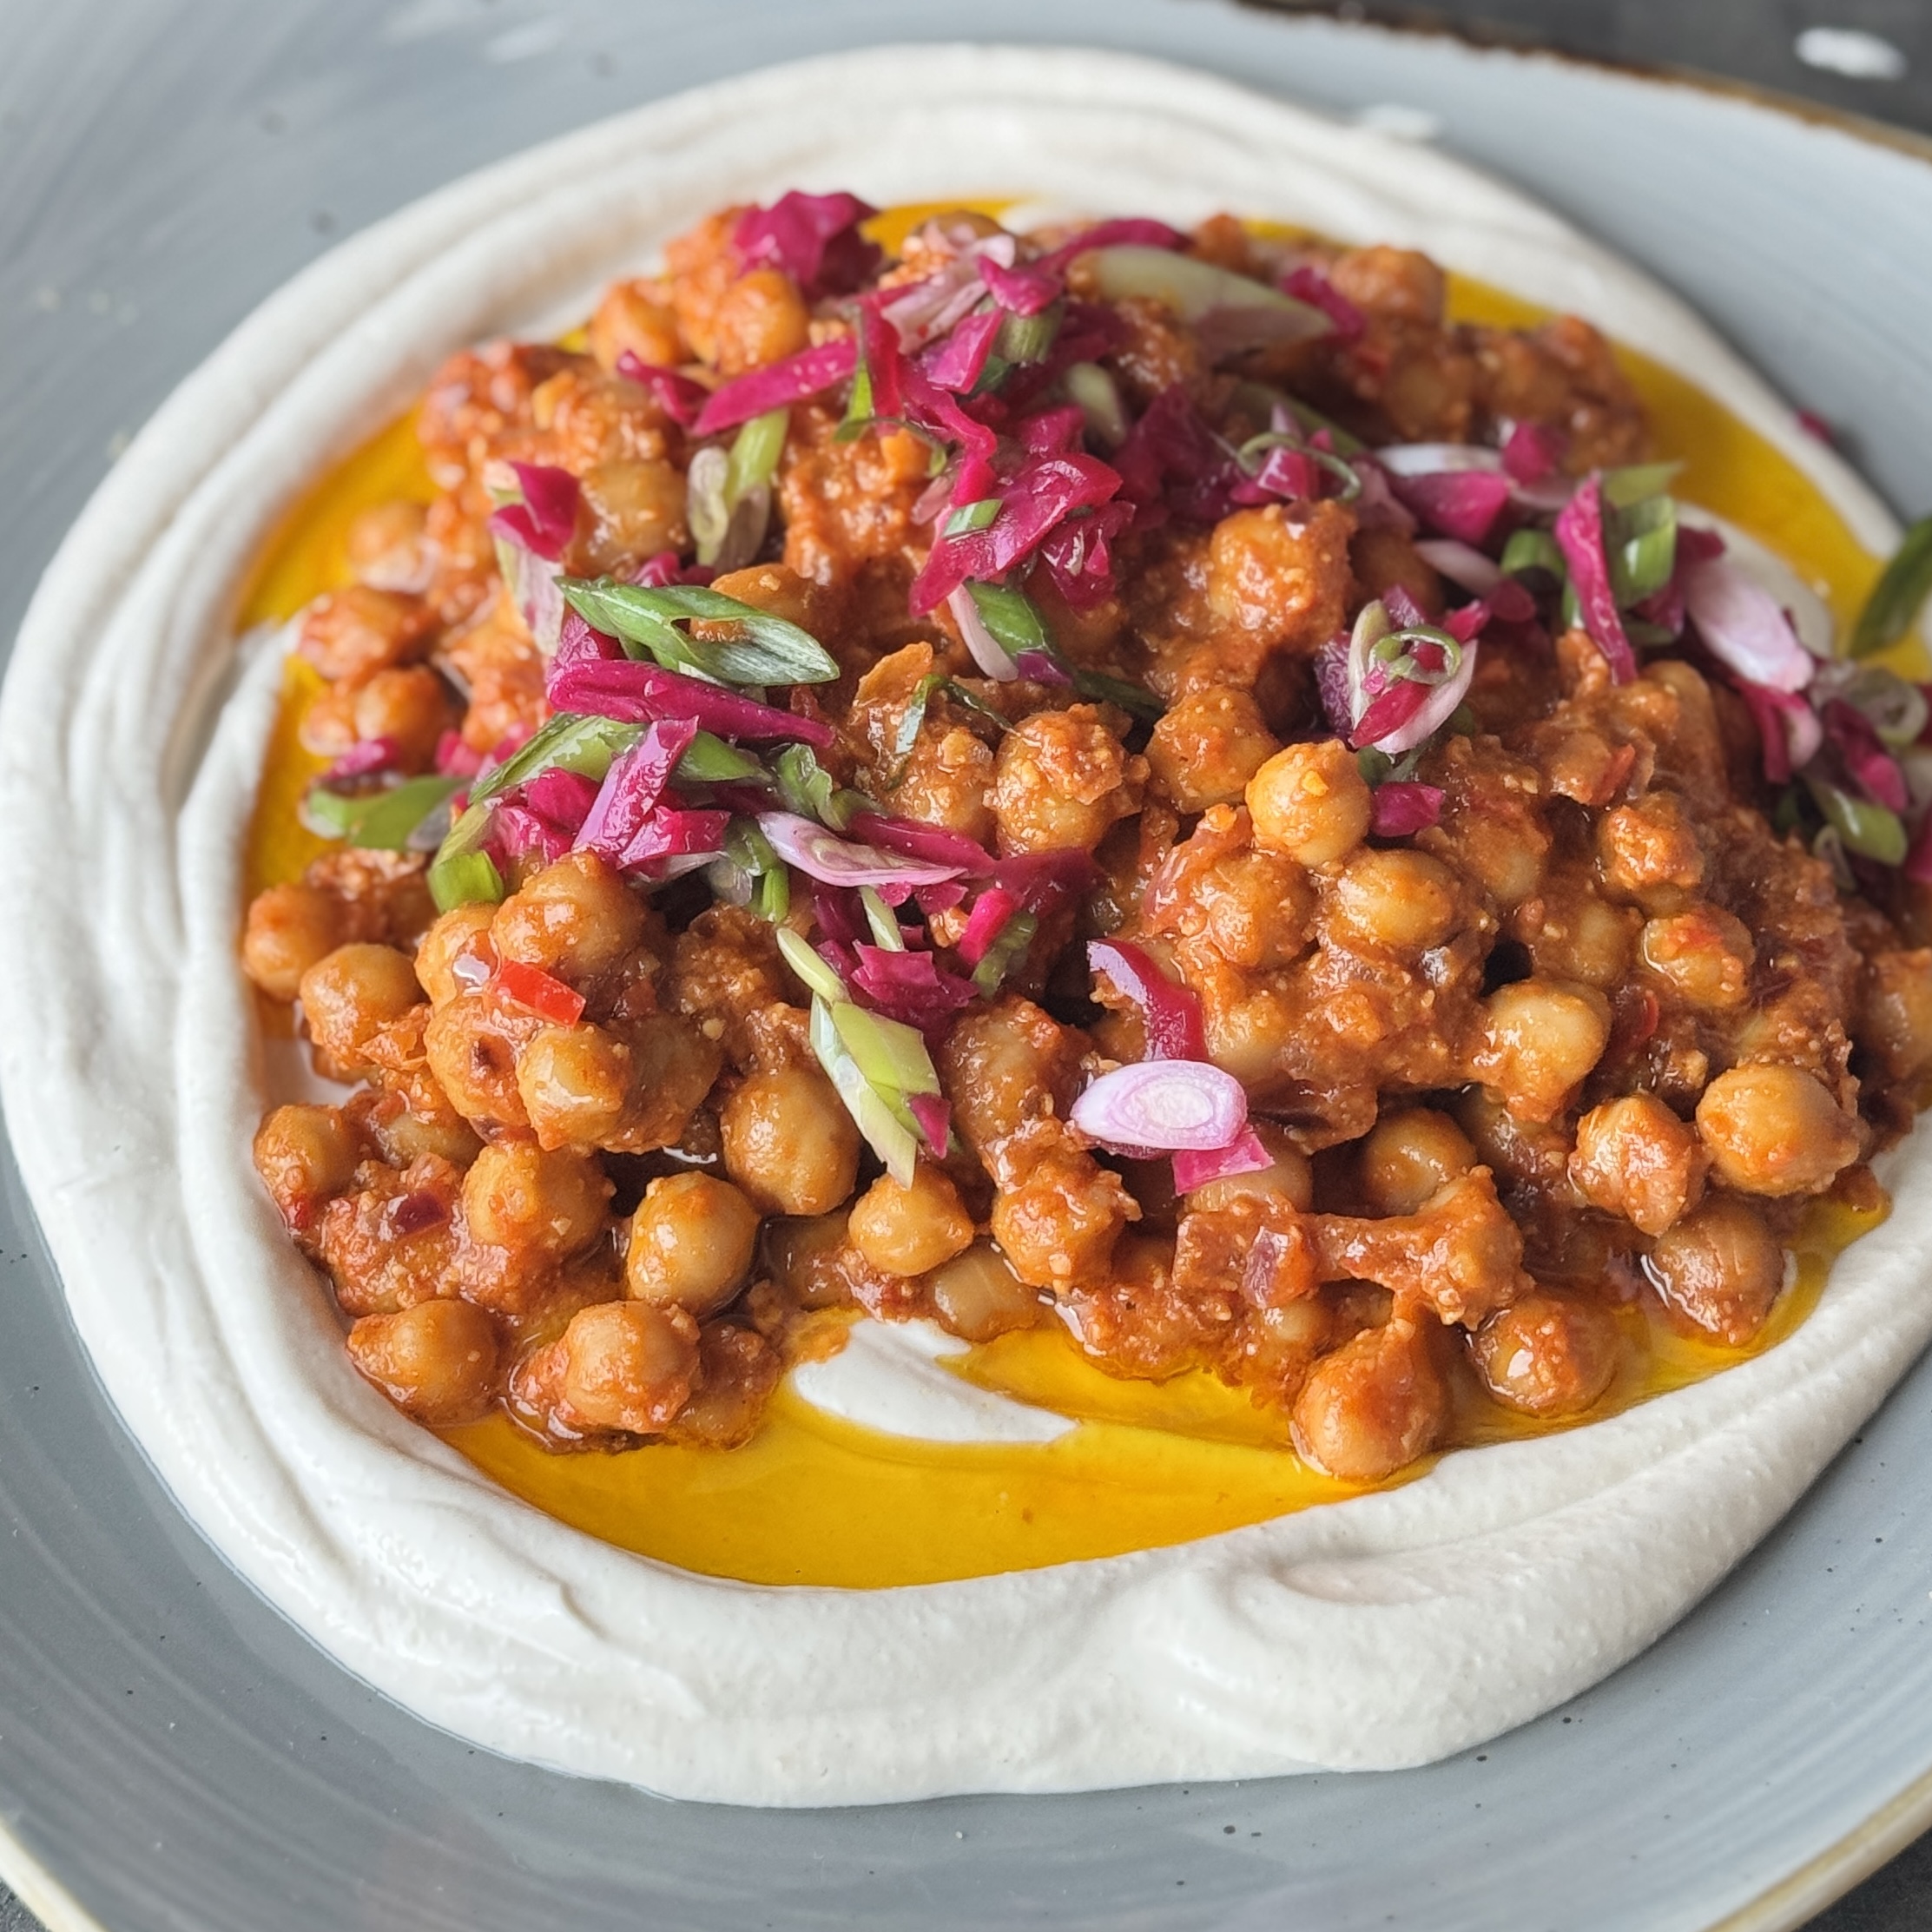
Spicy Red Pepper Chickpeas
Takes 20 minutes
Serves 2
Ingredients
For the Spicy Chickpeas:
- 1 tbsp oil
- 1 whole red onion finely chopped
- 2 cloves garlic minced
- 1/2 chili optional – skip if you prefer a milder dish
- 1 tin cooked chickpeas drained and rinsed
- 1 tsp smoked paprika
- 1 tbsp tomato puree
- 1 tbsp tamari or soy sauce
- 2 tbsp The Happy Pear Spicy Red Pepper Pesto or 1 tbsp harissa
- Pinch of salt
- Pinch of ground black pepper
For the Tahini Cream:
- 5 tbsp plant-based yogurt
- 1 tbsp tahini
- Juice of 1/2 lemon
- Pinch of salt
- Pinch of garlic powder or 1 crushed clove garlic
To Garnish:
- 1 bunch fresh spring onions chopped
- 2 tbsp pickled red onions or your preferred pickled red cabbage
Instructions
- Cook the Chickpeas: Heat 1 tablespoon of oil in a pan over medium heat. Add the red onion and garlic, and sauté for 2-3 minutes until softened. If you like a bit of heat, toss in the chili as well.
- Add the Flavours: Add the smoked paprika and cook for another minute, allowing the spices to release their fragrance. Now, stir in the tomato puree, tamari, and spicy red pepper pesto (or harissa), and cook for a minute until it’s all blended.
- Simmer: Add your drained chickpeas to the pan, season with a pinch of salt and black pepper, and pour in a splash of water. Let it all simmer for 5-7 minutes, allowing the sauce to thicken and the chickpeas to soak in the flavours.
- Prepare the Tahini Cream: While the chickpeas are cooking, mix together the plant-based yogurt, tahini, lemon juice, salt, and garlic powder (or fresh garlic) in a small bowl. This will create a creamy and tangy balance to the spicy chickpeas.
- Garnish: Slice the spring onions and prepare your pickled red onions or cabbage for garnish.
- Serve: Once the chickpeas are done, serve them hot with a generous dollop of tahini cream on top. Add the fresh spring onions and pickled red onions for a zesty crunch. Pair it with some crusty sourdough bread to mop up all that delicious sauce, and drizzle with olive oil for extra richness.
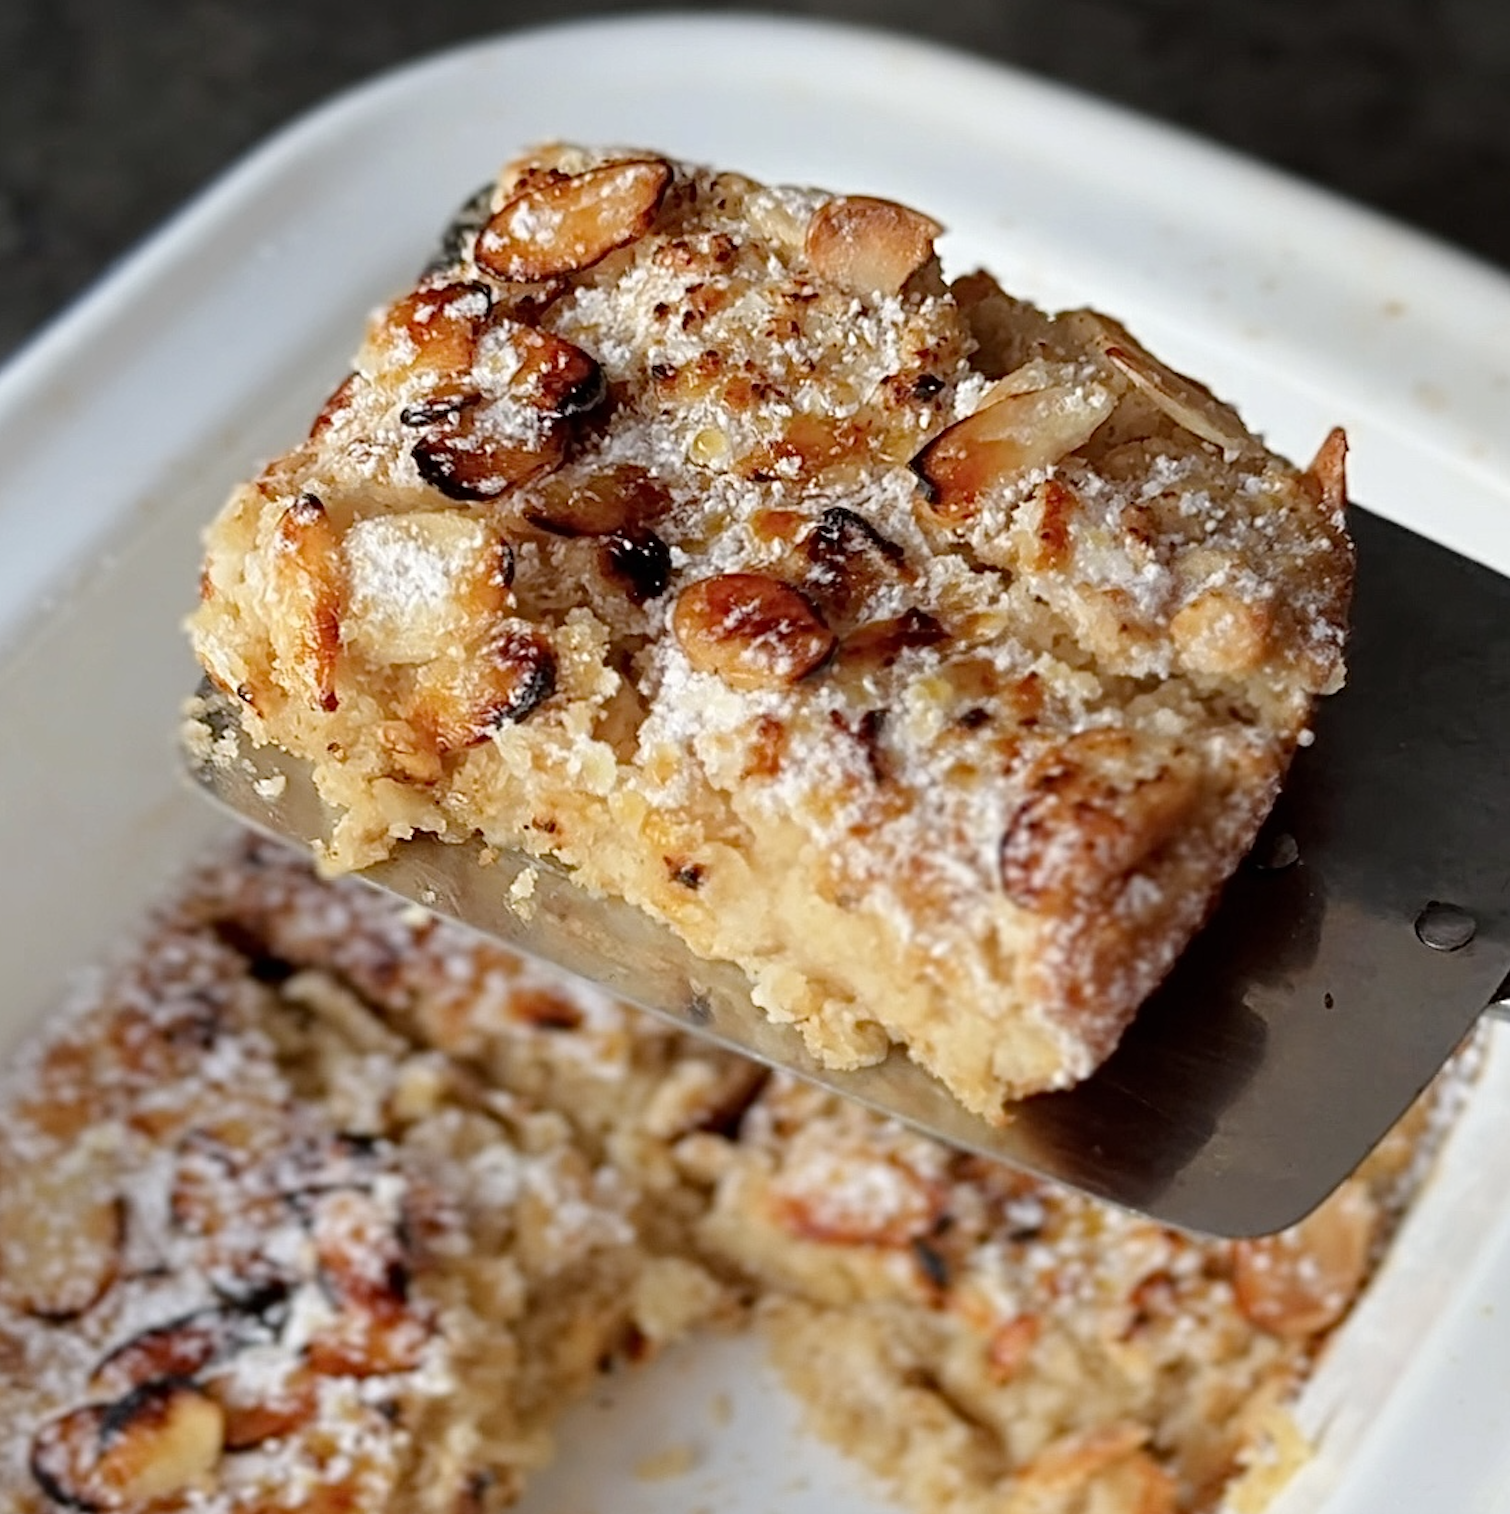
Almond Croissant Baked Oats
Takes 25 minutes
Serves 2
Ingredients
- 60 g 2/3 cup oats
- 40 g 1/3 cup ground almonds (almond flour)
- 1 tsp almond extract
- 1/2 cup 120ml almond milk (or other plant-based milk)
- 2 tbsp maple syrup
- 1.5 tsp baking powder
- 2 tbsp plant-based yogurt adds creaminess and helps bind
- Pinch salt
For Topping
- 2 tbsp flaked almonds
- 1 tsp icing sugar optional
Instructions
- Preheat the oven: Preheat to 180°C (350°F) and lightly grease two ramekins or one medium-sized baking dish.
- Mix dry ingredients: In a mixing bowl, combine the oats, ground almonds, and baking powder.
- Prepare wet ingredients: In a separate bowl, whisk together the almond milk, maple syrup, almond extract, and the plant-based yogurt until smooth.
- Combine: Add the wet ingredients to the dry mixture and stir until fully incorporated.
- Pour into dishes: Divide the mixture evenly into two ramekins or a single baking dish.
- Decorate: Top with flaked almonds and sprinkle with icing sugar for a golden, slightly crispy finish.
- Bake: Bake for 20–25 minutes until golden and set.
- Serve: Enjoy warm for a dessert-like breakfast, optionally drizzled with more maple syrup or paired with a dollop of plant-based yogurt.
The Happy Pear Podcast
This week, we’re thrilled to welcome Joe Cross! An Australian entrepreneur, best-selling author, and filmmaker, Joe is best known for his groundbreaking documentary Fat, Sick & Nearly Dead, which has inspired millions around the globe to embrace healthier, plant-based lifestyles. Joe’s personal journey from battling obesity and autoimmune disease to vibrant health through the power of juicing is nothing short of remarkable.

Episode 180
In this episode, Joe shares his inspiring transformation story, discusses the benefits of juicing, and provides practical advice for anyone looking to improve their health. From overcoming chronic illness to becoming a global advocate for plant-based living, Joe’s energy and wisdom will leave you feeling empowered to make positive changes in your own life.
We also dive into the science behind juicing, explore the challenges of staying healthy in today’s fast-paced world, and the work he has done with Namawell, the cold press juicing company, that have revolutionised the juicing game for the better.
Whether you’re a juicing enthusiast or just starting your health journey, this episode is packed with valuable insights and motivation.
Tune in to learn how small, sustainable steps can lead to transformative results—and why Joe believes health is the ultimate form of wealth.
Dave & Steve
Lots of love,
SPONSORS & DISCOUNT CODES:
Namawell Juicers are AMAZING! They have absolutely revolutionised the juicing game. We have an exclusive 10% discount for you!
Enter the code HAPPYPEAR10
LINK: https://namawell.com/collections/juicers/products/nama-j2-cold-press-juicer?ref=thehappypear
VIVOBAREFOOT: Vivobarefoot Footwear have given our listeners an exclusive 20% discount and if you buy now you also get free access to their incredible course showcasing some of the biggest names in the health and wellness space.
Enter the code HP20
LINK: https://www.vivobarefoot.com/uk/the-happy-pear
THE WHOLE HEALTH TRIBE – Join our community
LINK: https://eu1.hubs.ly/H0bmqxd0
THE HAPPY PEAR RECIPE CLUB – Blending health and happiness through a range of over 500 delicious plant-based recipes.
LINK: https://eu1.hubs.ly/H0bmqss0
Sign up to our Newsletter, for updates on our latest recipes, events, and news.
LINK: https://share-eu1.hsforms.com/1hKXaawjoQOONmJe4EXkCdwf92py
Produced by Sean Cahill & Sara Fawsitt
Available now from all good podcast providers:




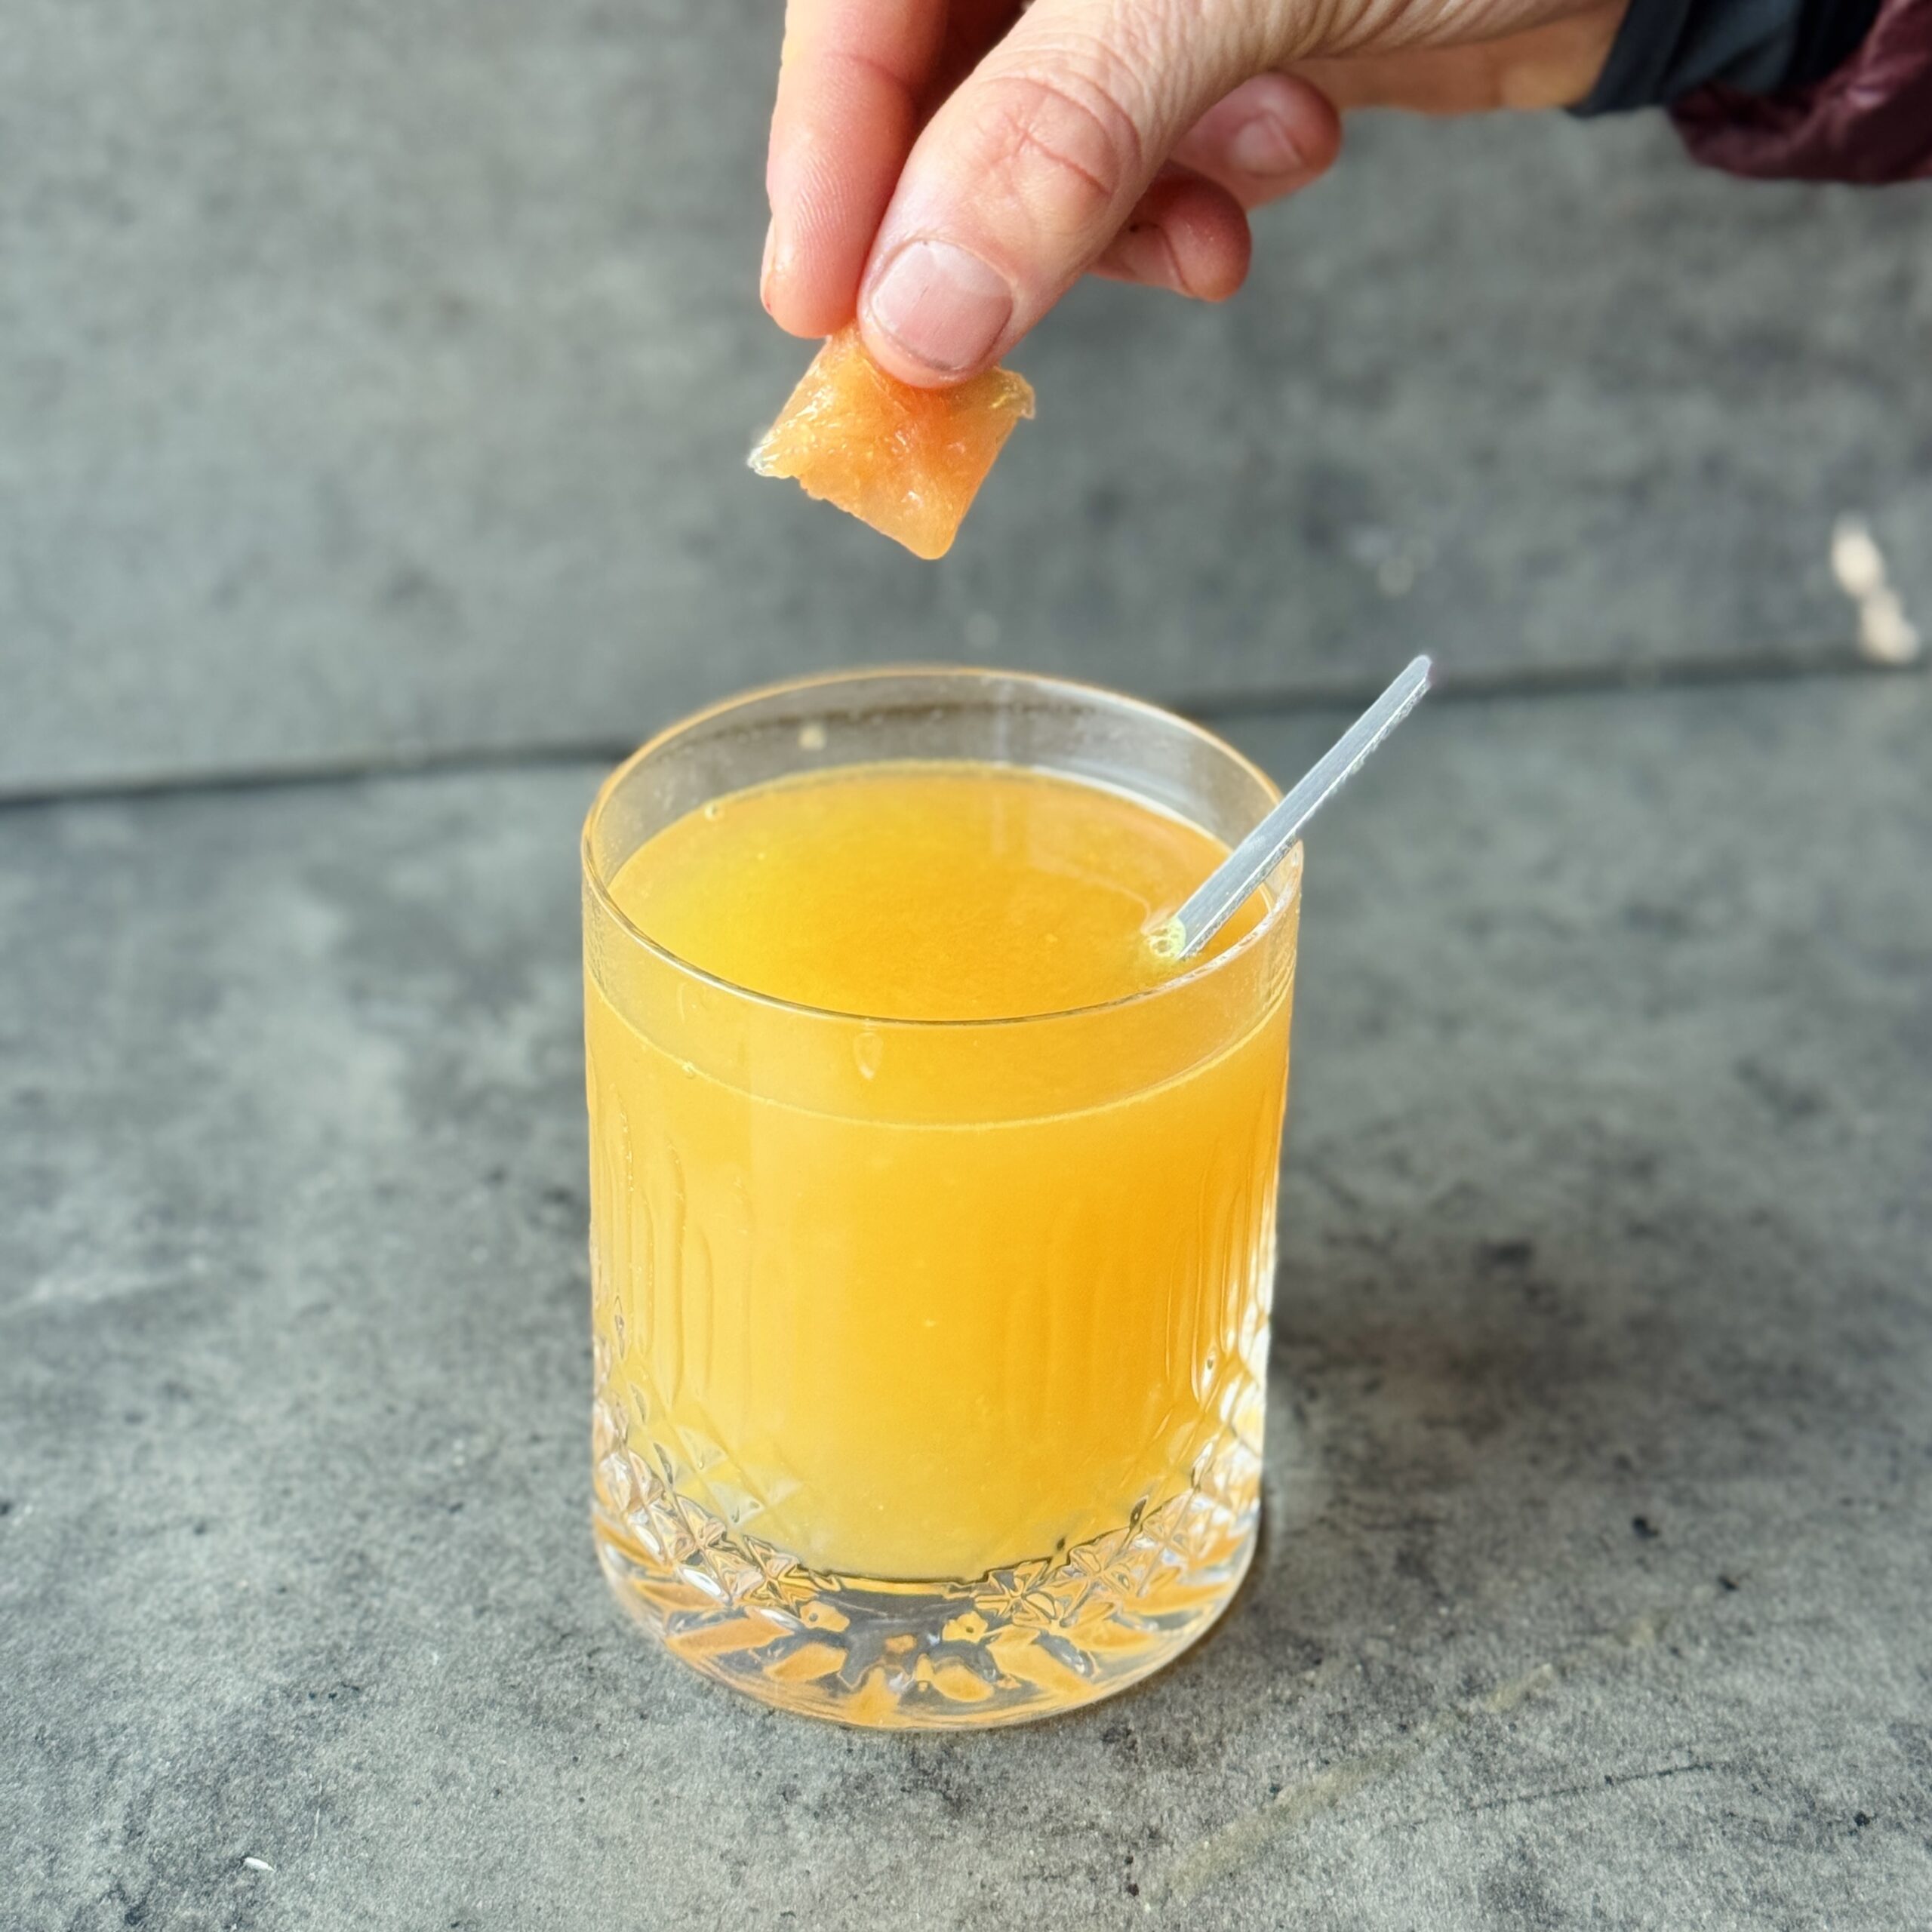
Immuni-Tea Cubes
Takes 5 hours 10 minutes
Serves 10
Ingredients
- 6 whole citrus fruits we used a combination of oranges, blood orange, lime and lemon
- 1 thumb sized piece of ginger
- 1 thumb sized piece of fresh turmeric or 1 tablespoon of ground turmeric
- ½ tsp black pepper corns or ground black pepper
- 1 tbsp coconut oil
Instructions
Prepare your ingredients:
- Peel the citrus fruits, ginger, and turmeric if using fresh.
Juice your ingredients:
- Feed the citrus fruits, ginger, turmeric, black peppercorns, and coconut oil into your Namawell juicer.
- Tip: If using ground turmeric and black pepper instead of fresh, do not put these through the juicer as they can stain the juicer. Instead, mix them into the juice after juicing.
- The coconut oil helps to enhance nutrient absorption, especially for fat-soluble compounds like curcumin in turmeric. Black pepper contains piperine, which increases the bioavailability of curcumin, making the nutrients even more potent.
Freeze into cubes:
- Pour the juice into an ice cube tray and freeze until solid.
Make your tea:
- When you’re ready to enjoy, pop a cube into a mug, add boiling water, and stir in your preferred sweetener (honey, agave, or maple syrup).
Sip and feel amazing:
- Enjoy your immunity-boosting tea and let its warming and nourishing benefits help keep colds and flus at bay!
Notes
- Black Pepper: Its piperine enhances the absorption of curcumin in turmeric by up to 2,000%, making the tea more effective in supporting your immune system.
- Coconut Oil: The healthy fats help your body absorb fat-soluble nutrients like curcumin and other antioxidants from the citrus fruits, making this drink as nourishing as it is delicious.

Date Caramel Bites
Takes 2 hours 30 minutes
Serves 30
Ingredients
- 150 g pitted dates about 1 cup
- 125 g dark chocolate use 70% cocoa solids or sugar-free for a refined sugar-free version
- 75 g smooth peanut butter/almond butter about 1/3 cup, use almond butter for a peanut-free version
- 40 g coconut oil about 2 tablespoons
- 3 – 5 tbsp water about 3–5 tablespoons or 1/6–1/3 cup
- A pinch of salt optional, to taste
- 1/2 tsp vanilla extract about 1/6 tablespoon
Instructions
Make the caramel:
- Add the dates, peanut butter,vanilla extract, coconut oil, and water to a food processor and blend until super smooth and caramel-like, adding more water if needed to achieve a smooth caramel consistency.
- This may take from 5 to 10 mins to get a super smooth texture.
- If desired, add a pinch of salt to enhance the sweetness and blend until the mixture reaches a toffee-like colour.
Shape the caramel into small squares:
- Line a small baking tray with parchment and spread and level out the caramel so it is approx 2cm high. You want it to be as smooth as you can.
- Place in the freezer to set for 2-4 hours, or overnight.
- Remove and slice into squares that are approx 1.5cm x 1.5cm. You may need to allow it to defrost slightly if you left them to set overnight.
Coat in chocolate:
- Melt the chocolate and using a fork dip the caramel squares in the dark chocolate so they are all evenly coated.
- Place back on the baking parchment and sprinkle with some sea salt.
- Place back in the freezer or fridge for 10 mins until they set and enjoy!
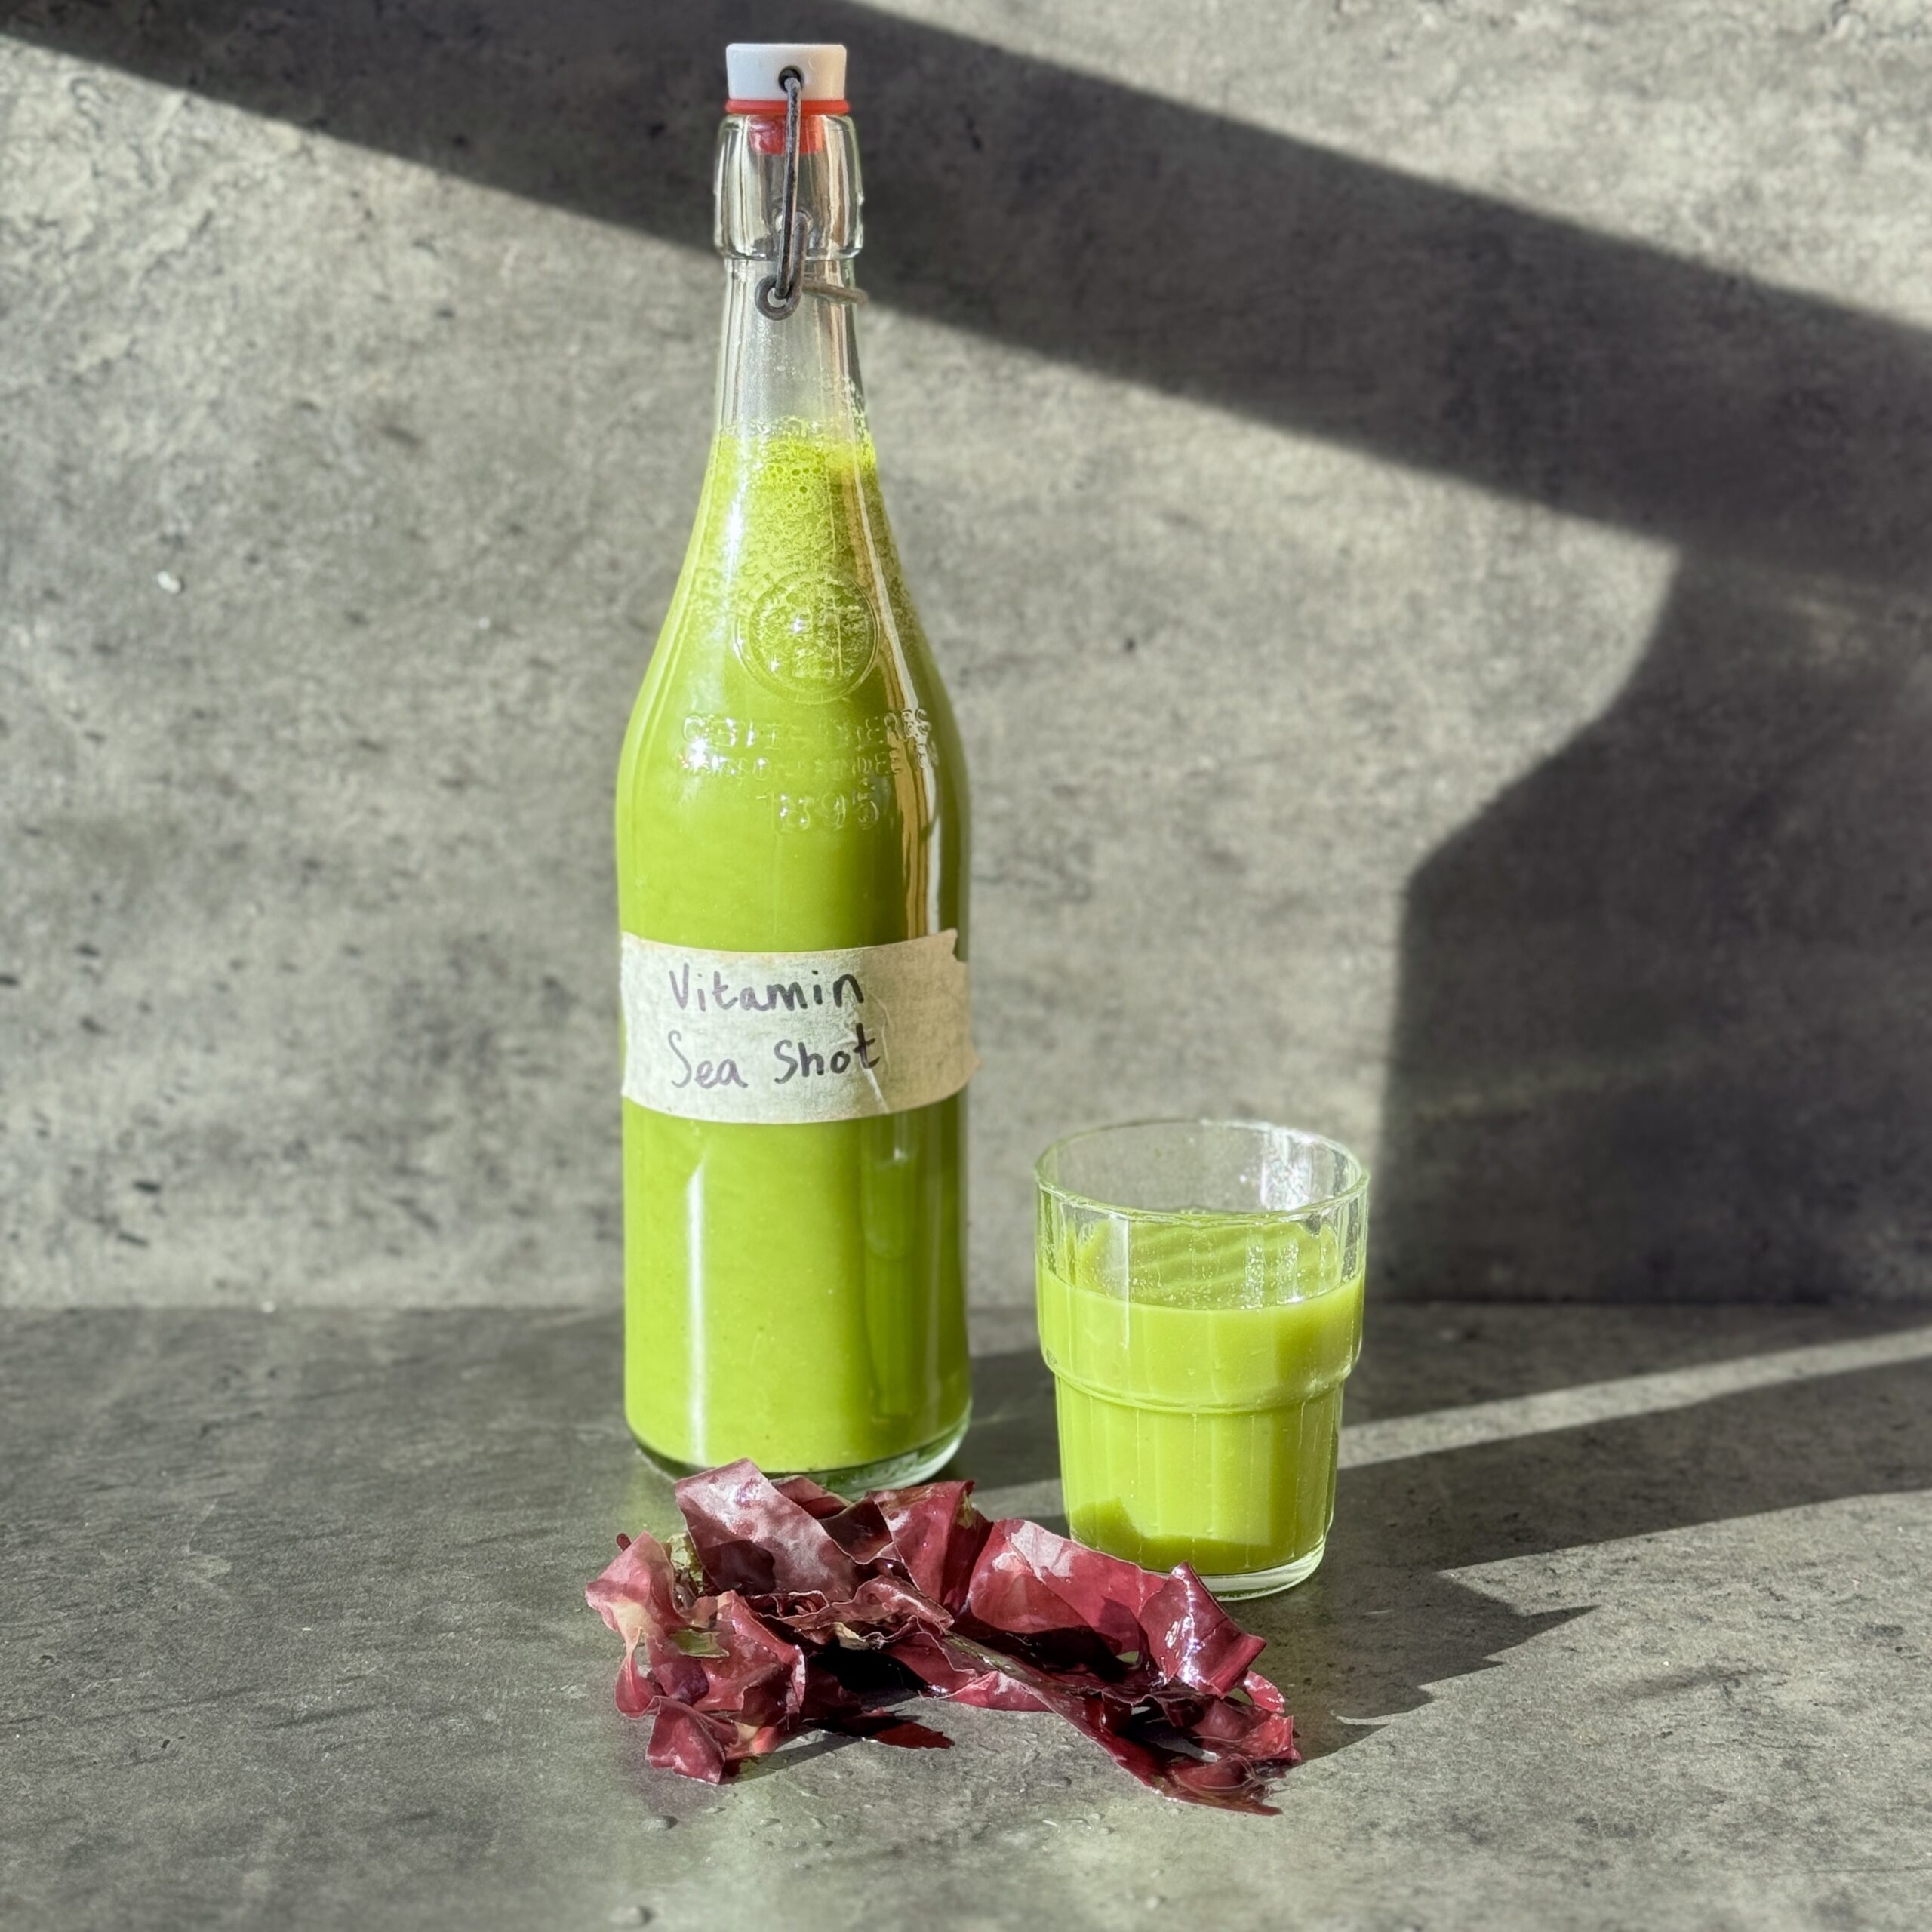
Vitamin Sea Shot
Takes 15 minutes
Serves 4
Ingredients
- 3 large handfuls of wild greens of choice we’ve used dandelion leaves, wild stinging nettles, pennywort and sea beet
- 1 handful of seaweed of choice research what edible seaweed is available in your area and be sure to check the water quality first. If you don’t have access to seaweed you can leave this part out
- 3 apples
- 2 carrots
- 1 cucumber
- Juice 1 lemon
- 1 head of celery
- 1 thumb sized piece of ginger
Instructions
- Wash and soak your seaweed in water for 10 minutes to rehydrate it before juicing
- Give your foraged greens a good wash and soak.
- Add all ingredients into the hopper of your juicer and juice.
- Add more apples if you want a sweeter juice
- Enjoy this delicious nutrient packed juice!
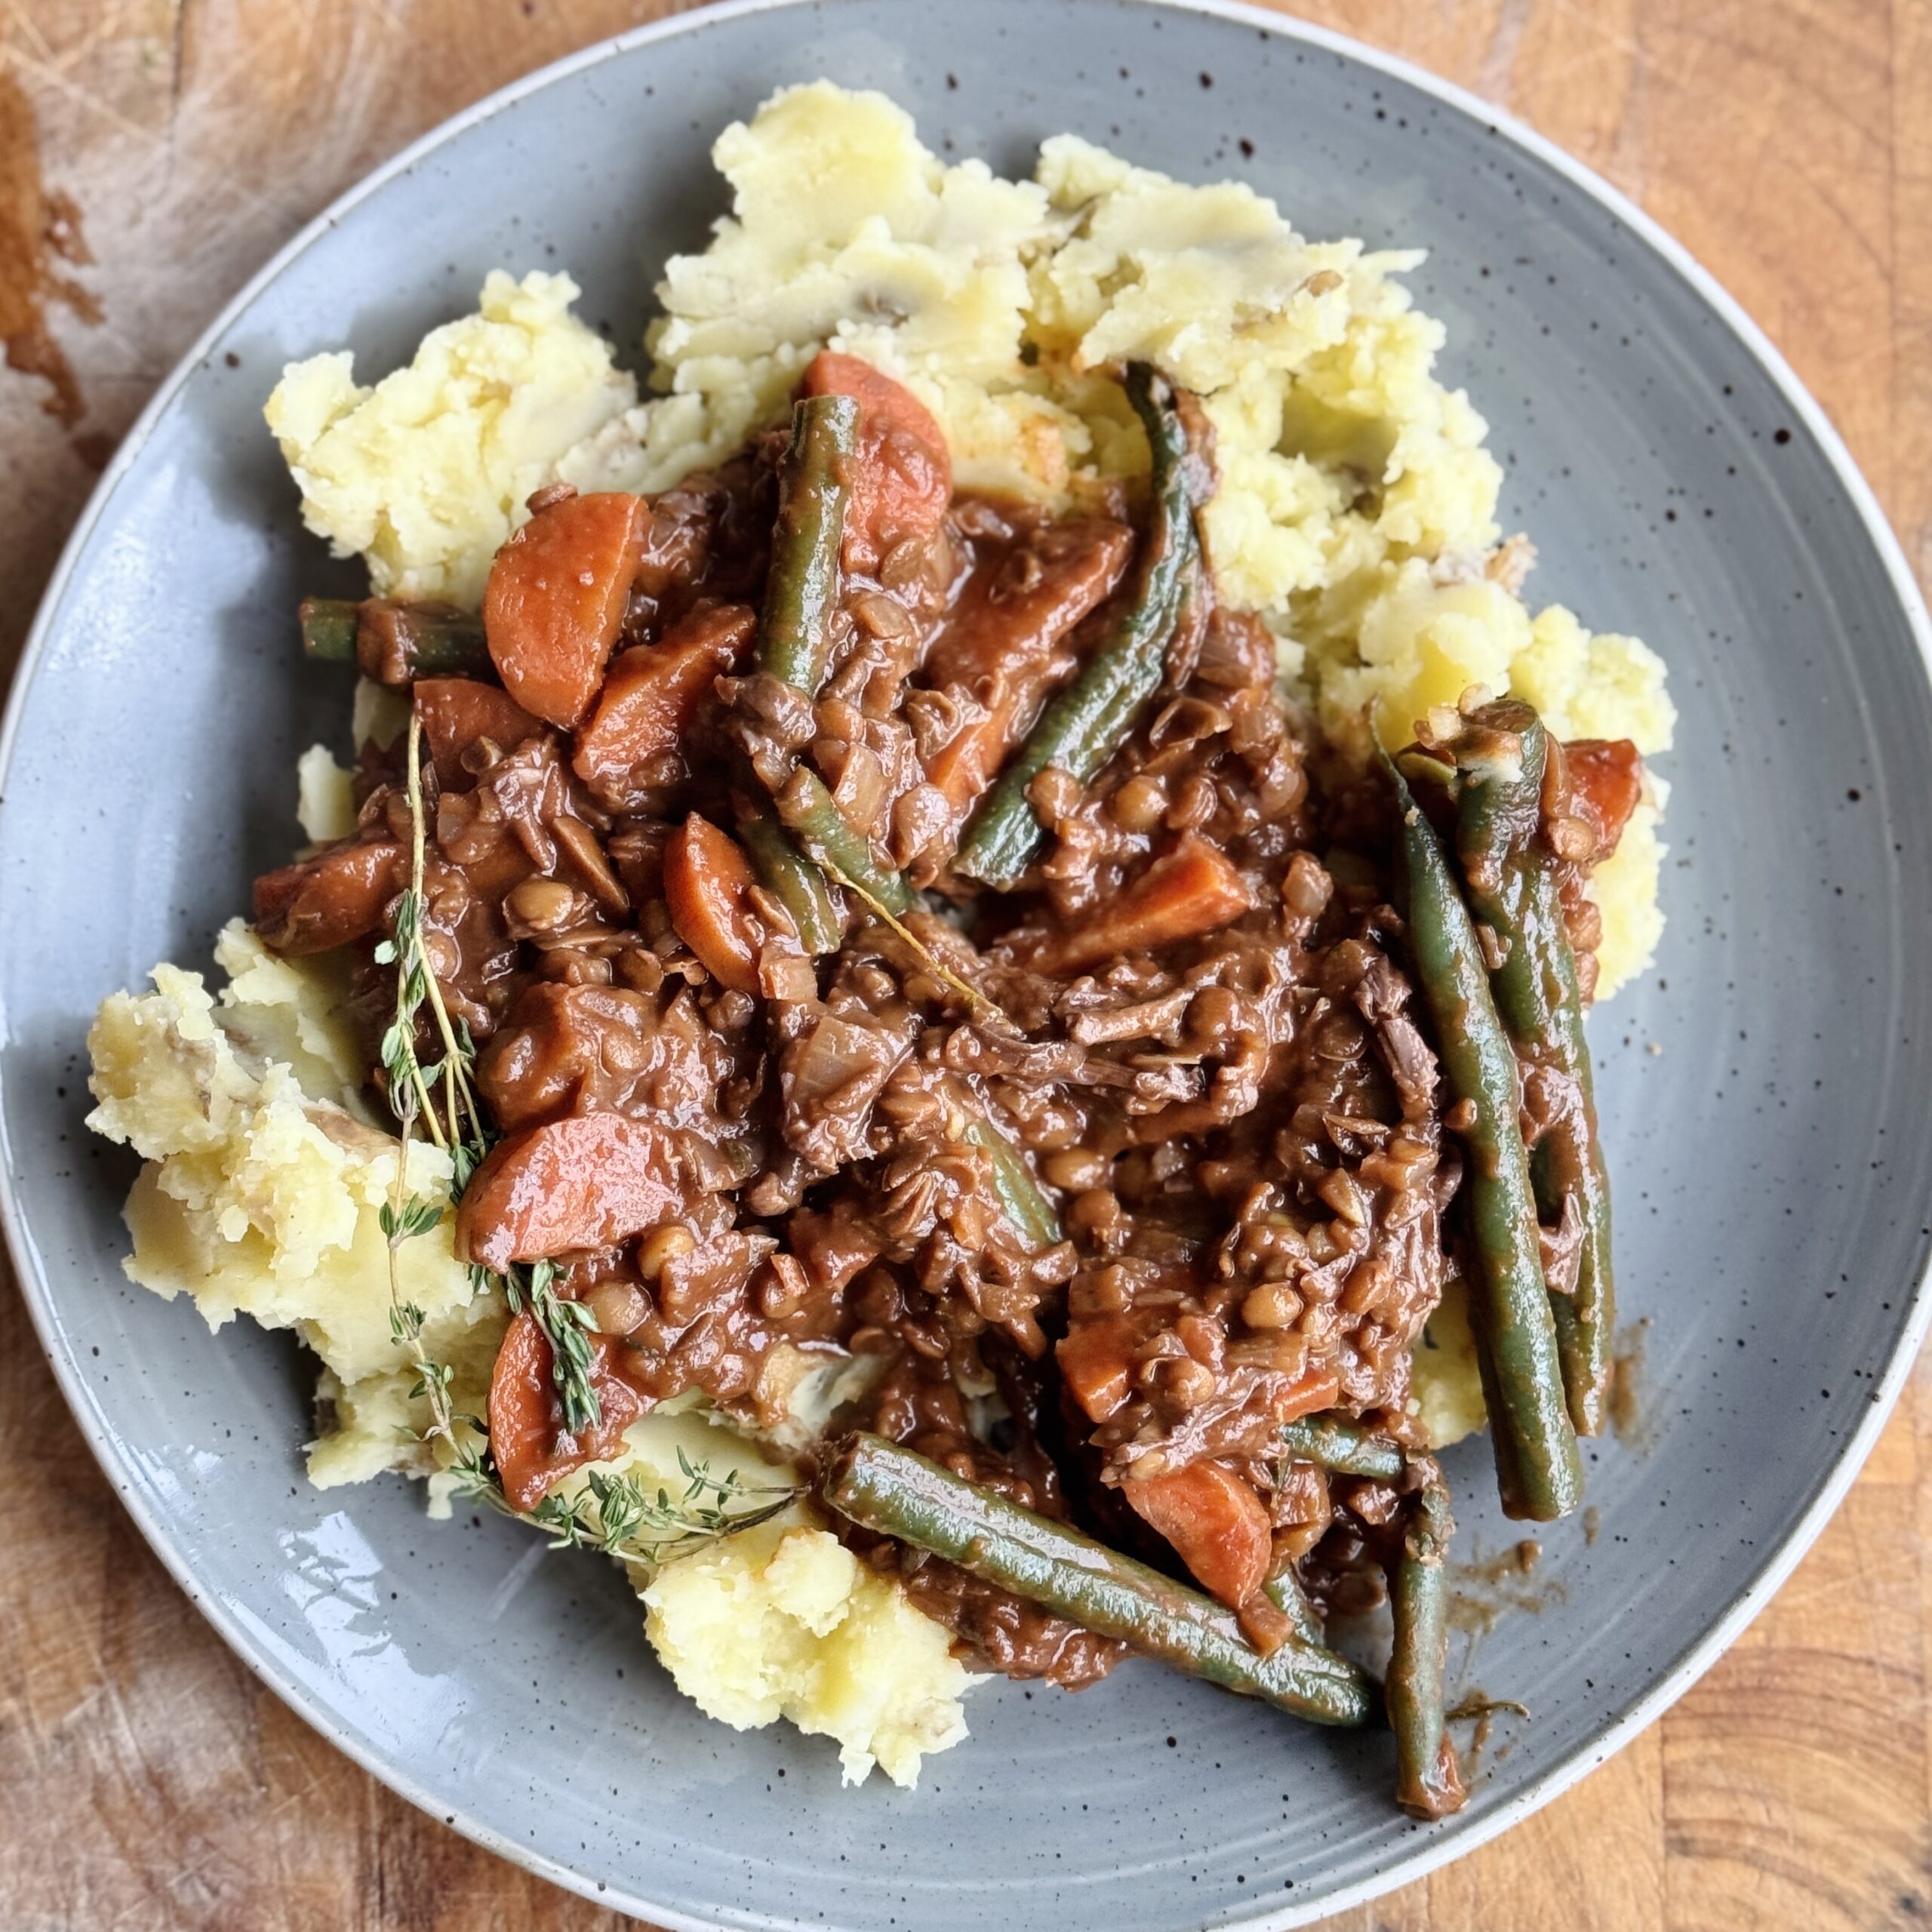
Comforting Winter Stew
Takes 40 minutes
Serves 4
Ingredients
- 1 medium onions
- 2 carrots
- 3 clove garlic
- 1 tbsp of vegetable oil
- 4 tbsp tomato puree
- 2 tbsp tamari/ soy sauce
- 300 ml red wine
- 200 g oyster mushrooms
- 1 x 400g tin black lentils
- 100 g fine beans
- 1 sprig Thyme/ rosemary
- 500 ml veg stock
- 30 g dark chocolate
- 1 kg potatoes
- 100 ml oat milk
- 3 tbsp vegetable oil
- Salt and pepper to taste
Instructions
Prep the veg
- Peel and finely chop the onion and garlic.
- Slice the carrots into half moons that are approx 1/2cm in width
- Tear the oyster mushrooms into smaller pieces.
- Top and tail the fine beans
- Chop the potatoes into even chunks for boiling (leave the skin on for a more nutritious mash).
- Drain and rinse the lentils
- Roughly chop the dark chocolate
Saute the base veg
- Heat a large saucepan or casserole dish over medium heat with 1 tbsp of vegetable oil.
- Add the chopped onion, mushrooms, fine beans and carrots. Sauté for 6–7 minutes until softened and starting to caramelize.
- Stir in the garlic and cook for 1 more minute.
Boil the potatoes
- Fill another saucepan with the prepared potatoes and cover with cold water. Add in 1 tbsp of salt and bring to a boil. Reduce to a simmer and leave to cook for 15mins or until the potatoes are soft and well cooked
Build the Flavor:
- Add the tomato purée, tamari and the red wine and stir well, letting it cook for 4-5 minutes to burn off the alcohol and develop a rich flavor.
Add Lentils and season:
- Add in the drained black lentils along with the bay leaf, dark chocolate, a sprig or two of thyme/rosemary and the veg stock.
Simmer:
- Turn the heat on high and bring to a boil and reduce to a medium heat and cook for 20 more minutes, with the lid off, stirring occasionally. At the end of 20 mins it should have reached a thick almost caramel like texture. Taste and season with salt and pepper to taste.
Mash:
- Drain the potatoes and mash with 100 ml of oat milk, 2 tbsp of olive oil and a pinch of salt, and pepper. Mash until smooth and creamy. Season to taste.
To Serve
Plate the Dish:
- Spoon the creamy mashed potatoes onto each plate.
- Ladle the rich winter stew over the potatoes.
- Add a side of purple broccoli.
Garnish:
- Garnish with a sprig of rosemary or a drizzle of olive oil, if desired.
- Enjoy this warm, rich, and comforting winter stew!
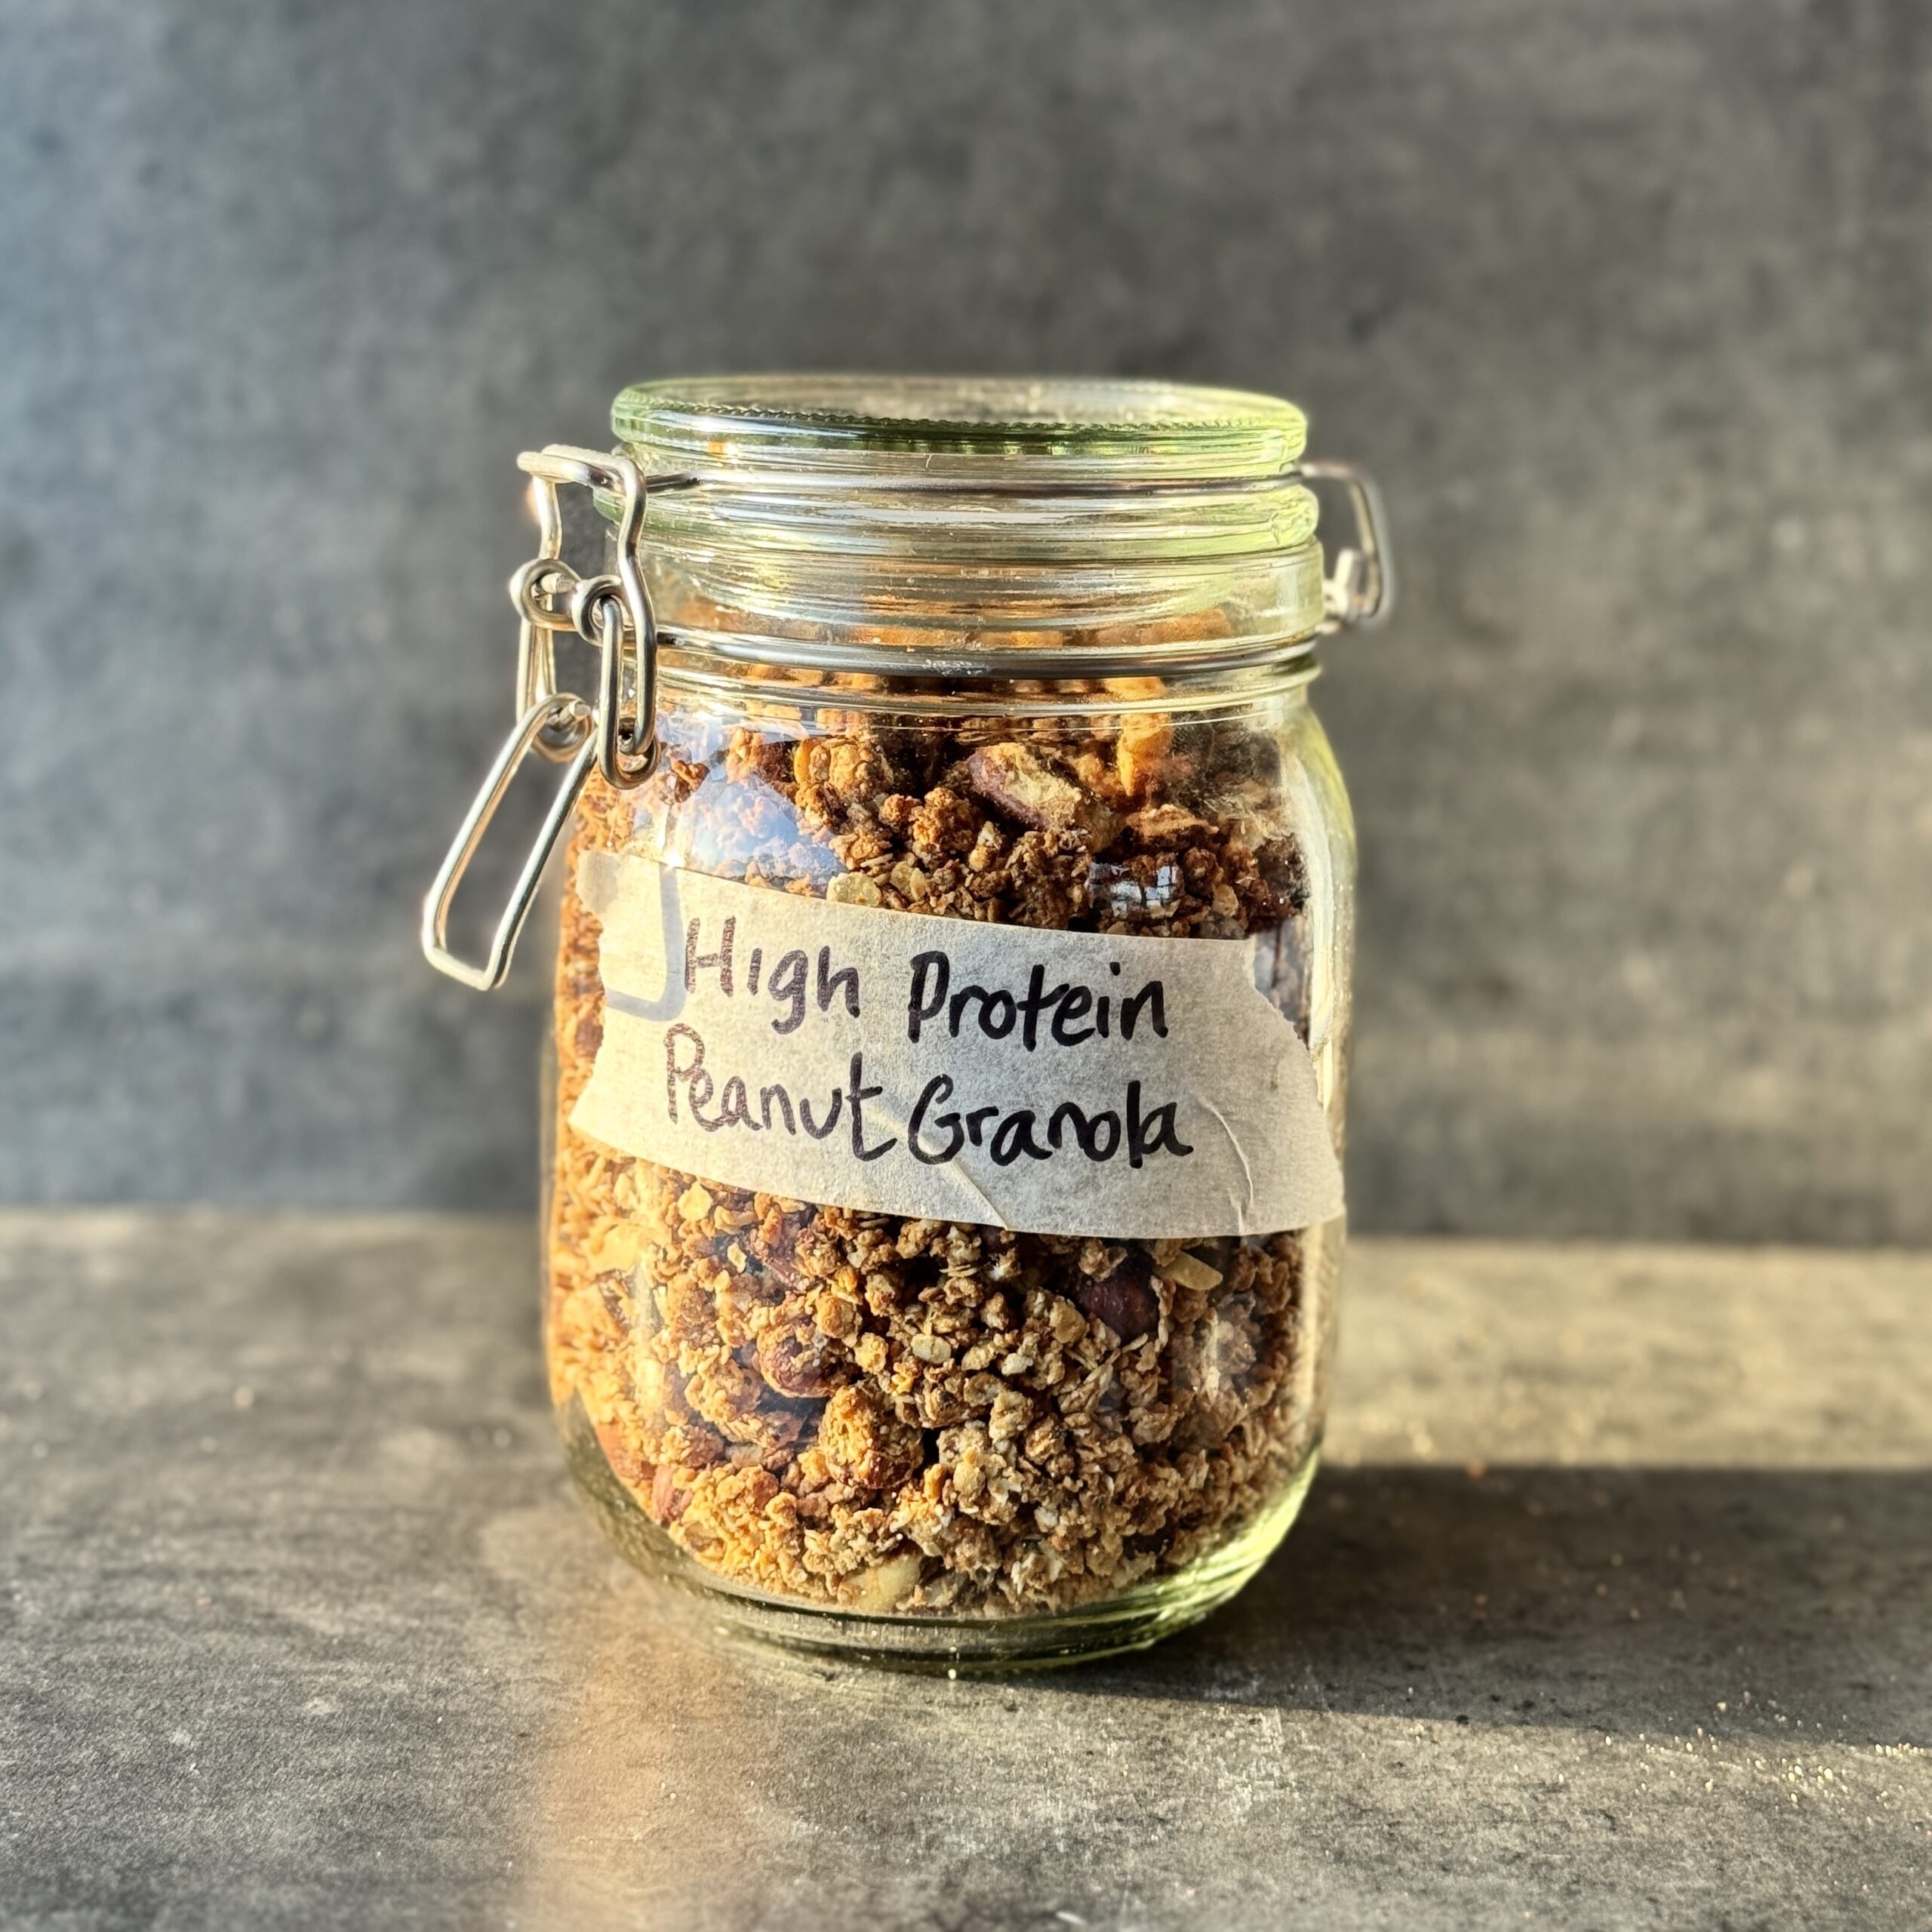
Homemade High-Protein Peanut Butter Granola
Takes 40 minutes
Serves 10
Ingredients
- 250 g 2.5 cups oat flakes (gluten-free if needed)
- 120 g 1 cup peanuts or nuts of choice (unsalted, chopped for texture)
- 70 g 1/2 cup dried peanut powder (e.g., PB2 or similar)
- 80 ml 1/3 cup creamy peanut butter (creamy, unsweetened)
- 60 ml 1/4 cup maple syrup (or agave syrup)
- 60 ml 1/4 cup coconut oil (melted)
- 1 tsp vanilla extract
- 1/4 tsp salt adjust if peanuts are salted
- 40 g 1/4 cup dark chocolate chips or chunks (optional, dairy-free)
- 15 g 2 tbsp chia seeds
Instructions
Preheat the Oven and roughly chop peanuts:
- Preheat your oven to 160°C (320°F) and line a large baking sheet with parchment paper.
- Roughly chop the peanuts.
Mix the Wet Ingredients:
- Add to a sauce pan the coconut oil, peanut butter and maple syrup and heat on a medium heat for 2-3 mins until it becomes smooth and runny.
- Take off the heat and stir in the vanilla extract and salt.
Combine Dry Ingredients:
- In a large mixing bowl, combine the oats, chopped peanuts, dried peanut powder, and chia seeds.
Mix It All Together:
- Pour the wet mixture over the dry ingredients and mix thoroughly until all the oats and peanuts are evenly coated.
Bake the Granola:
- Spread the mixture evenly on the prepared baking sheet, pressing it down slightly to form clusters.
- Bake for 20–25 minutes, stirring halfway through for even baking. For chunkier granola, avoid stirring too much.
- Keep an eye on it to ensure it doesn’t burn.
Cool and Add Chocolate (Optional):
- Remove the granola from the oven and let it cool completely on the tray. It will crisp up as it cools.
- If using chocolate chips, sprinkle them over the granola while it’s still slightly warm so they stick but don’t fully melt.
Store:
- Transfer the granola to an airtight container once fully cooled. It will stay fresh for up to 2 weeks at room temperature.
Serving Suggestions:
- Enjoy it as a topping for smoothie bowls or vegan yogurt.
- Serve with plant-based milk for a high-protein breakfast.
- Use as a snack straight out of the jar!
The Happy Pear Podcast
In this captivating episode, we are joined by the incredible Dr. Andrew Jenkinson, a consultant bariatric surgeon, author, and leading expert on metabolism and appetite regulation. Dr. Jenkinson has spent over two decades helping individuals understand the science behind weight loss and why traditional diets often fail. His groundbreaking books, “Why We Eat (Too Much)” and “How To Eat (and Still Lose Weight),” challenge conventional wisdom and offer evidence-based solutions to long-term health and weight management.

Episode 179
We delve into the science of hunger, hormones, and health. This episode is packed with invaluable insights that will change how you think about food, dieting, and your body’s metabolism.
So if you’ve ever struggled with yo-yo dieting, cravings, or confusion about what truly constitutes a healthy diet, this episode is for you. Dr. Jenkinson shares actionable advice and uncovers the myths surrounding weight loss, making it easier to take control of your health.
And should you want more information and guidance on how you can maintain a healthy weight, our Happy Shape Challenge has just started! Check out the following link for more information and how to join the over 20,000 previous success stories:
https://thehappypear.pro/courses/happy-shape-course/
Dave & Steve
Lots of love,
SPONSORS & DISCOUNT CODES:
Namawell Juicers are AMAZING! They have absolutely revolutionised the juicing game. We have an exclusive 10% discount for you!
Enter the code HAPPYPEAR10
LINK: https://namawell.com/collections/juicers/products/nama-j2-cold-press-juicer?ref=thehappypear
VIVOBAREFOOT: Vivobarefoot Footwear have given our listeners an exclusive 20% discount and if you buy now you also get free access to their incredible course showcasing some of the biggest names in the health and wellness space.
Enter the code HP20
LINK: https://www.vivobarefoot.com/uk/the-happy-pear
THE WHOLE HEALTH TRIBE – Join our community
LINK: https://eu1.hubs.ly/H0bmqxd0
THE HAPPY PEAR RECIPE CLUB – Blending health and happiness through a range of over 500 delicious plant-based recipes.
LINK: https://eu1.hubs.ly/H0bmqss0
Sign up to our Newsletter, for updates on our latest recipes, events, and news.
LINK: https://share-eu1.hsforms.com/1hKXaawjoQOONmJe4EXkCdwf92py
Produced by Sean Cahill & Sara Fawsitt
Available now from all good podcast providers:
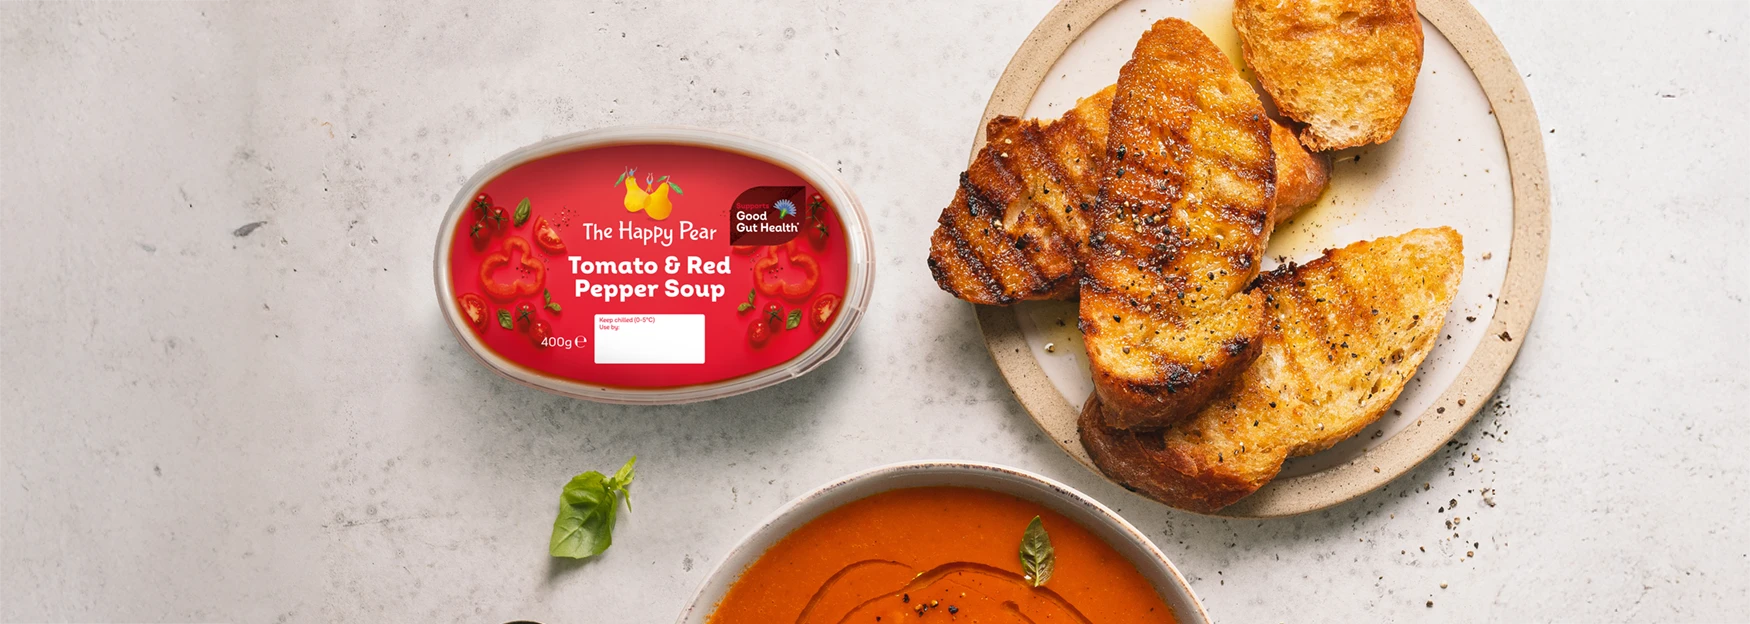
Supports good gut health*
*Chicory Inulin contributes to maintaining proper digestive function thanks to more frequent bowel movements. One soup serving provides 4g of chicory inulin, which is ideal as part of a varied and balanced diet and a healthy lifestyle. The beneficial effect is obtained with a daily intake of 12g. This means an additional 2 portions from this product or other foods containing corresponding amounts of chicory inulin or chicory root fibre. Check the ingredient lists in foods like bakery, beverages, sauces, and cereals for more information.
INGREDIENTS
Tomatoes (24%), Water, Red Peppers (17%), Coconut MILK [Coconut Extract, Water], Onions, Carrots, CELERIAC, Chicory Inulin, Corn Starch, Smoked Paprika (0.5%), Vegetable Stock [Carrot, Onion, Leek], Salt, Basil (0.5%), Garlic Purée, Black Pepper
Allergy Advice
ALLERGEN INFORMATION
For allergens, see ingredients highlighted.
Contains Celery.
NUTRITIONAL INFORMATION
| Typical | per 100g |
|---|---|
| Energy | 150kJ |
| 36kcal | |
| Fat | 1.0g |
| of which saturates | 0.8g |
| Carbohydrates | 5.4 |
| of which sugars | 2.7g |
| Fibre | 1.0g |
| Protein | 0.8g |
| Salt | 0.33g |
| Sodium | 0.33g |

Supports good gut health*
*Chicory Inulin contributes to maintaining proper digestive function thanks to more frequent bowel movements. One soup serving provides 4g of chicory inulin, which is ideal as part of a varied and balanced diet and a healthy lifestyle. The beneficial effect is obtained with a daily intake of 12g. This means an additional 2 portions from this product or other foods containing corresponding amounts of chicory inulin or chicory root fibre. Check the ingredient lists in foods like bakery, beverages, sauces, and cereals for more information.
INGREDIENTS
Water, Sweet Potato (15%), Coconut MILK (12%) [Coconut Extract, Water], Onions, Carrots, Butternut Squash (6%), CELERIAC, Potato, Chicory Inulin, Ginger Purée (1%), Red Chillies (0.5%), Corn Starch, Vegetable Stock [Carrot, Onion, Leek], Garlic Purée, Salt, Coriander, Spices
Allergy Advice
ALLERGEN INFORMATION
For allergens, see ingredients highlighted.
Contains Celery.
NUTRITIONAL INFORMATION
| Typical | per 100g |
|---|---|
| Energy | 186kJ |
| 44kcal | |
| Fat | 1.4g |
| of which saturates | 1.2g |
| Carbohydrates | 6.5g |
| of which sugars | 2.6g |
| Fibre | 1.1g |
| Protein | 0.9g |
| Salt | 0.4g |
| Sodium | 0.4g |
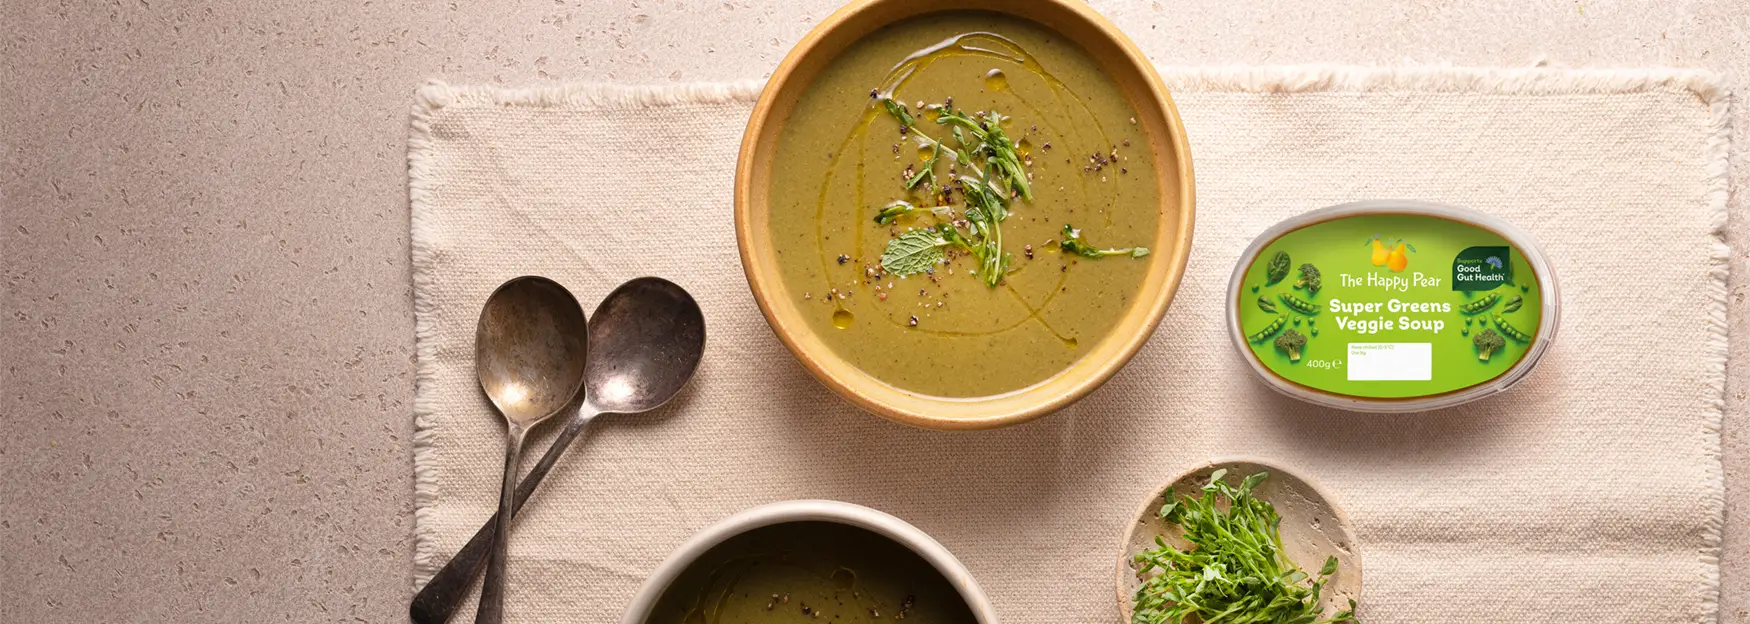
Supports good gut health*
*Chicory Inulin contributes to maintaining proper digestive function thanks to more frequent bowel movements. One soup serving provides 4g of chicory inulin, which is ideal as part of a varied and balanced diet and a healthy lifestyle. The beneficial effect is obtained with a daily intake of 12g. This means an additional 2 portions from this product or other foods containing corresponding amounts of chicory inulin or chicory root fibre. Check the ingredient lists in foods like bakery, beverages, sauces, and cereals for more information.
INGREDIENTS
Water, Peas (16%), Broccoli (11%), Onions, Spinach (6%), Potato, Leeks, Coconut MILK [Coconut Extract, Water], Chicory Inulin, Corn Starch, Salt, Vegetable Stock [Carrot, Onion, Leek], Mint, Agave Syrup, White Pepper
ALLERGEN INFORMATION
For allergens, see ingredients highlighted.
NUTRITIONAL INFORMATION
| Typical | per 100g |
|---|---|
| Energy | 190kJ |
| 45kcal | |
| Fat | 0.7g |
| of which saturates | 0.5g |
| Carbohydrates | 7.3g |
| of which sugars | 1.9g |
| Fibre | 1.6g |
| Protein | 1.6g |
| Salt | 0.5g |
| Sodium | 0.5g |
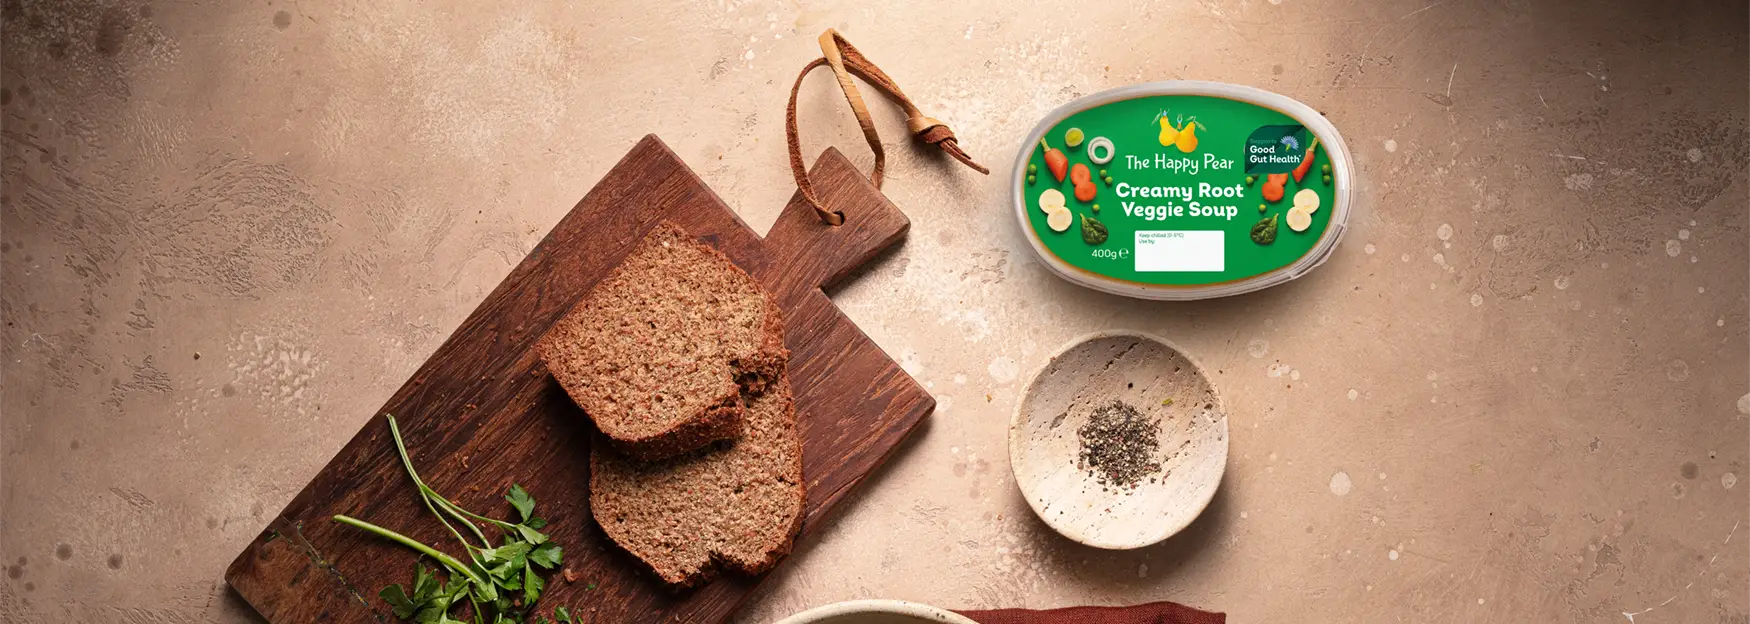
Supports good gut health*
*Chicory Inulin contributes to maintaining proper digestive function thanks to more frequent bowel movements. One soup serving provides 4g of chicory inulin, which is ideal as part of a varied and balanced diet and a healthy lifestyle. The beneficial effect is obtained with a daily intake of 12g. This means an additional 2 portions from this product or other foods containing corresponding amounts of chicory inulin or chicory root fibre. Check the ingredient lists in foods like bakery, beverages, sauces and cereals for more information.
INGREDIENTS
Water, Carrots (19%), Onions, Sweet Potato (6%), Parsnip (6%), Leeks (4.5%), Peas (3%), Coconut MILK [Coconut Extract, Water], CELERIAC (3%), Chicory Inulin, Spinach (1%), Corn Starch, Salt, Vegetable Stock [Carrot, Onion, Leek], Garlic Purée, Herbs, Black Pepper
ALLERGEN INFORMATION
For allergens, see ingredients highlighted.
Contains Celery.
NUTRITIONAL INFORMATION
| Typical | per 100g |
|---|---|
| Energy | 185kJ |
| 44kcal | |
| Fat | 1.6g |
| of which saturates | 1.4g |
| Carbohydrates | 5.9g |
| of which sugars | 2.6g |
| Fibre | 1.5g |
| Protein | 0.8g |
| Salt | 0.4g |
| Sodium | 0.4g |
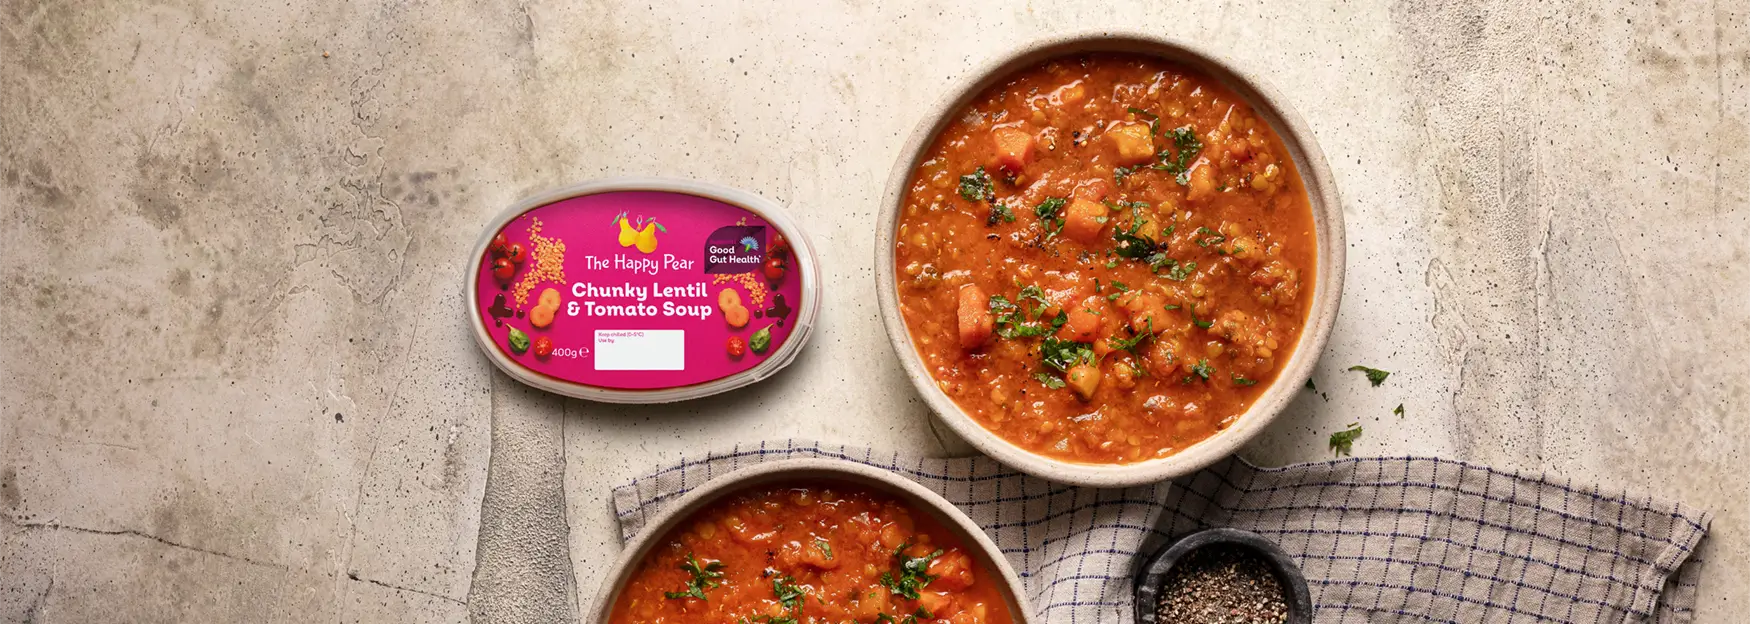
Supports good gut health*
*Chicory inulin contributes to maintaining proper digestive function thanks to more frequent bowel movements. One soup serving provides 4g of chicory inulin, which is ideal as part of a varied and balanced diet and a healthy lifestyle. The beneficial effect is obtained with a daily intake of 12g. This means an additional 2 portions from this product or other foods containing corresponding amounts of chicory inulin or chicory root fibre. Check the ingredient lists in foods like bakery, beverages, sauces and cereals for more information.
INGREDIENTS
Water, Tomatoes (14%), Carrots, Onions, Red Lentils (7%), CELERIAC, Spinach, Chicory Inulin, Corn Starch, Garlic Purée, Tomato Paste, Ginger Purée, Rapeseed Oil, Curry Powder [Spices, MUSTARD, Salt], Tamari Soy Sauce [Water, SOYBEAN, Salt, Spirit Vinegar], Salt, Spices
ALLERGEN INFORMATION
For allergens, see ingredients highlighted.
Contains Celery, Mustard, Soya.
NUTRITIONAL INFORMATION
| Typical | per 100g |
|---|---|
| Energy | 227kJ |
| 54kcal | |
| Fat | 1.4g |
| of which saturates | 0.1g |
| Carbohydrates | 6.5g |
| of which sugars | 2.2g |
| Fibre | 3.2g |
| Protein | 2.3g |
| Salt | 0.53g |
| Sodium | 0.53g |
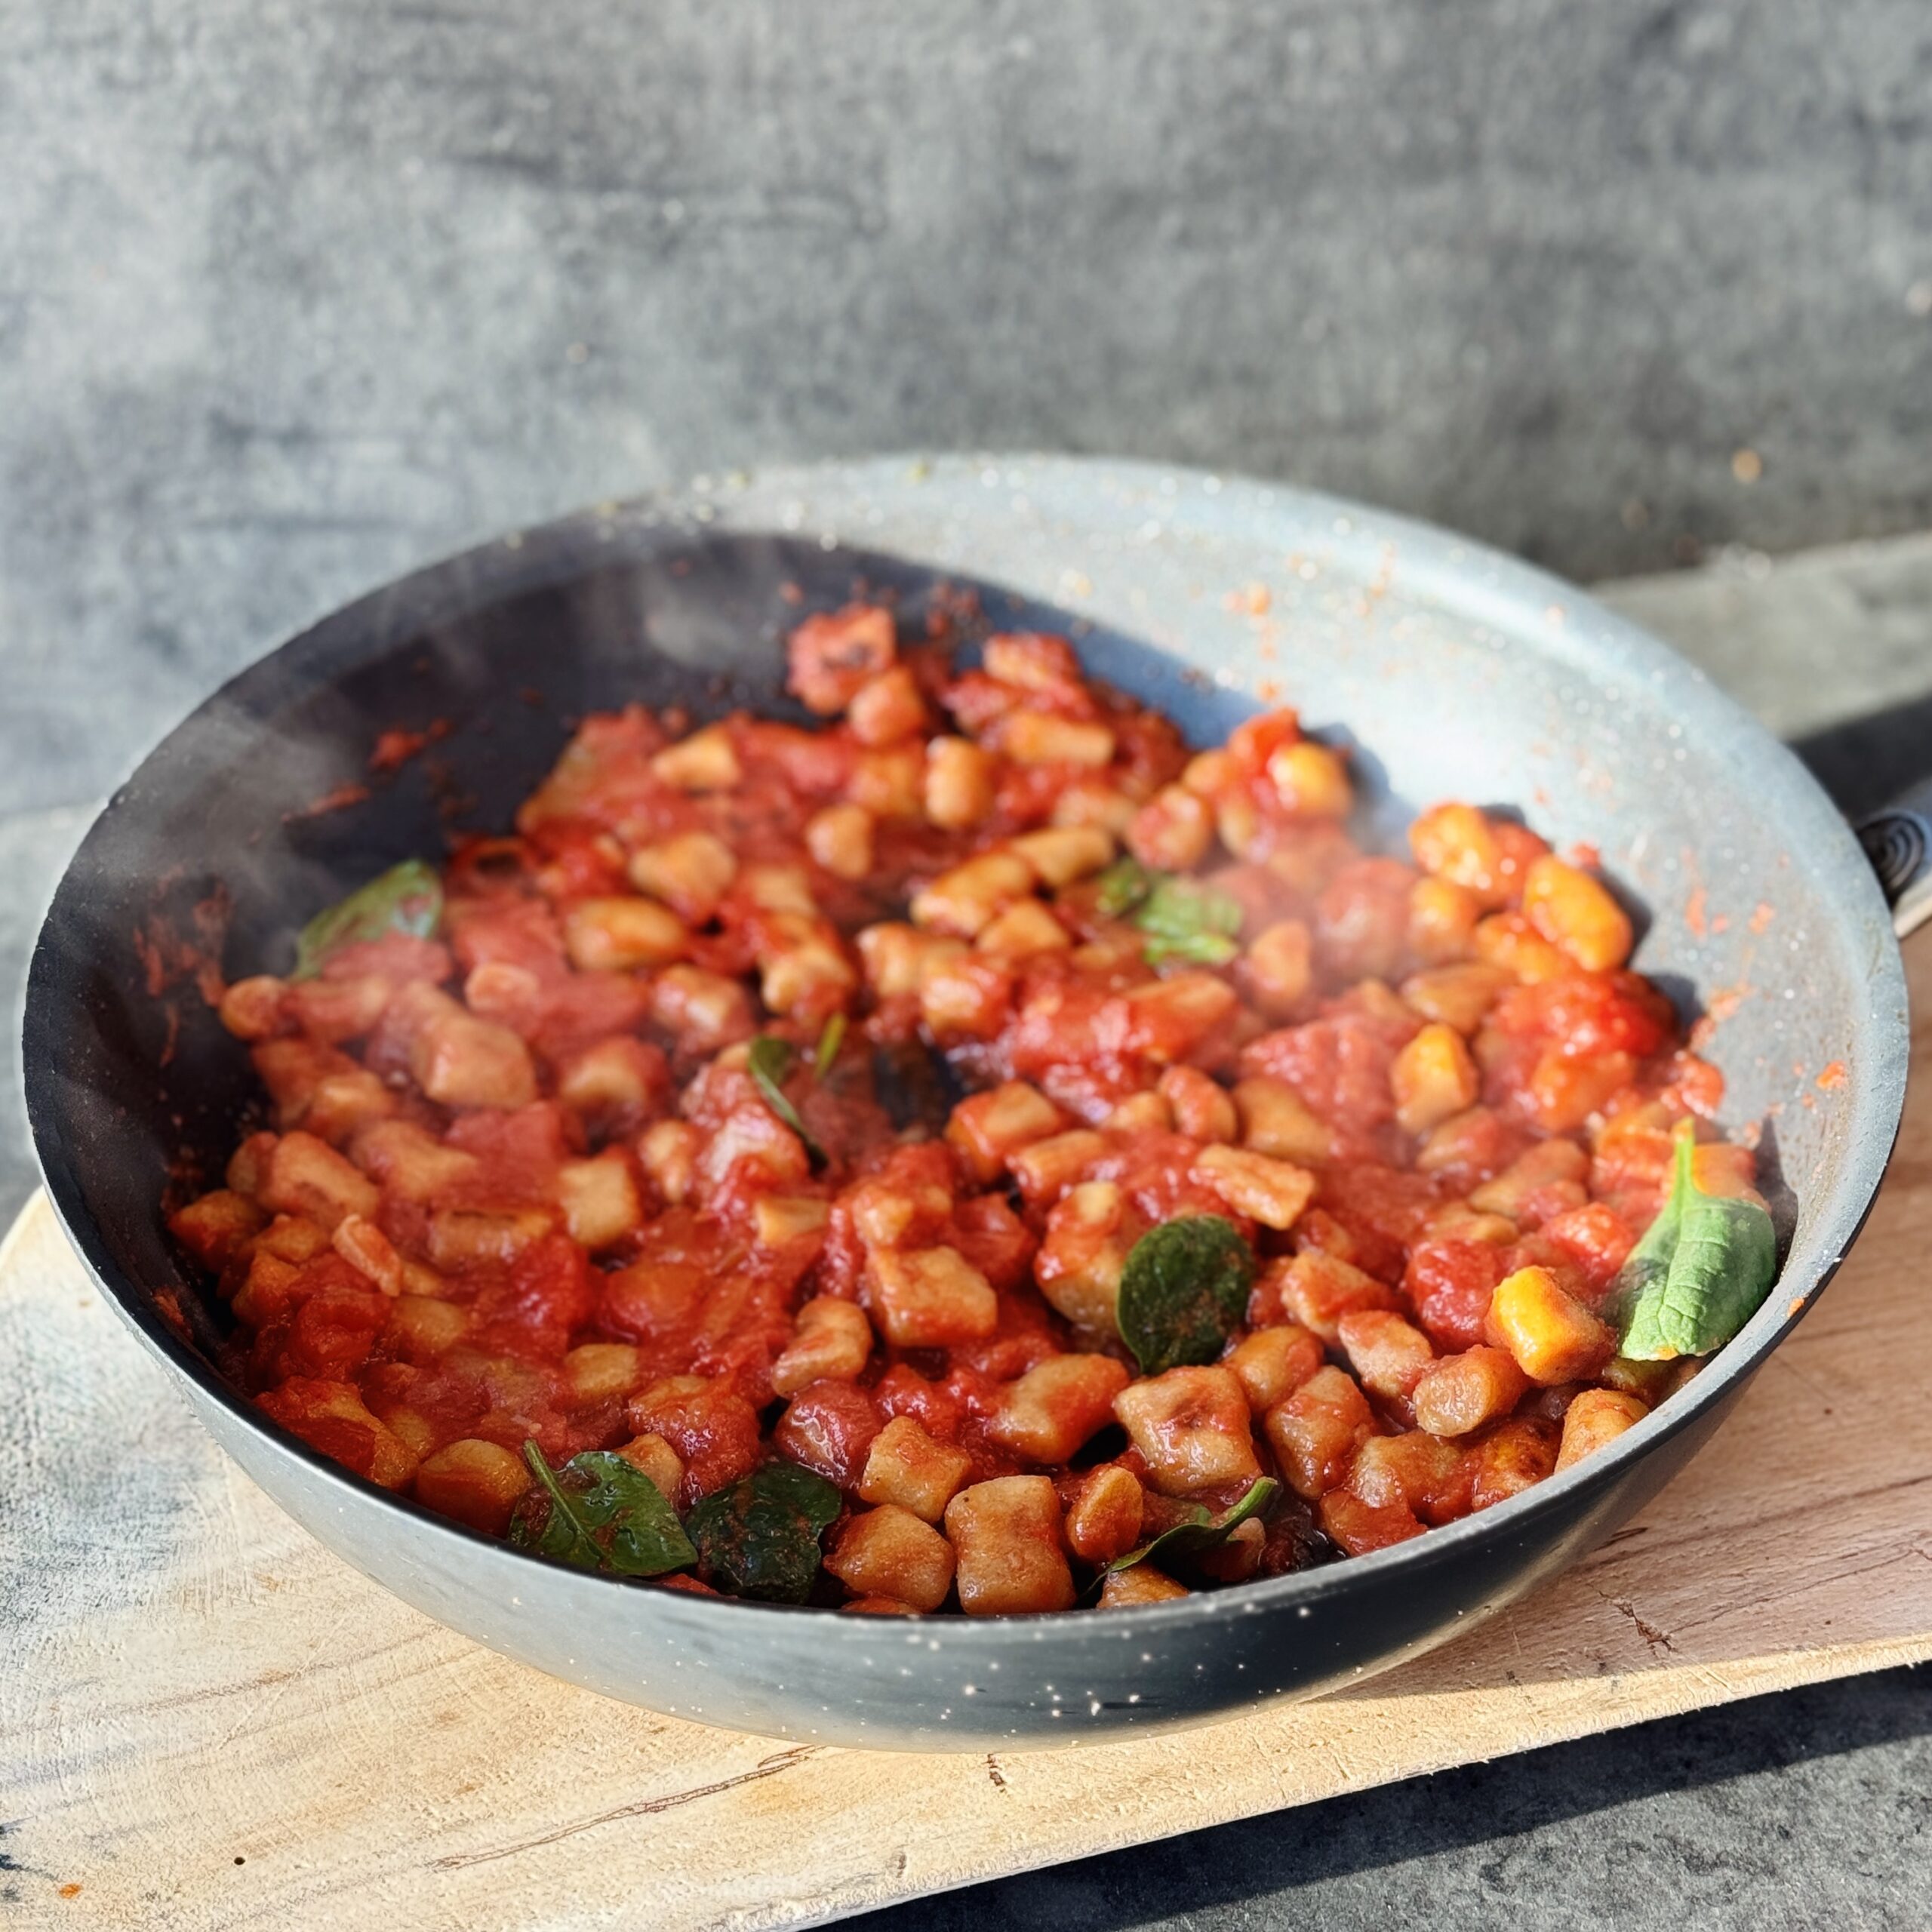
High Protein Tofu Gnocchi
Takes 30 minutes
Serves 2
Ingredients
For the Gnocchi:
- 250 g firm tofu about 1 cup, drained but not pressed
- 150 g chickpea flour about 1 cup, plus 50g or about ⅓ cup for dusting
- 1 tsp garlic powder or 1 clove of garlic, peeled and finely diced
- 1 tbsp olive oil about 15 ml or 1 tablespoon
- Pinch of salt
For the Tomato Sauce:
- 3 tbsp olive oil about 45 ml or 3 tablespoons
- 3 cloves of garlic minced
- 1 red chilli finely chopped
- 400 g tin of chopped tomatoes about 1 ½ cups
- 1 tbsp maple syrup about 15 ml or 1 tablespoon
- 1 tsp salt
- Black pepper to taste
Instructions
Prepare the tofu dough:
- Drain 250g firm tofu and blend until it forms a smooth paste. Transfer to a mixing bowl and add 150g chickpea flour, 1 tsp garlic powder (or 1 clove of garlic, finely diced), 1 tbsp olive oil, and a pinch of salt. Mix thoroughly and knead gently on a lightly floured surface until it forms a solid dough ball. Add extra flour as needed to prevent sticking.
Shape the gnocchi:
- Divide the dough into 8 balls. Roll each ball into a thin rope approximately 2.5cm in diameter. Cut the ropes into small bite-sized pieces.
Boil the gnocchi:
- Fill a saucepan with freshly boiled water and add 1 tbsp of salt. Bring the water to a boil and add the gnocchi. Cook until the gnocchi floats to the surface (approximately 1 minute). Remove with a slotted spoon and set aside.
Fry the gnocchi:
- Heat a frying pan over high heat and add 1 tbsp (15ml) olive oil. Once hot, add the gnocchi and fry for 8-10 minutes, turning frequently to ensure they cook evenly. Continue until the gnocchi are lightly golden on all sides with a slightly crispy exterior
Make the tomato sauce:
- Peel and dice 3 cloves of garlic and finely dice 1 red chilli. Heat a saucepan over medium heat and add 3 tbsp (45ml) olive oil. Once hot, sauté the garlic and chilli for 2 minutes until the garlic turns golden. Add 1 x 400g tin of chopped tomatoes, 1 tbsp (15ml) maple syrup, 1 tsp salt, and a pinch of black pepper. Cook for 5 minutes, then remove from the heat. Taste and adjust seasoning if needed.
Serve:
- Divide the tomato sauce between two bowls. Top with the crispy gnocchi and garnish with fresh basil or your preferred green. Enjoy!
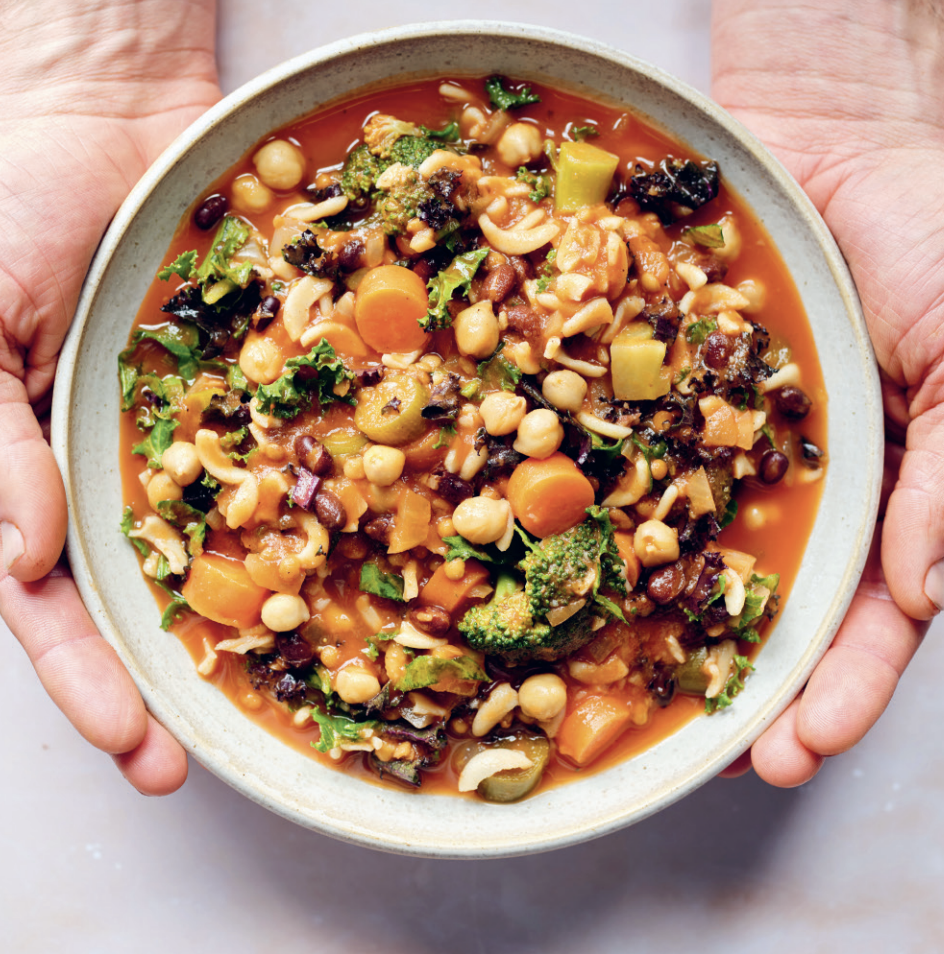
Ikarian Longevity Stew
Takes 40 minutes
Serves 6
Ingredients
- 2 onions
- 3 cloves of garlic
- 2 carrots 150g,
- 2 leeks 400g,
- 1 x 400g tin black beans
- 1 x 400g tin cooked chickpeas
- 1 x 400g tin cooked lentils
- 150 g dry wholemeal pasta such as fusilli
- 200 g broccoli
- 100 g kale
- 1 x 680g jar tomato passata or 2 x 400g tins chopped tomatoes
- 100 g tomato paste
- 2 tablespoons tamari or soy sauce
- 2.5 litres vegetable stock
- ½ teaspoon black pepper
- Optional: chilli flakes to taste
- Salt to taste
Instructions
- Prepare your vegetables: Peel and finely dice the onions and garlic. Slice the carrots and cut the leeks into thin rounds (approx 2 cm rounds). Cut the broccoli into small florets and finely chop the stalk making sure to use it as well. Separate the kale leaves from the stalk and finely chop and finely chop the stalk aswell. Drain and rinse the black beans, chickpeas and lentils.
- Fry the onions: In a large pot over a high heat, add the diced onions. Cook for 3-4 minutes, stirring regularly. If anything begins to stick, add 2 tablespoons of water/vegetable stock to deglaze the pot.
- Cook & sweat the veg: Add the leeks, carrots, broccoli stalks, kale stalks, and a generous pinch of salt. Cook for 2 minutes stirring regularly. Add 50 ml of vegetable stock, cover with a lid, reduce the heat to low to medium and let the vegetables sweat for about 10 minutes, stirring occasionally.
- Add the remaining ingredients: To the pot, add the black beans, chickpeas, lentils, tomato passata, tomato paste, tamari, the rest of the vegetable stock, pasta, and kale leaves. Stir to combine. With the lid on, bring the stew to a boil. Then, reduce the heat to low and let it simmer for 10 minutes. Stir occasionally.
- Taste & Season: After simmering, taste the stew and adjust the seasoning with salt and black pepper. If you prefer a spicier stew, add chilli flakes to your liking.
- Serve the stew warm with fresh bread on the side for a hearty and nourishing meal.
Notes
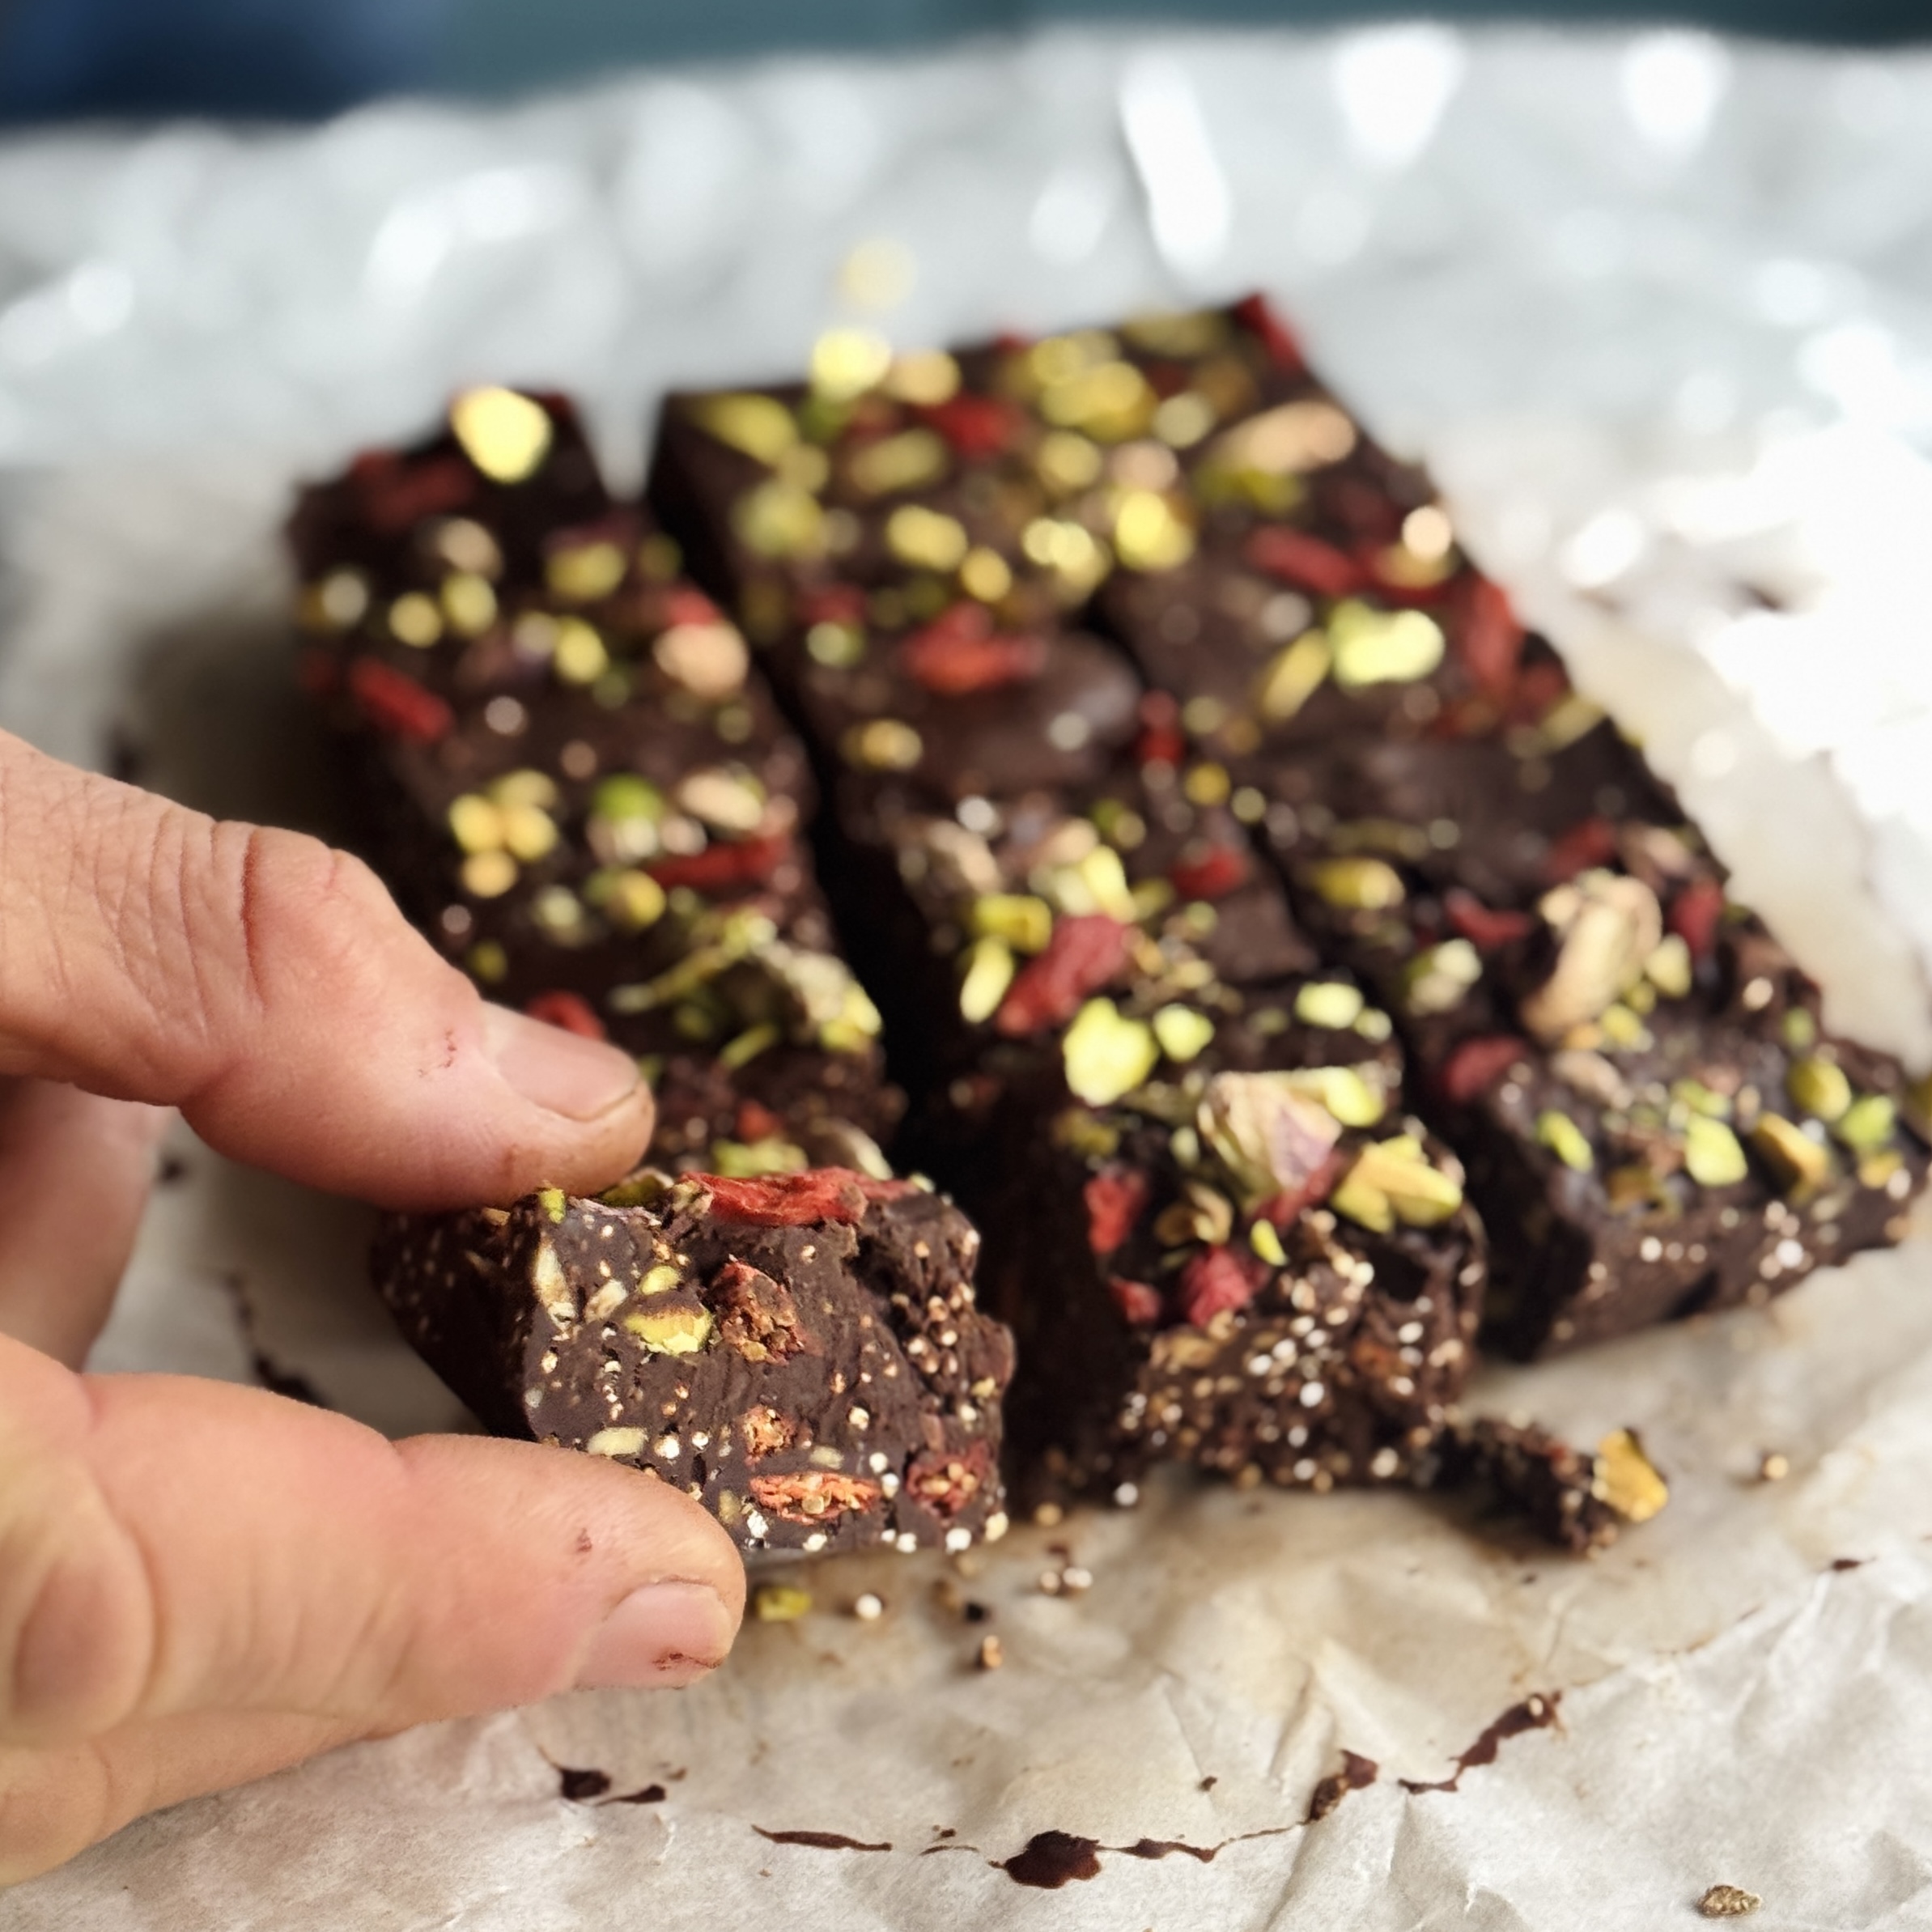
Chocolate Quinoa Crunch Squares
Takes 50 minutes
Serves 12
Ingredients
- 200 g Chocolate 1 ¼ cups, chopped or chips
- 200 g Almond butter/peanut butter ¾ cup
- 100 g Quinoa uncooked (½ cup)
Decoration
- Handful Goji berries
- Handful Shelled pistachio
Instructions
- Toast the quinoa: Heat a saucepan over low-medium heat, add the quinoa, and stir until it starts popping, this should take approx 5 mins. Stir for another minute, then remove from heat.
- Melt the chocolate: Melt the chocolate, in a bain marie/ water boiler or in the microwave
- Add the peanut butter: Stir in the almond butter or peanut butter to the chocolate.
- Combine and prepare: Mix everything well, then line a baking tray with parchment paper. We used a small tray that was 16cm x 12cm x 5cm high
- Set the mixture: Pour the mixture onto the parchment-lined container and sprinkle over some goji berries and shelled pistachios, freeze for 30 mins or leave to set in the fridge for 2 hours
- Slice and enjoy: Cut the bars into squares, we got 12 small squares and enjoy!
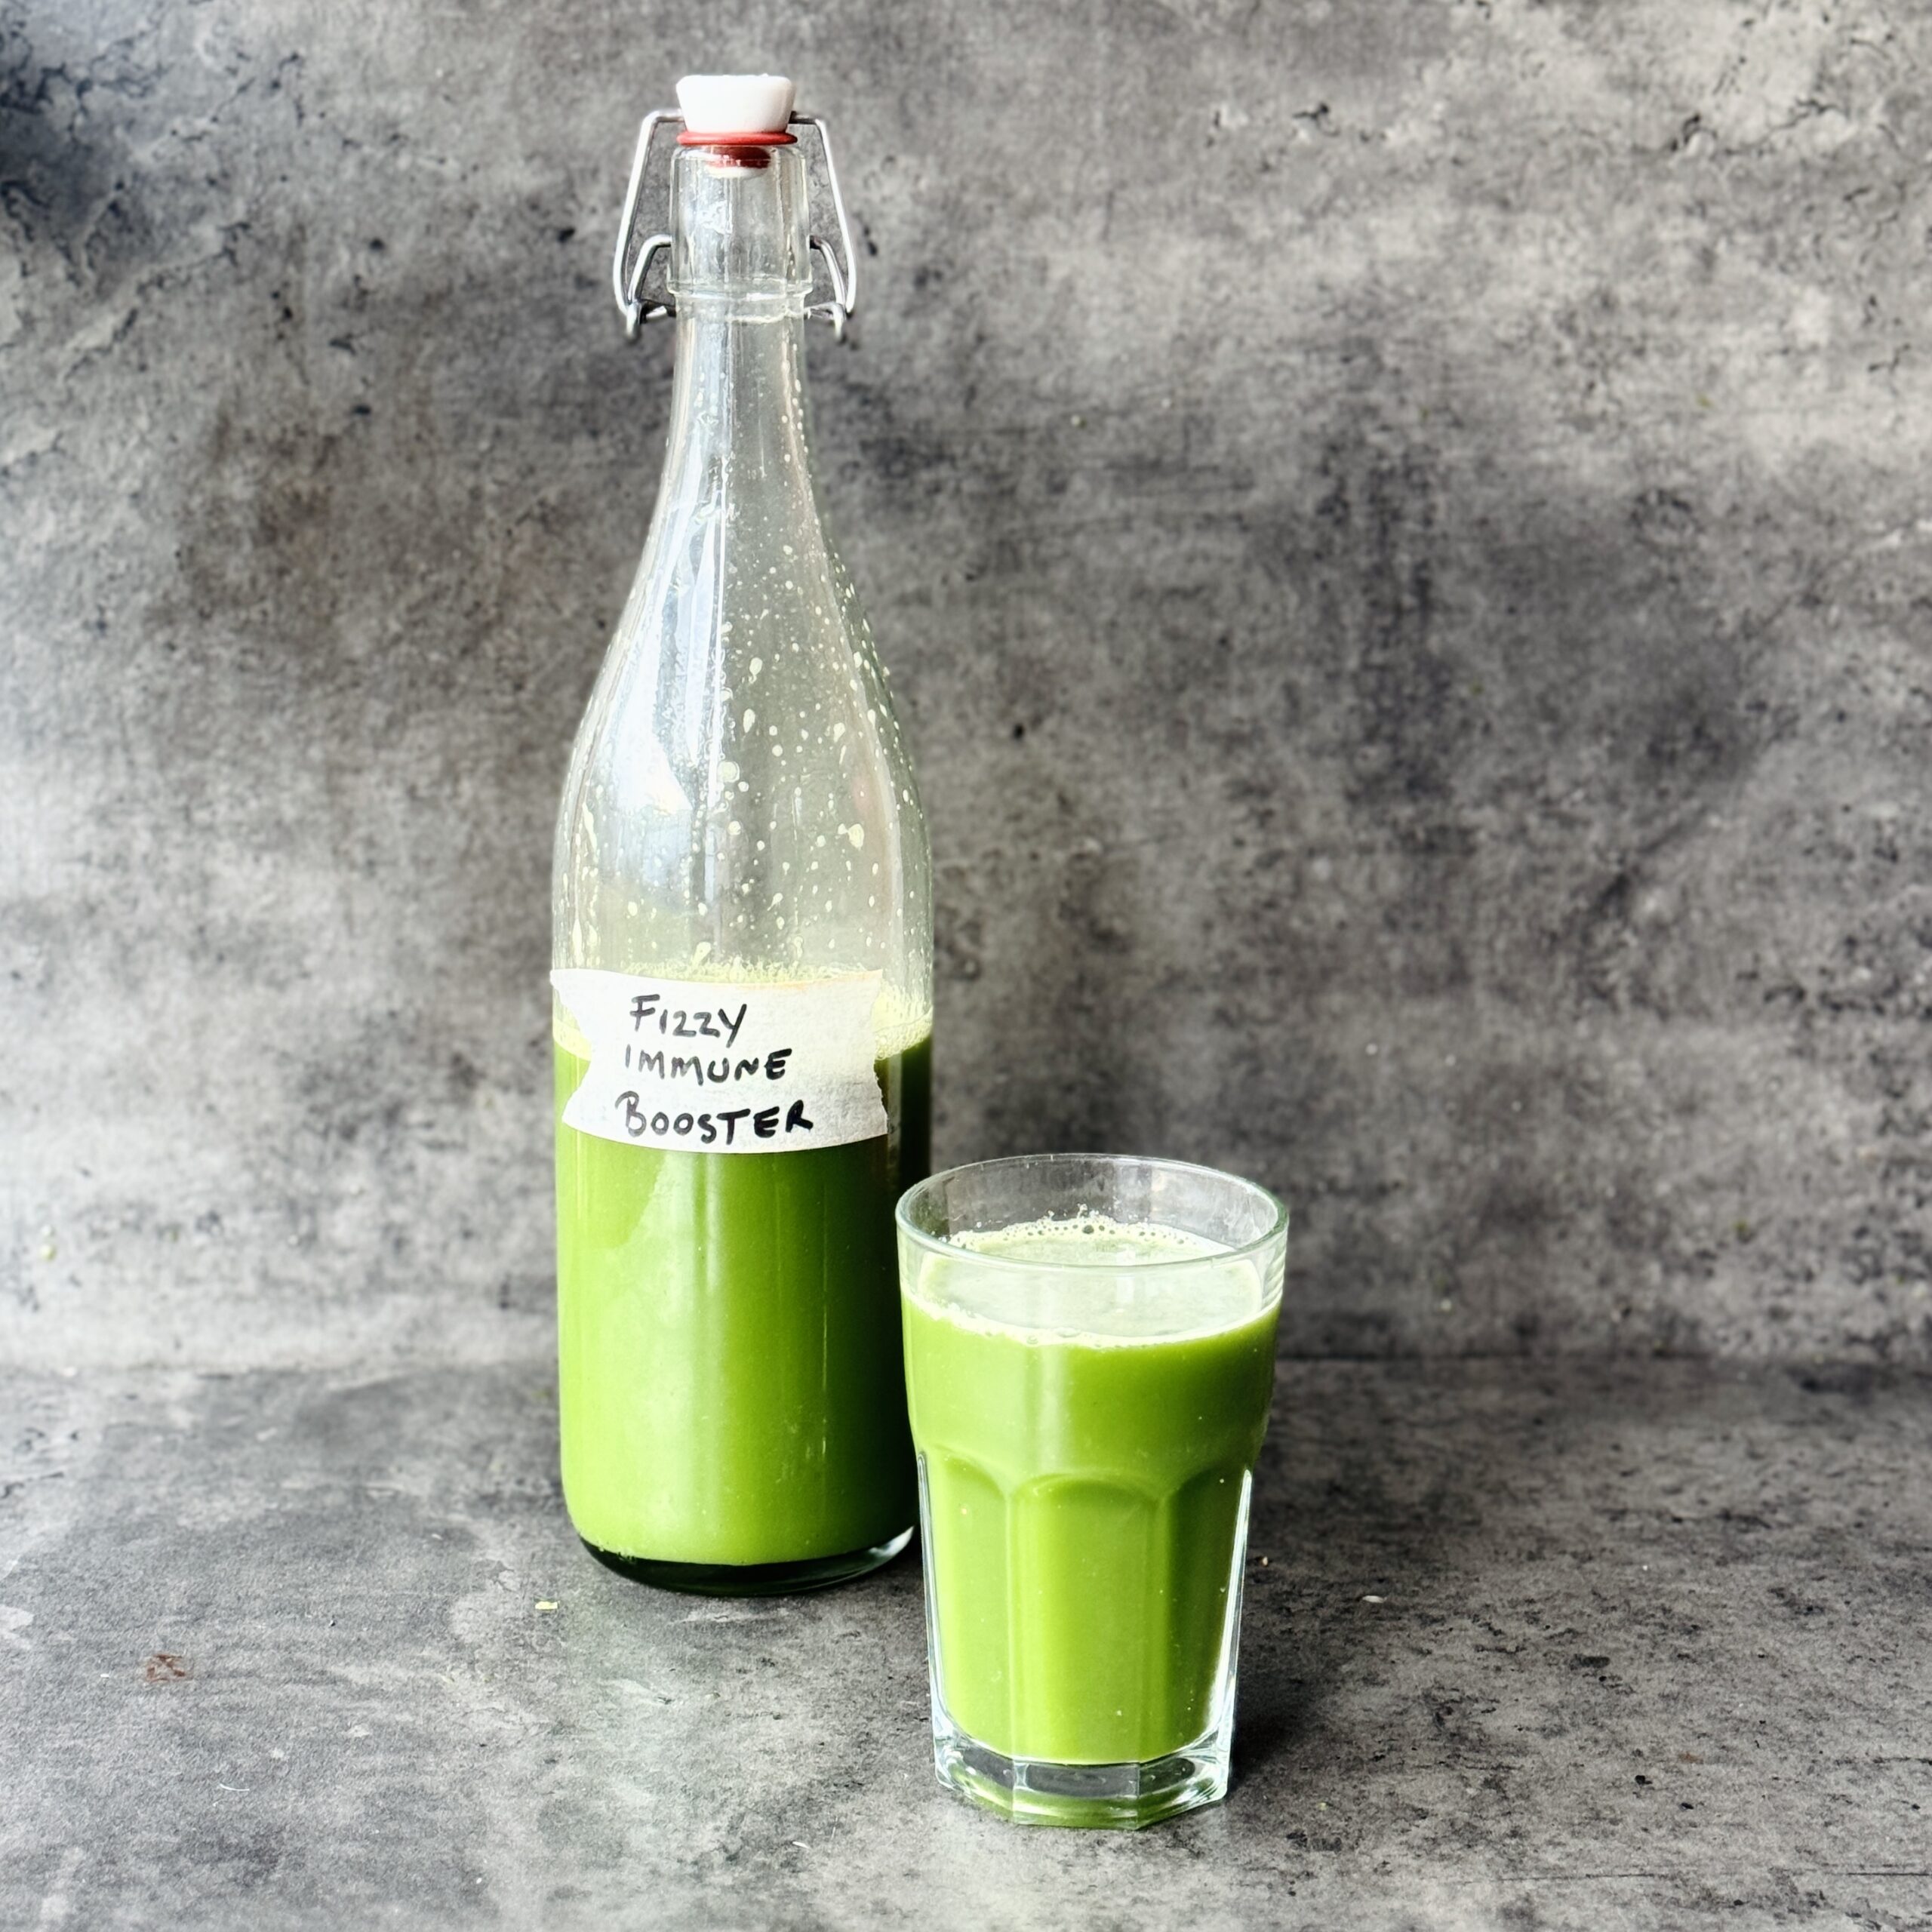
Immunity Booster Fermented Fizz
Takes 6 days 20 minutes
Serves 4
Ingredients
- 5 medium apples antioxidants & vitamin C
- 2 small heads of fennel
- 1 thumb-sized piece of fresh ginger anti-inflammatory & soothing for colds
- 2 lemons vitamin C & alkalizing
- ½ cucumber hydration & cooling
- 1 handful of kale vitamin C & immune support
- 1 head of pak choi
- 5-6 fresh mint leaves soothing & refreshing
- 2 tbsp coconut sugar or brown sugar for fermentation fuel
Instructions
Prepare the Juice:
- Juice the kale, fennel, pak choi, cucumber, 3 apples, some of the ginger.
Prep the veg for Fermentation:
- Quarter the remaining 2 apples, roughly slice the remaining ginger, quarter the lemons and add to a jar or jug that is approx 1-2L in volume. Pour in the juice along with the mint leaves and the 2 tbsp of coconut sugar. There is wild yeast occurring on the skin of the lemons, apples, ginger and mint leaves which convert the sugars to natural carbonation and probiotic bacteria. Cover with a lid or cloth.
Leave to ferment
- Leave to ferment at room temperature in indirect sunlight for 2-3 days. If the jar is sealed you will have to burp it regularly which simply means opening the lid and closing it to release excess build up of carbonation.
Bottle the Juice for 2nd Fermentation:
- Sieve the juice and pour into a sterilized glass bottle or jar with a tight-fitting lid. Leave about 1 inch of headspace for the gas to build up.
Ferment:
- Store the bottle at room temperature for another 2-3 days. Check daily to "burp" (release gas) to avoid pressure buildup.
Chill and Serve:
- Once fizzy and slightly tangy, refrigerate the drink to slow fermentation. Serve cold, garnished with a sprig of mint or a slice of cucumber.
Notes
How it supports immunity
- Apple: Provides antioxidants to fight free radicals and boost overall health.
- Fennel: Rich in minerals and helps maintain electrolyte balance.
- Ginger: Fights inflammation and soothes colds and sore throats.
- Lemon: High in vitamin C, helping to ward off colds and flu.
- Mint: Eases digestion and adds a refreshing touch.
- Kale: Packed with vitamin C and essential nutrients for immune health.
- Cucumber: Hydrates the body and helps flush out toxins.

Creamy Linguine with Shredded Sprouts and Mushrooms
Takes 20 minutes
Serves 2
Ingredients
For the Pasta:
- 250 g linguine pasta
- 250 g mushrooms of choice oyster, shiitake, chestnut suggested
- 1 large red onion about 200 g
- 2 cloves of garlic
- 150 g brussel sprouts
- 2 tbsp tamari
For the Creamy Cashew Sauce:
- 100 g cashew nuts
- 500 ml plant milk of choice
- Juice of ½ a lemon
- 1 tsp garlic powder
- 2 tbsp nutritional yeast
- Salt and black pepper to taste
Optional Garnish:
- 1 fresh chilli seeds removed and sliced finely
Instructions
- Prepare Cashews: Place the cashew nuts in a small pot and cover with boiling water. Simmer gently for 5-10 minutes, then drain and rinse.
- Cook Pasta: Fill a large saucepan with boiling water and add 1 tbsp of salt. Add your pasta and cook according to package instructions.
- Prepare Vegetables: Peel and finely slice the onion and garlic. Finely chop the mushrooms. Finely slice the brussel sprouts
- Cook Onion and Mushrooms: Heat a large wide bottom pan over high heat. Add 1 tbsp of oil (or a few sprays of oil), followed by the onions, sliced brussel sprouts and ½ tsp of salt. Reduce the heat to medium and cook for 4-5 minutes stirring until the onions brown slightly. Stir occasionally. Add the chopped mushrooms and garlic and cook for another 4-5 minutes. Stir in the tamari, cook for an additional minute, then turn off the heat.
- Prepare Cashew Sauce: While the mushrooms are cooking, make the cashew sauce. Add the drained and rinsed cashew nuts and the rest of the sauce ingredients to a blender or food processor. Blend at high speed until smooth. Add the creamy cashew sauce to the pan, then turn the heat to medium. Cook for 1-2 minutes, stirring continuously, to allow the sauce to thicken.
- Combine Pasta, Sauce & Mushrooms: Drain the cooked pasta, reserving some pasta water. Mix the pasta into the sauce, making sure the pasta is well coated. If the sauce is too thick, add reserved pasta water until you reach your desired creamy texture. If it is too watery, cook for a few minutes to thicken, stirring constantly to avoid sticking. Taste and adjust seasoning with salt and black pepper as needed. Add the mushrooms, oninos and sprout mixture and mix through.
- Garnish and Serve: Optionally, garnish with finely sliced fresh red chilli. Serve hot and enjoy your creamy, comforting pasta!
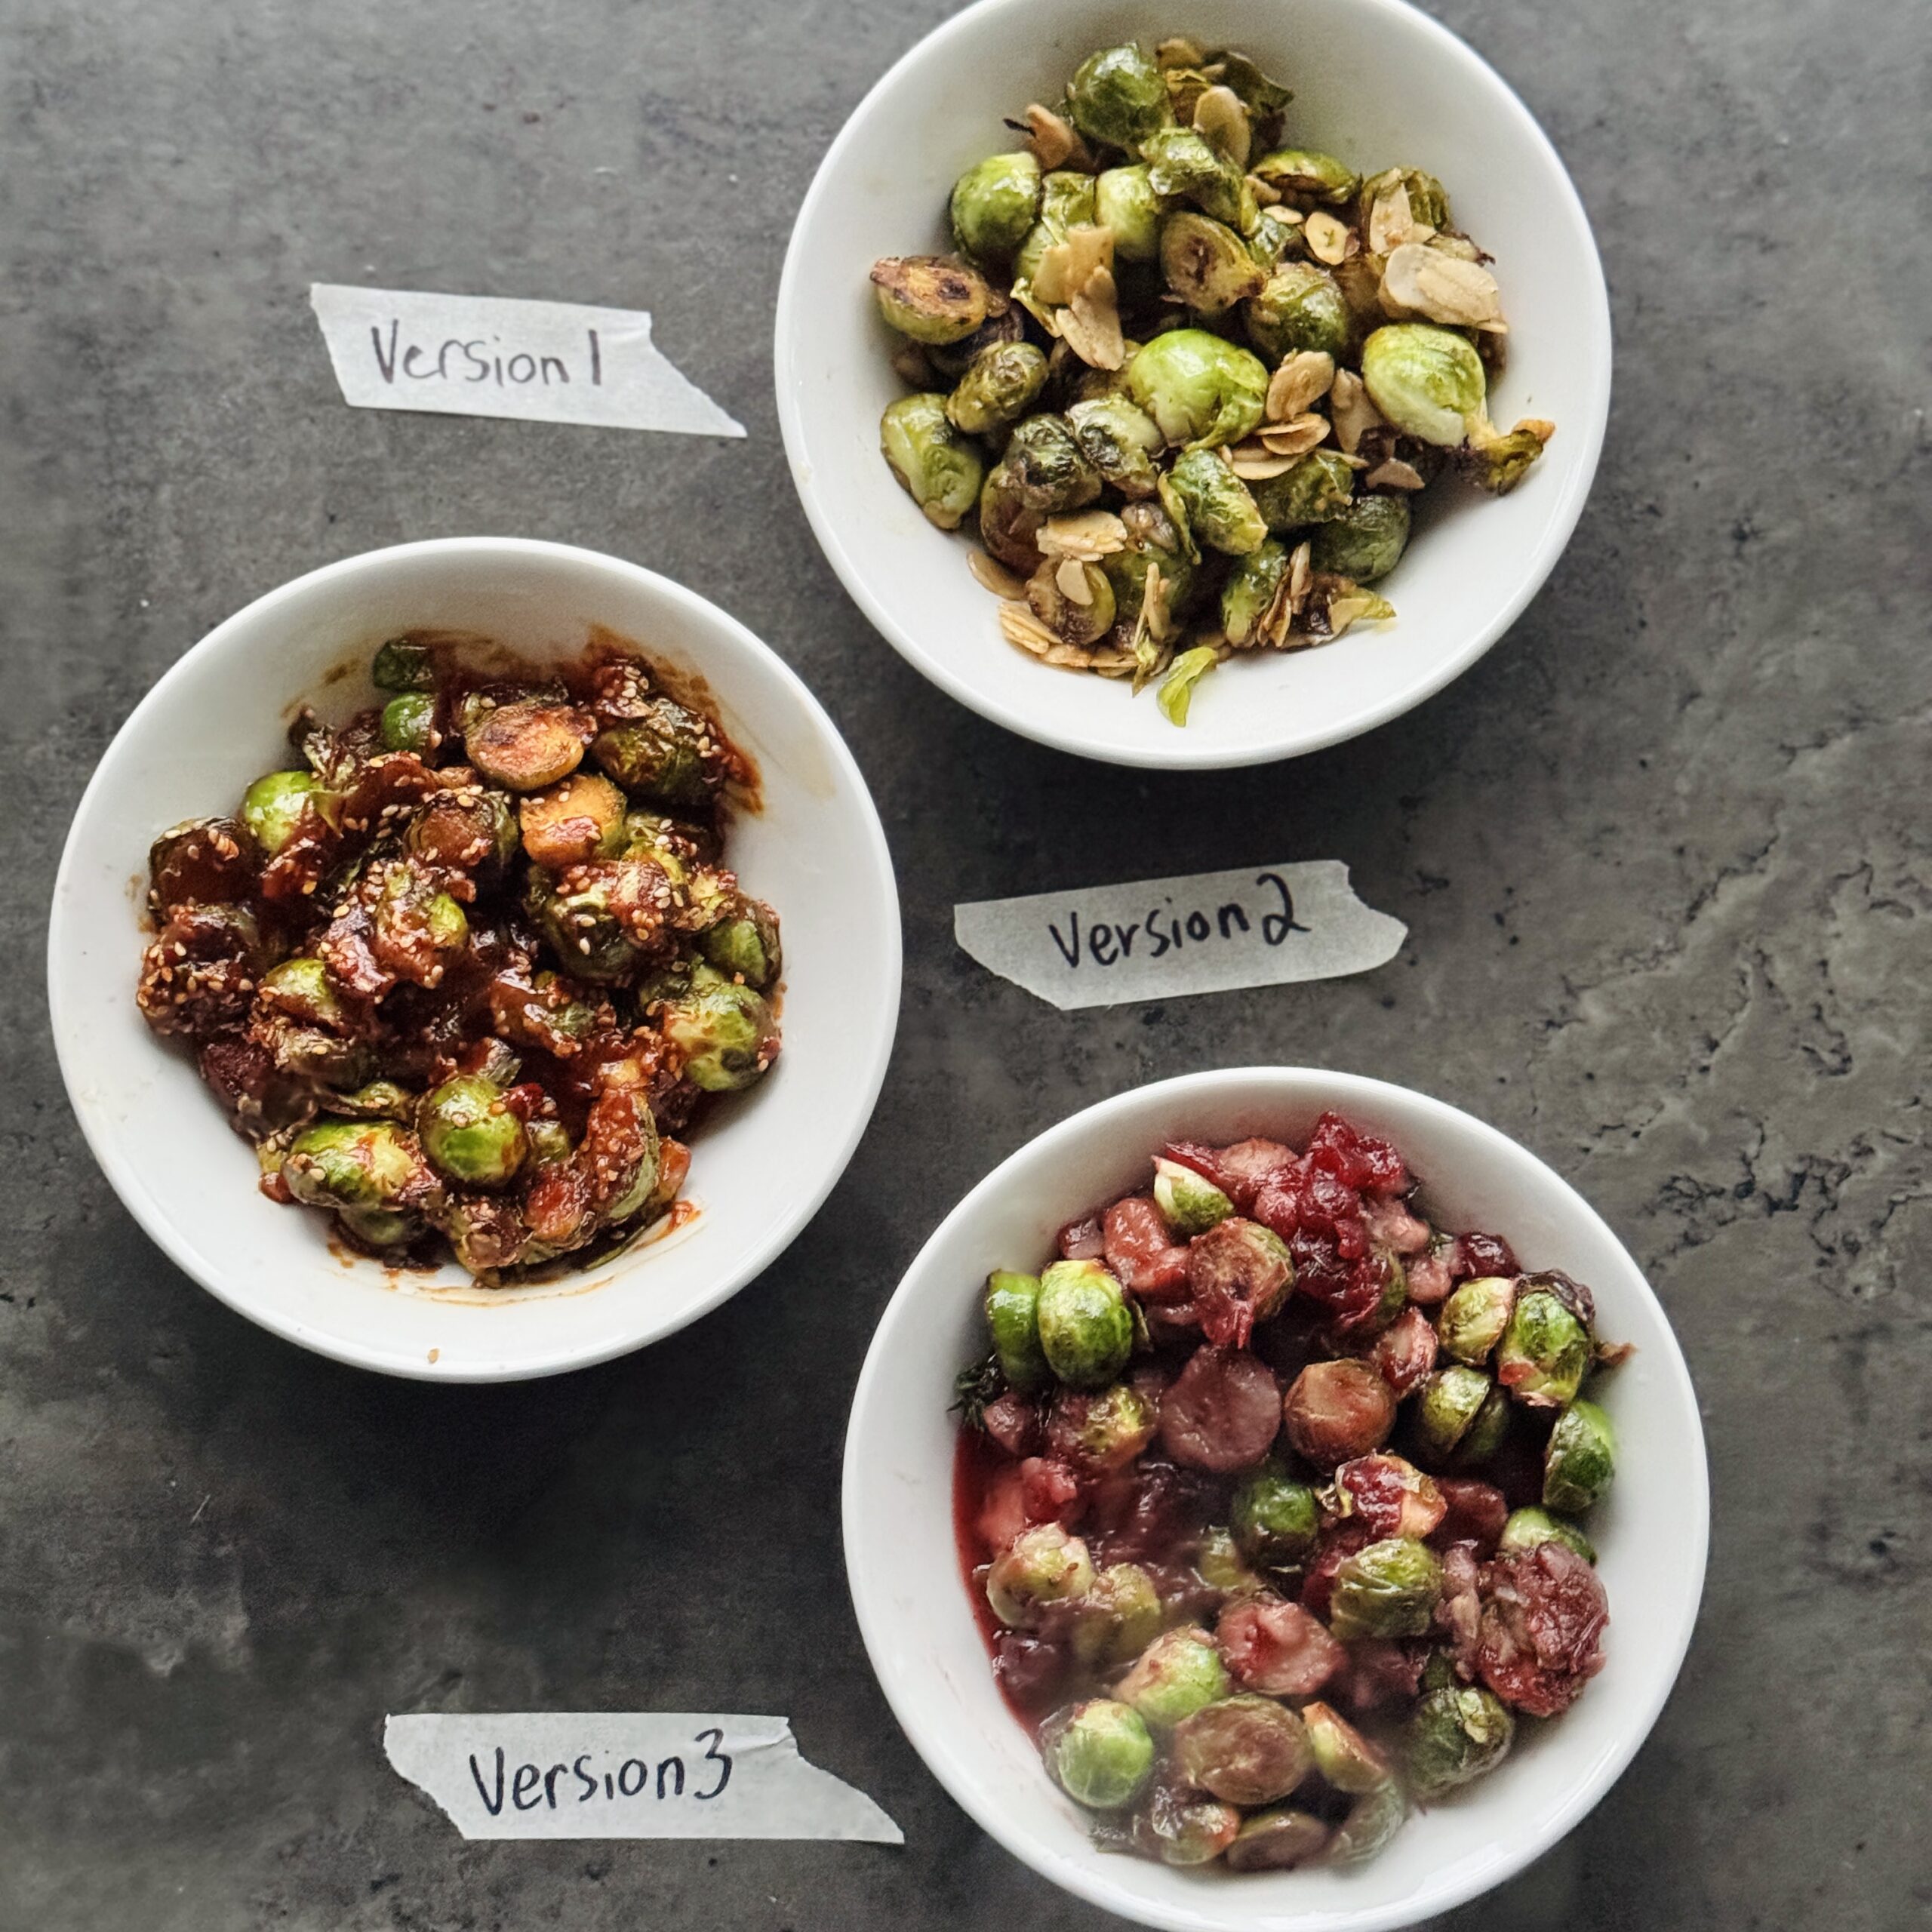
Brussel Sprouts Three Ways
Takes 1 hour
Serves 6
Ingredients
Charred Garlic and Almond Sprouts
- 250 g Brussels sprouts 2 ½ cups
- 2 tbsp butter plant-based
- 1 tbsp maple syrup
- 1 tbsp apple cider vinegar
- 2 cloves garlic 2 tsp minced garlic
- ½ tsp salt
- 3 tbsp flaked almonds ¼ cup
Korean Style Brussel Sprouts
- 1 tbsp olive oil or neutral oil
- 1 tsp sesame oil
- 250 g cleaned Brussels sprouts 2 ½ cups
- 1 thumb-sized piece of fresh ginger 1 tbsp minced
- 1 clove garlic 1 tsp minced garlic
- 1 red chili 1 tbsp finely chopped
- 2 tbsp gochujang Korean chili paste
- 1 tbsp soy sauce or tamari
- 1 tsp rice vinegar or apple cider vinegar
- 1 tsp maple syrup or similar sweetener
- 2 tbsp sesame seeds ¼ cup
Sweet cranberry and Chestnut Sprouts
- 250 g cleaned Brussels sprouts 2 ½ cups
- 2 tbsp olive oil
- 100 g cooked chestnuts ¾ cup chopped
- 200 g cranberry sauce ¾ cup
- 50 ml vegetable stock 3 ½ tbsp
- ½ tsp salt
Instructions
Charred Garlic and Almond Sprouts
- Half the brussel sprouts and peel and finely dice the garlic cloves.
- Heat a non-stick pan on high heat, once hot add the butter and allow to melt.
- Add the halved brussel sprouts along with a pinch of salt and leave to cook without moving for 3 mins. Turn the sprouts and they should be charred on one side. Flip them to char on the other side and add the garlic and fry for 2 mins and then add 4 tbsp of water and put a lid on to steam for 4 mins. Remove the lid and allow the water to evaporate and finish by adding the vinegar, maple syrup and flaked almond and leave to cook for a further 2 mins. Taste and adjust the seasoning to your liking by adding more salt or black pepper.
Korean Style Brussel Sprouts
- Peel and finely dice the garlic and ginger. Finely dice the chilli removing the seeds if you prefer it less hot. Quarter the brussel sprouts.
- Heat 1 tbsp of oil in a large non-stick pan over medium-high heat.
- Add the ginger, garlic, and chili, sautéing for about 30 seconds. Add the quartered Brussels sprouts and stir-fry for 2-3 minutes until they begin to char slightly.
- Add 4 tbsp of water, cover with a lid, and steam for 3-5 minutes until the sprouts are just tender but not mushy. Stir occasionally and add more water if needed.
- Remove the lid and add the gochujang, soy sauce, rice vinegar, and maple syrup, stirring well to coat. Cook for another 2 minutes until the sauce thickens slightly.
- Drizzle with toasted sesame oil, then toss the sprouts gently to combine.
- Serve garnished with toasted sesame seeds and sliced spring onions. Enjoy!
Sweet Cranberry and Chestnut Sprouts
- Quarter the cleaned brussel sprouts. In a large non-stick pan, heat 2 tbsp of oil over a high heat. When hot, add the sprouts and 1⁄4 tsp salt. Reduce the heat to medium and cook for 2-3 minutes stirring occasionally. Add the veg stock and cover with a tight lid for 3-5 minutes to cook the sprouts a little faster. Add more water if they begin to stick.
- Roughly chop the cooked chestnuts.
- Remove the lid and add the chestnuts and cook for 2 minutes. Add the cranberry sauce, mixing well. Continue cooking to heat through for 3 minutes, add the remaining salt and serve immediately with your Christmas dinner.
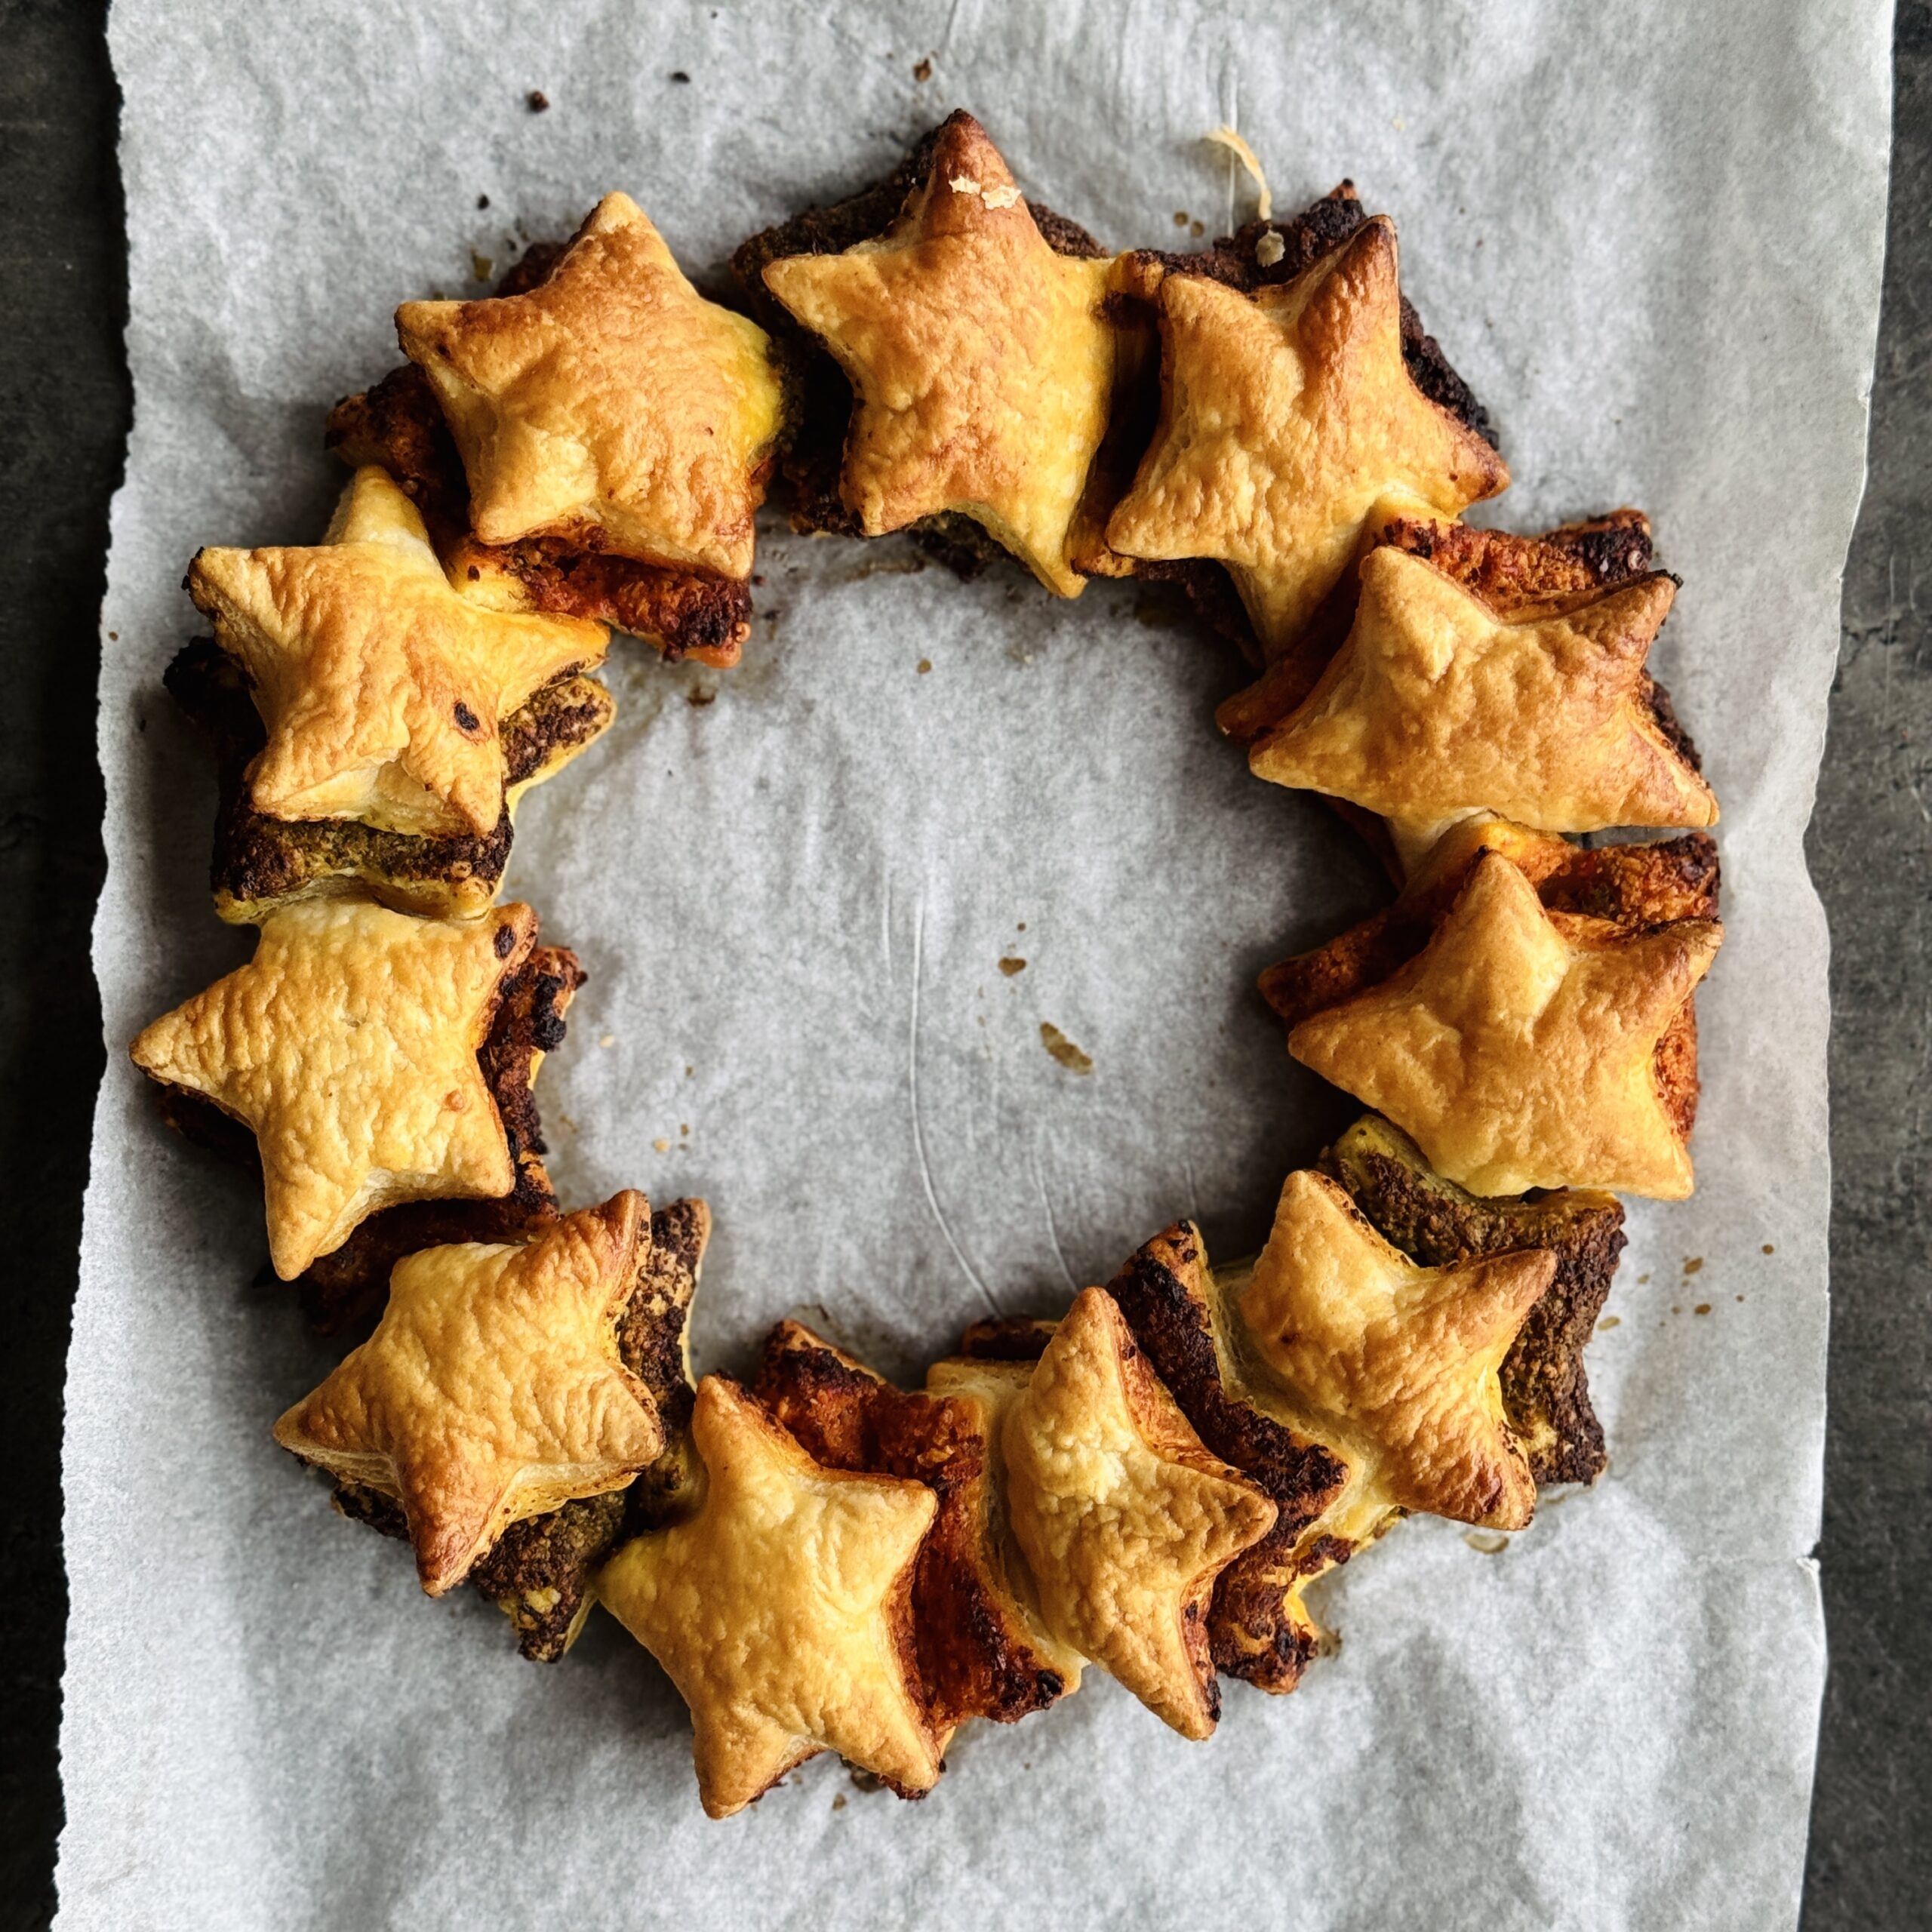
Easy Pesto Pastry Wreath
Takes 25 minutes
Serves 8
Ingredients
- 120 g The Happy Pear Lovely Basil Pesto approx. ½ cup
- 120 g The Happy Pear Spicy Red Pepper Pesto approx. ½ cup
- 120 g The Happy Pear Sundried Tomato Pesto approx. ½ cup
- 320 g sheet of chilled puff pastry approx. 11 oz
- 3 tbsp oat milk
Instructions
Prepare the pastry:
- Roll out the puff pastry sheet onto a clean surface. Cut the sheet in half lengthwise.
Add the pesto:
- Spread your pesto of choice evenly over one half of the pastry. Use the Lovely Basil, Spicy Red Pepper, or Sundried Tomato Pesto—or mix and match for variety!
Shape the stars:
- Place the other half of the pastry on top to sandwich the pesto. Using a star-shaped cookie cutter, cut out star shapes from the layered pastry.
Form the wreath:
- On a fresh sheet of baking parchment, mark out a large circle (using a bowl or plate as a guide). Arrange the pastry stars along the circle, slightly overlapping, to form a wreath shape.
Brush and bake:
- Lightly brush the pastry stars with oat milk to ensure a golden finish. Transfer the wreath (on the parchment) to a baking tray.
Bake:
- Preheat your oven to 200°C (390°F) and bake the wreath for 15–20 minutes, or until golden and puffed.
Serve:
- Let the wreath cool slightly before serving. This beautiful and flavorful centerpiece is perfect for sharing! Serve alongside extra pesto for dipping!

Date Bark Christmas Tree
Takes 30 minutes
Serves 12
Ingredients
Base Ingredients:
- 250 g 1 ½ cups medjool dates or pitted dates (medjool preferred)
- 100 g ½ cup crunchy peanut butter or almond butter
- 150 g 1 cup chocolate
For Decoration:
- Sea salt
- Handful of pistachio nuts removed from shell
- 30 g ¼ cup goji berries or freeze-dried raspberries
Instructions
Prepare the dates and shape the tree:
- Remove the stones from 250g (8.8 oz) of medjool dates. Open them out and arrange them on a sheet of baking parchment in the shape of a Christmas tree. Fold the parchment around the dates, leaving extra room, and seal the edges. Use a rolling pin or mug to press down firmly, compacting the dates so they hold their shape when handled and so you have a firm solid base.
- Add the peanut butter layer:
- Spoon 100g (3.5 oz) of crunchy peanut butter over the flattened dates, spreading it evenly to cover the entire tree shape. Place the tree in the freezer to set for 20 minutes.
Melt and drizzle the chocolate:
- Melt 150g (5.3 oz) of chocolate using a double boiler or microwave. Drizzle the melted chocolate over the peanut butter layer, ensuring it’s evenly coated.
Decorate the tree:
- Dice a handful of pistachio nuts and sprinkle them over the chocolate layer. Add 30g (1 oz) of goji berries or freeze-dried raspberries for festive colour, and finish with a light sprinkle of sea salt.
Cut and serve:
- Once set, remove the parchment and carefully cut the tree into portions. Serve immediately or store in the fridge until ready to enjoy.
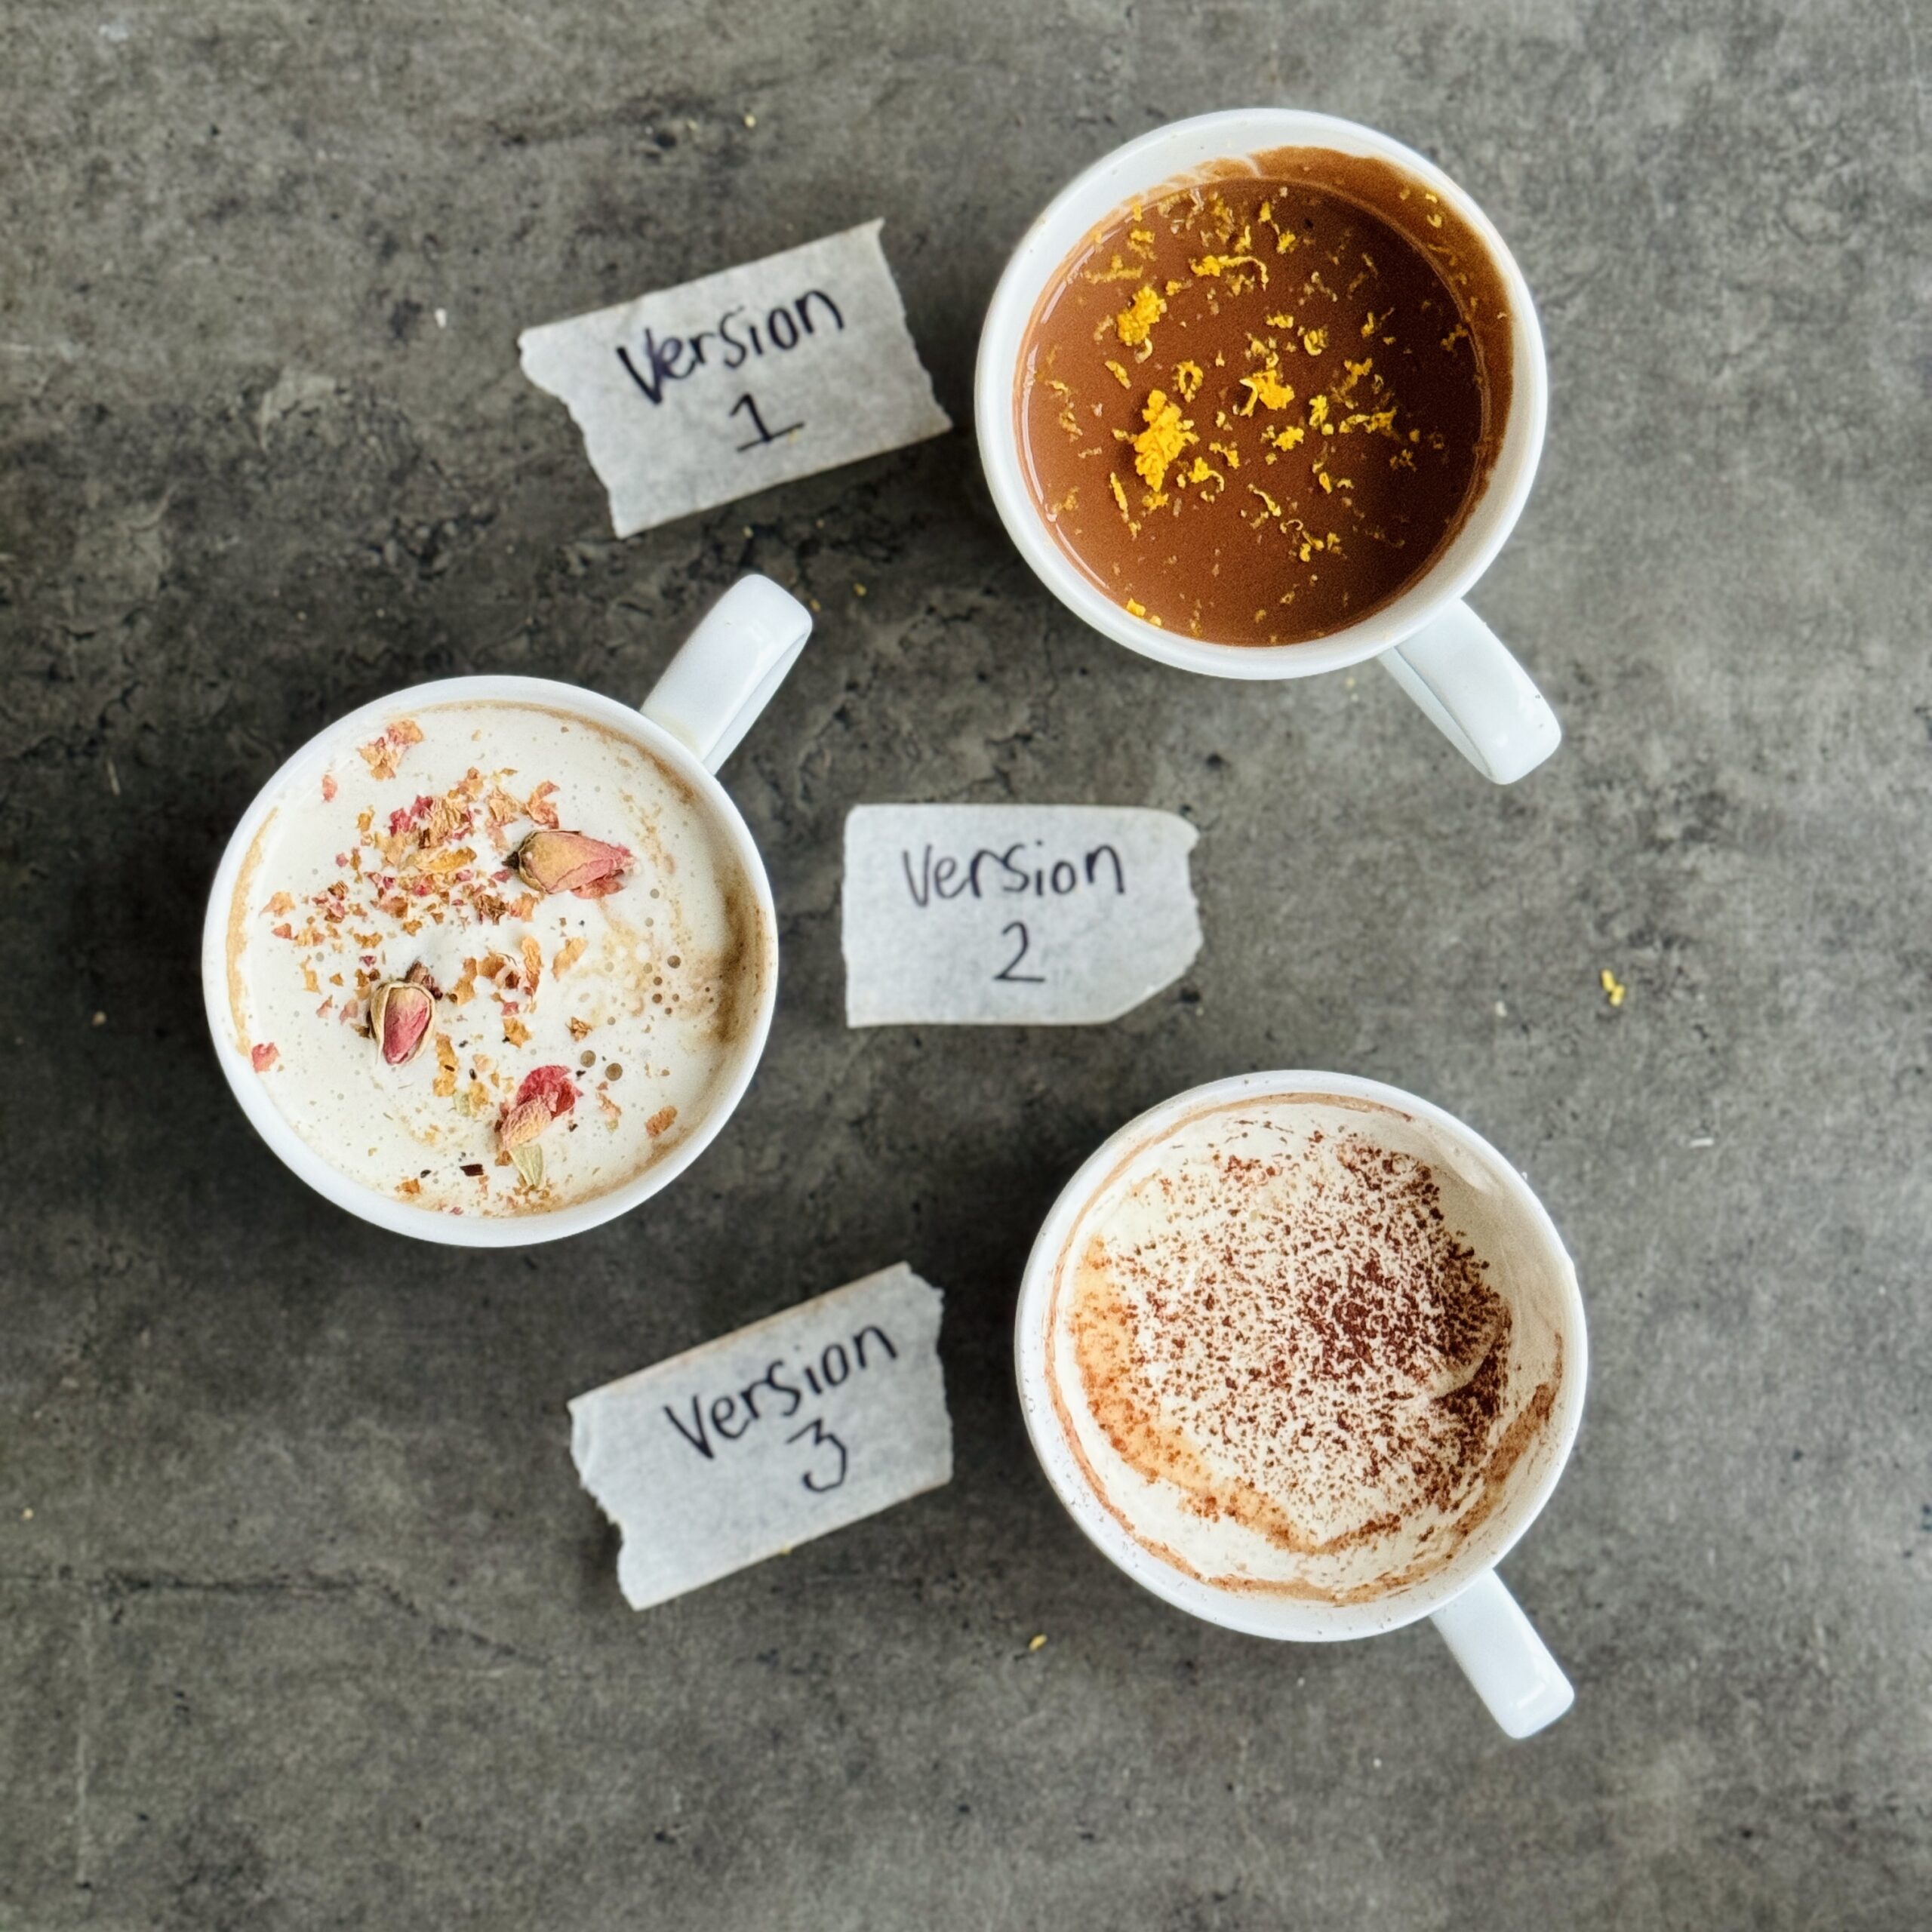
Hot Chocolate 3 Ways
Takes 1 hour
Serves 2
Ingredients
Chocolate Ganache Hot Chocolate
- 250 g oat milk 1 cup
- 250 g oat cream or cream 1 cup
- 50 g chocolate 1.75 oz or about 3.5 tbsp chopped
- Zest of 1 orange
Pistachio Hot Chocolate
- 500 ml pistachio milk 2 cups
- 50 g chocolate 1.75 oz or about 3.5 tbsp chopped
- 3 cardamom pods
- 3 rose petals optional
The Purist – Roasted Cocoa Bean Ground to Get Cocoa Liquor
- 100 g raw cocoa beans or nibs about 3/4 cup
- 30 g coconut sugar 2.5 tbsp
- 500 ml oat milk 2 cups
- 1 vanilla pod
Instructions
Chocolate Cream Hot Chocolate
- In a saucepan, combine 250ml oat milk and 250ml oat cream. Heat gently over medium heat until warm but not boiling.
- While the milk mixture heats, chop 50g chocolate finely and zest 1 orange.
- Add the chopped chocolate and orange zest to the warm milk mixture.
- Whisk continuously until the chocolate is fully melted, and the mixture thickens to a ganache-like consistency.
- Pour into your favourite mug and serve immediately. The rich, velvety texture makes this hot chocolate truly luxurious.
Pistachio Milk Hot Chocolate
- Prepare 500ml pistachio milk using a plant milk maker or blend 100g of soaked pistachios with water and strain.
- Heat the pistachio milk in a saucepan over medium heat. Add 3 cardamom pods (lightly crushed) and 3 rose petals, allowing the flavours to infuse as the milk warms.
- Chop 50g chocolate finely and whisk it into the warm pistachio milk until fully melted and smooth.
- Pour the hot chocolate into a mug and top with a dollop of whipped cream. Garnish with additional rose petals for a stunning and aromatic finish.
- This fragrant and decadent drink is a favourite, offering a perfect balance of floral and nutty flavours.
Purest Cacao Bean Hot Chocolate
- Preheat your oven to 180°C (350°F). Spread 100g raw cacao beans evenly on a baking tray and roast for 10-12 minutes until aromatic. Let them cool, then crack and peel them to remove the husks.
- Grind the peeled cacao beans in a pestle and mortar or a high-powered blender until smooth, forming a paste (cocoa liquor).
- In a saucepan, combine 500ml oat milk, 30g coconut sugar, a pinch of salt, and 1 vanilla pod (split lengthwise and seeds scraped into the mix). Heat over medium heat.
- Add the cacao paste to the warm oat milk mixture. Whisk thoroughly until the cacao is fully dissolved, and the mixture is smooth.
- Serve the hot chocolate in small cups to savour its rich, intense flavour. This recipe highlights the pure, unadulterated essence of roasted cacao beans.
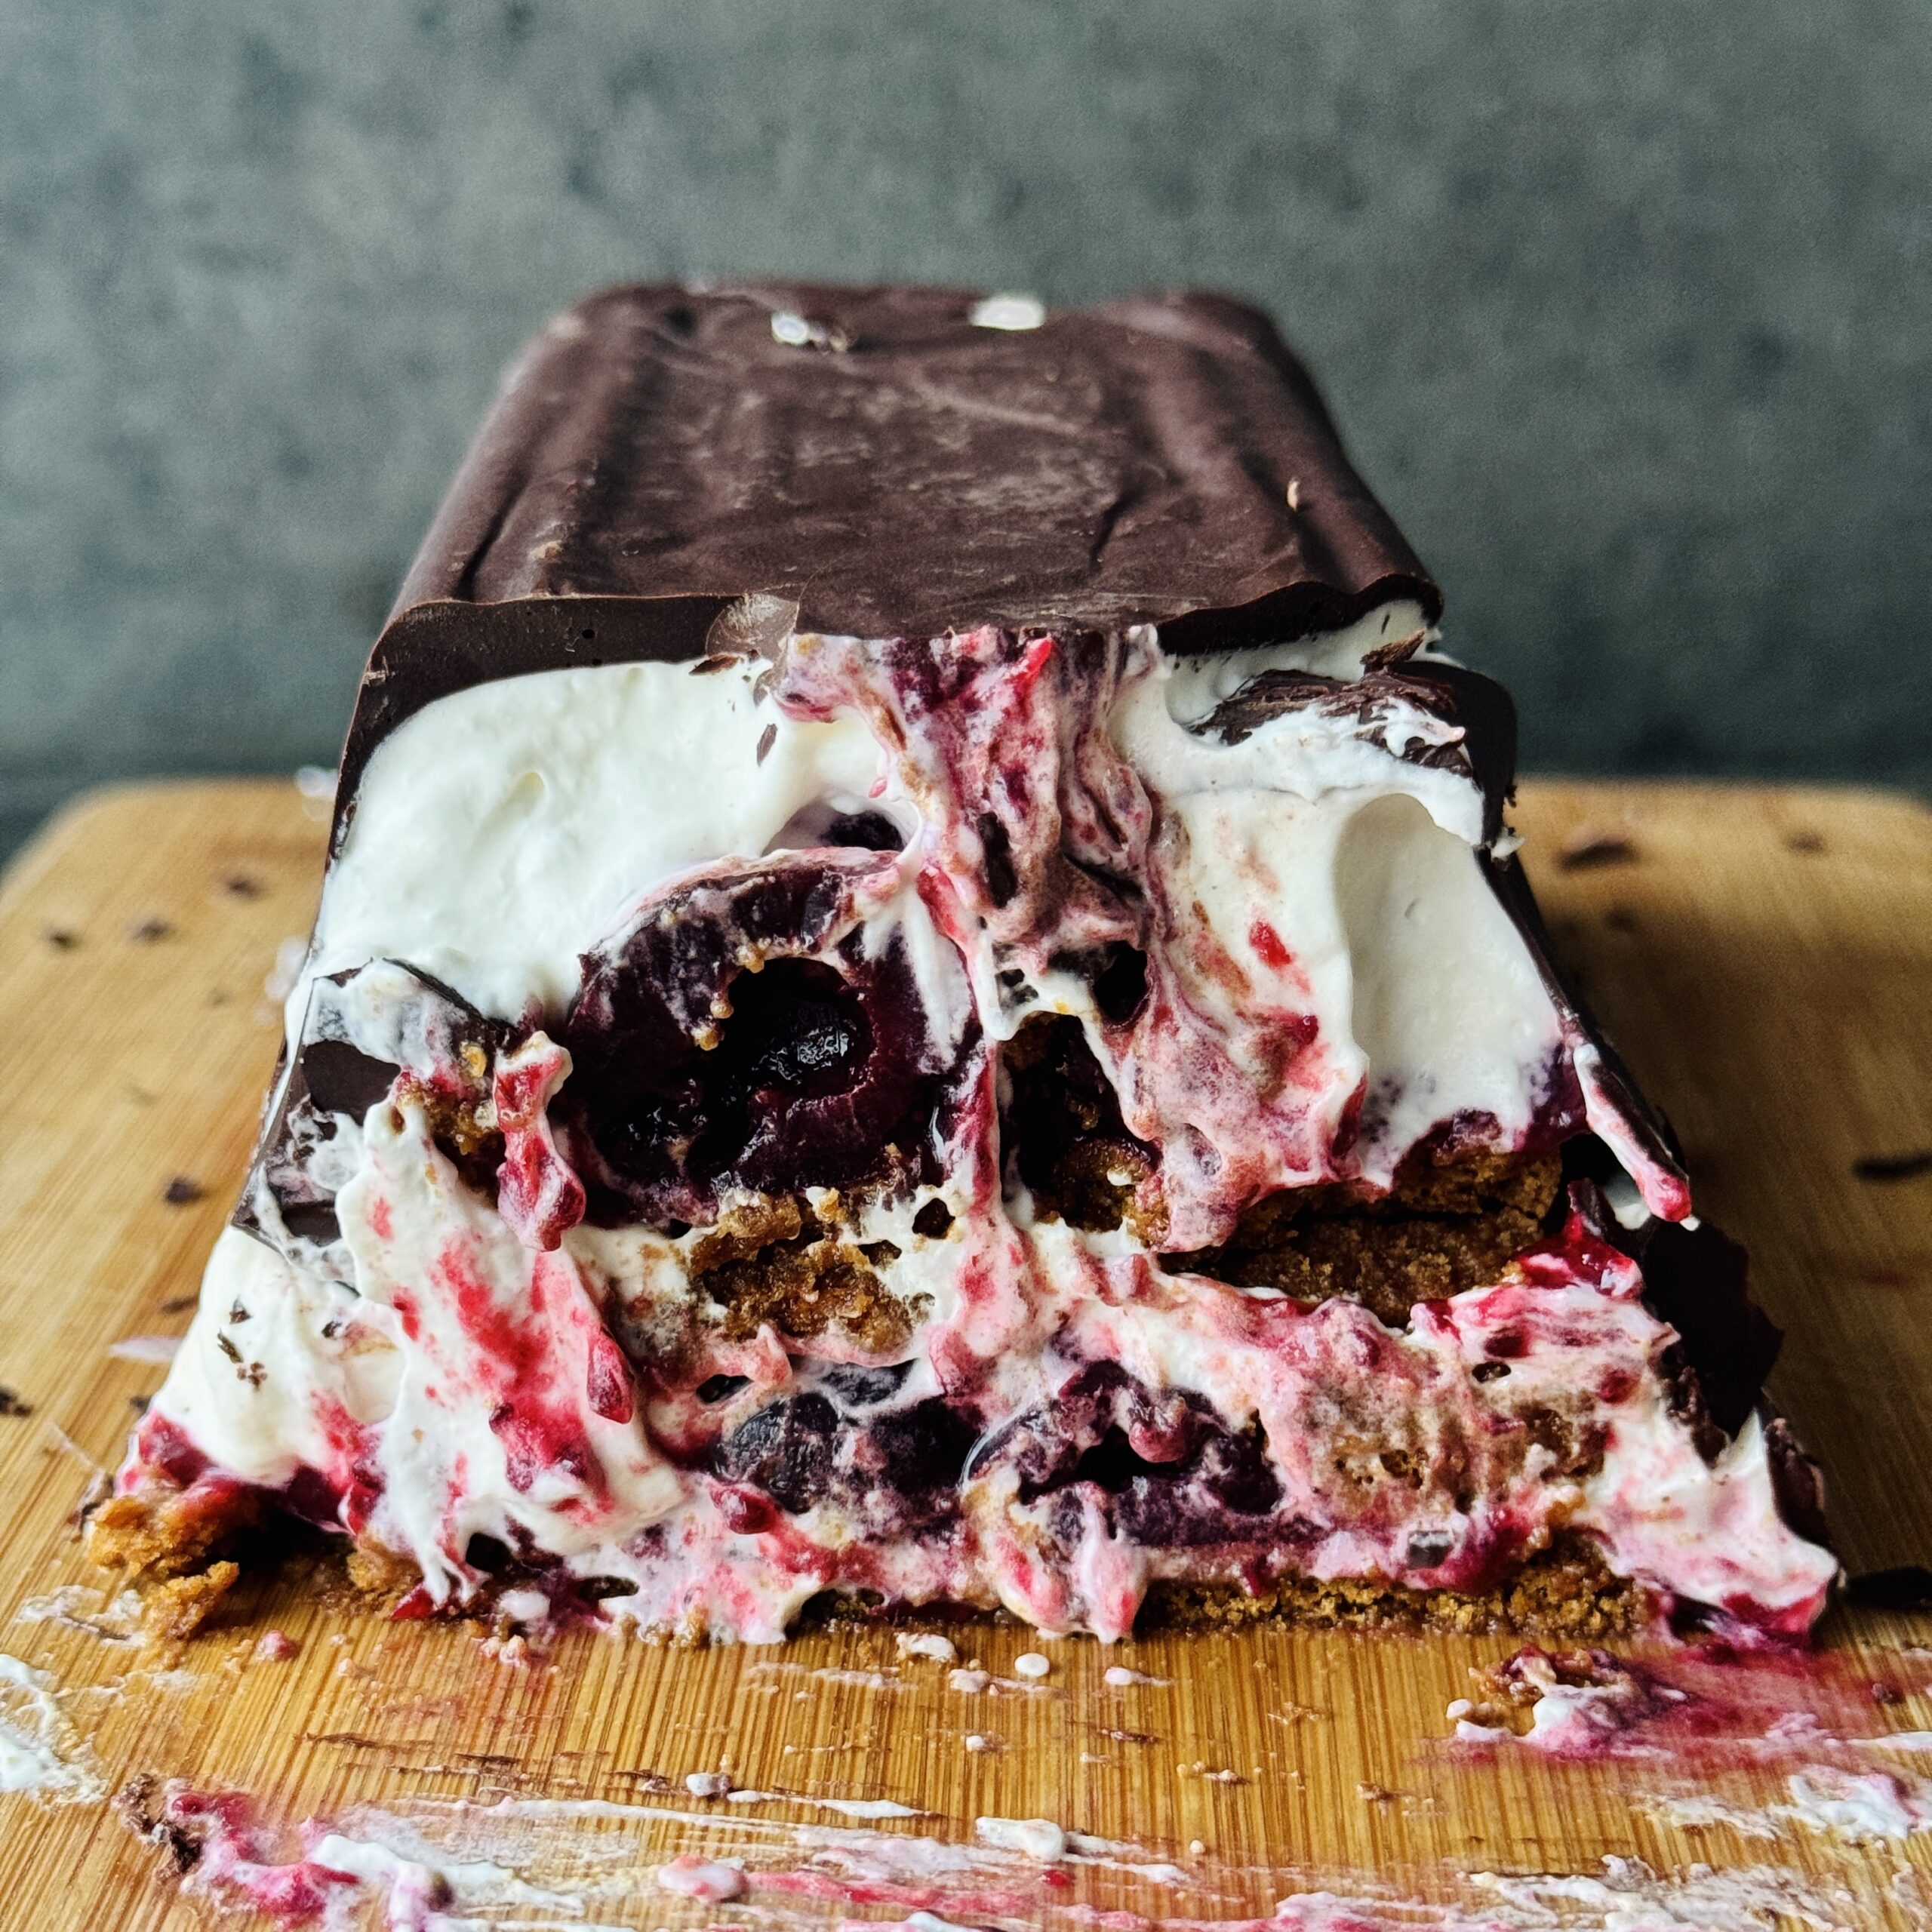
Hard Shell Cherry Tiramisu
Takes 50 minutes
Serves 6
Ingredients
Coffee Sponge Base
- 1 x 250g pack of plant-based biscuits plain biscuits or ladyfinger biscuits (about 2 ½ cups whole biscuits)
- 200 ml strong black coffee ¾ cup
Hard Chocolate Layer
- 150 g dark chocolate 1 cup, chopped
- 2 tbsp vegetable oil
Cherry Layer
- 250 g cherry jam or cranberry sauce ¾ cup
Cream Layer
- 250 ml vegan cream 1 cup
- 150 ml vegan cream cheese ⅔ cup
- 3 tbsp kirsch or marsala cherry liquor optional
- 1 vanilla pod
- 3 tbsp icing sugar
Garnish
- 30 g cacao powder ¼ cup
- Chocolate to garnish
Instructions
Chocolate layer
- Get a 1 lb loaf baking tin and grease with a little oil and carefully line with baking parchment right up the sides. Ensure the paper is sticking to the baking tin
- Chop the chocolate into small pieces and add to a bowl along with the vegetable oil and melt using a bain marie or microwave. Carefully pour in the melted chocolate to the lined loaf tin and tilt it around letting gravity do its work so that the chocolate coats all the sides evenly. Tip out any excess chocolate and set aside in the freezer for 10 mins or fridge for 15 mins.
Whip cream
- Add the plant based cream to a large bowl along with the icing sugar, along with the cream cheese and scrape out the inside of the vanilla pod and add. Using an electric whisk whip the cream until you reach stiff peaks, this should take 4-5 mins. It should be super smooth with stiff peaks. You want to ensure it’s thick enough so that it will hold its shape.
Coffee soak
- In a bowl add the coffee ready to dunk the biscuits.
Plating up
- Carefully scoop out half of the cream layer and into the base of the chocolate shell and spread it out evenly, it should fill ⅓ of the chocolate case. On top of the cream layer, spoon over a layer of the cherries. Next dip the biscuits into the coffee soak and add 2 layers of soaked biscuits on top of the cherries (if you are using lady finger biscuits or similar thicker biscuits just put in a single layer). Repeat this process adding cream on top of the biscuits, followed by cherries, followed by soaked biscuits. You want to ensure that there are no gaps and that the loaf tin is full. Set aside in the freezer for 10 mins to set.
Ready to serve
- Place a serving plan upside down on top of the tin (held up correctly!) Secure the plate and tin with both hands and lift and invert the tin onto the plate. Slowly lift off the tin and peel away the baking paper. Dust with some cocoa powder and some chocolate shavings. Use a hot knife to cut or else just crack with a large spoon!
- Enjoy!
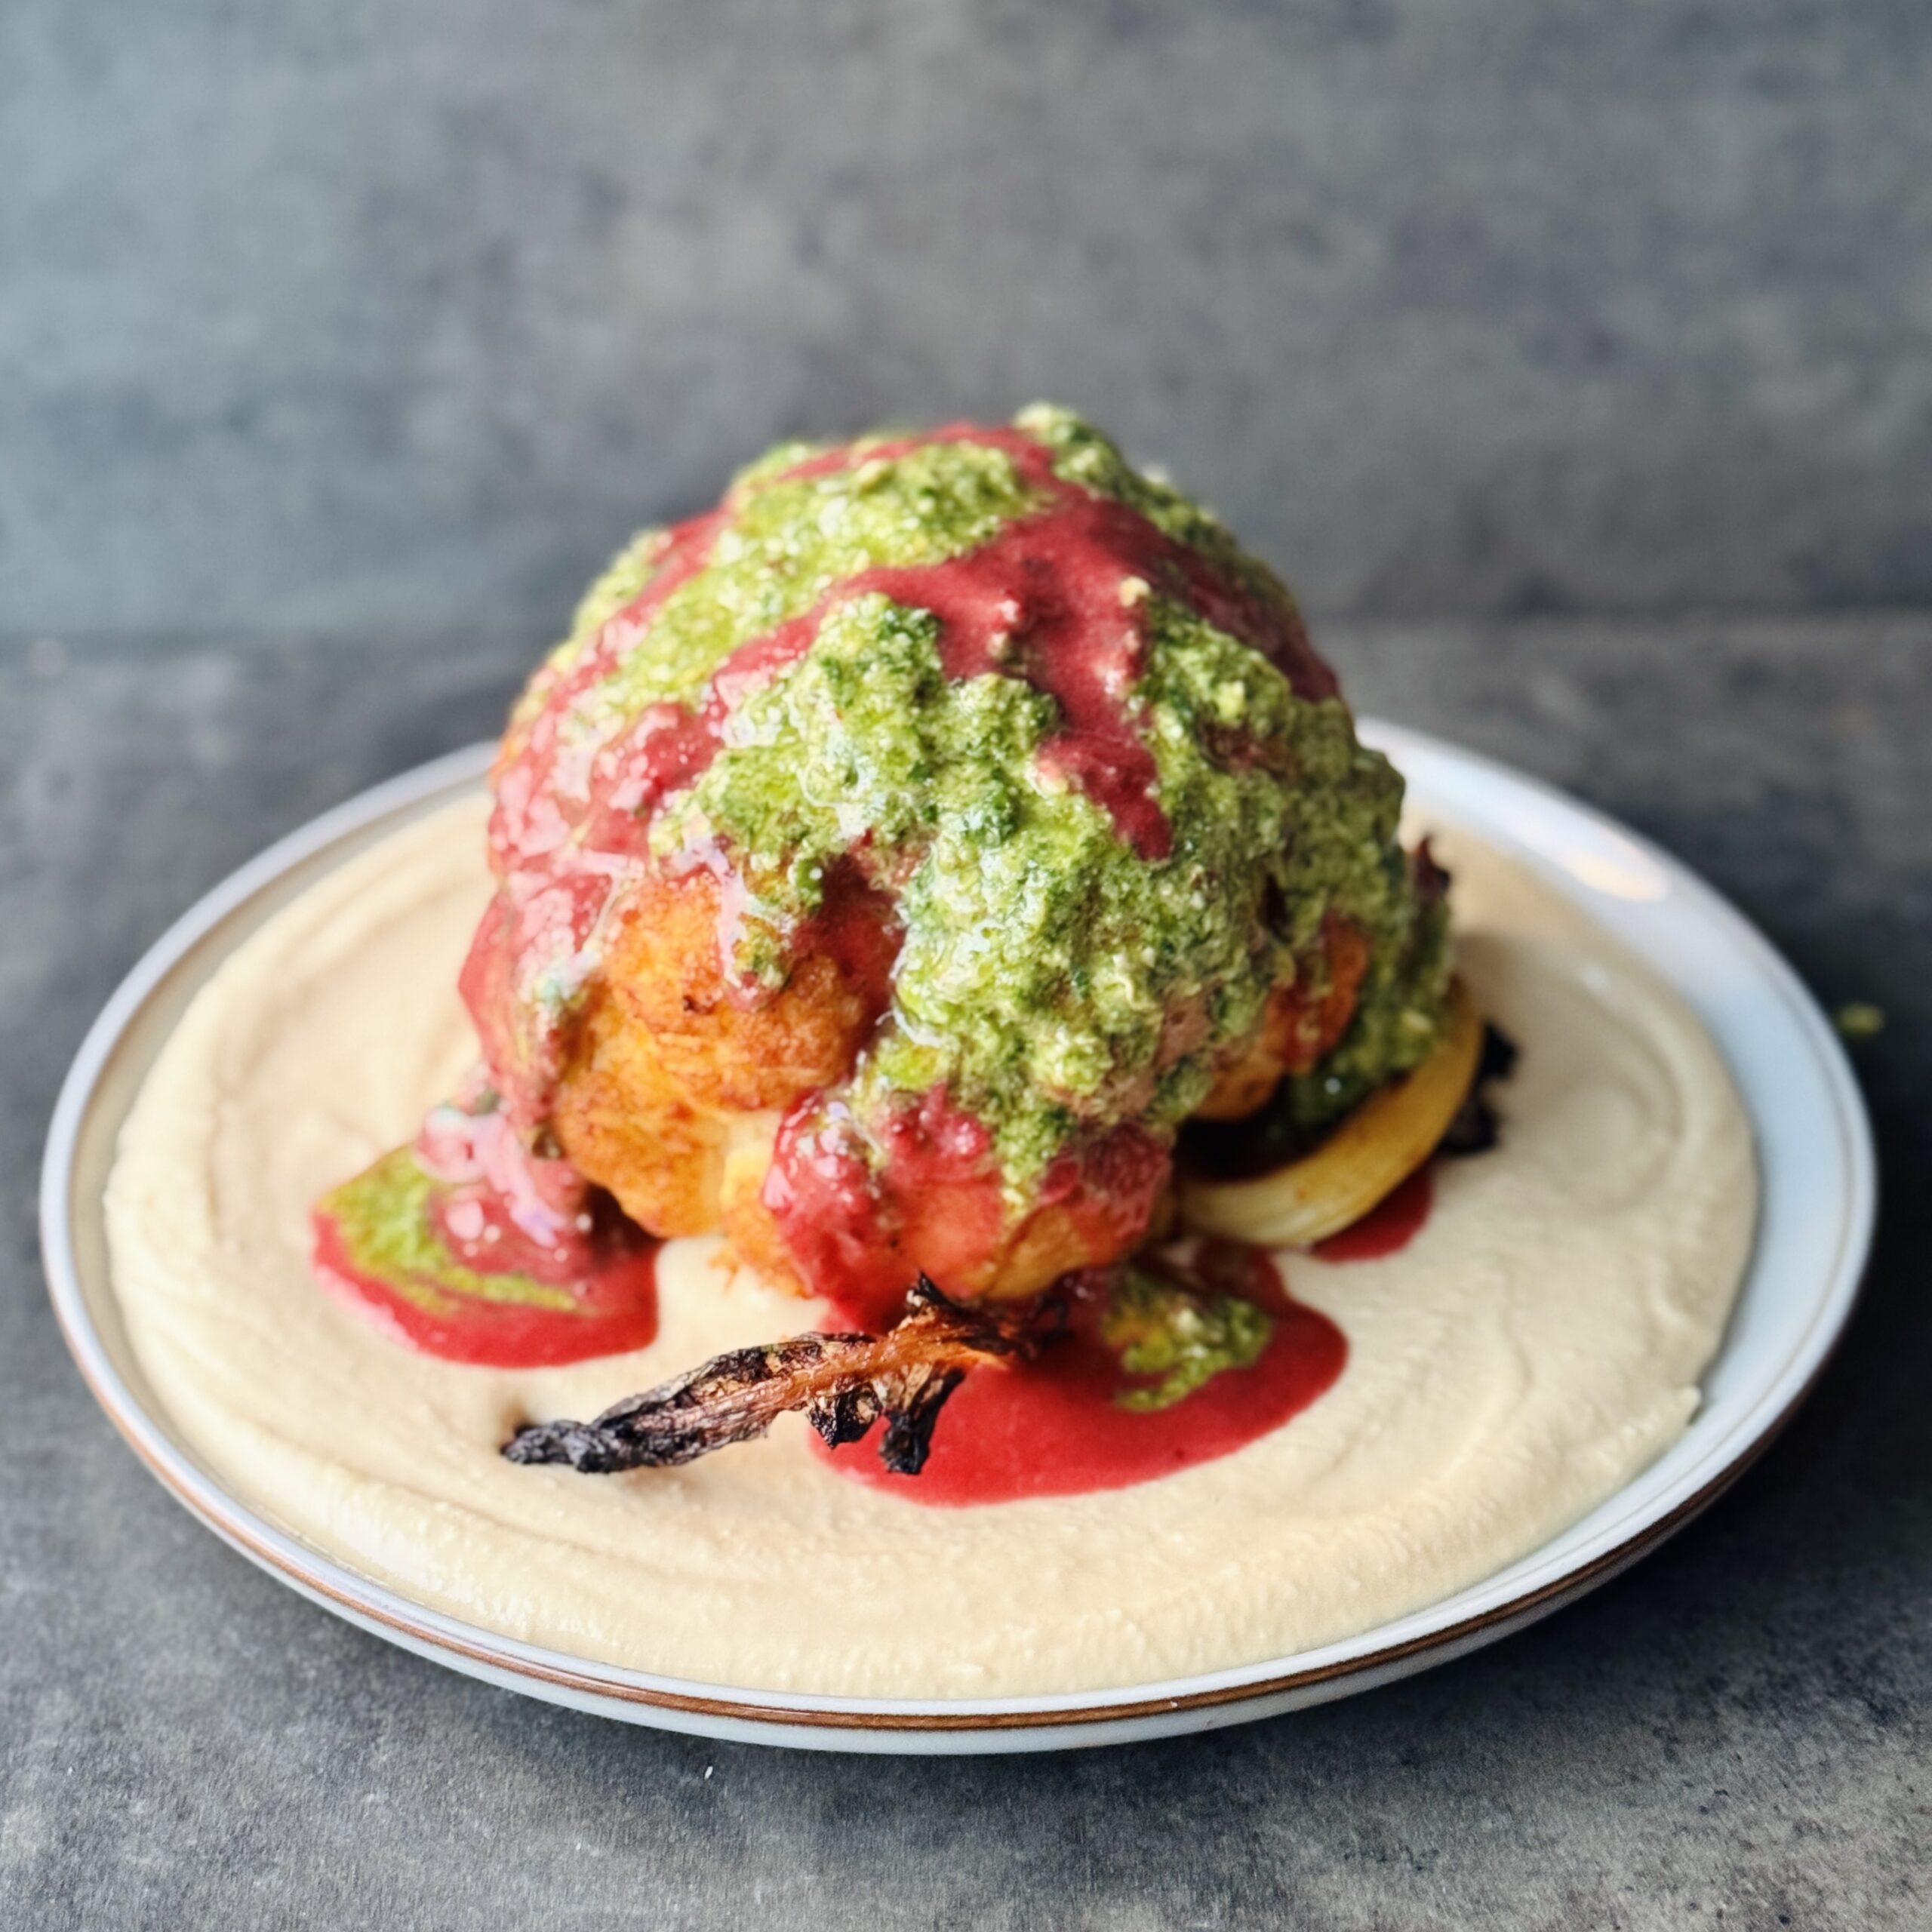
Whole-roasted Cauliflower with Cranberry Glaze
Takes 55 minutes
Serves 4
Ingredients
For the Roasted Cauliflower:
- 1 large cauliflower leaves trimmed
- 45 ml olive oil 3 tbsp
- 2 tbsp maple syrup
- 1 tbsp tamari/ soy sauce
- 3/4 tsp smoked paprika
- Pinch salt
For the Cranberry Glaze:
- 100 ml of cranberry sauce approx. 6 ½ tbsp
- 2 tbsp Olive oil
- 1 tbsp tamari
- 50 ml water 3 ½ tbsp
- Pinch salt
For the Buttery Mash:
- 2 tins of butter beans 500g nett weight, approx. 3 cups drained beans
- Juice of 1 lemon
- 2 small cloves of garlic
- 1 tsp salt
- 4 ice cubes
- 6 tbsp light tahini
- 5-6 tbsp water
- 4 tbsp of olive oil
For the Parsley Oil:
- 1 small bunch flat-leaf parsley leaves 20g, approx. 1 cup, loosely packed
- 3 tbsp capers
- 1 garlic clove
- 30 ml of vinegar of choice 2 tbsp
- 70 ml extra virgin olive oil 4 ½ tbsp
- ½ tsp salt
Instructions
- Preheat your oven to 220°C (440°F).
Prepare the Cauliflower:
- Parboil the cauliflower: Fill and boil the kettle, add the just boiled water to a large saucepan (approx 5L) with 1 tbsp of salt. Remove any damaged leaves from the cauliflower and clean the cauliflower. Add to the saucepan and cover with a lid and leave to steam for 10 mins. Carefully remove the cauliflower from the pot and drain and place on a baking tray
- In a small bowl, mix the olive oil, smoked paprika, tamari, maple syrup, & salt. Rub this mixture all over the cauliflower and bake in the oven for 20 mins until it starts to char around the edges
Make the Cranberry Glaze:
- Add the ingredients for the cranberry glaze to a blender and blend till smooth. It should be runny and have a bright red colour. Taste and adjust the seasoning to your liking.
Make the Butterbean spread:
- Drain and rinse the butter beans, peel the garlic, and add to a food processor or blender along with the rest of the ingredients for the butterbean spread and blend till silky smooth. Taste and adjust the seasoning to your liking.
Prepare the Green Herb Sauce:
- Blend parsley, olive oil, vinegar, capers, garlic, salt, and pepper until smooth (if you prefer a chunkier texture you can also finely chop the parsley and capers or grind up all ingredients to a nestle and mortar). Add water or more oil if needed for a drizzleable consistency. Taste and adjust the seasoning to your liking.
Assemble the Dish:
- Spread the buttery mash on a large serving platter. Place the roasted cauliflower on top. Drizzle over the cranberry glaze followed by the green herb sauce around and over the cauliflower. Serve warm and enjoy!
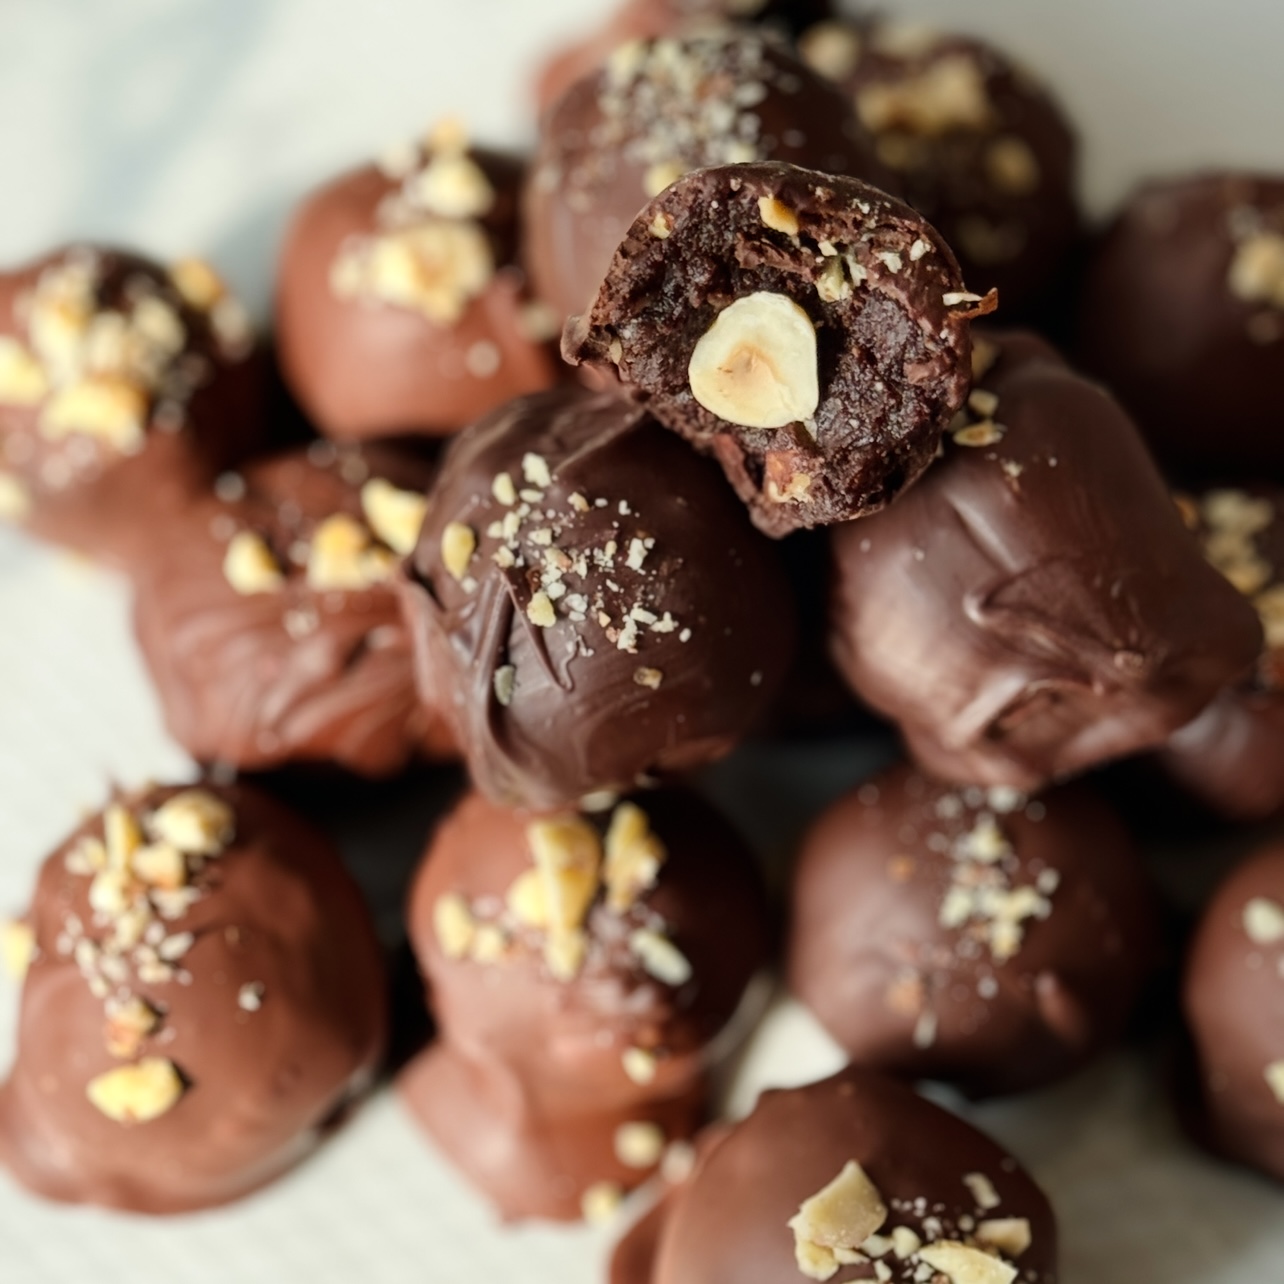
Healthier Ferrero Rocher Hazelnut Bites
Takes 30 minutes
Serves 20
Ingredients
- 250 g hazelnuts 100g for hazelnut butter (~1 ¾ cups hazelnuts, ¾ cup for hazelnut butter)
Chocolate hazelnut filling:
- 2 tbsp coconut oil
- 200 g Medjool dates pitted (~1 cup, packed)
- 1 tsp vanilla extract
- 30 g cocoa powder ~¼ cup
- Pinch of salt
Instructions
Prepare Hazelnuts:
- Preheat the oven to 180°C.
- Spread the hazelnuts on a baking sheet and toast for 8-10 minutes until fragrant and lightly golden.
- Transfer the toasted hazelnuts to a clean tea towel and rub them to remove the skins.
- Set aside 100g of skinned hazelnuts for hazelnut butter and reserve 20 whole hazelnuts for centres. Roughly chop the remaining hazelnuts.
Make Hazelnut Butter:
- In a food processor, blend 100g skinned roasted hazelnuts with the coconut oil and a pinch of salt until they form a nut butter (3-5 mins).
Prepare Filling:
- Remove stones from Medjool dates, leaving roughly 200g.
- Add pitted dates, vanilla extract, cocoa powder, and 3-4 tbsp water to the hazelnut butter. Blend until a smooth ball forms.
Form Balls:
- Take a small portion of the filling (approx 20g) and place a whole hazelnut in the middle.
- Roll into smooth balls (approx 1.5-2 cm diameter), ensuring the hazelnut is centred. Repeat for all filling, you should get approx 20 balls.
- Roll balls in the chopped hazelnuts, pressing gently so they stick.
Coat in Chocolate:
- Melt chocolate in a bain-marie or microwave.
- Dip each ball into the melted chocolate, then sprinkle chopped hazelnuts on top.
Enjoy:
- Allow the chocolate to set before serving. Enjoy your healthier Ferrero Rocher protein balls!
The Happy Pear Podcast
In this inspiring, we sit down with Alexandra Pope and Sjanie Hugo Wurlitzer, the visionary co-founders of The Red School. Alexandra and Sjanie are internationally recognised for their pioneering work in the field of menstruality—a groundbreaking approach to understanding the power of the menstrual cycle and its role in fostering creativity, wellbeing, and personal transformation.

Episode 178
Together, they’ve co-authored Wild Power and their latest book, Wise Power: Discover the Liberating Power of Menopause. They also host the widely celebrated Menstruality Podcast, where they dive deep into topics of cyclical living and empowerment.
This conversation explores how embracing the natural rhythms of the menstrual cycle and menopause can lead to profound self-discovery and liberation. Alexandra and Sjanie share their wisdom, practical tools, and insights into how cyclical awareness can transform every aspect of life, from relationships and work to health and spirituality.
Whether you’re navigating your menstrual years, approaching menopause, or supporting someone who is, this episode offers empowering insights and practical advice. Alexandra and Sjanie’s work is a call to reconnect with the innate wisdom of the body and embrace the cycles of life as allies in growth and transformation.
Dave & Steve
Lots of love,
SPONSORS & DISCOUNT CODES:
Namawell Juicers are AMAZING! They have absolutely revolutionised the juicing game. We have an exclusive 10% discount for you!
Enter the code HAPPYPEAR10
LINK: https://namawell.com/collections/juicers/products/nama-j2-cold-press-juicer?ref=thehappypear
VIVOBAREFOOT: Vivobarefoot Footwear have given our listeners an exclusive 20% discount and if you buy now you also get free access to their incredible course showcasing some of the biggest names in the health and wellness space.
Enter the code HP20
LINK: https://www.vivobarefoot.com/uk/the-happy-pear
THE WHOLE HEALTH TRIBE – Join our community
LINK: https://eu1.hubs.ly/H0bmqxd0
THE HAPPY PEAR RECIPE CLUB – Blending health and happiness through a range of over 500 delicious plant-based recipes.
LINK: https://eu1.hubs.ly/H0bmqss0
Sign up to our Newsletter, for updates on our latest recipes, events, and news.
LINK: https://share-eu1.hsforms.com/1hKXaawjoQOONmJe4EXkCdwf92py
Produced by Sean Cahill & Sara Fawsitt
Available now from all good podcast providers:

Size: 400g
Make your own tortilla? Grab a tortilla wrap, spoon on this delicious filling and customize your creation with your favourite additions such as fresh tomato salsa, creamy avocado slices, and a sprinkle of chopped coriander. Relish every bite!
INGREDIENTS
Cooked Brown Rice (30%) [Water, Brown Rice], Tomatoes (22%), Red Peppers (7%), Sweet Corn (6%), Red Kidney Beans (5%), Onions, Leeks, Black Beans (4.5%), Yellow Peppers (3.5%), Green Peppers (3.5%), Jalapeño Chillies (2%), Spices, Corn Starch, Garlic Purée, Tomato Paste, Rapeseed Oil, Agave Syrup, Salt, Red Chillies, Herbs, Onion Powder, Garlic Powder
ALLERGEN INFORMATION
For allergens incl. Cereals containing Gluten, see ingredients highlighted.
NUTRITIONAL INFORMATION
| Typical | per 100g |
|---|---|
| Energy | 321kJ / 76kcal |
| Fat | 0.9g |
| Of which Saturates | 0.1g |
| Carbohydrates | 13g |
| Of which Sugars | 2.7g |
| Fibre | 3.2g |
| Protein | 2.4g |
| Salt | 0.31g |
| Sodium | 0.31g |

Size: 400g
Make it your own Add your own ingredients e.g. Tofu, peas or whatever you fancy for that extra oomph!
INGREDIENTS
Cooked WHOLEWHEAT Penne Pasta (35%) [Water, Durum WHOLEWHEAT Semolina, Rapeseed Oil], Mushrooms (20%), SOYA Drink [Water, Hulled SOYA Beans], Water, Green Lentils [Water, Lentils], Onions, Spinach (2.5%), Coconut MILK [Coconut Extract, Water], Corn Starch, Garlic Purée, Rapeseed Oil, WHEAT Flour, Salt, Vegetable Stock [Carrot, Onion, Leek], Yeast Extract, SOYA Beans, White Pepper, Spirit Vinegar, WHEAT Gluten
ALLERGEN INFORMATION
For allergens incl. Cereals containing Gluten, see ingredients highlighted.
Contains Soya, Wheat – May Also Contain Traces of Mustard
NUTRITIONAL INFORMATION
| Typical | per 100g |
|---|---|
| Energy | 443kJ / 105kcal |
| Fat | 1.9g |
| Of which Saturates | 0.5g |
| Carbohydrates | 16g |
| Of which Sugars | 0.9g |
| Fibre | 3.5g |
| Protein | 4.3g |
| Salt | 0.32g |
| Sodium | 0.32g |
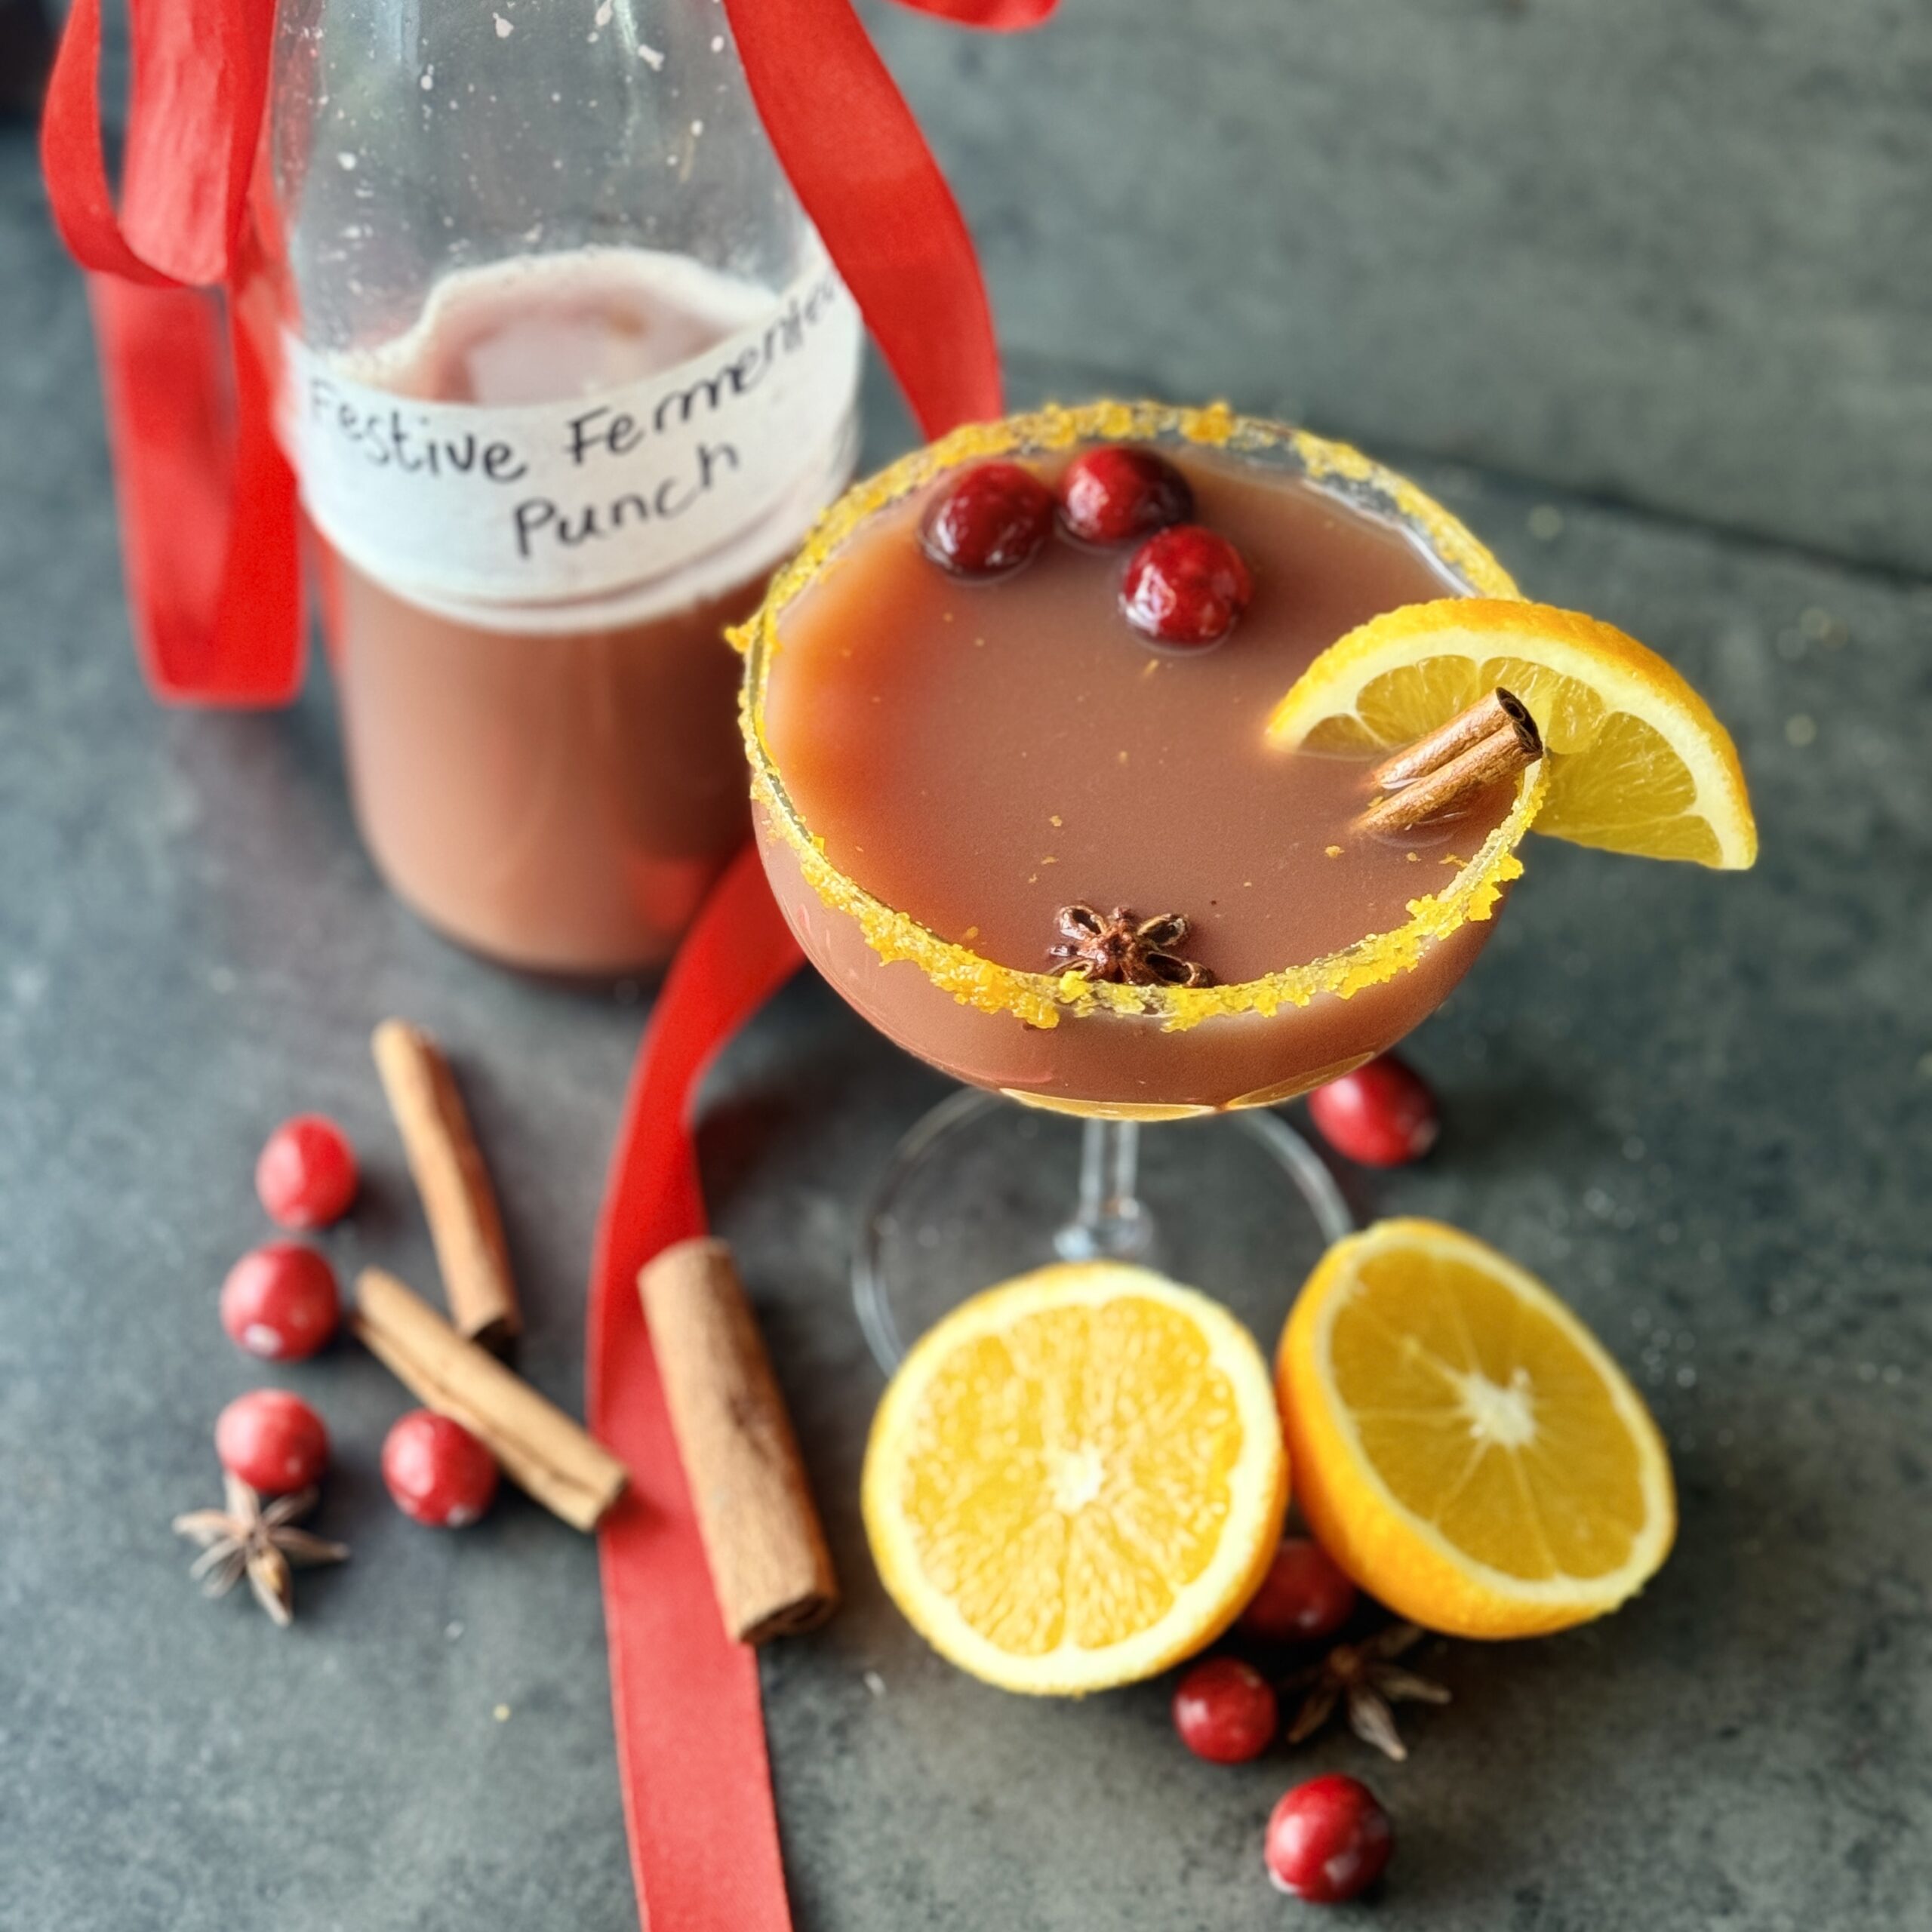
Fermented Festive Fruit Punch
Takes 6 days 15 minutes
Serves 4
Ingredients
For the fermented punch:
- Fresh Cranberries: 200g 2 cups
- 4 Apples medium sweet variety like Fuji or Honeycrisp)
- 2 Oranges unwaxed, organic
- 1 Lemon unwaxed, organic
- Fresh Ginger: 10g 1-inch piece, peeled
- 2 tablespoons of brown sugar
- 3 cinnamon sticks
- 1 tsp whole Cloves
- 1 tsp Star Anise
To serve:
- 1 tbsp white sugar
- 1 tbsp orange zest
Instructions
Juice the Ingredients:
- Feed the cranberries and apples, through your Namawell J2 juicer.
Transfer to Fermentation Vessel:
- Pour the juice into a sterilized glass jar, leaving at least 1-2 inches of headspace for bubbling.
- Optional: Add a few slices of citrus fruit, ginger, cinnamon sticks, star anise and cloves to the jar to enhance the aromatic notes. We recommend using organic, unwaxed citrus fruit, as we want to preserve the wild yeast on the outer skin of the fruit which kickstarts the fermentation process.
Kickstart Fermentation:
- Cover the jar with a cheesecloth or a loose-fitting lid to allow wild yeast and bacteria from the environment to interact with the juice.
- Place the jar in a warm, dark place (around 18-24°C / 65-75°F) for 2-4 days
Monitor the Fermentation:
- Look for small bubbles and a slight tangy aroma, indicating fermentation is active.
- Taste daily to avoid over-fermentation; you want it lightly fizzy and tangy, not overly sour.
Strain and Bottle:
- Strain the fermented juice into airtight bottles to remove ginger and apple pieces.
- Seal tightly and allow it to ferment for an additional 2-5 days at room temperature for carbonation. Ensure to burp each day to prevent a build up of excess carbonation, this simply means open the lid and close it for a second each day!
- Refrigerate to stop fermentation and retain fizz.
Serve
- Serve over ice in a tall glass.
- Garnish with a sugar rim by mixing orange zest & sugar and rolling the rim of the glass in the sugar mixture. Garnish with a slice of orange and cinnamon stick
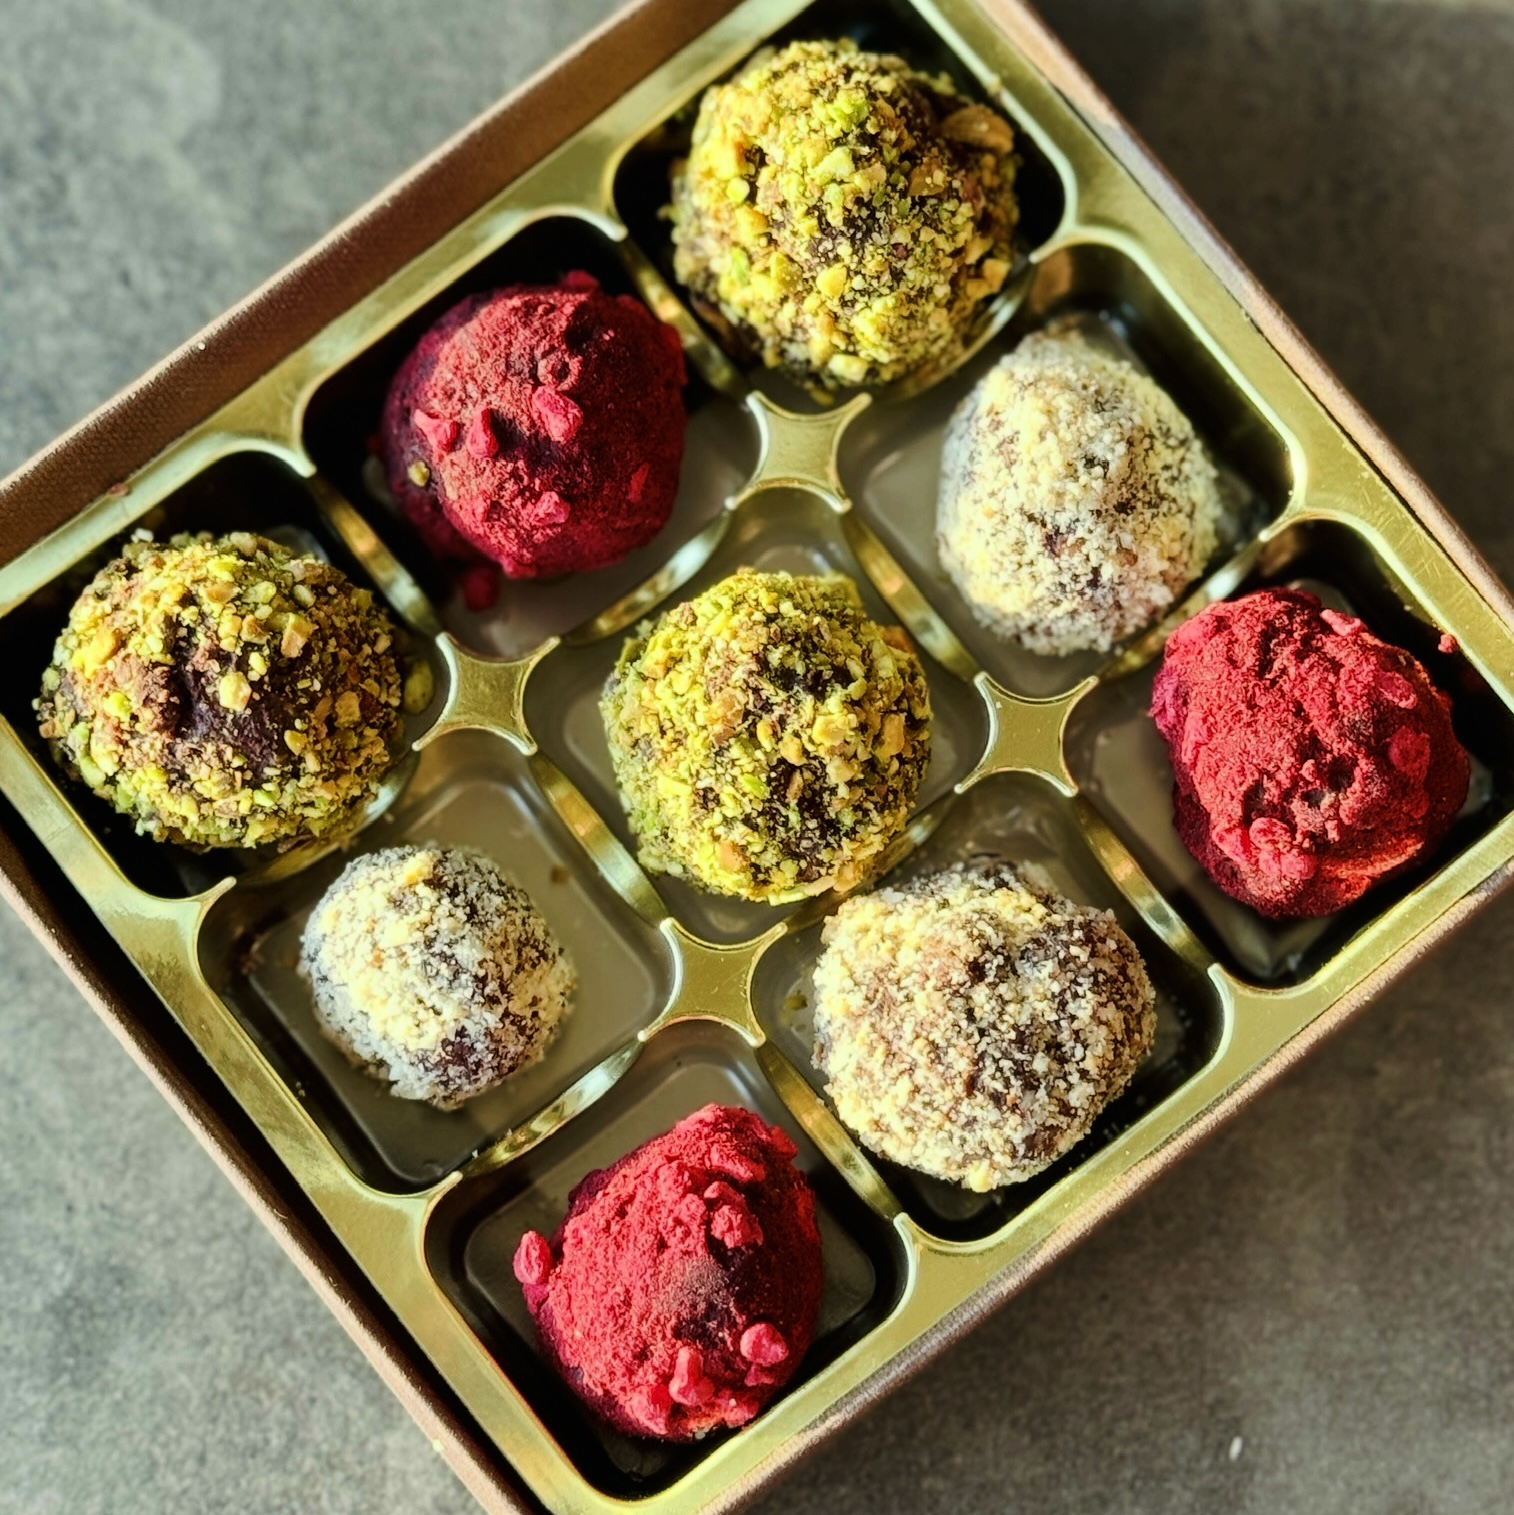
Ganache Truffles Three Ways
Takes 30 minutes
Serves 36
Ingredients
- 300 g dark chocolate 1 ¾ cups, chopped or chips
- 150 ml Happy Pear oat milk ⅔ cup
- 150 g butter plant-based (⅔ cup)
- 50 g shelled pistachios ⅓ cup
- 50 g toasted hazelnuts ⅓ cup
- 20 g freeze-dried raspberries ⅓ cup
Instructions
- Break up the chocolate into small pieces and put in a bowl.
- Finely dice the pistachios and hazelnuts into a fine crumb ensuring to keep them separate. You could alternatively use a blender. Do the same with the freeze dried raspberries
- Put the oat milk and butter into a medium sauce pan on high heat. Bring to a boil and reduce to a simmer until the butter has melted.
- Remove from the heat and pour over the chocolate.
- Leave to sit for 1 minute and stir until it’s all well combined and super chocolatey.
- Divide into three bowls, in one bowl add half the pistachio crumb and mix through, in the second bowl add half of the hazelnut crumb and mix through and in the final bowl add half of the freeze dried raspberries and mix through.
- Put each of the three bowls in the fridge to set, this will take approx 20-30 mins.
- Remove once set and roll into small balls (approx 15g in weight) being careful not to handle too much as they will melt if you handle them too much.
- Coat each different truffle in their respective topping as in the pistachio truffle coat in pistachio and similarly with the other two varieties
- Put in a small box or clear bag, label up and enjoy!
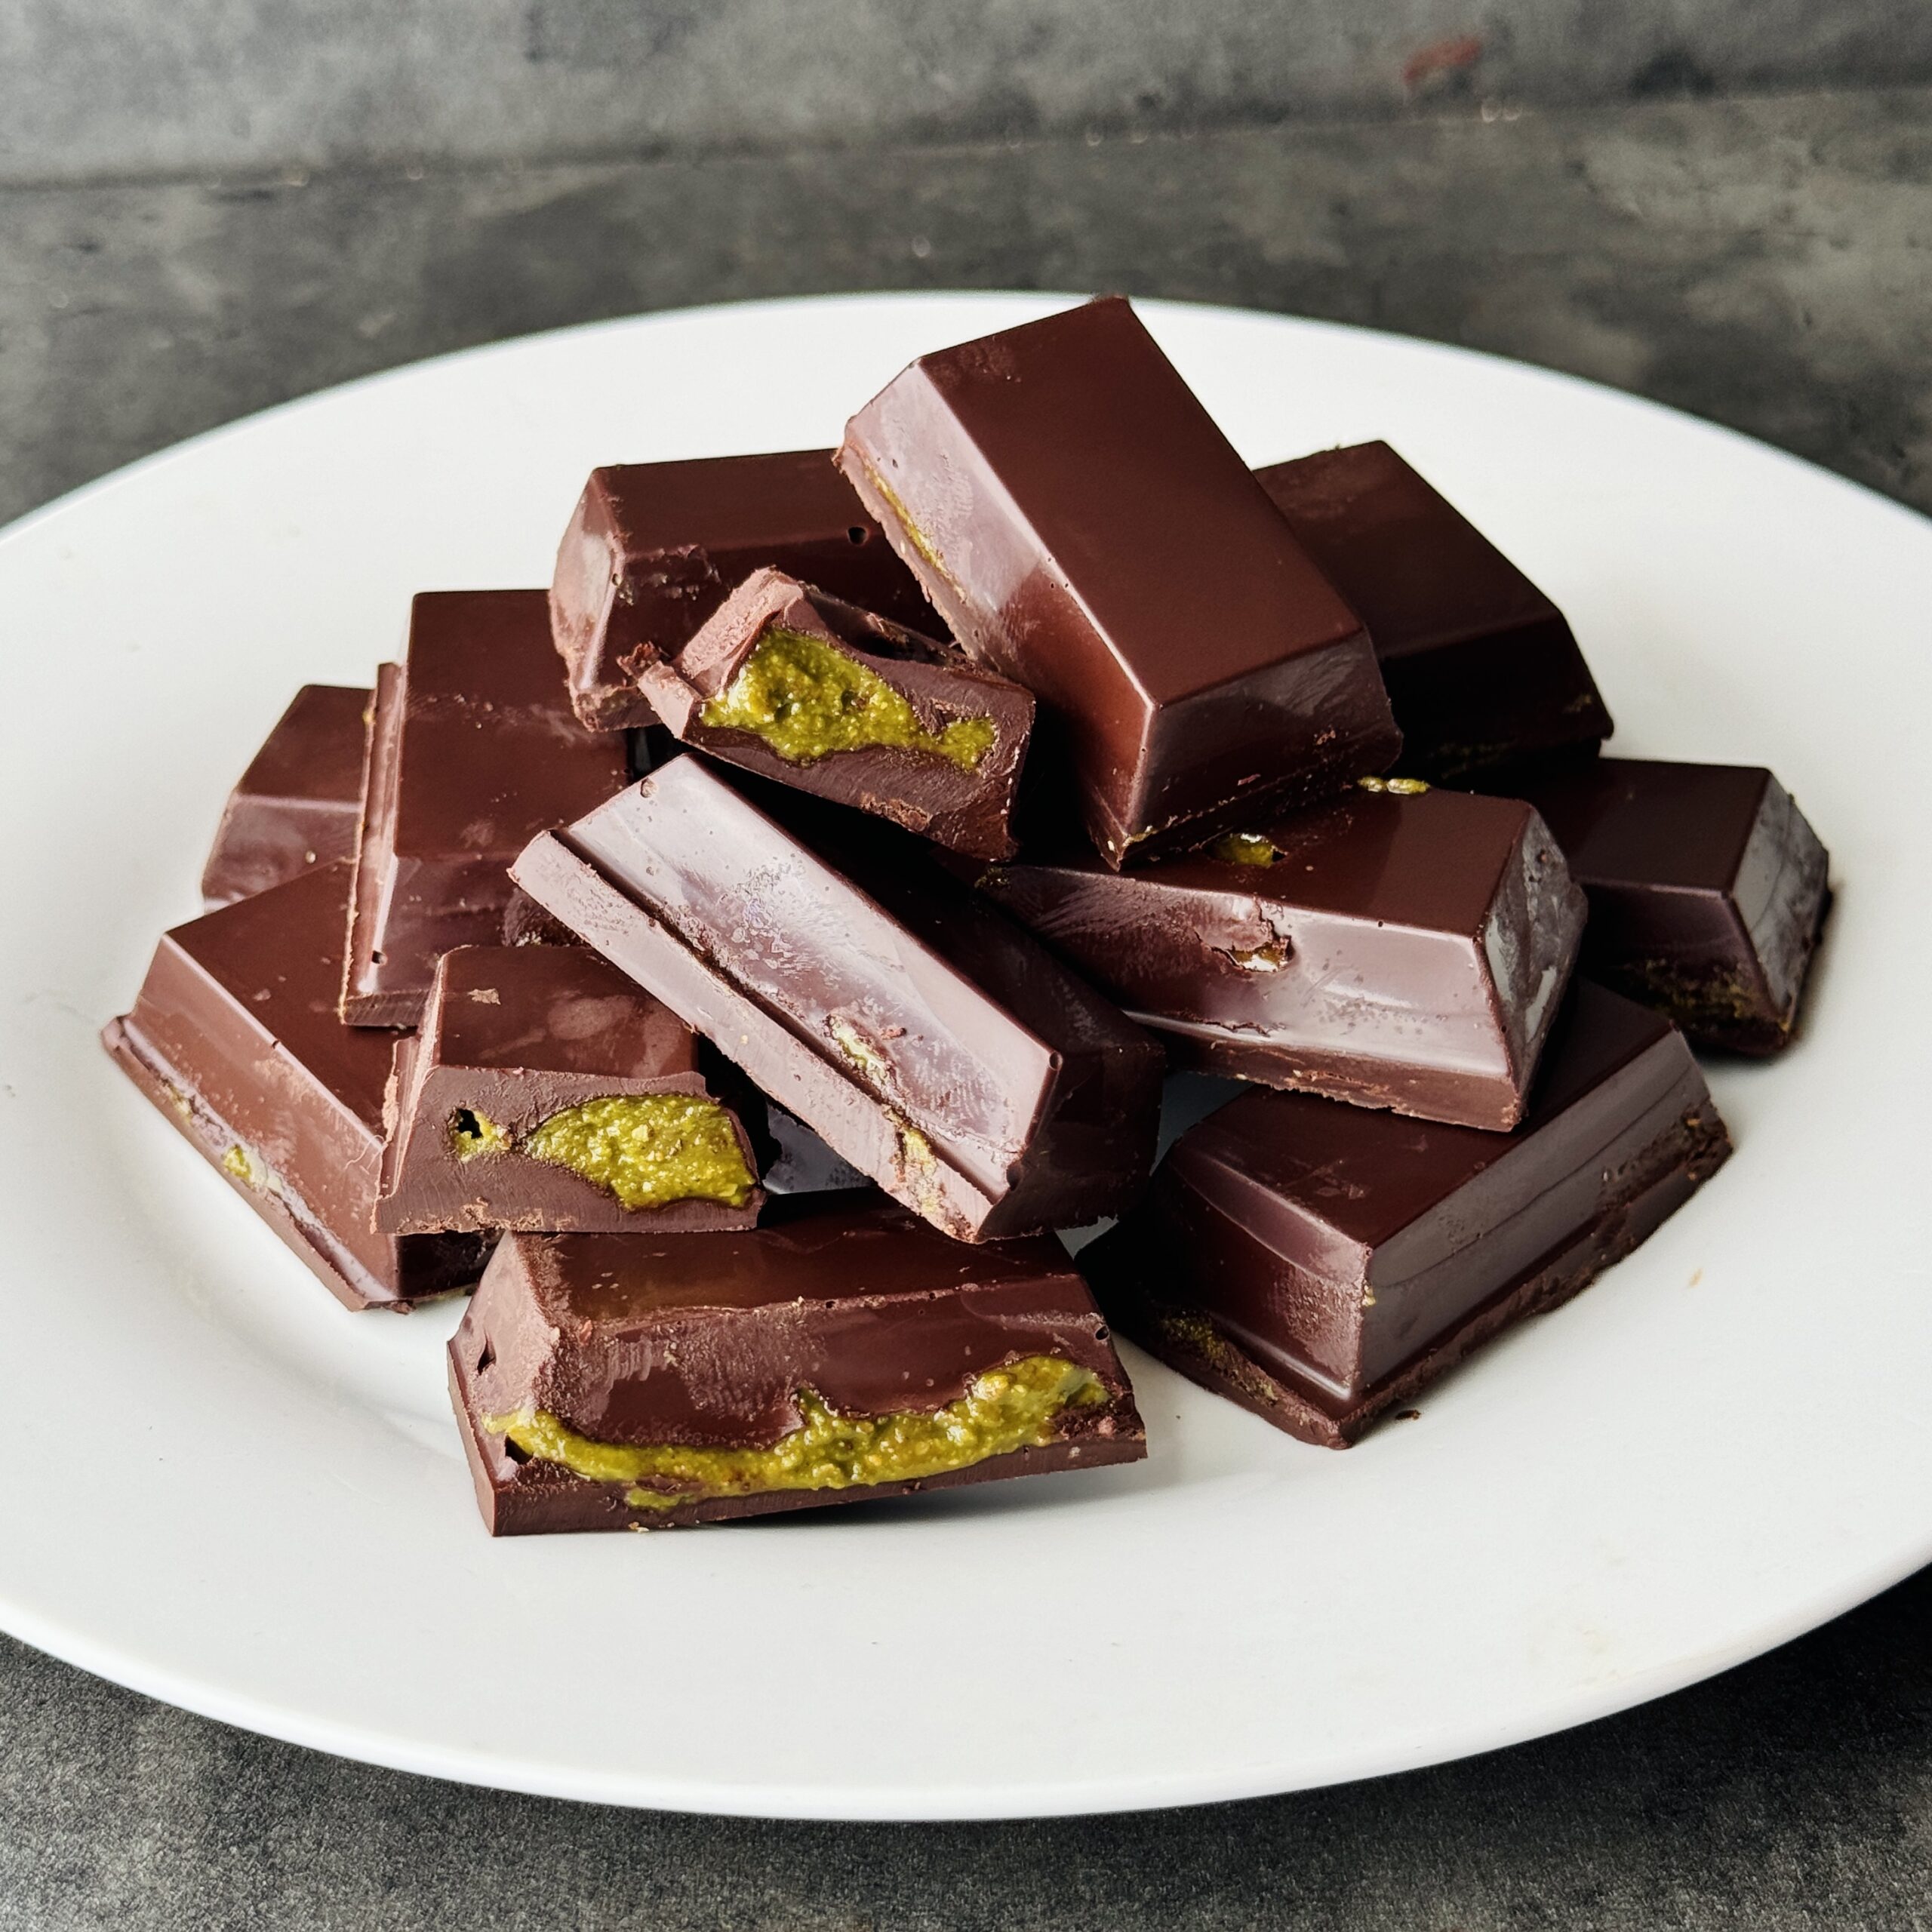
Chocolate Pistachio Bites
Takes 15 minutes
Serves 24
Ingredients
Chocolate Layer
- 300 g Dark chocolate approx. 1.75 cups
Pistachio Cream Layer
- 150 g shelled pistachio nuts 1 cup
- 1 tbsp matcha powder
- 2 tbsp coconut oil
- 3 tbsp maple syrup
- 1 tsp vanilla extract
Instructions
Melt Chocolate, layer into mould and freeze
- Chop the chocolate into small pieces and melt using a bain marie or microwave. Divide into two bowls. Take half of the melted chocolate and divide between all the squares in the mould. You want to fill each square with chocolate and use a small spoon to brush the chocolate up the sides a little so they form little cups. Put the chocolate filled moulds into the freezer so the chocolate hardens for 15 mins.
Make pistachio layer and layer on
- Add the shelled pistachio nuts to a food processor along with the coconut oil, maple syrup and vanilla extract and blend till it forms a silky smooth pistachio butter. This will take a few mins and if your food processor is heating up give it a little break.
- Once the chocolate is set, remove from the freezer and spoon the pistachio butter onto each square.
Cover with melted chocolate and cool to set
- Pour the additional melted chocolate over the pistachio layer, spreading evenly for a smooth layer. Put in the fridge to set for 30 mins before removing each square and enjoying!
Notes
- If you don’t have a silicone mould , you can use a regular baking tray and cut them into squares.
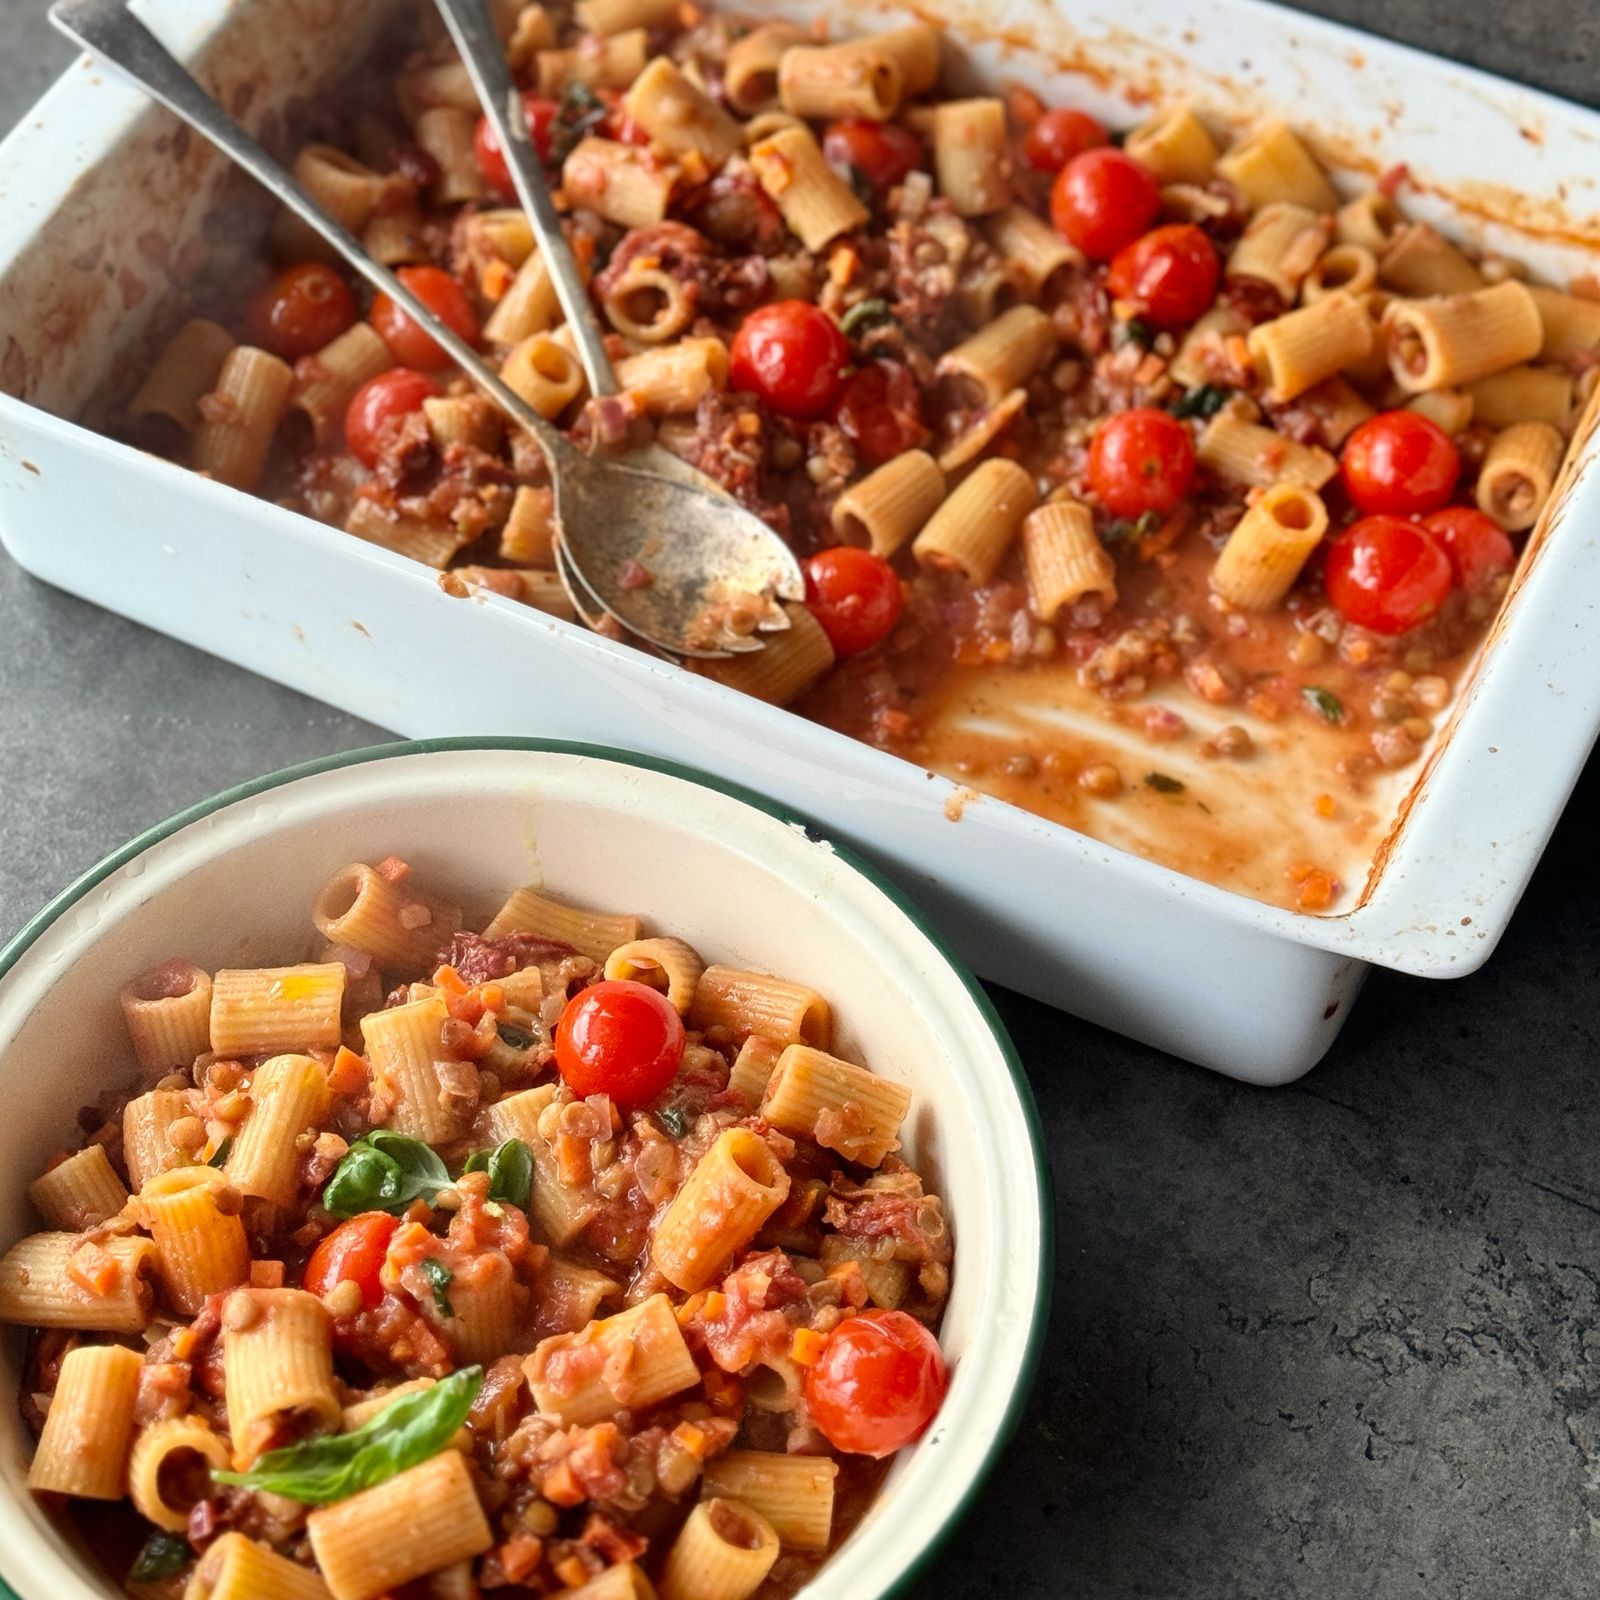
One Pan Baked Pasta
Takes 30 minutes
Serves 4
Ingredients
- 1 red onion about 1 cup chopped
- 1 carrot about ½ cup grated or diced
- 1 tin 400g of lentils (about 1 ¾ cups cooked lentils)
- 300 g pasta of choice about 3 cups dry pasta
- 400 ml vegetable stock 1 ⅔ cups
- 250 ml plant milk non-dairy milk of choice (1 cup)
- 1 tin 400g chopped tomatoes (about 1 ¾ cups)
- 15 g nutritional yeast about 2 tbsp
- 3 cloves of garlic about 1 tbsp minced
- 1 tbsp dried thyme or rosemary
- 50 g sun-dried tomatoes about ⅓ cup
- 1 tbsp maple syrup
- ½ tsp black pepper
- 1 tsp salt
- 100 g cherry tomatoes about ⅔ cup
- 1 handful 30g fresh basil chopped (about ½ cup)
- 1 tsp chilli flakes optional, for garnish
Instructions
Preheat the oven.
- Preheat the oven to 200°C (375°F).
Prepare the vegetables and other ingredients.
- Peel and finely dice the red onion. Peel and grate the carrot. Peel and finely chop the garlic. Halve the cherry tomatoes. Chop the sun-dried tomatoes into small pieces.
Assemble everything in a casserole dish.
- In a large casserole or baking dish, add the diced onion, grated carrot, lentils, pasta, vegetable stock, plant milk, chopped tomatoes, nutritional yeast, garlic, thyme/rosemary, sun-dried tomatoes, maple syrup, and black pepper. Gently mix everything to combine. Ensure the pasta is fully submerged in the liquid for even cooking. Top with the halved cherry tomatoes and chopped basil.
Bake the pasta.
- Cover the dish tightly with a lid or aluminium foil. Place in the preheated oven and bake for 25 minutes, or until the pasta is al dente. Remove the foil or lid and bake for a further 10 mins or until the pasta is cooked and soft but still has some bite.
Stir and garnish.
- Remove the dish from the oven and carefully stir to ensure the sauce is evenly distributed. Sprinkle with chilli flakes (if using) or a glug of olive oil and garnish with fresh basil leaves.
Serve and enjoy.
- Serve immediately, topped with additional fresh basil and vegan Parmesan, if desired.
The Happy Pear Podcast
The Happy Pear is celebrating 20 incredible years, and we’re overflowing with gratitude as we reflect on this amazing journey.

Episode 177
What began in 2004 as two brothers selling cabbages from a humble veg shop has blossomed into something truly special—a thriving café, a farm, a series of bestselling cookbooks, award-winning food products, and a passionate community devoted to health, happiness, and plant-based living. None of this would have been possible without the unwavering support of our incredible community.
In this week’s podcast episode, hosted by our wonderful friend Andrea Splendori, we dive into the journey – sharing the highs, the lows, and everything in between.
To mark this milestone, we’re thrilled to announce the launch of our new book, The Happy Pear 20: Recipes and Learnings From the First 20 Years. It’s a heartfelt celebration of our most-loved recipes and the lessons we’ve learned along the way, dedicated to the community that has supported us every step of the way.
Thank you for an unforgettable 20 years. Here’s to continuing to grow, share, and connect through delicious food and shared values!
Dave & Steve
Lots of love,
SPONSORS & DISCOUNT CODES:
Namawell Juicers are AMAZING! They have absolutely revolutionised the juicing game. We have an exclusive 10% discount for you!
Enter the code HAPPYPEAR10
LINK: https://namawell.com/collections/juicers/products/nama-j2-cold-press-juicer?ref=thehappypear
VIVOBAREFOOT: Vivobarefoot Footwear have given our listeners an exclusive 20% discount and if you buy now you also get free access to their incredible course showcasing some of the biggest names in the health and wellness space.
Enter the code HP20
LINK: https://www.vivobarefoot.com/uk/the-happy-pear
THE WHOLE HEALTH TRIBE – Join our community
LINK: https://eu1.hubs.ly/H0bmqxd0
THE HAPPY PEAR RECIPE CLUB – Blending health and happiness through a range of over 500 delicious plant-based recipes.
LINK: https://eu1.hubs.ly/H0bmqss0
Sign up to our Newsletter, for updates on our latest recipes, events, and news.
LINK: https://share-eu1.hsforms.com/1hKXaawjoQOONmJe4EXkCdwf92py
Produced by Sean Cahill & Sara Fawsitt
Available now from all good podcast providers:
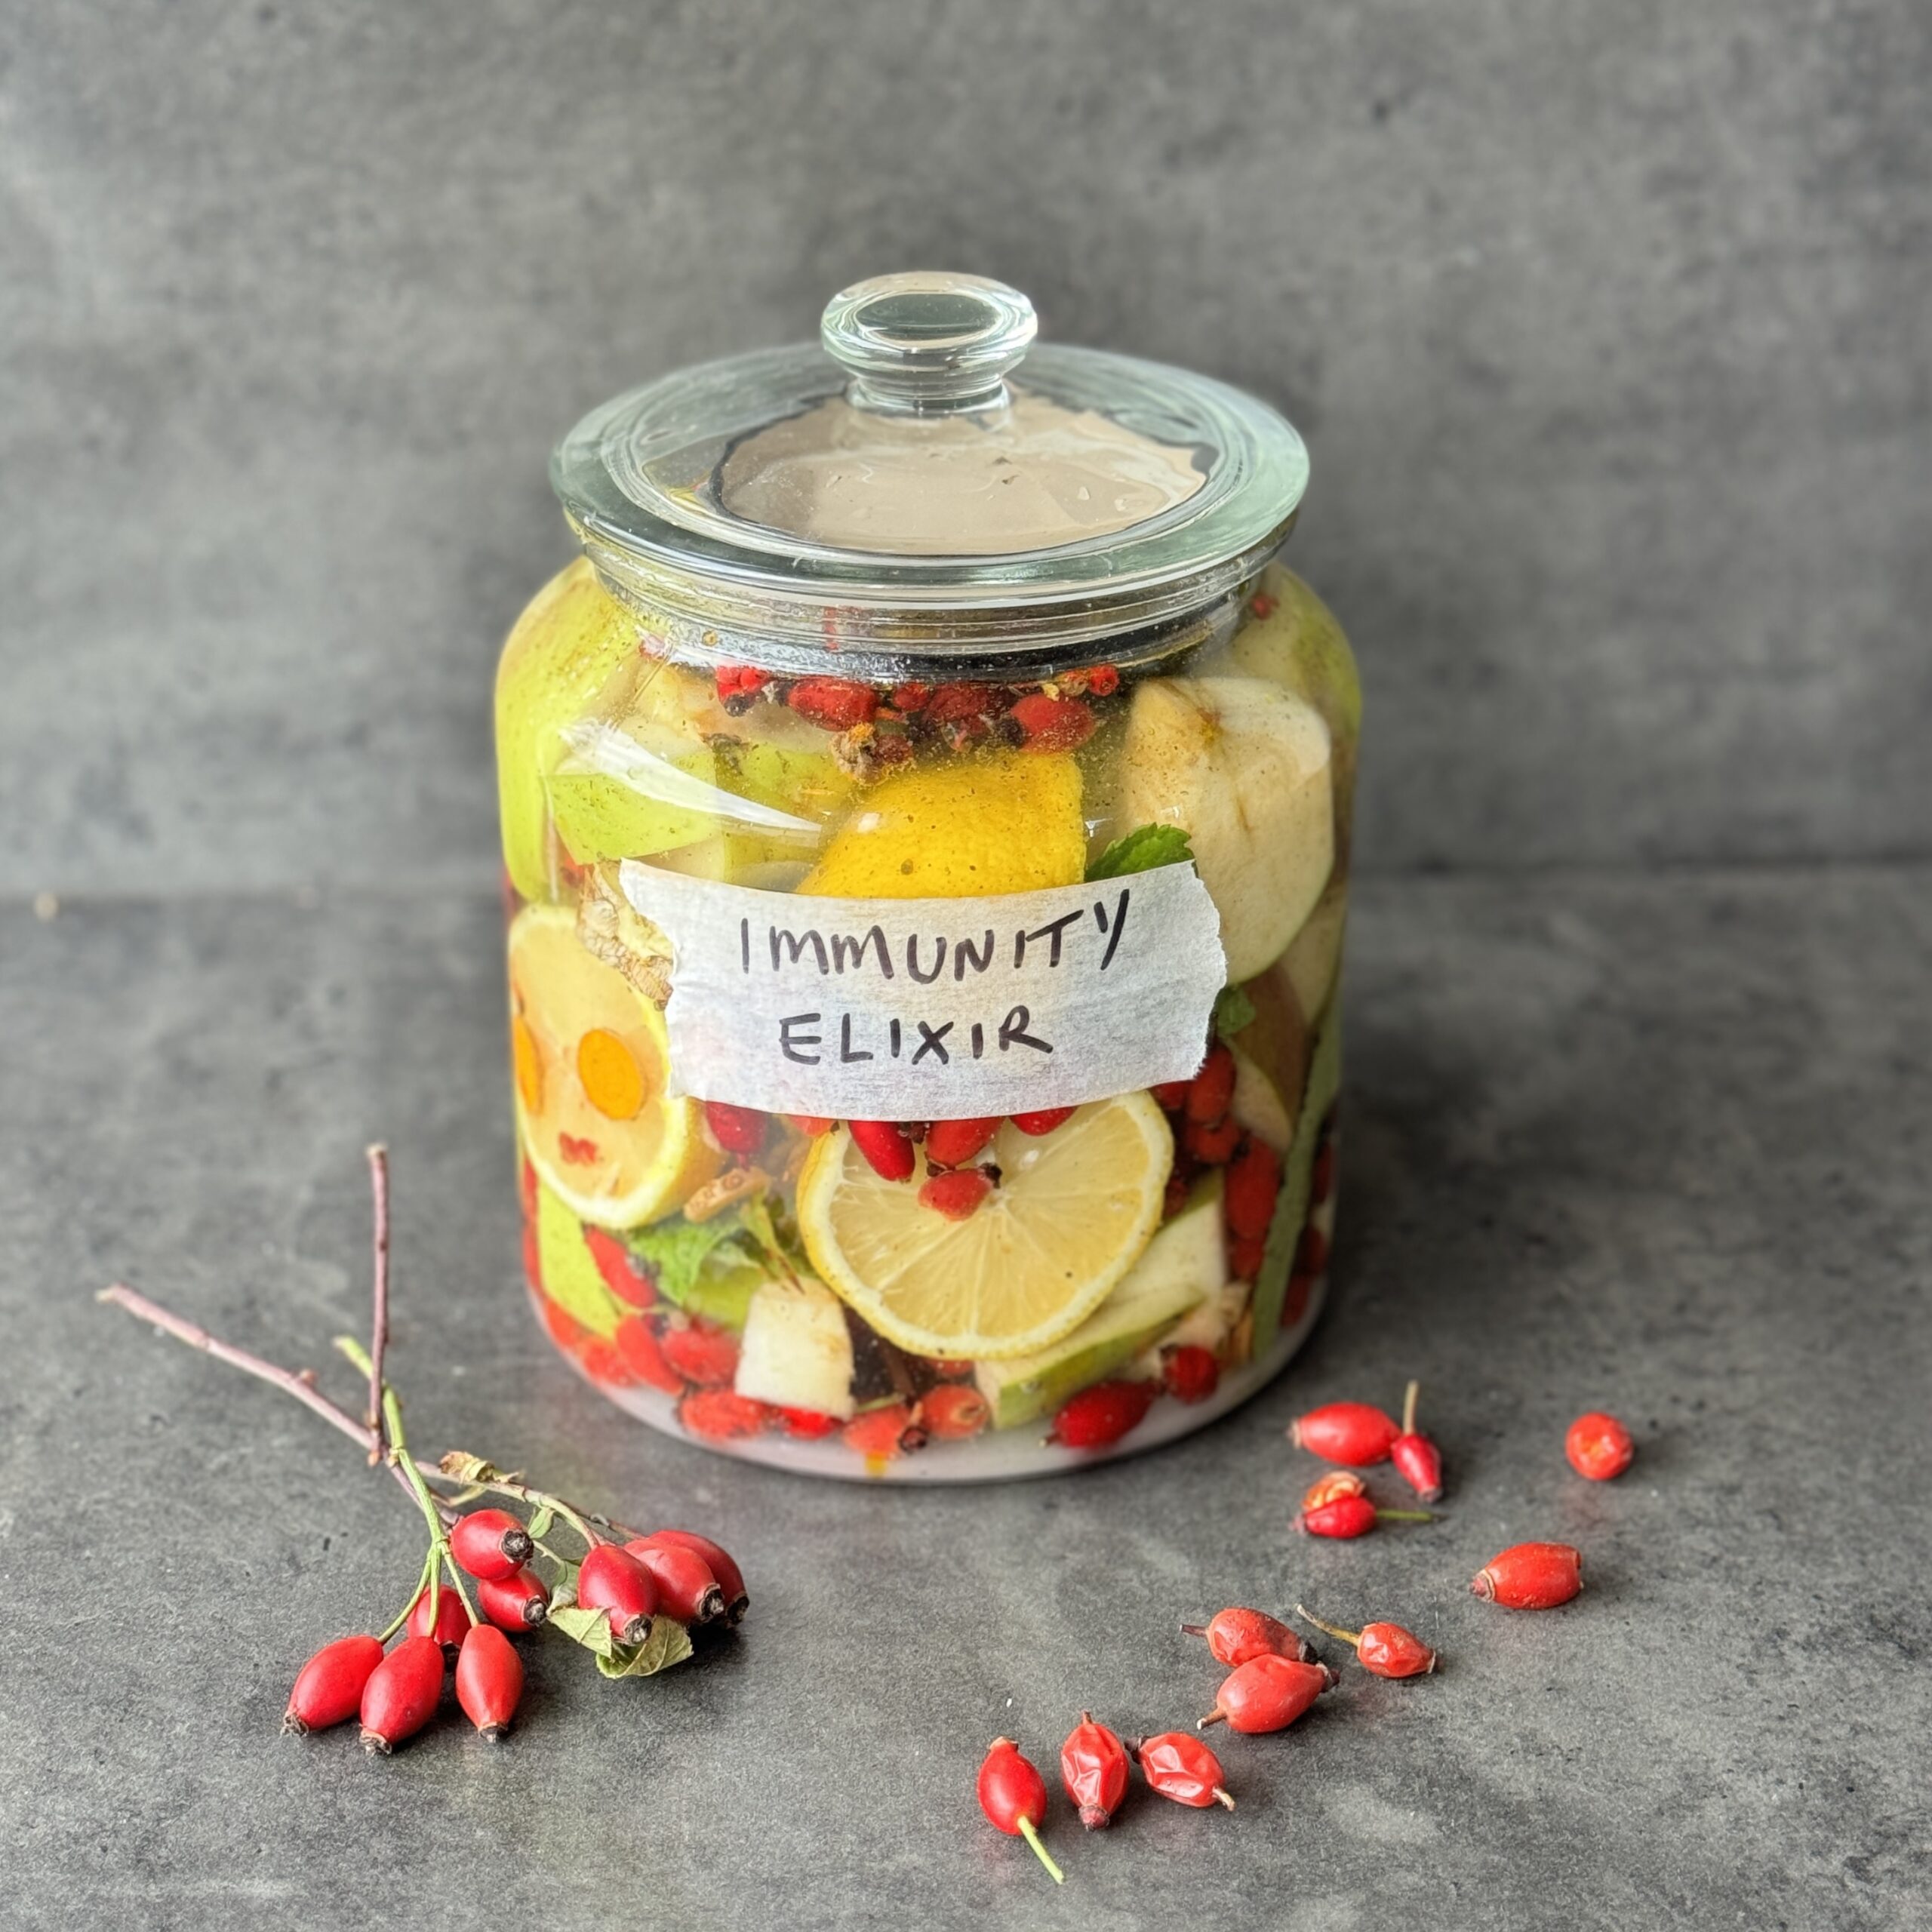
Fermented Immunity Support Fire Cider
Takes 42 days 15 minutes
Serves 16
Ingredients
- 500 g apples about 2-3 apples
- 1 L water 4 cups
- 100 g coconut brown, or white sugar (½ cup)
- Handful of wild rosehips
- 10 g fresh turmeric about 2 teaspoons grated or 1-inch piece
- 10 g fresh ginger about 2 teaspoons grated or 1-inch piece
- 20 g fresh mint leaves 1/2 cup loosely packed leaves
- 2 lemons ideally unwaxed
- Pinch of ground black pepper
- 1 tbsp coconut oil
Instructions
Prepare the jar
- Use a clean, sterilised 1.5-liter glass jar to avoid contamination.
Dissolve the sugar
- In a separate container, dissolve 100g (½ cup) of sugar in 1L (4 cups) of water until fully mixed.
Prepare the ingredients
- Slice the apples into quarters. Finely slice the ginger and turmeric. Cut the lemons into quarters.
Add to the jar
- Add the apple slices, ginger, turmeric, and lemons to the jar. Follow with the mint leaves, a pinch of black pepper, and the coconut oil.
Pour in the sugar water
- Pour the sugar water into the jar, ensuring the ingredients are fully submerged. Use a clean weight or small plate to keep floating pieces submerged.
Cover the jar
- Cover the jar with a breathable cloth (like cheesecloth) and secure it with a rubber band. This allows airflow while keeping dust and bugs out.
Start fermentation
- Place the jar in a warm, dark spot (20-25°C or 68-77°F) for 1 week to 10 days. Stir the mixture every 2-3 days to promote fermentation and prevent mould formation.
Strain and continue fermenting
- After 1 week – 10 days, strain out the solids and return the liquid to the jar. Cover with the cloth again and let it ferment for another 3-4 weeks, stirring occasionally.
Taste test
- After the second fermentation, taste the vinegar. If tangy enough, it’s ready. If not, let it ferment for another week.
Bottle and store
- Transfer the finished vinegar to a clean bottle. Seal tightly and store in the refrigerator or a cool, dark place.
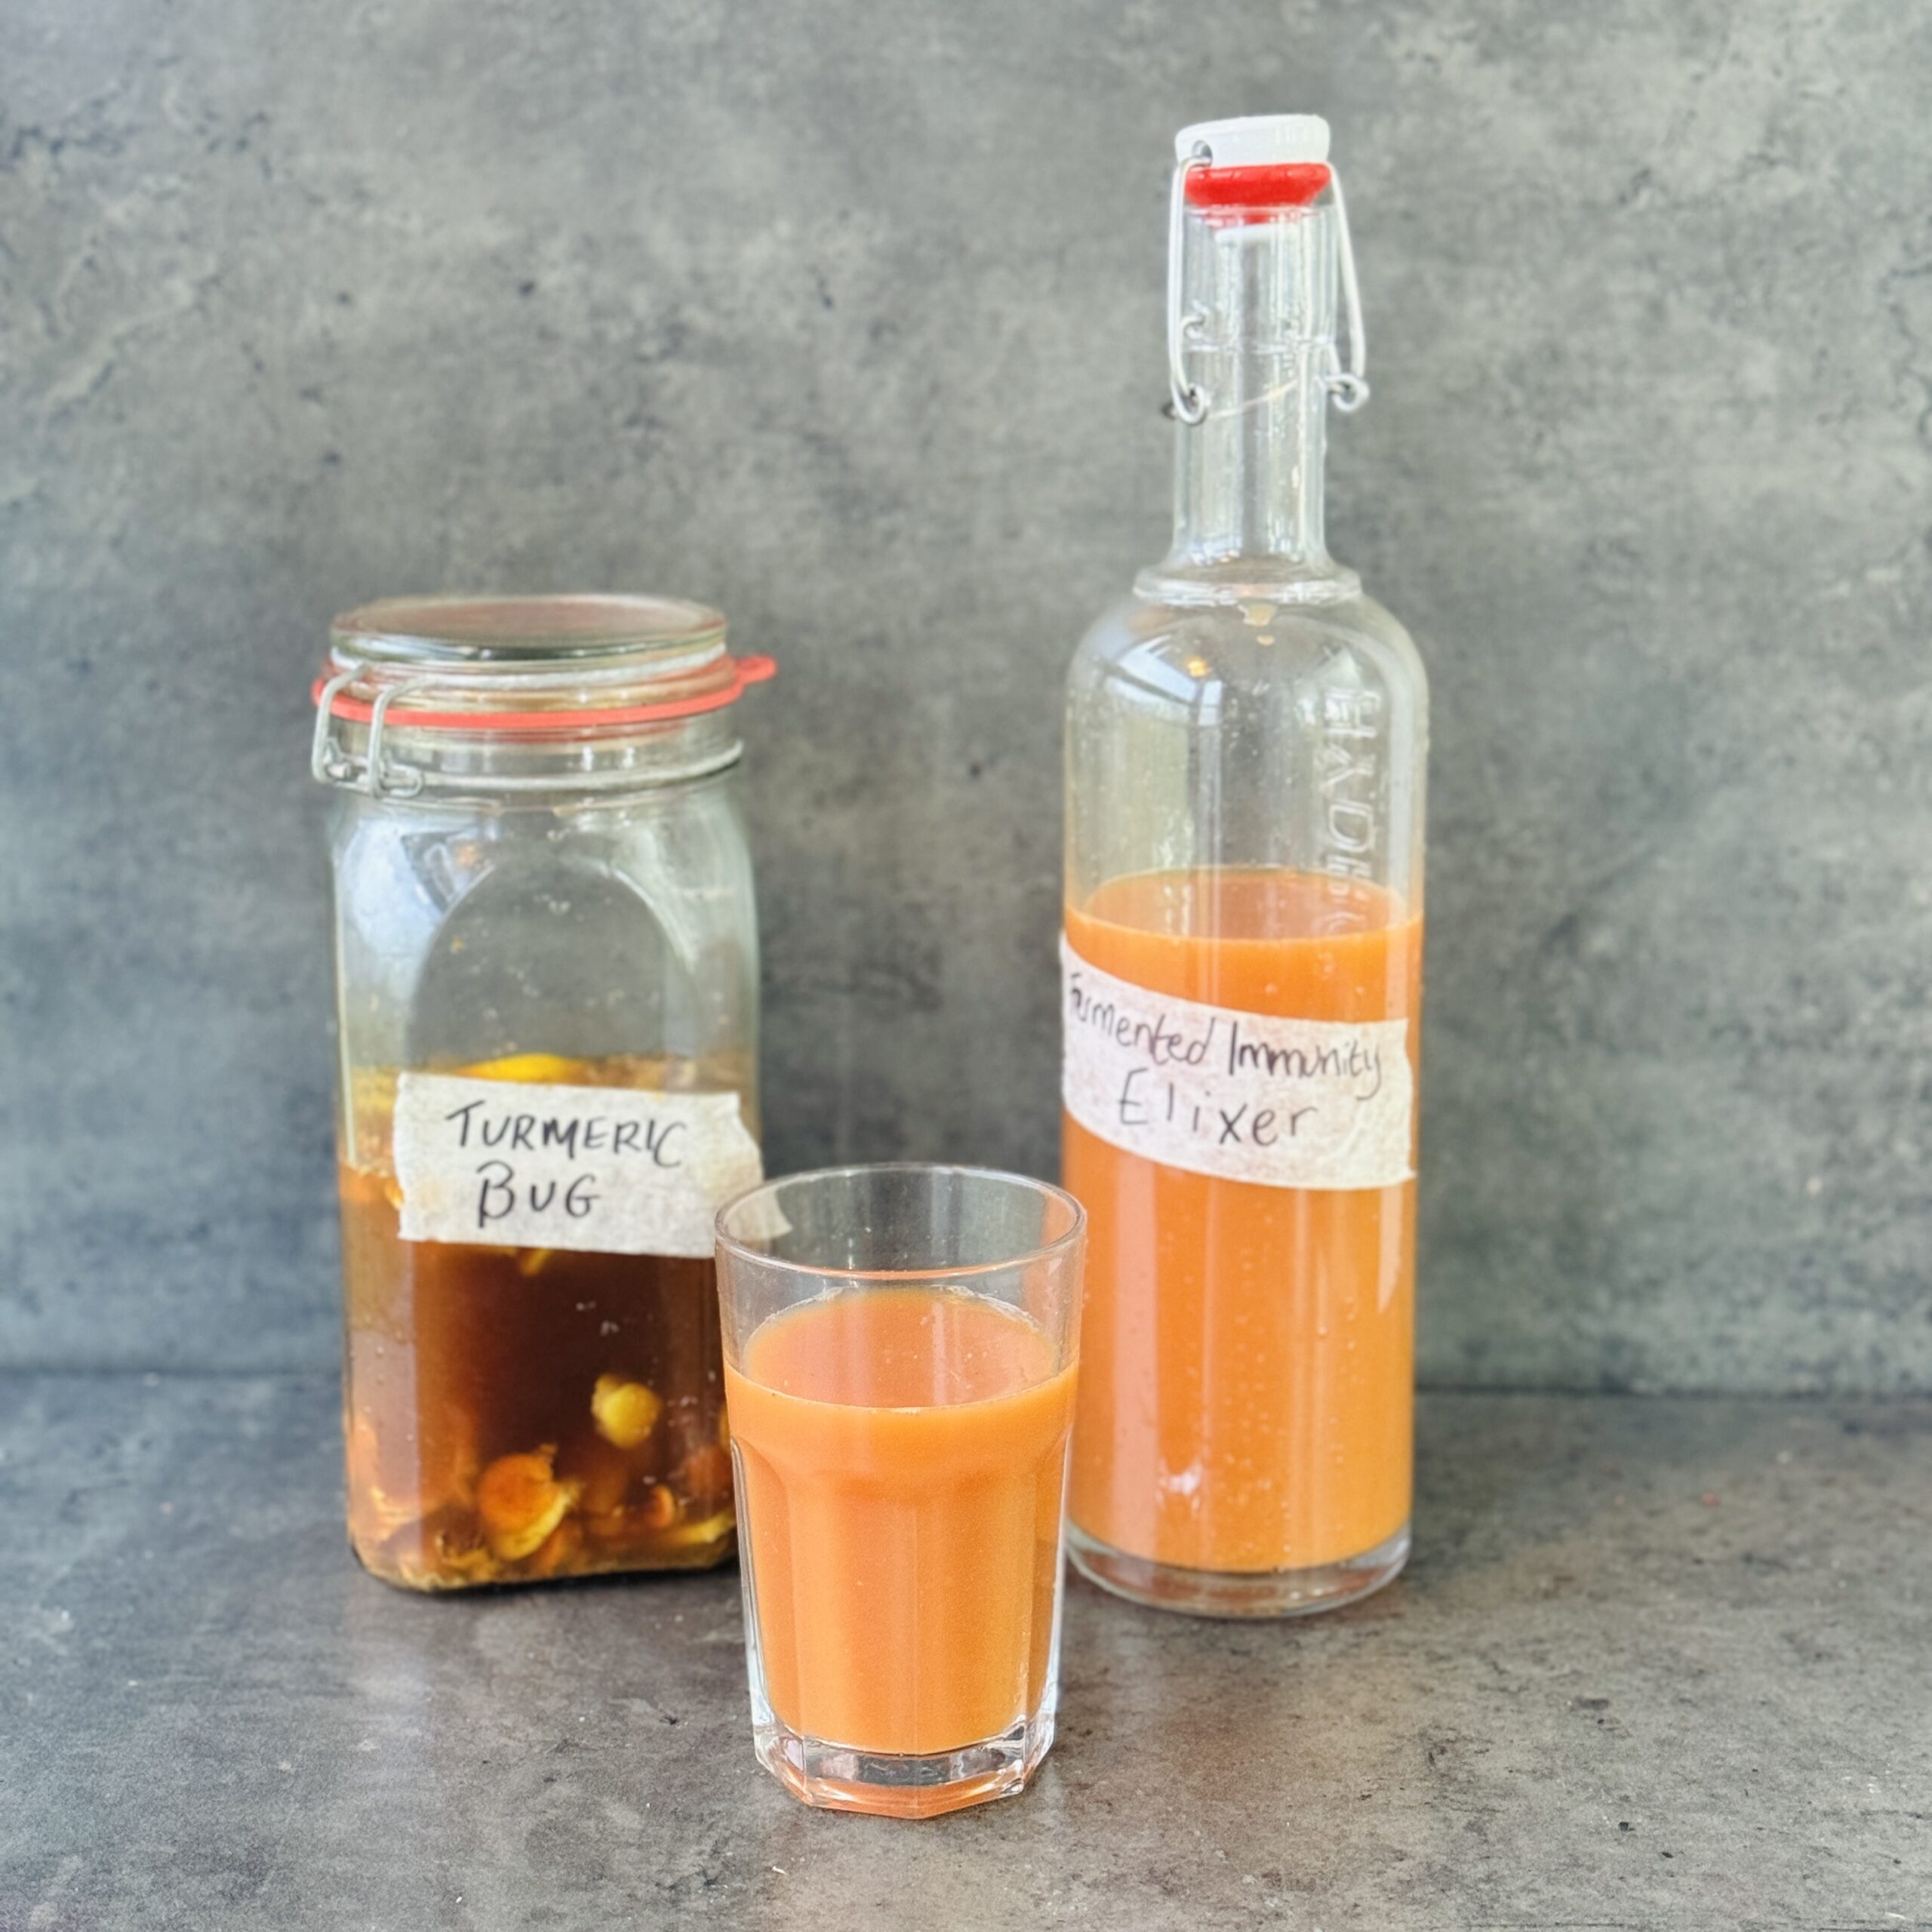
Fermented Immunity Elixir
Takes 5 days 20 minutes
Serves 4
Ingredients
Ingredients for the Turmeric Bug
- 50 g fresh ginger about 1/4 cup, chopped
- 50 g fresh turmeric about 1/4 cup, chopped
- 1 lemon quartered
- 100 g coconut or brown sugar about 1/2 cup
- 1 L water 4 cups
Ingredients for the Juice
- 4 large carrots about 2 cups, chopped
- 2 oranges peeled
- 1 lime peeled
- 1 red grapefruit peeled
Instructions
Make the Turmeric Bug
- Finely chop the ginger and turmeric. Quarter the lemon.
- Add the turmeric, ginger, lemon, and sugar to a sterilised jar, then pour in the water. Stir well, seal with a lid, and label the jar with the date.
- Leave the mixture to ferment at room temperature. Each day for the next 5 days, “burp” the jar by briefly opening the lid to release any built-up gas, then re-seal. This prevents excess pressure from building up.
- After 5 days, you’ll have a fizzy turmeric bug with a yeasty aroma, similar to beer or bread—signs that it’s ready to use. You can use it immediately or store it in the fridge, where it will keep for around 1 week.
Make the Juice
- Peel the grapefruit, orange, and lemon.
- Cut the carrots into chunks
- Add all ingredients into the juicer and blend
Combine the Turmeric Bug and Juice
- Mix the carrot and citrus juice with the turmeric bug and enjoy!
- We recommend a ratio of 1 part turmeric bug to 3 part juice.
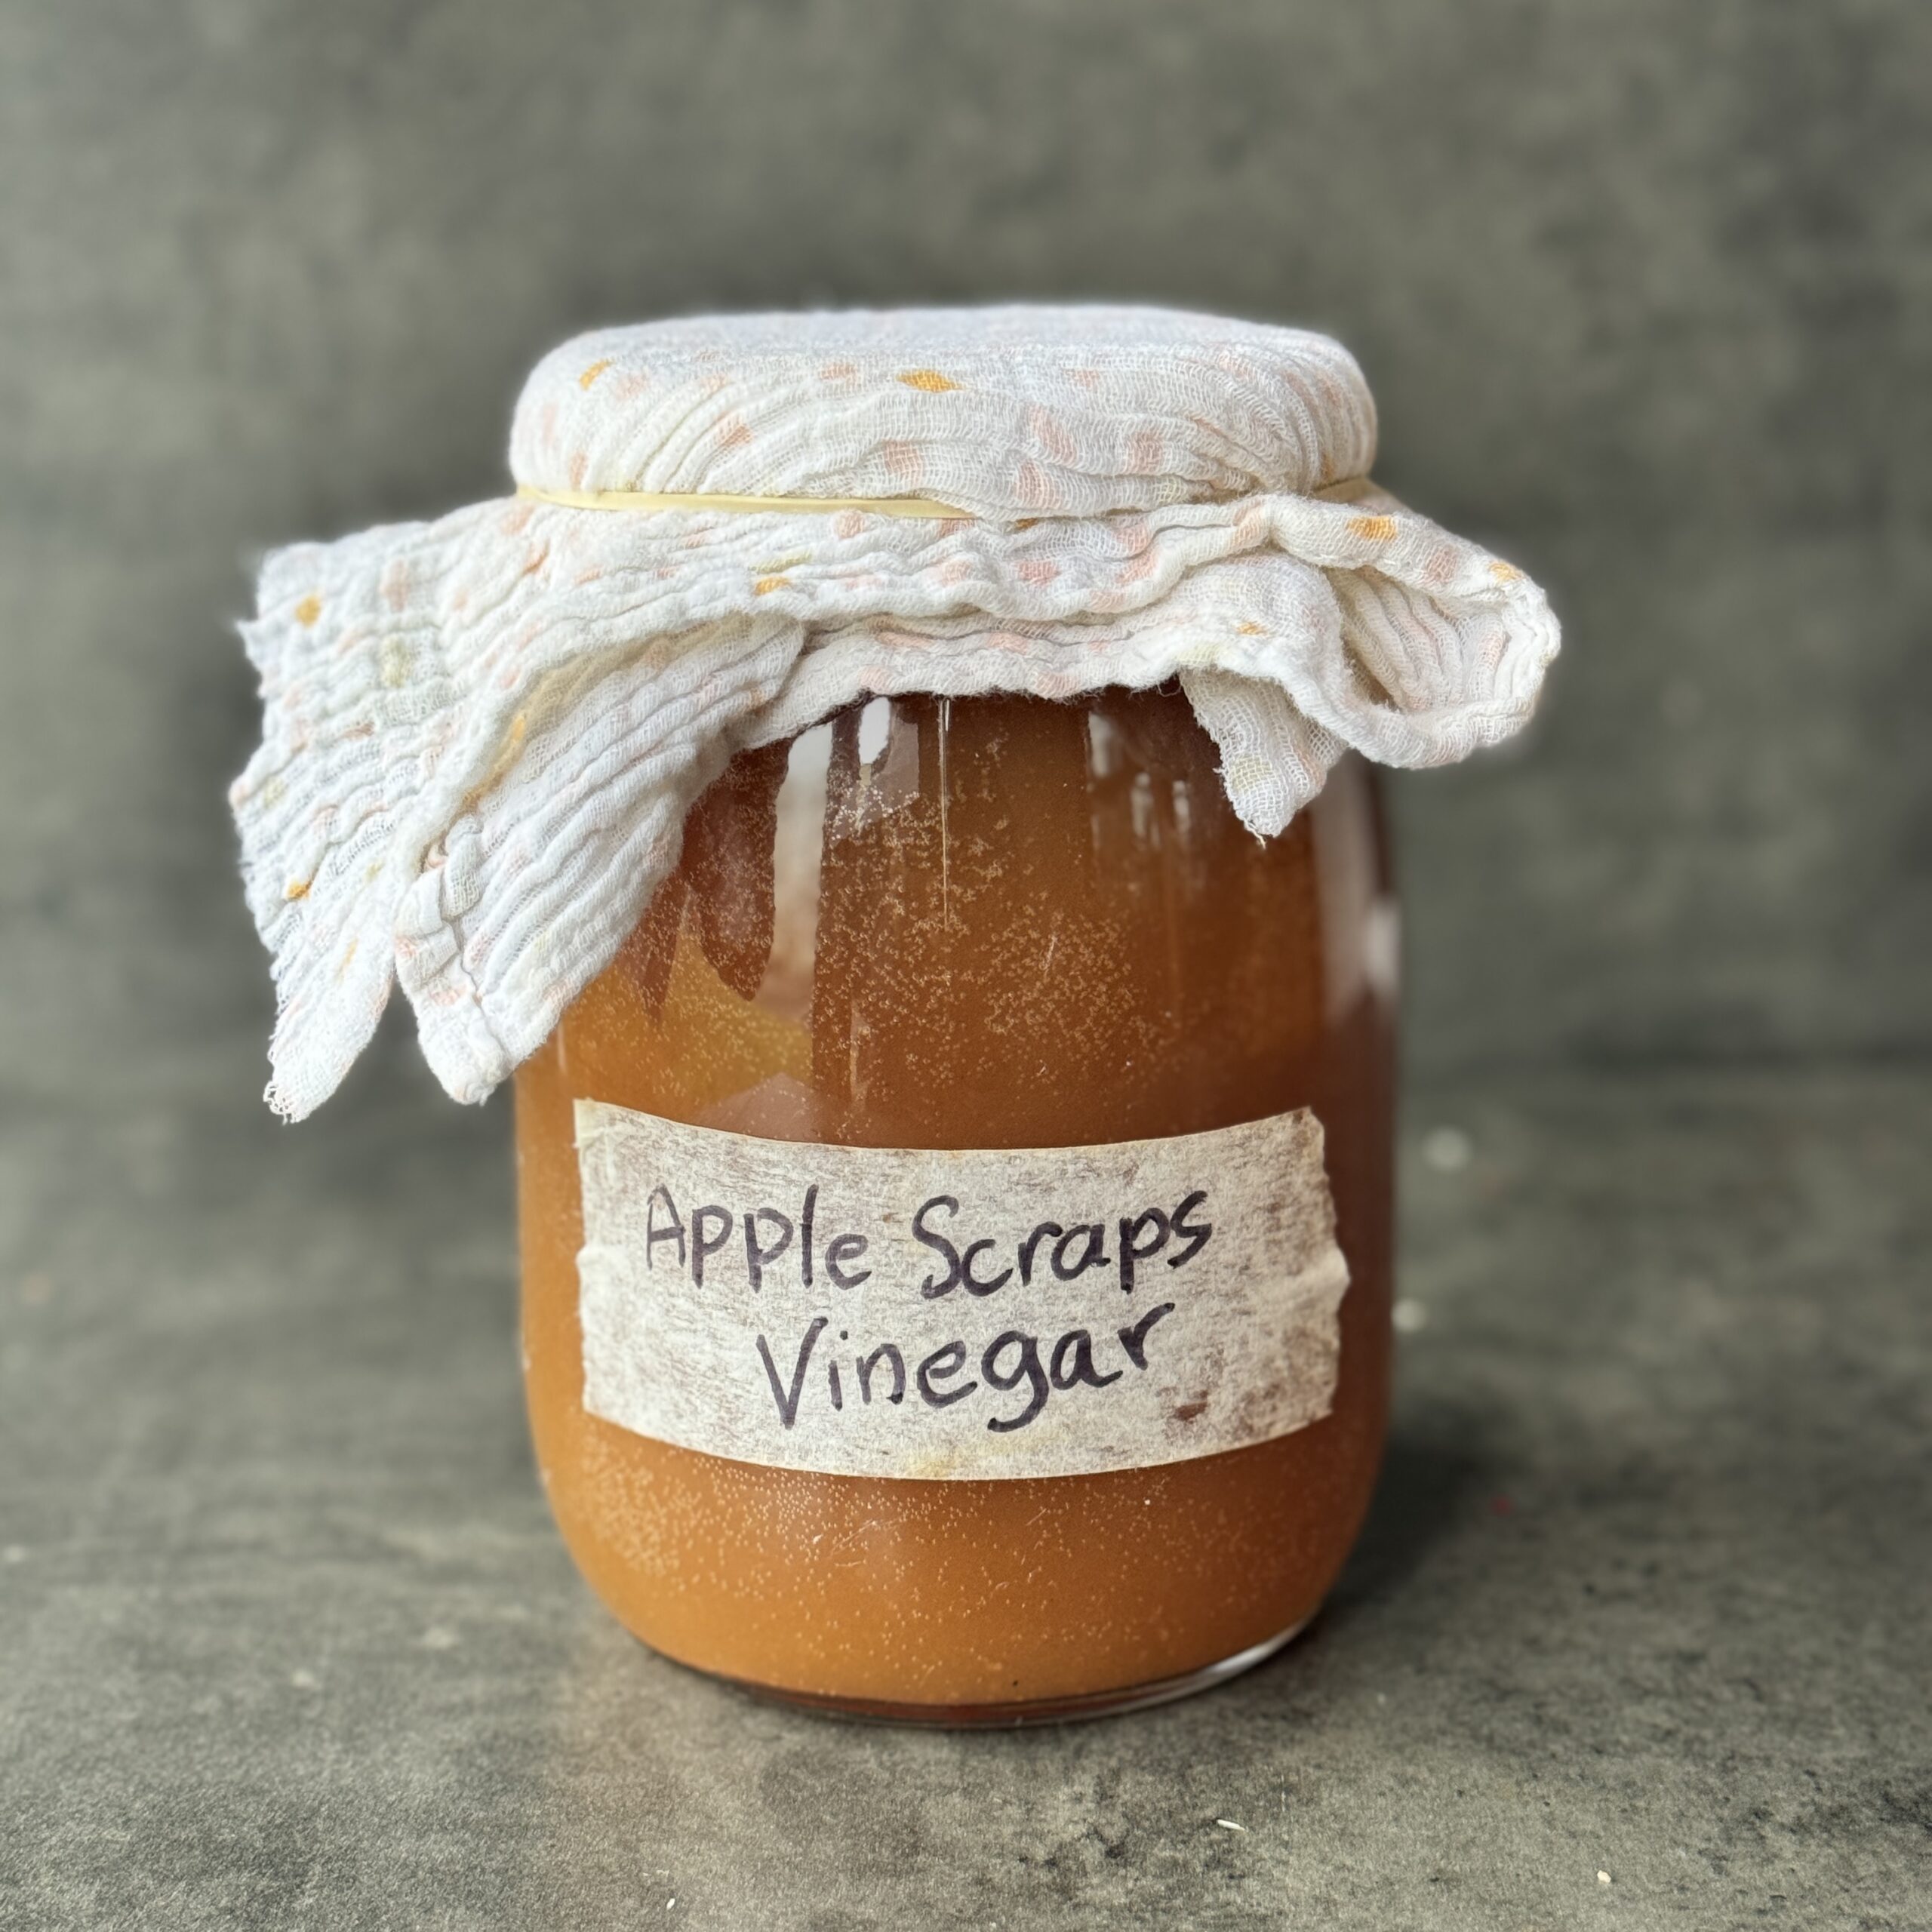
Easy Homemade Apple Scraps Vinegar
Takes 35 days 25 minutes
Serves 12
Ingredients
- 200 g apple scraps about 1 ½ cups
- 1 L water 4 cups
- 100 g coconut/brown sugar/white sugar ½ cup
- 100 ml apple cider vinegar with mother in it about ⅓ cup
Instructions
- Prepare the Jar: Use a clean, sterilised 1.5-liter glass jar.
- Dissolve the Sugar: In a separate container, dissolve the 100g (½ cup) of sugar in 1 litre (4 cups) of water.
- Add Apple Scraps: Place the apple peels and cores in the jar. Make sure they take up about half of the jar, leaving space for the water.
- Pour in the Sugar Water: Pour the sugar water over the apple scraps, covering them completely. If any pieces float, place a clean weight or small plate to keep them submerged.
- Cover the Jar: Cover the jar with a breathable cloth (like cheesecloth) and secure it with a rubber band. This allows airflow and keeps dust and bugs out.
- Fermentation: Place the jar in a warm, dark place (around 20-25°C or 68-77°F) for approx 1 week to 10 days. Stir the mixture every couple of days to help with fermentation and prevent mould.
- Strain and Continue Fermenting: After 1 week – 10 days of initial fermentation, strain out the apple scraps and return the liquid to the jar. Add in the apple cider vinegar to help guide the next fermentation process and to speed up the process. Cover it again with the cloth and let it ferment for another 3-4 weeks until it reaches the desired acidity.
- Taste Test: After the second fermentation period, taste the vinegar. If it’s tangy enough, it’s ready to use. If not, let it ferment for another week.
- Bottle and Store: Once ready, transfer the vinegar to a clean bottle and seal. Store it in the refrigerator or a cool, dark place.
The Happy Pear Podcast
In this week’s special episode, we sit down for an in-person conversation with Dr. Melanie Joy, marking our third time hosting this extraordinary guest. Dr. Joy is a celebrated psychologist, author, and speaker, widely recognised for her pioneering work on the psychology of eating habits, relationships, and social justice.

Episode 176
Melanie is best known for coining the term “carnism”—the invisible belief system that conditions people to eat certain animals—and her bestselling books, including Why We Love Dogs, Eat Pigs, and Wear Cows. Dr. Joy’s work explores how our beliefs shape our choices, and how we can cultivate healthier relationships with ourselves, each other, and the world around us.
In this powerful episode, we dive deep into fresh topics on emotional resilience, effective communication, and the mindset shifts needed for personal and social change. Including exploring her latest book; How To End Injustice Everywhere. Melanie’s insights are incredibly relevant for anyone interested in strengthening their relationships, building more empathy, and fostering a healthier relationship with food.
Join us as we explore Dr. Joy’s unique perspectives on these crucial topics, and find out how you can apply her guidance to create more fulfilling and connected lives. This episode is a must-listen for anyone who wants to deepen their understanding of themselves and create positive change in the world around them.
Lots of love,
Dave & Steve
SPONSORS & DISCOUNT CODES:
Namawell Juicers are AMAZING! They have absolutely revolutionised the juicing game. We have an exclusive 10% discount for you!
Enter the code HAPPYPEAR10
LINK: https://namawell.com/collections/juicers/products/nama-j2-cold-press-juicer?ref=thehappypear
VIVOBAREFOOT: Vivobarefoot Footwear have given our listeners an exclusive 20% discount and if you buy now you also get free access to their incredible course showcasing some of the biggest names in the health and wellness space.
Enter the code HP20
LINK: https://www.vivobarefoot.com/uk/the-happy-pear
THE WHOLE HEALTH TRIBE – Join our community
LINK: https://eu1.hubs.ly/H0bmqxd0
THE HAPPY PEAR RECIPE CLUB – Blending health and happiness through a range of over 500 delicious plant-based recipes.
LINK: https://eu1.hubs.ly/H0bmqss0
Sign up to our Newsletter, for updates on our latest recipes, events, and news.
LINK: https://share-eu1.hsforms.com/1hKXaawjoQOONmJe4EXkCdwf92py
Produced by Sean Cahill & Sara Fawsitt
Available now from all good podcast providers:

Immunity Kimchi with Rosehip
Takes 7 days 35 minutes
Serves 12
Ingredients
- – 1.5 kg 12-15 cups mixed vegetables:
- – Napa cabbage Chinese cabbage
- – Carrots
- – Radish
- – Scallions
- – 100g approx 1.5 cups rosehips
- – 30g approx. 2 tbsp salt (approximately 2% of the weight of the vegetables)
Sauce Ingredients:
- – 12g ginger 1 thumb-sized piece
- – 5 cloves garlic
- – 6g 1 tbsp grated fresh turmeric or 1 tsp of powdered turmeric
- – 4 tbsp tamari soy sauce
- – 2 tbsp maple syrup
- – 1/2 tsp kelp powder or seaweed powder
- – 8 tbsp gochugaru Korean chilli powder
Rice Porridge Ingredients:
- -500ml 2 cups water
- – 3 tbsp rice flour
Instructions
Prepare the vegetables:
- Cut the Napa cabbage lengthwise into quarters. Remove the core and outer leaves and chop them into bite-sized pieces or leave them long if preferred. Julienne 1.5 kg of radish and carrots into thin matchsticks. If you have the stalks of the radish, finely chop these. Remove any stalk from the rose hips. Cut the scallions into 1-inch pieces. Add to a large bowl and mix with the salt. To remove the rosehip seeds: – Slice the Rosehips: First, cut each rosehip in half with a sharp knife. This exposes the seeds and makes them easier to reach.– Scoop or Scrape: Use a small spoon or knife tip to scoop or scrape out the seeds. You can wear gloves if the fine hairs bother your skin.– Rinse Well: After removing the seeds, rinse the rosehip halves thoroughly to wash away any remaining hairs.
Prepare rice porridge:
- In a saucepan, combine 500ml of water with 3 tbsp of rice flour. Bring to a boil, stirring regularly, and simmer for 5 minutes until thickened. Remove from heat and let it cool completely.
Make the kimchi paste:
- Peel and finely grate 12g of ginger and the 6g of fresh turmeric and 5 cloves of garlic. In a large mixing bowl, combine the minced garlic, grated ginger, turmeric, 8 tbsp of gochugaru, 4 tbsp of tamari, 2 tbsp of maple syrup, and 1/2 tsp of seaweed powder (if using). Mix well to form a thick paste. Add this to the cooled rice porridge to form the sauce. Taste and adjust the spice level by adding more gochugaru if desired.
Combine ingredients:
- Add the prepared salted vegetables to the kimchi paste. Massage the paste into the vegetables until they are evenly coated.
Pack and label in jars:
- Pack the kimchi tightly into clean glass jars, pressing down firmly to remove any air pockets. Ensure the vegetables are submerged under the sauce as this is anaerobic fermentation. Leave about 1 inch of space at the top of each jar. Label each jar with the date.
Fermentation:
- Seal the jars tightly and let them ferment at room temperature for 1 to 5 days, depending on your desired level of fermentation. Check the kimchi daily and press it down with a clean spoon to keep the vegetables submerged in their juices. The longer you ferment it the more acidic it will become. Also the warmer the room temperature the quicker it will become acidic too.
Refrigerate:
- Once the kimchi reaches your preferred level of fermentation, put in the fridge to halt fermentation. Your kimchi will last for many months in the fridge.

This is a delicious sourdough pizza base topped with juicy tomato sauce, a creamy sheese, jackfruit pepperoni & a drizzle of chilli oil. Absolutely delicious. Chilli rating 1 (mild).
*FROZEN PRODUCT
INGREDIENTS
Stonebaked Sourdough Wholemeal Pizza Base [WHEAT Flour (WHEAT Flour, Calcium Carbonate, Iron, Niacin (B3), Thiamin (B1)), Water, Wholemeal WHEAT Flour (WHEAT Flour, WHEAT Bran, WHEAT Gluten), Rapeseed Oil, Dried Wholemeal Spelt Sourdough (Wholemeal Spelt Flour (WHEAT ), Starter Culture), Salt, Yeast, Durum WHEAT Semolina], Tomato Sauce (19%) [Tomatoes, Water, Salt, Sunflower Oil, Acidity Regulator (Citric Acid), Herbs (Basil, Oregano), Garlic], MozzaRisella® (11%) [Bio Surice® (Water, Germinated Brown Rice, Apple Vinegar, Salt), Coconut Oil, Sunflower Oil, Thickeners (Gum Arabic, Xanthan Gum), Lemon Juice, Carob Flour, Oregano], Jackfruit Pepperoni (10%) [Rapeseed Oil, Jackfruit, Thickeners (Methyl Cellulose, Carrageenan, Konjac Gum, Locust Bean Gum, Xanthan Gum), Pea Protein, Dried Glucose Syrup, Spices, Salt, Faba Bean Protein, Sweet Potato Concentrate, Tapioca Starch, Natural Flavouring, Acidity Regulator (Citric Acid), Yeast Extract, Carrot Concentrate, Gelling Agent (Agar), Smoked Salt, Potato Maltodextrin, Flax Seed Flour, Paprika Extract], Chilli Oil (2.3%) [Rapeseed Oil, Red Chillies]
ALLERGEN INFORMATION
For allergens, including Cereals containing Gluten, see highlighted ingredients.
Contains Wheat.
May also contain traces of Soya.
NUTRITIONAL INFORMATION
Weight: 262g
| Typical | per 100g |
|---|---|
| Energy | 1044kJ |
| 249kcal | |
| Fat | 8.7g |
| Of Which Saturates | 2.4g |
| Carbohydrate | 34g |
| Of Which Sugars | 4.4g |
| Fibre | 3.6g |
| Protein | 6.8g |
| Salt | 1.0g |
| Sodium | 1.0g |

A mighty sourdough pizza with creamy sheese, cherry tomatoes, peppers, caramelised onions with a basil drizzle. This pizza will have you coming back for more!
*FROZEN PRODUCT
INGREDIENTS
Stonebaked Sourdough Wholemeal Pizza Base [WHEAT Flour (WHEAT Flour, Calcium Carbonate, Iron, Niacin (B3), Thiamin (B1)), Water, Wholemeal WHEAT Flour (WHEAT Flour, WHEAT Bran, WHEAT Gluten), Rapeseed Oil, Dried Wholemeal Spelt Sourdough (Wholemeal Spelt Flour (WHEAT), Starter Culture), Salt, Yeast, Durum WHEAT Semolina], Tomato Sauce (18%) [Tomatoes, Water, Salt, Sunflower Oil, Acidity Regulator (Citric Acid), Herbs (Basil, Oregano), Garlic], MozzaRisella® (11%) [Bio Surice® (Water, Germinated Brown Rice, Apple Vinegar, Salt), Coconut Oil, Sunflower Oil, Thickeners (Gum Arabic, Xanthan Gum), Lemon Juice, Carob Flour, Oregano], Caramelised Onions (4.3%) [Red Onions, Brown Cane Sugar, Red Wine Vinegar], Marinated Semi-Dried Red Cherry Tomatoes (3.6%) [Semi-Dried Red Cherry Tomatoes, Rapeseed Oil, Salt, Garlic, Oregano], Marinated Semi-Dried Yellow Cherry Tomatoes (3.6%) [Semi-Dried Yellow Cherry Tomatoes, Rapeseed Oil, Salt, Green Pepper, Onion, Carrot, Garlic], Red Peppers (1.8%), Yellow Peppers (1.8%), Basil Purée (1.8%) [Basil, Sunflower Oil, Salt]
ALLERGEN INFORMATION
For allergens, including Cereals containing Gluten, see highlighted ingredients.
Contains Wheat.
May also contain traces of Soya.
NUTRITIONAL INFORMATION
Weight: 277g
| Typical | per 100g |
|---|---|
| Energy | 888kJ |
| 211kcal | |
| Fat | 5.6g |
| Of Which Saturates | 2.7g |
| Carbohydrate | 32g |
| Of Which Sugars | 6.9g |
| Fibre | 2.8g |
| Protein | 6.7g |
| Salt | 0.93g |
| Sodium | 0.93g |

Easy 15-Minute Quesadillas with Pumpkin Cheese
Takes 12 minutes
Serves 4
Ingredients
Guacamole:
- 2 avocados
- 10 cherry tomatoes
- 1 tsp ground cumin
- Pinch of salt and pepper
- Juice of ½ lime
Refried Beans:
- 1 x 400g tin kidney beans 1.5 cups
- 1 tbsp tamari or soy sauce
- 70 ml water ¼ cup
- Pinch of salt
Pumpkin Cheese:
- 100 g pumpkin purée ⅓ cup
- 3 tbsp vegetable oil
- 2 tbsp nutritional yeast
- 65 ml oat milk ¼ cup
- 1 tsp salt
- Juice of ½ lime
Additional Ingredients:
- 200 g block of smoked tofu approx 1 cup, diced
- 8 tortillas
Instructions
Make the refried beans:
- Drain and rinse the 400g (14 oz) tin of kidney beans. Add to a frying pan on high heat and cook for 2 minutes. Add a pinch of salt, 1 tbsp tamari, and begin mashing the beans with a potato masher. The beans when mashed will thicken the mixture, so gradually add 70ml (¼ cup) of water while continuing to mash. Cook until the mixture forms a thick paste. Taste and adjust seasoning. Set aside.
Make the guacamole:
- Scoop out the flesh of the 2 avocados and dice them. Quarter the 10 cherry tomatoes and mix them with the avocado. Add 1 tsp ground cumin, juice of ½ lime, and a pinch of salt and pepper. Taste and adjust seasoning.
Make the pumpkin cheese:
- Add 100g (⅓ cup) of pumpkin purée, 3 tbsp vegetable oil, 2 tbsp nutritional yeast, 65ml (¼ cup) oat milk, 1 tsp salt, and juice of ½ lime into a blender. Blend until smooth. If the consistency is too thick, add more oat milk; if too thin, add more pumpkin purée. Taste and adjust seasoning to your preference.
Slice the smoked tofu:
- Slice the 200g (7 oz) block of smoked tofu into thin strips.
Assemble and cook the quesadillas:
- Heat a clean frying pan over medium heat. Place a tortilla in the pan, spread 2 tbsp of the pumpkin cheese across the tortilla, and then layer with some refried beans, guacamole, and smoked tofu slices on one half. Fold the tortilla over and cook on both sides until golden brown. Repeat with the remaining tortillas and fillings.
Enjoy your delicious autumn-inspired quesadillas!
Flu Fighter – Golden Immunity Shots
Takes 10 minutes
Serves 20
Ingredients
- 2 oranges
- 2 lemons
- 100 g fresh ginger approx 1/2 cup, chopped
- 35 g fresh turmeric approx. 3 tbsp, chopped
- 1/2 tsp ground turmeric
- 1/8 tsp black pepper
- 400 ml of water approx 1.7 cups
- ½ tsp coconut oil
Instructions
- Cut the turmeric and ginger into small pieces
- Peel your oranges and lemons.
- Add all of the ingredients into your blender. Pop the lid on and blend on high until super smooth.
- Typically this is sieved to give a super silky texture but in doing so you lose some of the goodness from the fibre so we have left ours as is.
- We stored ours in a 1L Jar in the fridge for 5 days and had a good shot of it each day. Great way to give you a boost to help keep colds and flu at bay!
Fermented Chilli Turmeric Hot Sauce
Takes 7 days 30 minutes
Serves 12
Ingredients
Fermented Chillies
- 500 g fresh assorted chillies (3 cups approx)
- 4 cloves garlic
- small thumb size ginger
- small thumb sized turmeric
- water
Hot Sauce
- 320 ml chilli brine (1 1/3 cup approx)
- 7 tbsp maple syrup
- 7 tbsp apple cider vinegar
- 1 tsp salt
- 1/2 tsp ground pepper
- 75 g roasted carrot (1/2 cup approx)
- 1 tbsp tamari
Instructions
- Cut the green parts off the chillies and slice them open, leaving the seeds in place. Peel the garlic cloves.
- Weigh the combined weight of the chillies, garlic, turmeric and ginger. Multiply by 2% (.02) to calculate the salt required for fermentation (e.g., if the combined weight is 560 g, multiply by 2%, giving you 11.2 g of salt).
- Add the chillies, garlic, ginger, turmeric and salt to a clean jar. Submerge with water and weigh down with a clean lid to keep everything below the surface. Label the jar and leave it to ferment for 7–10 days in a warm environment, away from direct sunlight.
- Burp the chillies every day by opening the lid to release any natural carbonation, then reseal. The water will become cloudy, and bubbles will form as fermentation progresses.
- If using carrot to reduce the heat, finely slice and roast it at 200°C for 45 minutes, until soft and with a melt-in-your-mouth texture.
- Once fermentation is complete, drain the chillies, garlic, and ginger. Keep the brine.
- Blend the chillies, garlic, ginger, turmeric roasted carrot, vinegar, syrup, tamari, salt, and pepper until super smooth. Pass through a sieve for a finer texture.
- Taste and adjust seasoning to your liking by adding more vinegar, syrup, or salt.
- Using a funnel, pour the sauce into bottles. This will last for many months in the fridge and makes a great gift.
- Enjoy!
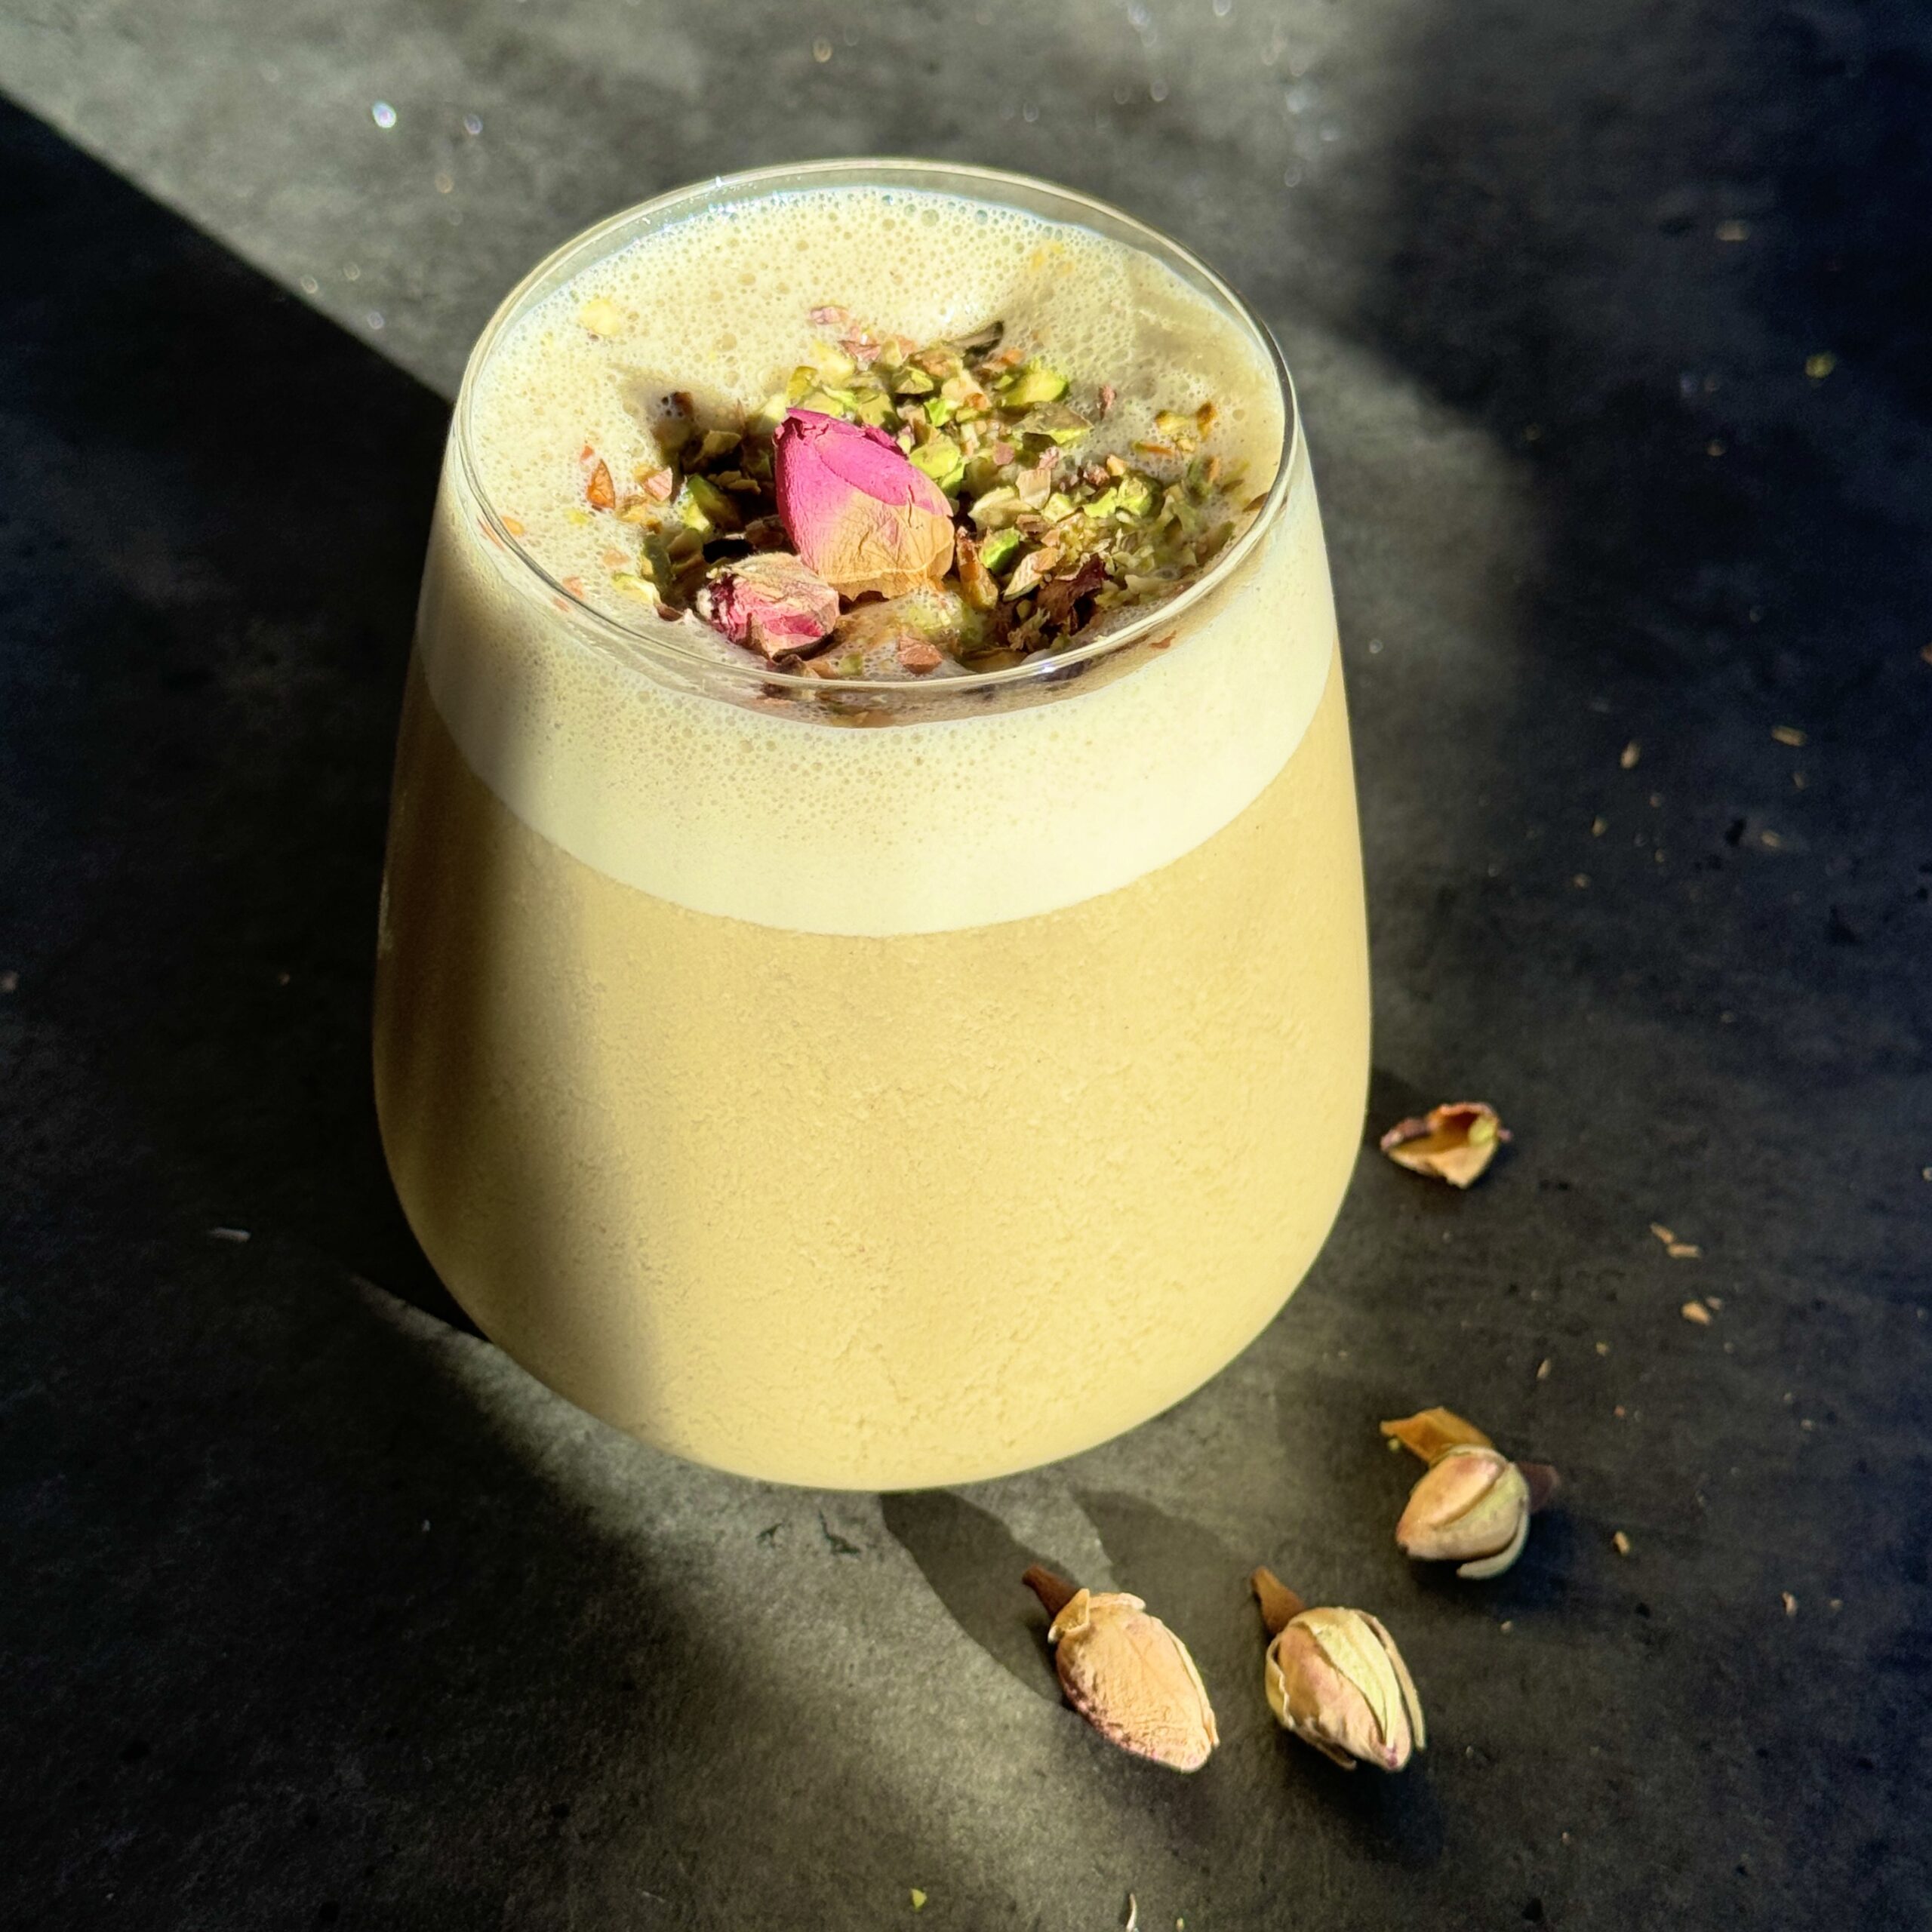
Pistachio & Rose Milk
Takes 10 minutes
Serves 4
Ingredients
- 120 g of pistachio nuts 1 cup, shelled
- 700 ml -1 litre of water 3-4 cups, depending on desired thickness
- 2 dates pitted
- Pinch salt
- 1/2 tsp vanilla
Optional
- 3-4 buds of dried rose
Instructions
- Make sure the spout cap is closed, then pop all your ingredients into the filter basket.
- Secure the lid, set the blend time to 1 minute, and hit Start!
- When prompted, open the spout. After about 10 seconds, the spin cycle kicks in, and before you know it, your milk is ready to enjoy!
- You can use the leftover pulp to make energy balls or pistachio truffles!
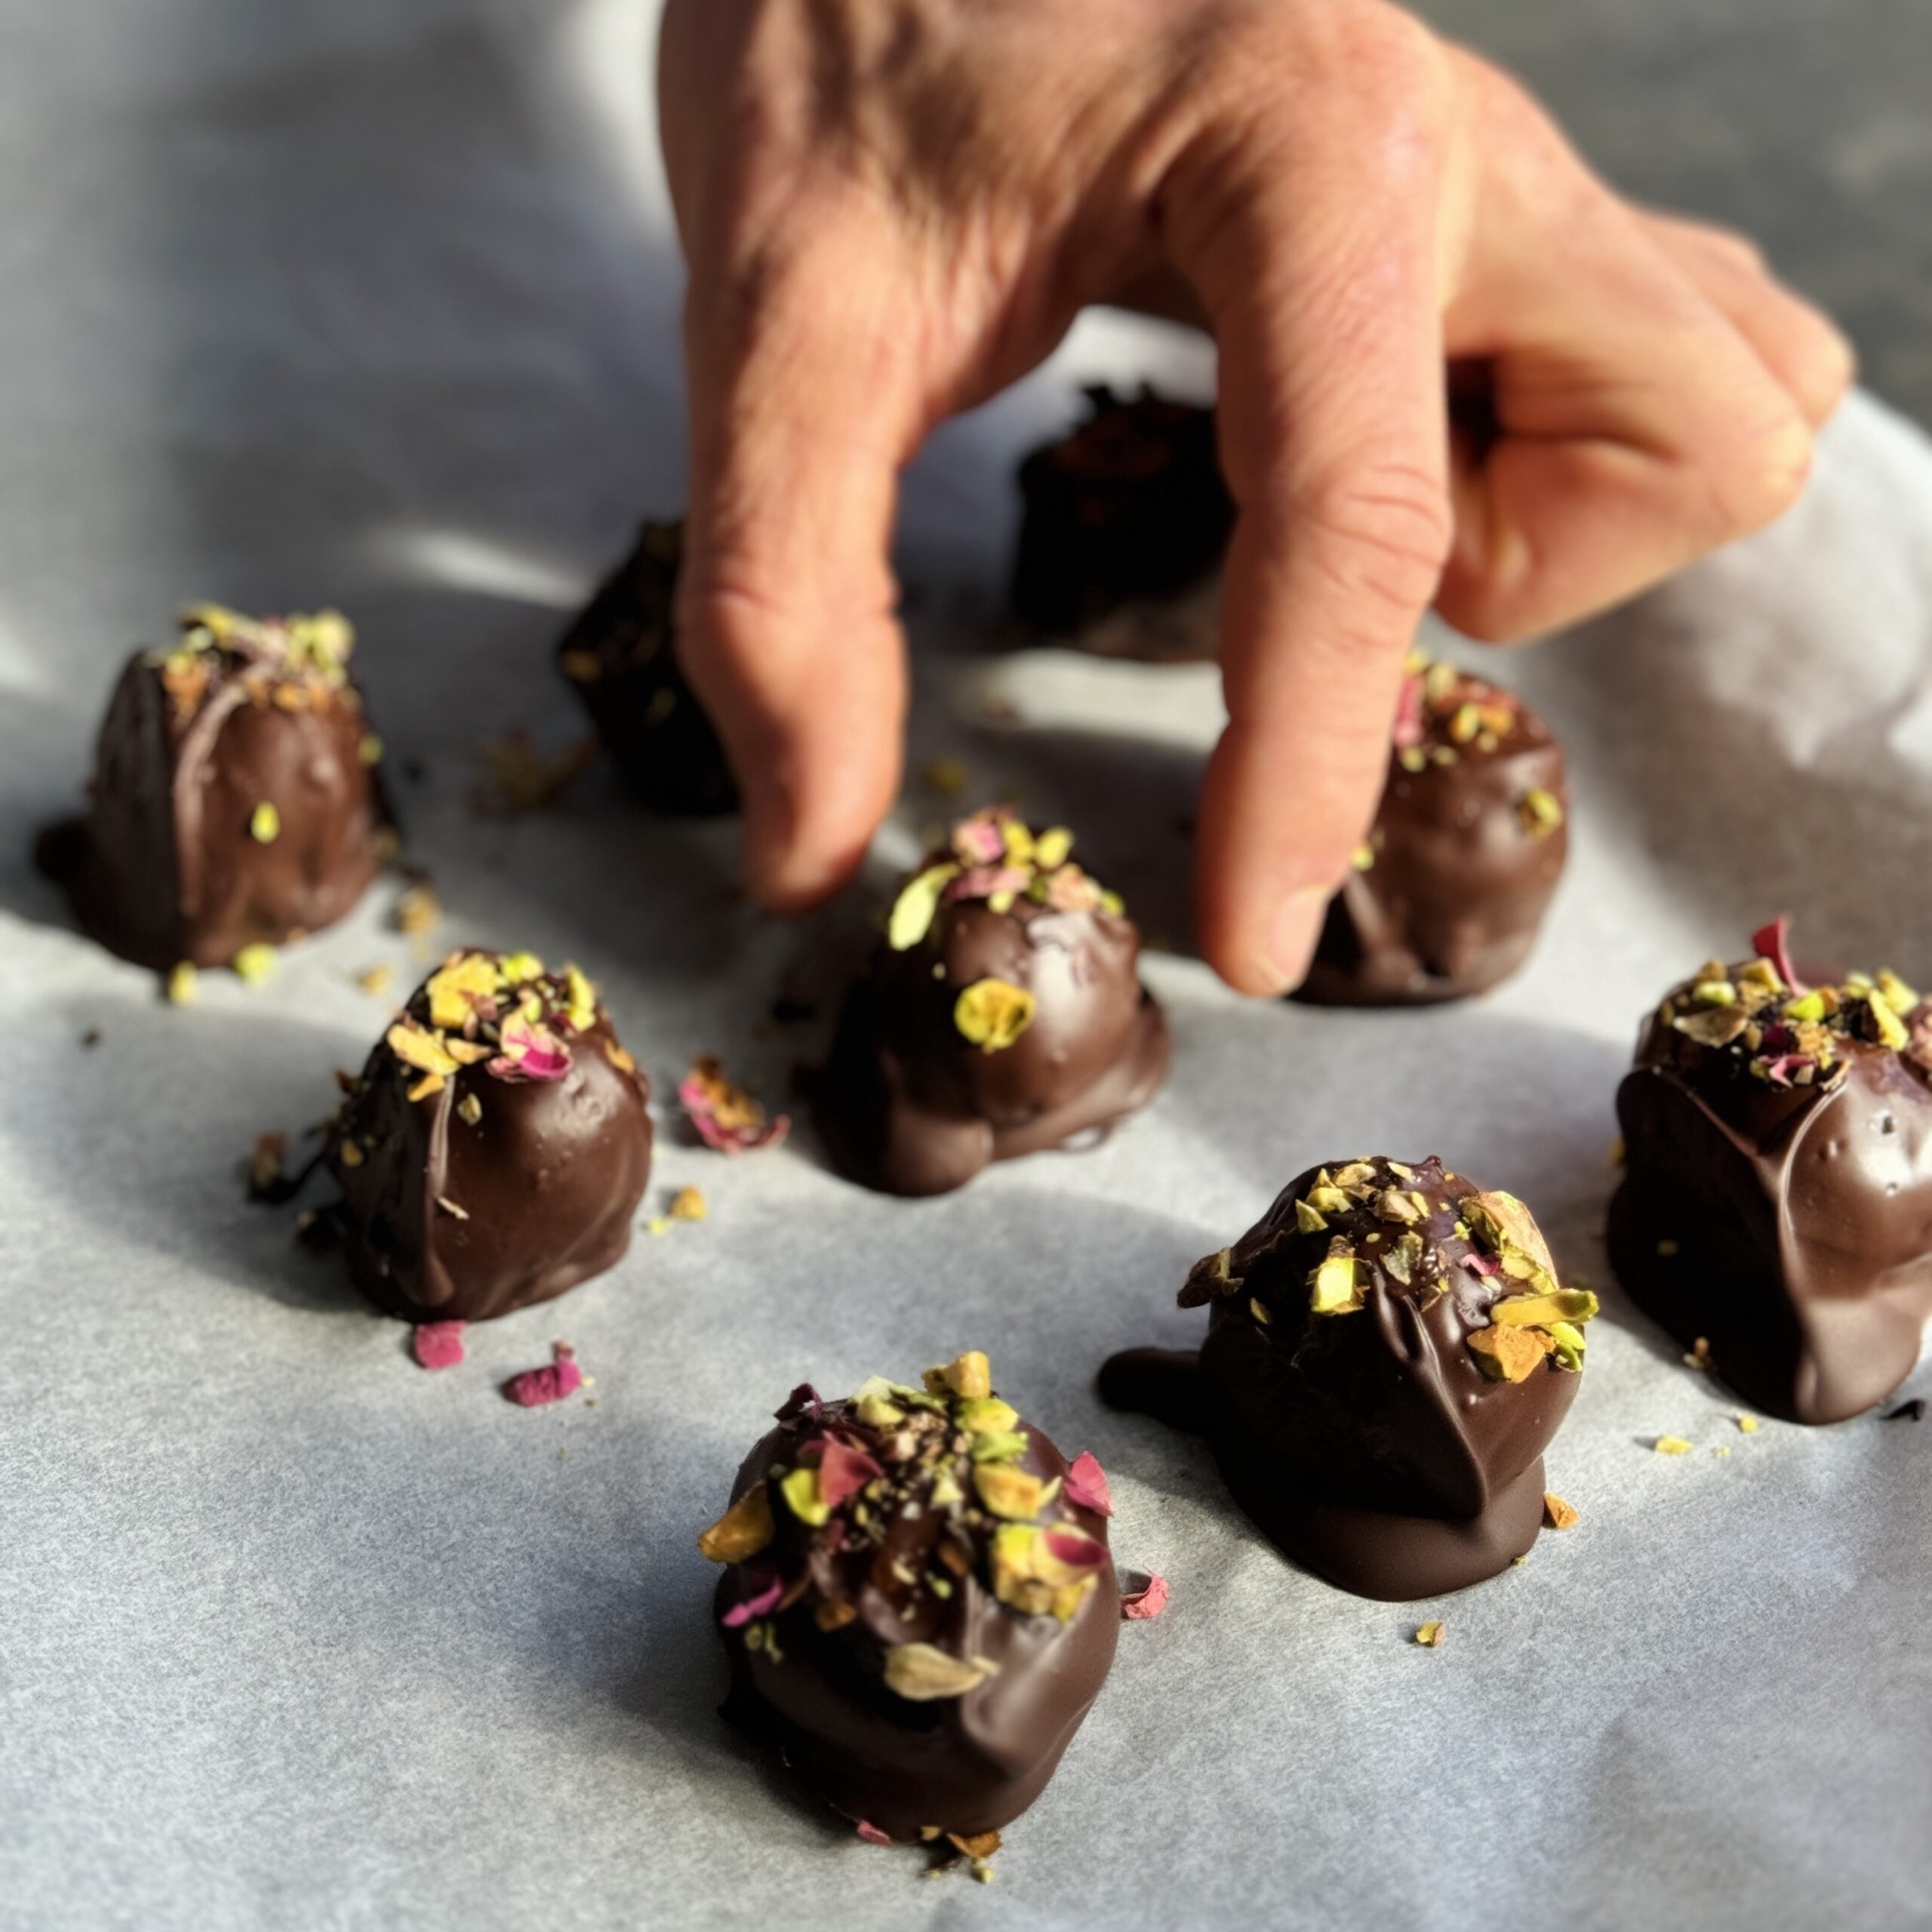
Pistachio Truffle Energy Balls
Takes 1 hour 10 minutes
Serves 10
Ingredients
- Pistachio pulp approx 100g
- 100 g Dates
- 1 tsp Vanilla extract
- 1 tsp matcha powder optional
- 150 g Dark Chocolate we used 70% cacao solids
- Pinch salt
Instructions
- Once you’ve extracted the pistachio pulp from the Nama M1 machine, pop it into a blender along with the dates, vanilla extract, matcha (if you’re using it), and a pinch of salt.
- Blend everything until smooth and combined.
- Scoop out 1 tablespoon of the mixture, roll it into a ball, and coat it in melted dark chocolate.
- For an extra touch, top the chocolate-coated balls with crushed pistachios (optional). Or, if you prefer, skip the chocolate and roll them in coconut flakes instead.
- Pop into the fridge for up to an hour until the chocolate sets and enjoy!
Notes
The Happy Pear Podcast
In this episode, we sit down with our friend Doug Evans, a pioneering health food entrepreneur and sprouting enthusiast. This is the second time we have had Doug on the show and in person, so it was a real treat.

Episode 175
Doug’s journey into sprouting began over 25 years ago, and since then, he has become a leading advocate for the nutritional benefits of sprouts. Doug is the author of The Sprout Book and a passionate educator, spreading the message about how simple, sustainable, and accessible sprouting can be for people looking to improve their health and well-being. From his early days as a co-founder of Organic Avenue to becoming a thought leader in the plant-based world, Doug has dedicated his life to empowering others to live healthier lives through whole, living foods.
Join us as Doug shares his deep knowledge about sprouts and their incredible health benefits, including how you can easily grow your own at home, no matter where you live.
Whether you’re already on a plant-based path or simply curious about improving your health, this episode will inspire you to incorporate more nutrient-rich foods into your life in an easy and affordable way.
Lots of love,
Dave & Steve
SPONSORS & DISCOUNT CODES:
Namawell Juicers are AMAZING! They have absolutely revolutionised the juicing game. We have an exclusive 10% discount for you!
Enter the code HAPPYPEAR10
LINK: https://namawell.com/collections/juicers/products/nama-j2-cold-press-juicer?ref=thehappypear
VIVOBAREFOOT: Vivobarefoot Footwear have given our listeners an exclusive 20% discount and if you buy now you also get free access to their incredible course showcasing some of the biggest names in the health and wellness space.
Enter the code HP20
LINK: https://www.vivobarefoot.com/uk/the-happy-pear
THE WHOLE HEALTH TRIBE – Join our community
LINK: https://eu1.hubs.ly/H0bmqxd0
THE HAPPY PEAR RECIPE CLUB – Blending health and happiness through a range of over 500 delicious plant-based recipes.
LINK: https://eu1.hubs.ly/H0bmqss0
Sign up to our Newsletter, for updates on our latest recipes, events, and news.
LINK: https://share-eu1.hsforms.com/1hKXaawjoQOONmJe4EXkCdwf92py
Produced by Sean Cahill & Sara Fawsitt
Available now from all good podcast providers:
The Happy Pear Podcast
In this episode we chat with Pete Russell, the inspiring founder of Ooooby (Out of Our Own Backyards), a platform revolutionising the way we source food by connecting small-scale, local food producers directly with consumers. Pete’s mission is to make fresh, locally-grown produce easily accessible while supporting sustainable, regenerative farming practices. With a background in food distribution and a passion for creating a more equitable food system, Pete has grown Ooooby into a global movement that champions the benefits of local food economies and community resilience.

Episode 174
Join us as Pete shares his journey from his early days in the food industry to founding Ooooby, his vision for a sustainable food future, and the challenges and triumphs he’s experienced along the way. Whether you’re passionate about local food, interested in sustainability, or curious about innovative business models, this episode is packed with insights you won’t want to miss!
Lots of love,
Dave & Steve
SPONSORS & DISCOUNT CODES:
Namawell Juicers are AMAZING! They have absolutely revolutionised the juicing game. We have an exclusive 10% discount for you!
Enter the code HAPPYPEAR10
LINK: https://namawell.com/collections/juicers/products/nama-j2-cold-press-juicer?ref=thehappypear
VIVOBAREFOOT: Vivobarefoot Footwear have given our listeners an exclusive 20% discount and if you buy now you also get free access to their incredible course showcasing some of the biggest names in the health and wellness space.
Enter the code HP20
LINK: https://www.vivobarefoot.com/uk/the-happy-pear
THE WHOLE HEALTH TRIBE – Join our community
LINK: https://eu1.hubs.ly/H0bmqxd0
THE HAPPY PEAR RECIPE CLUB – Blending health and happiness through a range of over 500 delicious plant-based recipes.
LINK: https://eu1.hubs.ly/H0bmqss0
Sign up to our Newsletter, for updates on our latest recipes, events, and news.
LINK: https://share-eu1.hsforms.com/1hKXaawjoQOONmJe4EXkCdwf92py
Produced by Sean Cahill & Sara Fawsitt
Available now from all good podcast providers:
Here is our range of gluten free products as at July 2024.
Please note: The range available in store will depend on what is in stock local to the customer
| Food Type | Product Name |
|---|---|
| Soup | Country Veg Soup |
| Soup | Tomato, Basil and Red Pepper Soup |
| Soup | Sweet Potato, Coconut and Ginger Soup |
| Soup | Carrot & Butternut Squash Soup |
| Soup | Hearty Veg Soup |
| Soup | Mushroom Soup |
| Sauce | Tasty Tikka Sauce |
| Sauce | Thai Tastic Sauce |
| Sauce | That’s Korma Sauce |
| Sauce | Lovely Lentil Bolognese Sauce |
| Sauce | Happy Ragu Sauce |
| Sauce | Spicy Cherry Tomato Sauce |
| Dips | Lovely Basil Pesto |
| Dips | Sundried Tomato Pesto |
| Dips | Spicy Pepper Pesto |
| Dips | Black Olive Tapenade |
| Dips | Hummus Variety Pack |
| Dips | Happy Hummus |
| Dips | Reduced Fat Hummus |
| Dips | Sweet Beet Hummus |
| Dips | Red Pepper Hummus |
| Dips | Caramelised Onion Hummus |
| Dips | Moroccan Style Hummus |
| Snack | Dip & Snack Happy Hummus |
| Snack | Dip & Snack Red Pepper Hummus |
| Condiments | Tomato Ketchup |
| Condiments | Chipotle Ketchup |
| Alcohol Free Beer | Hoppy Days Pale Ale |
| Alcohol Free Beer | High Tide Lager |
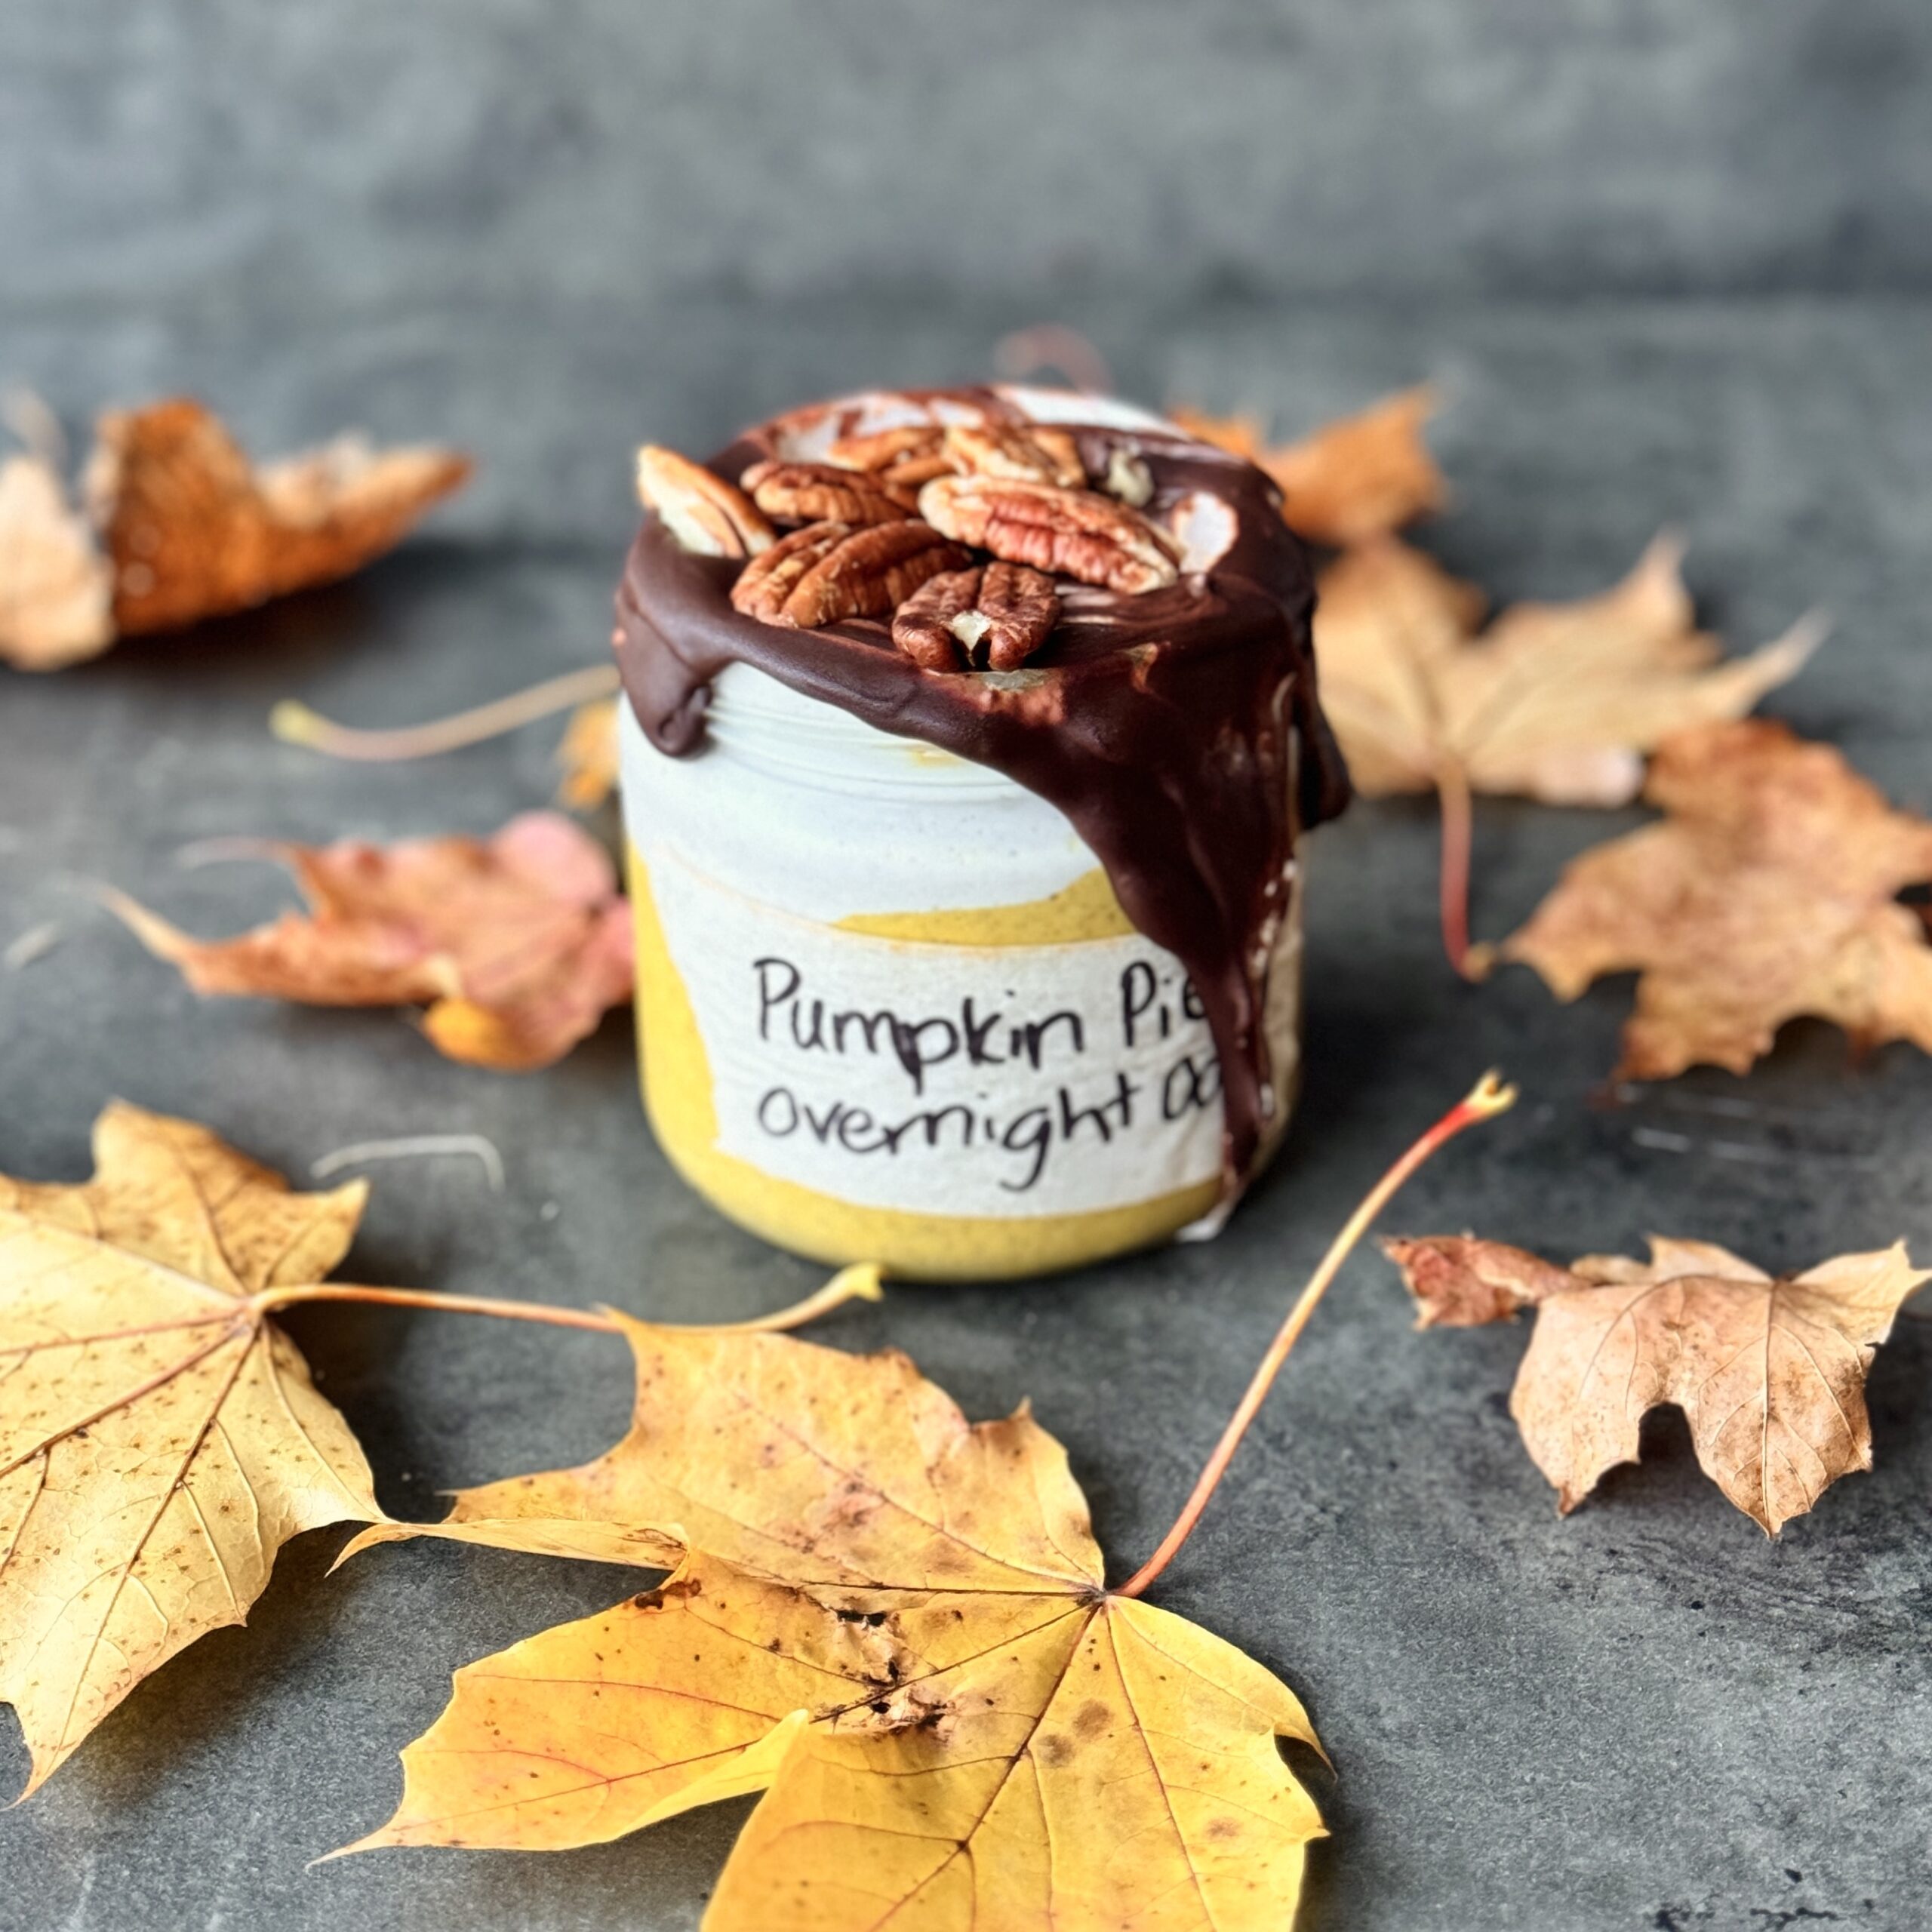
Pumpkin Pie Overnight Oats with Maple-Spiced Cream & Chocolate Shell
Takes 10 minutes
Serves 2
Ingredients
Pumpkin Pie Overnight Oats
- 90 g 1 cup rolled oats
- 1 tbsp chia seeds
- 240 ml 1 cup oat milk
- 75 g 1/3 cup pumpkin purée
- ½ tsp pumpkin pie spice see blend recipe below
- 1 tsp maple syrup
- 1 tsp vanilla extract
Maple-Spiced Cream
- 1 tbsp maple syrup
- ½ tsp pumpkin pie spice
- 6 tbsp coconut yoghurt or yoghurt of choice
Garnish
- 50 g ⅓ cup choopped dark chocolate
Homemade Pumpkin Spice Blend:
- 3 tbsp ground cinnamon
- 2 tsp ground ginger
- 2 tsp ground nutmeg
- 1 tsp ground cloves
- 1 tsp ground allspice optional
Instructions
Blend the pumpkin overnight oats:
- In a blender, add 90g (1 cup) rolled oats, 1 tbsp chia seeds, 75g (1/3 cup) pumpkin purée, 240ml (1 cup) oat milk, 1 tsp maple syrup, ½ tsp pumpkin pie spice, and 1 tsp vanilla extract. Blend until smooth, then divide the mixture evenly between two glasses or jars.
Mix the maple-spiced cream:
- In a small bowl, mix together 6 tbsp coconut yoghurt, 1 tbsp maple syrup, and ½ tsp pumpkin pie spice. Spoon the mixture on top of the pumpkin overnight oats in each glass.
Prepare the chocolate shell:
- Melt the dark chocolate in a microwave or over a bain-marie. Carefully pour the melted chocolate on top of the cream layer in each glass, then allow it to set and harden.
Garnish and enjoy:
- Sprinkle toasted pecans on top of the hardened chocolate layer. Serve immediately or store in the fridge overnight for a delicious breakfast or snack.
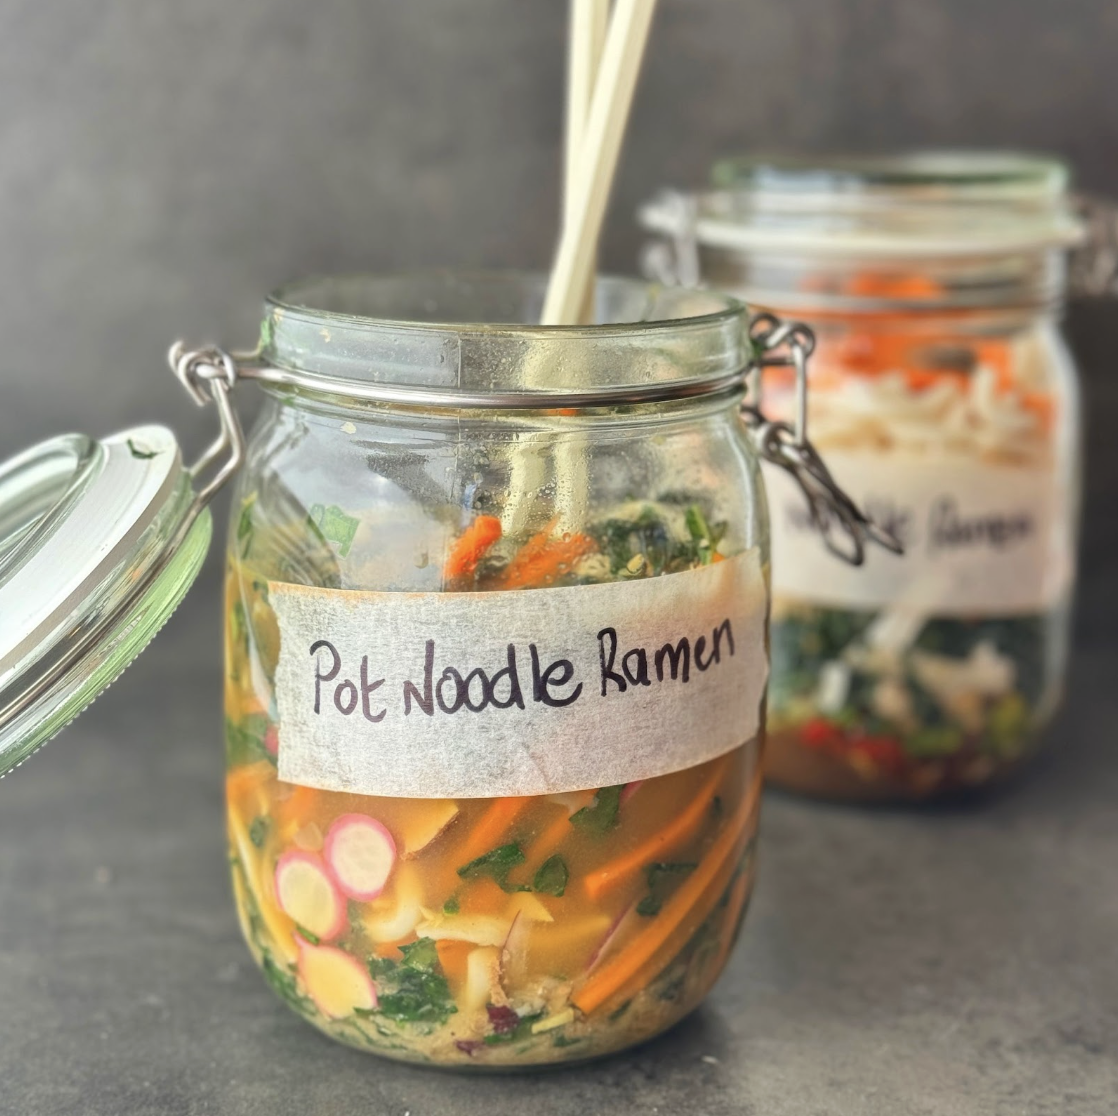
Healthier Pot Noodle Ramen
Takes 15 minutes
Serves 2
Ingredients
For the base:
- 1 red onion
- 2 cloves of garlic
- ½ thumb-sized piece of ginger
- 1 bunch of scallions green onions, white and green parts separated
- 1 red chilli
- 1 large carrot
- 100 g oyster mushrooms or chestnut mushrooms approx 1 cup
- 100 g kale or similar greens 4 cups finely chopped
- 1 litre water 4 ¼ cups
- 1 tbsp sesame oil
- 1 tbsp dried seaweed e.g., hijiki, finely chopped (optional)
- 1 tbsp miso paste
- 1 tsp salt
- 2 tbsp tamari or soy sauce
- 15 g fresh coriander cilantro (¼ cup)
- 200 g quick-cooking noodles e.g., udon (1 cup dried)
- 1 bunch of radishes
- 200 g firm/smoked tofu 1 cup
To serve:
- Additional fresh coriander cilantro
- 2 tbsp sesame seeds
Instructions
Prepare the vegetables:
- Peel and slice the 1 red onion into thin long stips and peel and finely dice 2 cloves of garlic. Peel and finely dice the ½ thumb-sized piece of ginger. Finely chop the white and green parts of the scallions (green onions). Finely dice half the red chilli. Slice the bunch of radishes. Julienne the 1 large carrot into thin, long matchsticks. Cut the 200g smoked tofu into small cubes. Remove the 100g kale from its stalks and finely dice. Slice the 100g mushrooms into thin strips.
Fill the jars:
- Divide the ingredients between 2 large 1-litre jars. First, add 1 tbsp miso paste, 2 tbsp tamari (or soy sauce), 1 tbsp sesame oil, the prepared garlic (from 2 cloves), ginger (from ½ thumb-sized piece), the red chilli, and red onion (from 1 onion). Follow with the scallions, sliced mushrooms, julienned carrots (1 large carrot), cubed tofu, kale, radishes, and 200g of quick-cooking noodles. You can arrange the ingredients as you like!
Add boiling water and serve:
- Boil 1 litre (4 ¼ cups) of water. Pour the boiling water over the contents of each jar, filling them up, and let sit for 3–4 minutes. Stir occasionally. Taste the broth and adjust the seasoning by adding more salt, pepper, or chilli if desired. Garnish with additional fresh coriander (cilantro) and sprinkle 2 tbsp sesame seeds over the top. Enjoy your homemade pot noodle!
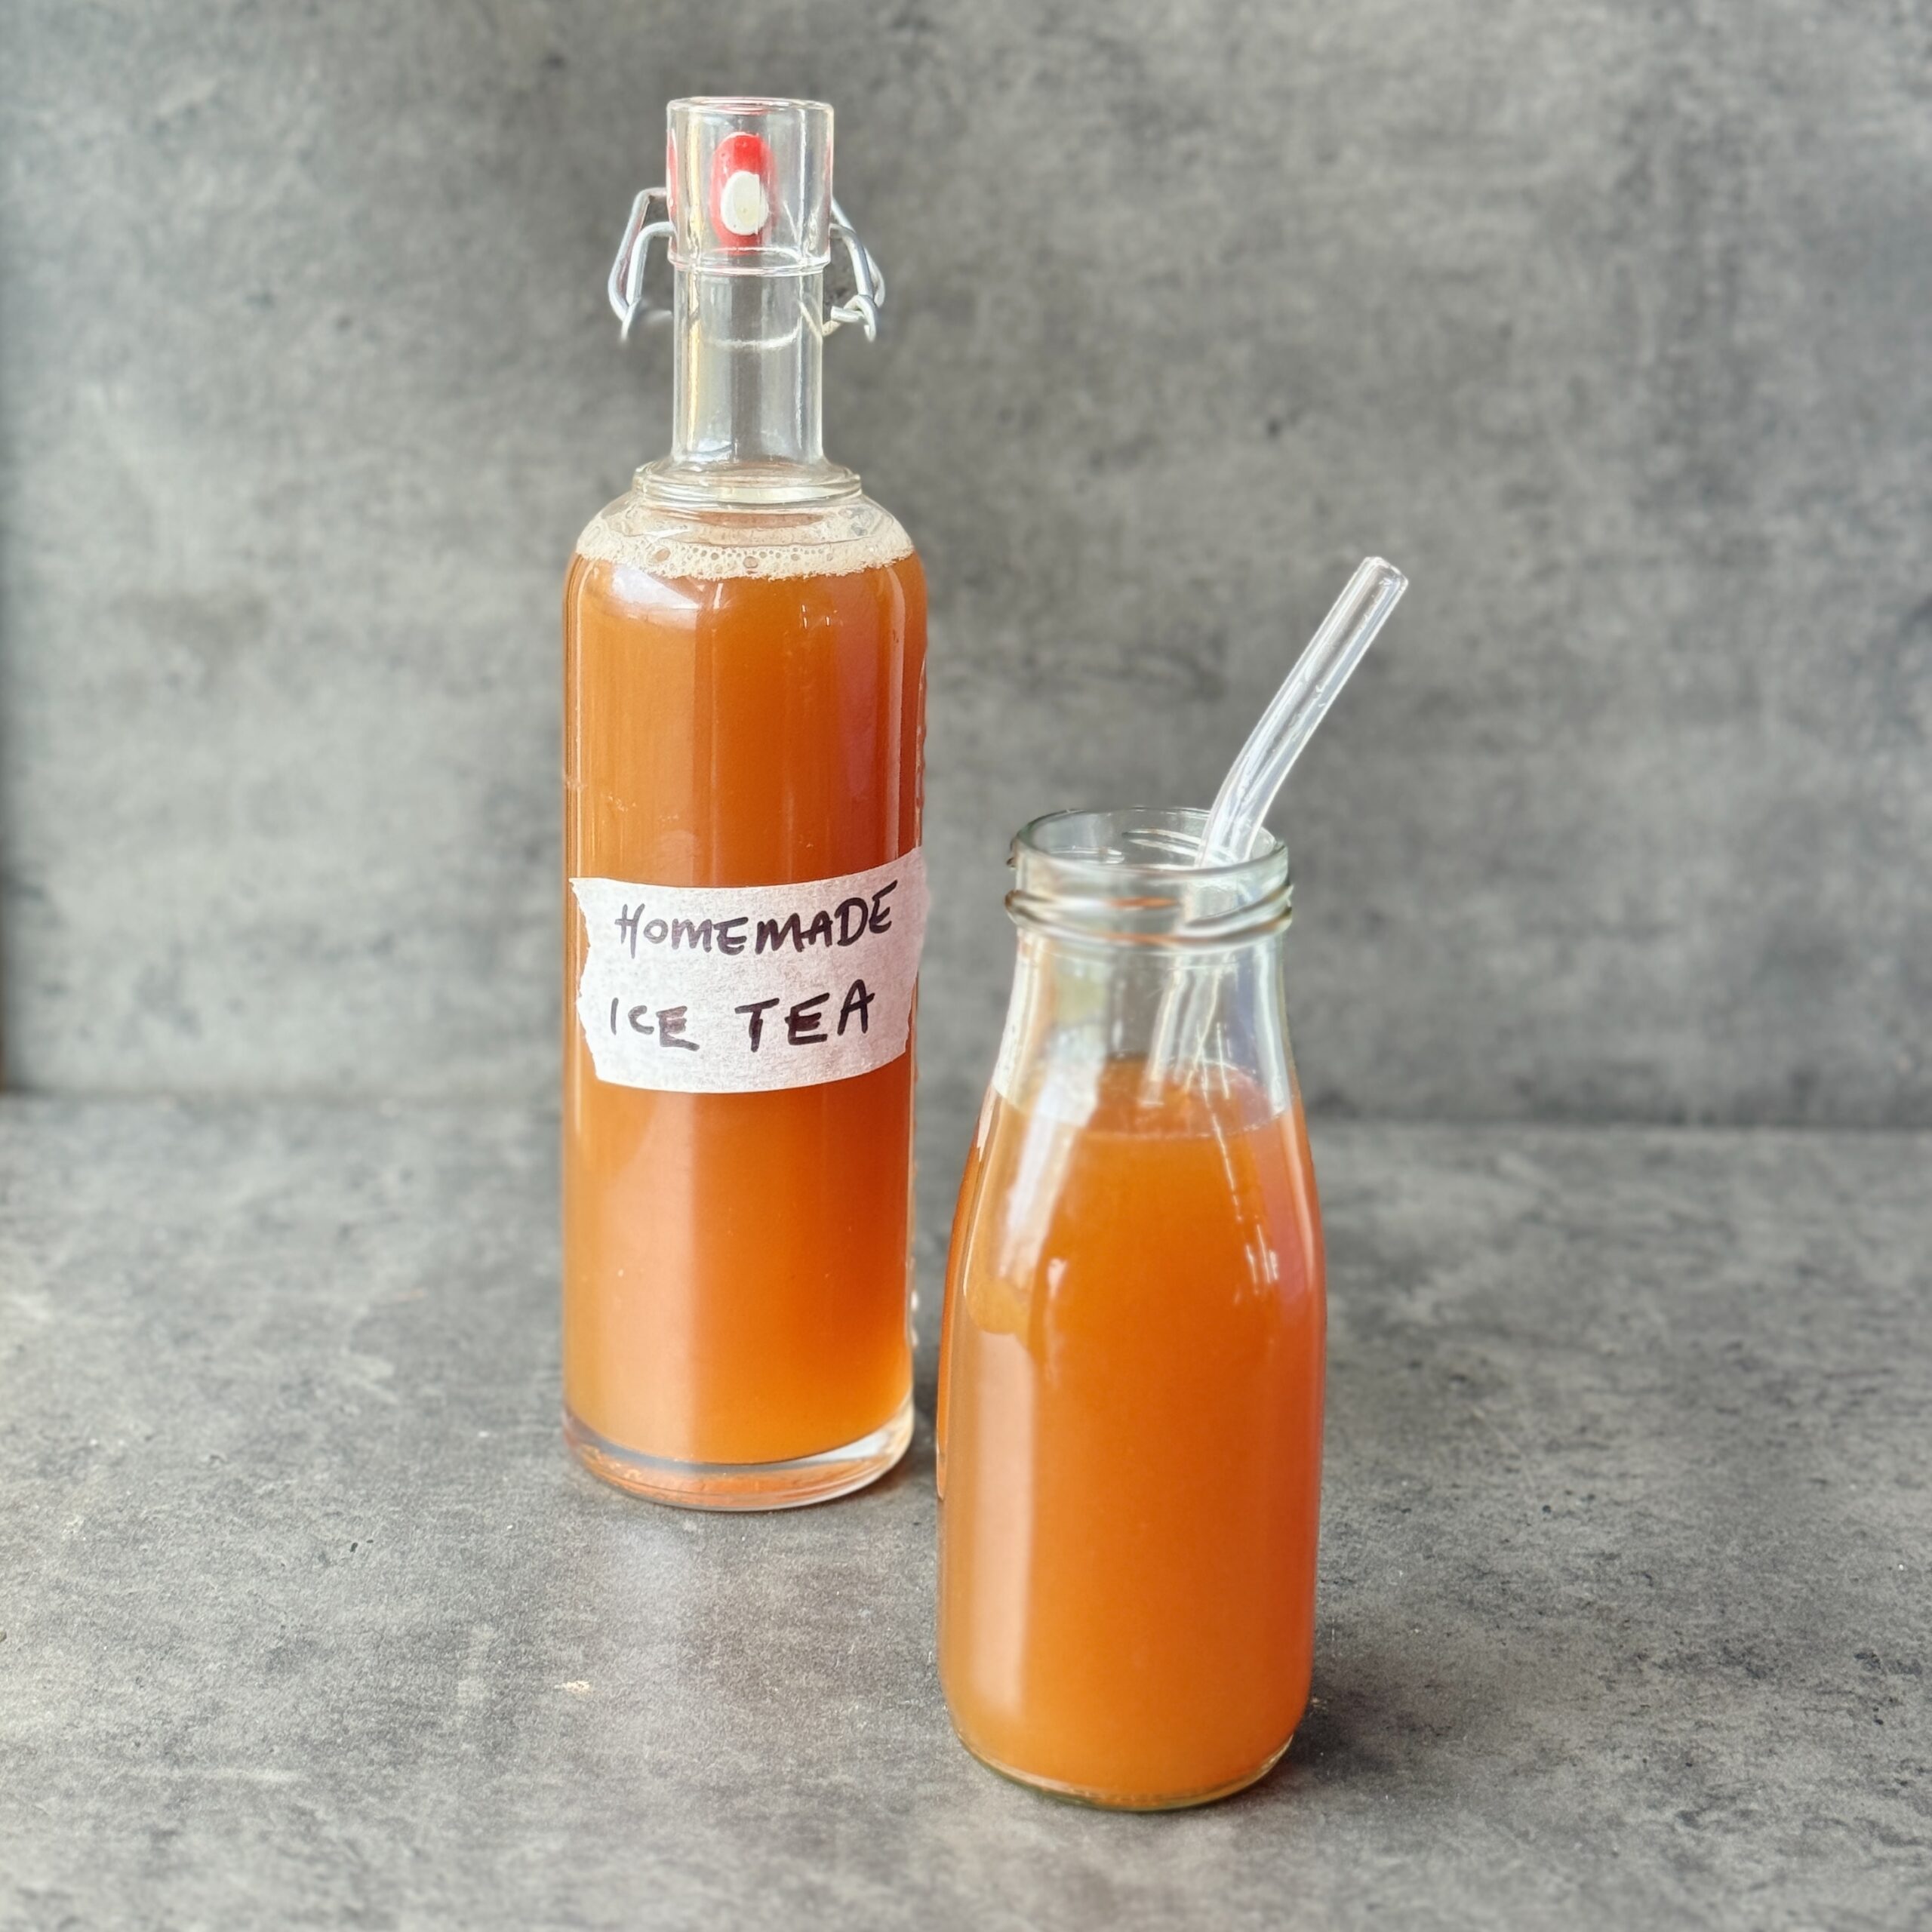
Homemade Iced Tea Natural Soda
Takes 6 days 10 minutes
Serves 4
Ingredients
- 2 Rooibos tea bags
- 60 g of coconut/ brown sugar approx ¼ cup
- 1 lemon
- 1 thumb sized piece of ginger
- ½ thumb sized piece of fresh turmeric
- Pinch black pepper
Instructions
Brew the tea
- Boil the kettle.
- Add the 2 rooibos tea bags to a 1 litre jar along with a large metal spoon and the sugar. Pour over 300-400ml of boiled water, mix well and leave to brew for 5 mins.
Add more water to bring temp down
- Add another 700ml-600ml of cold water to the tea to bring the temperature down below 40 degrees C.
- Finely slice the lemon, ginger and turmeric and add to the tea. Mix well. Seal the jar and leave to ferment for 3 days in indirect sunlight at room temperature.
Sieve and transfer to bottles
- Sieve the tea removing any fruits or bits and using a funnel transfer to either 1L glass bottle or 2 x 500ml bottles. Leave to ferment for a further 2 days till it reaches the degree of carbonation that you are happy with. Ensure to burp these bottles each day which simply means opening the lid for 1 second to release any build up of carbonation to avoid any unwanted messes or explosions!
Enjoy!
- Sweeten to your taste by adding some maple syrup or sweetener of choice and store in the fridge and enjoy!
Notes
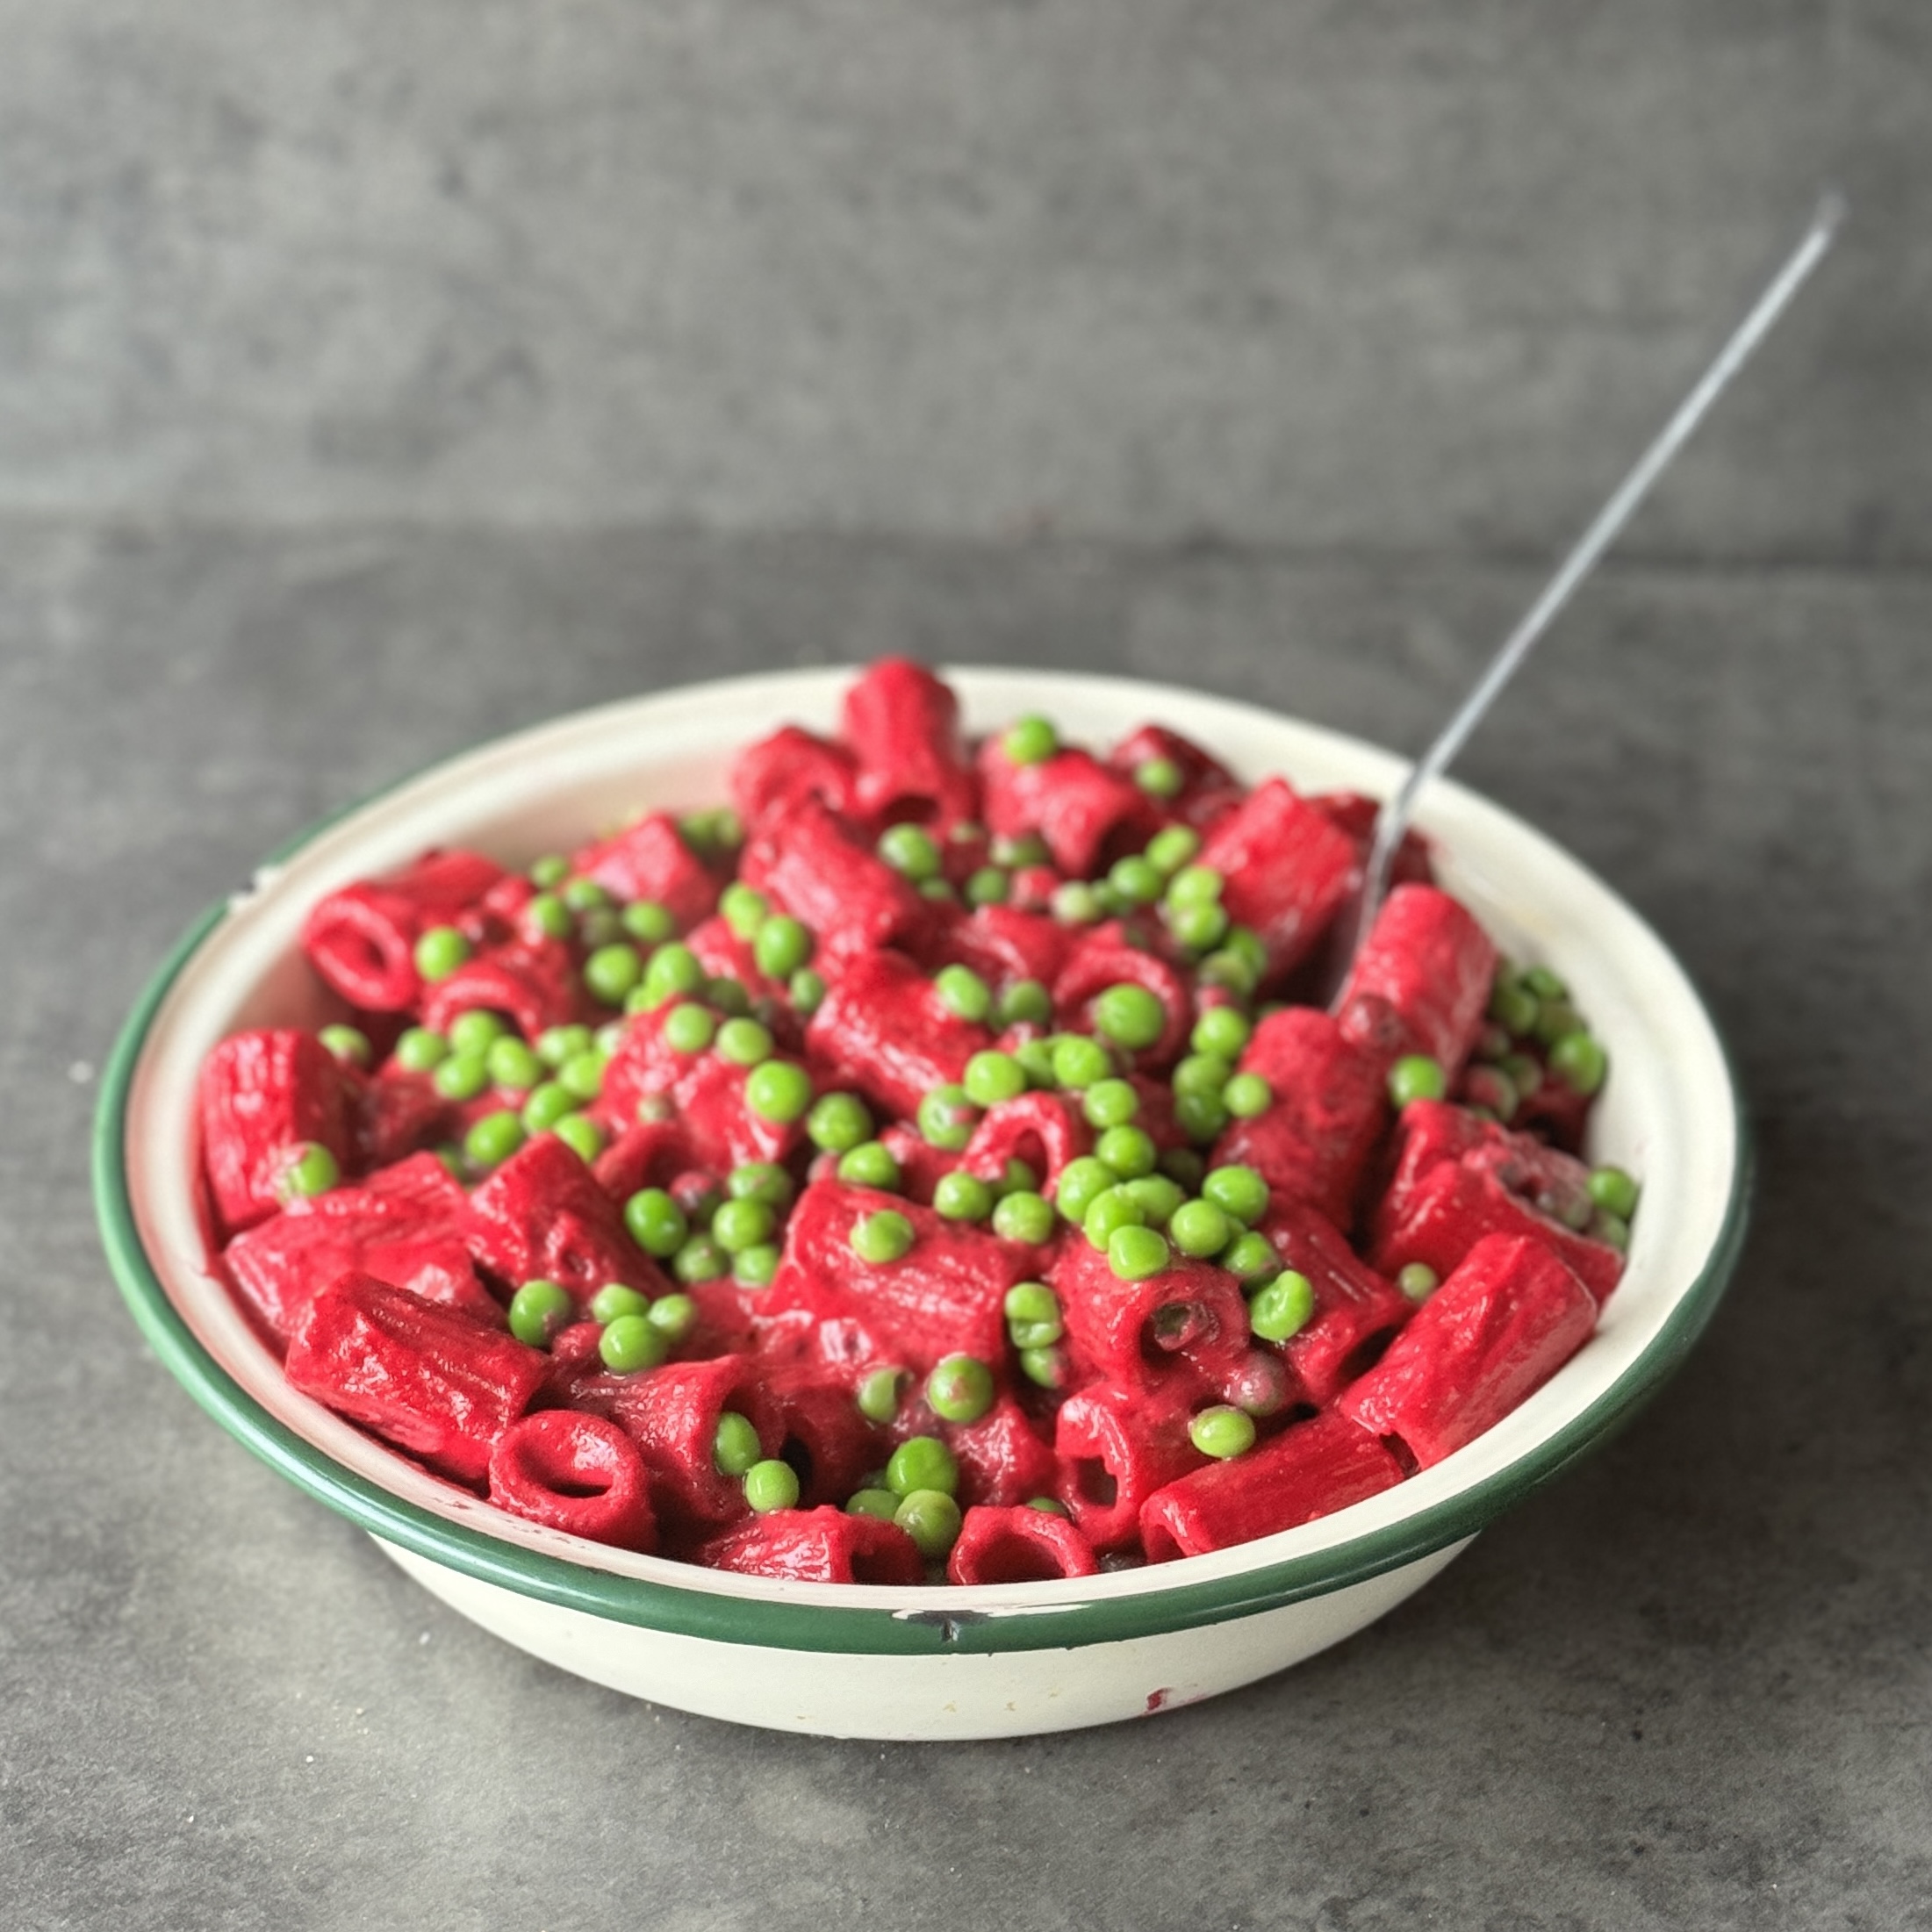
Beetroot Pesto Pasta with Peas
Takes 35 minutes
Serves 4
Ingredients
Beetroot Pesto
- 130 g pine nuts 1 cup
- 200 g raw beetroot chopped (1.5 cups)
- 1.5 cloves garlic ½ tsp minced
- 2 tbsp balsamic vinegar
- 150 ml olive oil ⅔ cup
- 1 tsp salt
Pasta and Peas
- 400 g dried spaghetti or pasta of choice 4 cups, uncooked
- 100 g frozen peas ¾ cup
Instructions
Preheat the oven and roast the beetroot:
- Preheat your oven to 200℃ (392℉). Roughly chop 200g (1.5 cups) of beetroot into bite-sized pieces and place on a baking tray. Sprinkle with a pinch of salt and drizzle with a little olive oil. Roast in the preheated oven for 20-30 minutes, until the beetroot is tender and slightly charred at the edges.
Cook the pasta:
- Fill a medium saucepan with boiling water, add 1 tbsp salt, and bring to a rolling boil. Add 400g (4 cups) of pasta and cook according to the package instructions. Drain the pasta, but reserve some of the pasta water.
Toast the pine nuts:
- Add 130g (1 cup) of pine nuts to a dry frying pan over high heat. Toast for about 5 minutes, stirring regularly until they turn golden. Remove from the heat and set aside.
Thaw the peas:
- In a small bowl, cover 100g (¾ cup) of frozen peas with the reserved hot pasta water and leave to sit for 5 minutes. Drain and rinse the peas afterwards.
Prepare the beetroot pesto:
- In a food processor, add the roasted beetroot, 1.5 cloves garlic (½ tsp minced), 2 tbsp balsamic vinegar, 150ml (⅔ cup) olive oil, and 1 tsp salt. Blend until smooth. Add the toasted pine nuts and pulse a few times, leaving them slightly chunky for texture.
Mix and serve:
- Toss the cooked pasta with the beetroot pesto until fully coated. Stir in the peas and serve immediately. Enjoy this colourful and nutritious dish!
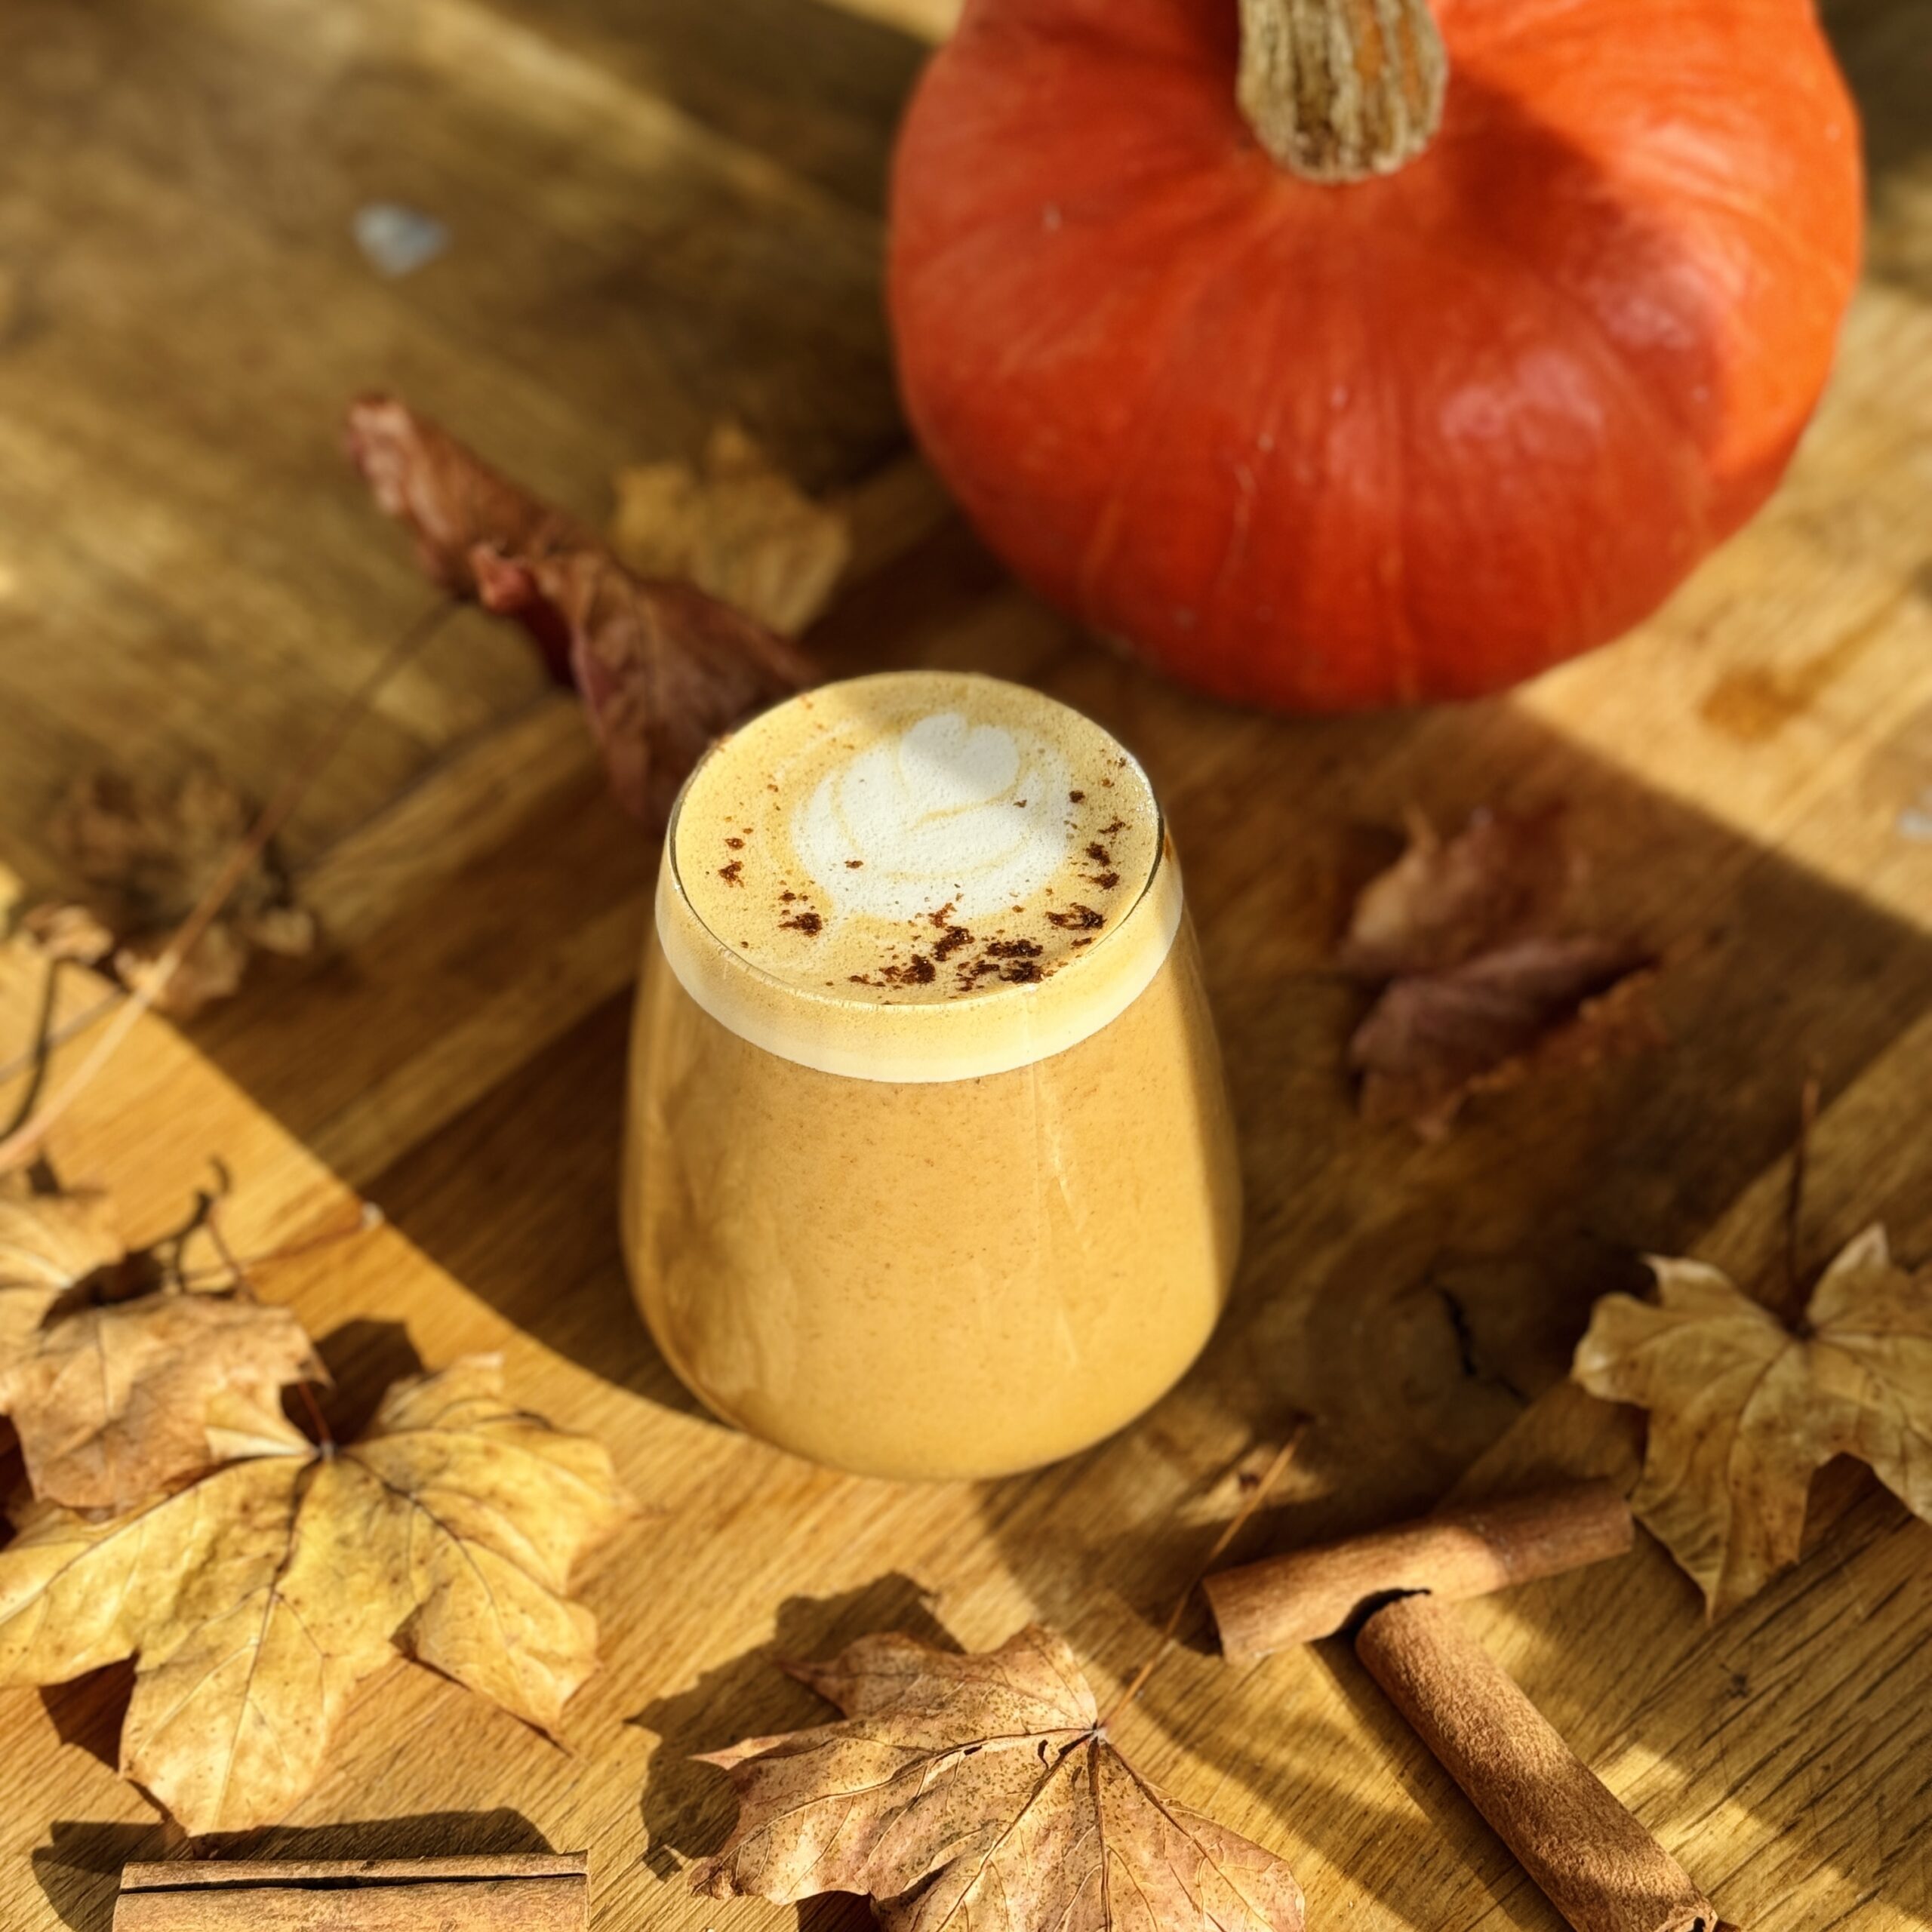
Pumpkin Latte with Maple and Pecan
Takes 15 minutes
Serves 2
Ingredients
- 240 ml oat milk 1 cup
- 60 ml strong brewed coffee or espresso ¼ cup
- 60 ml pumpkin purée ¼ cup – homemade or canned
- 2 tbsp maple syrup
- 1 tsp pumpkin spice
- ½ tsp vanilla extract
- 2 tbsp pecans roughly chopped
Homemade Pumpkin Spice Blend:
- 3 tbsp ground cinnamon
- 2 tsp ground ginger
- 2 tsp ground nutmeg
- 1 tsp ground cloves
- 1 tsp ground allspice optional
Instructions
Heat the milk and pumpkin purée:
- In a small saucepan over medium heat, combine 240ml (1 cup) oat milk and 60ml (¼ cup) pumpkin purée. Stir constantly until heated through but not boiling, about 3–5 minutes.
Add the flavourings:
- Once the oat milk is hot, stir in 2 tbsp maple syrup, 1 tsp pumpkin spice, and ½ tsp vanilla extract. Continue to heat and stir until well combined, for another 1–2 minutes.
Make the coffee:
- Brew 60ml (¼ cup ) of strong coffee or espresso. Divide it equally between two mugs.
Combine and froth:
- Pour the warm pumpkin milk mixture over the coffee in the mugs. Use a frother or whisk to create a light foam on top of the latte.
Top with pecans and serve:
- Top each latte with a generous spoonful of whipped cream, if desired. Sprinkle with 1 tbsp roughly chopped pecans on each and a light dusting of pumpkin spice for extra flavour.
Enjoy!
- Serve your pumpkin maple latte warm, and enjoy the autumn flavours with each sip.
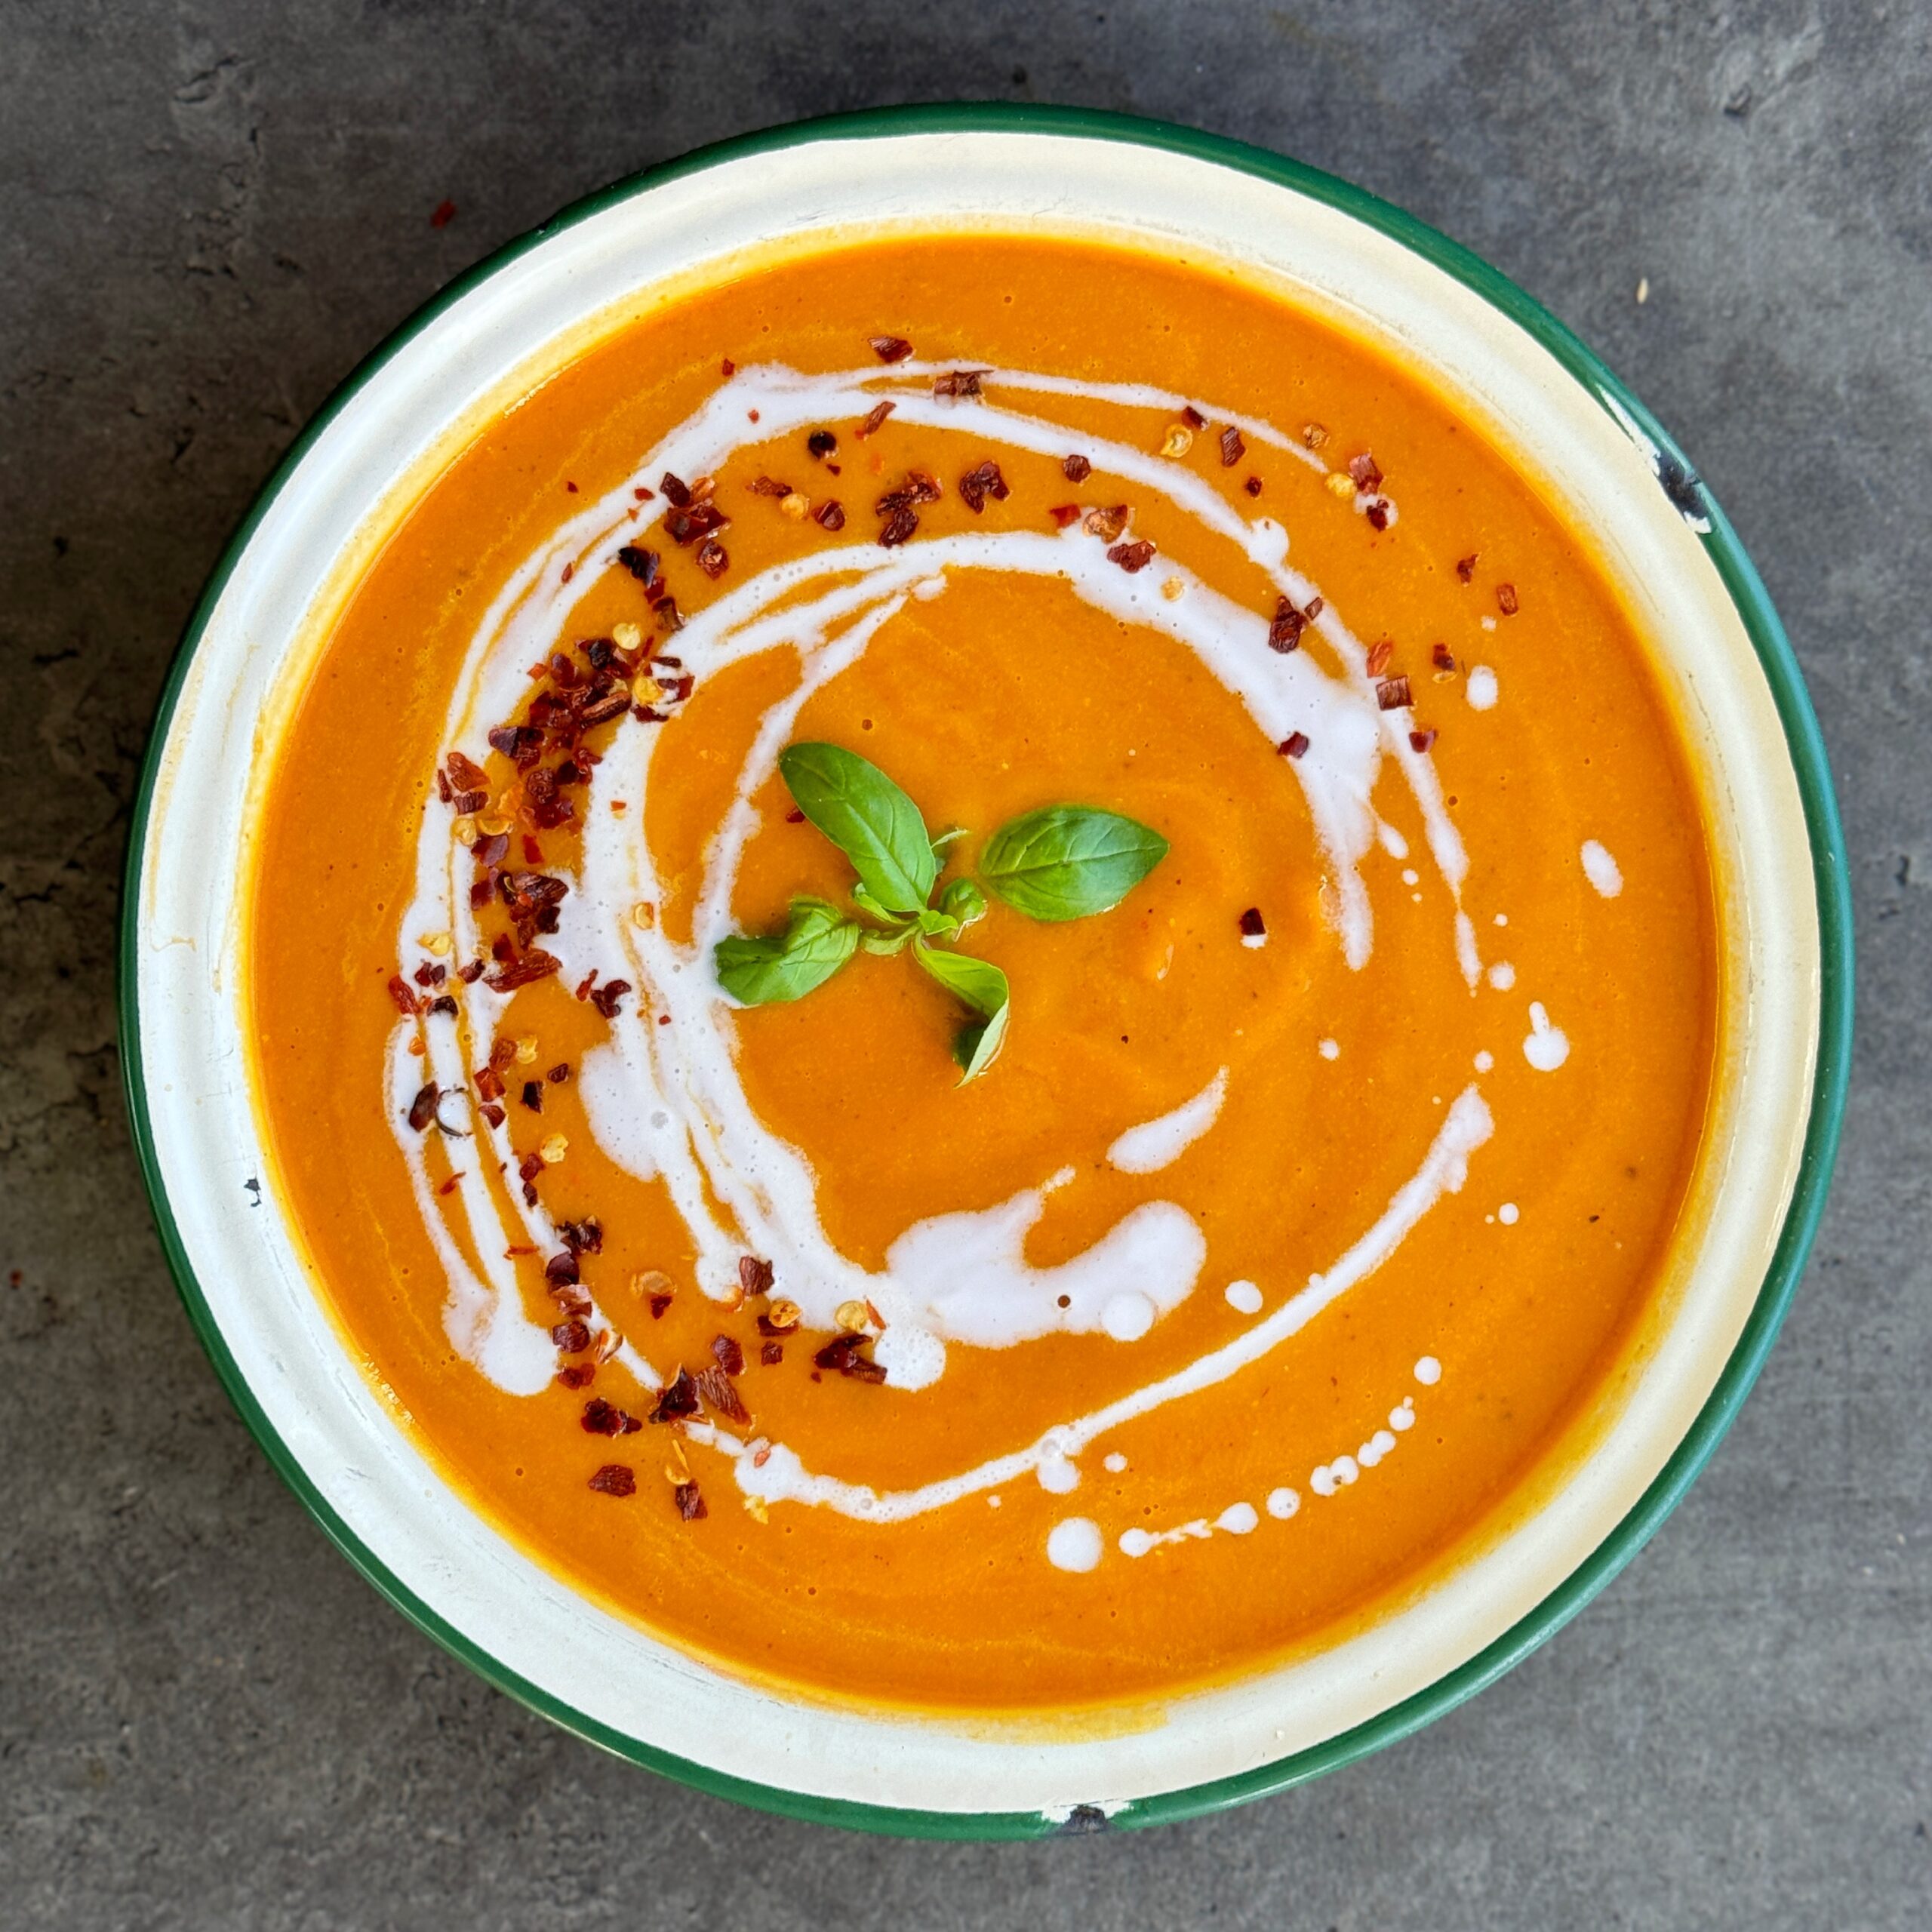
Roasted Tomato and Pumpkin Tray Bake Soup
Takes 1 hour
Serves 4
Ingredients
For the soup:
- 200 g pumpkin 1 cup mashes
- 1 kg tomatoes 5 cups chopped
- 1 head of garlic
- 2 medium red onions
- 2 medium carrots
- 1 red pepper bell pepper
- 1 x 400ml coconut milk 1 ¾ cups
- 1 litre water 4 ¼ cups
- 1.5 tsp salt
- ½ tsp black pepper
- 3 tbsp olive oil
To garnish:
- Fresh basil leaves
- 1 tbsp coconut milk
- ½ tsp chilli flakes
- Toast to serve
Instructions
Preheat the oven and prepare the vegetables:
- Preheat the oven to 200°C (392°F). Slice the 200g pumpkin into thin slices. Cut the top off the 1 head of garlic to expose the cloves. Halve the 1kg tomatoes and 2 medium carrots lengthwise. Cut the 1 red pepper in half and remove the seeds and stalk. Halve the 2 medium red onions and remove the skin.
Roast the vegetables:
- Place the prepared vegetables on a baking tray. Drizzle with 2 tbsp of olive oil and sprinkle with a generous pinch of salt (from the 1.5 tsp total). Roast in the preheated oven for 50 minutes, until the vegetables are soft and slightly caramelised.
Blend the soup:
- Transfer the roasted vegetables, including any juices from the tray, into a blender. Add 400ml coconut milk, 1 litre of water, 1.5 tsp salt, and ½ tsp black pepper. Blend until smooth. Taste and adjust seasoning to your liking by adding more salt, black pepper or chilli.
Garnish and serve:
- Pour the soup into bowls. Drizzle 1 tbsp of coconut milk over each serving, add fresh basil leaves, and sprinkle ½ tsp chilli flakes for a touch of heat. Serve with toast on the side.
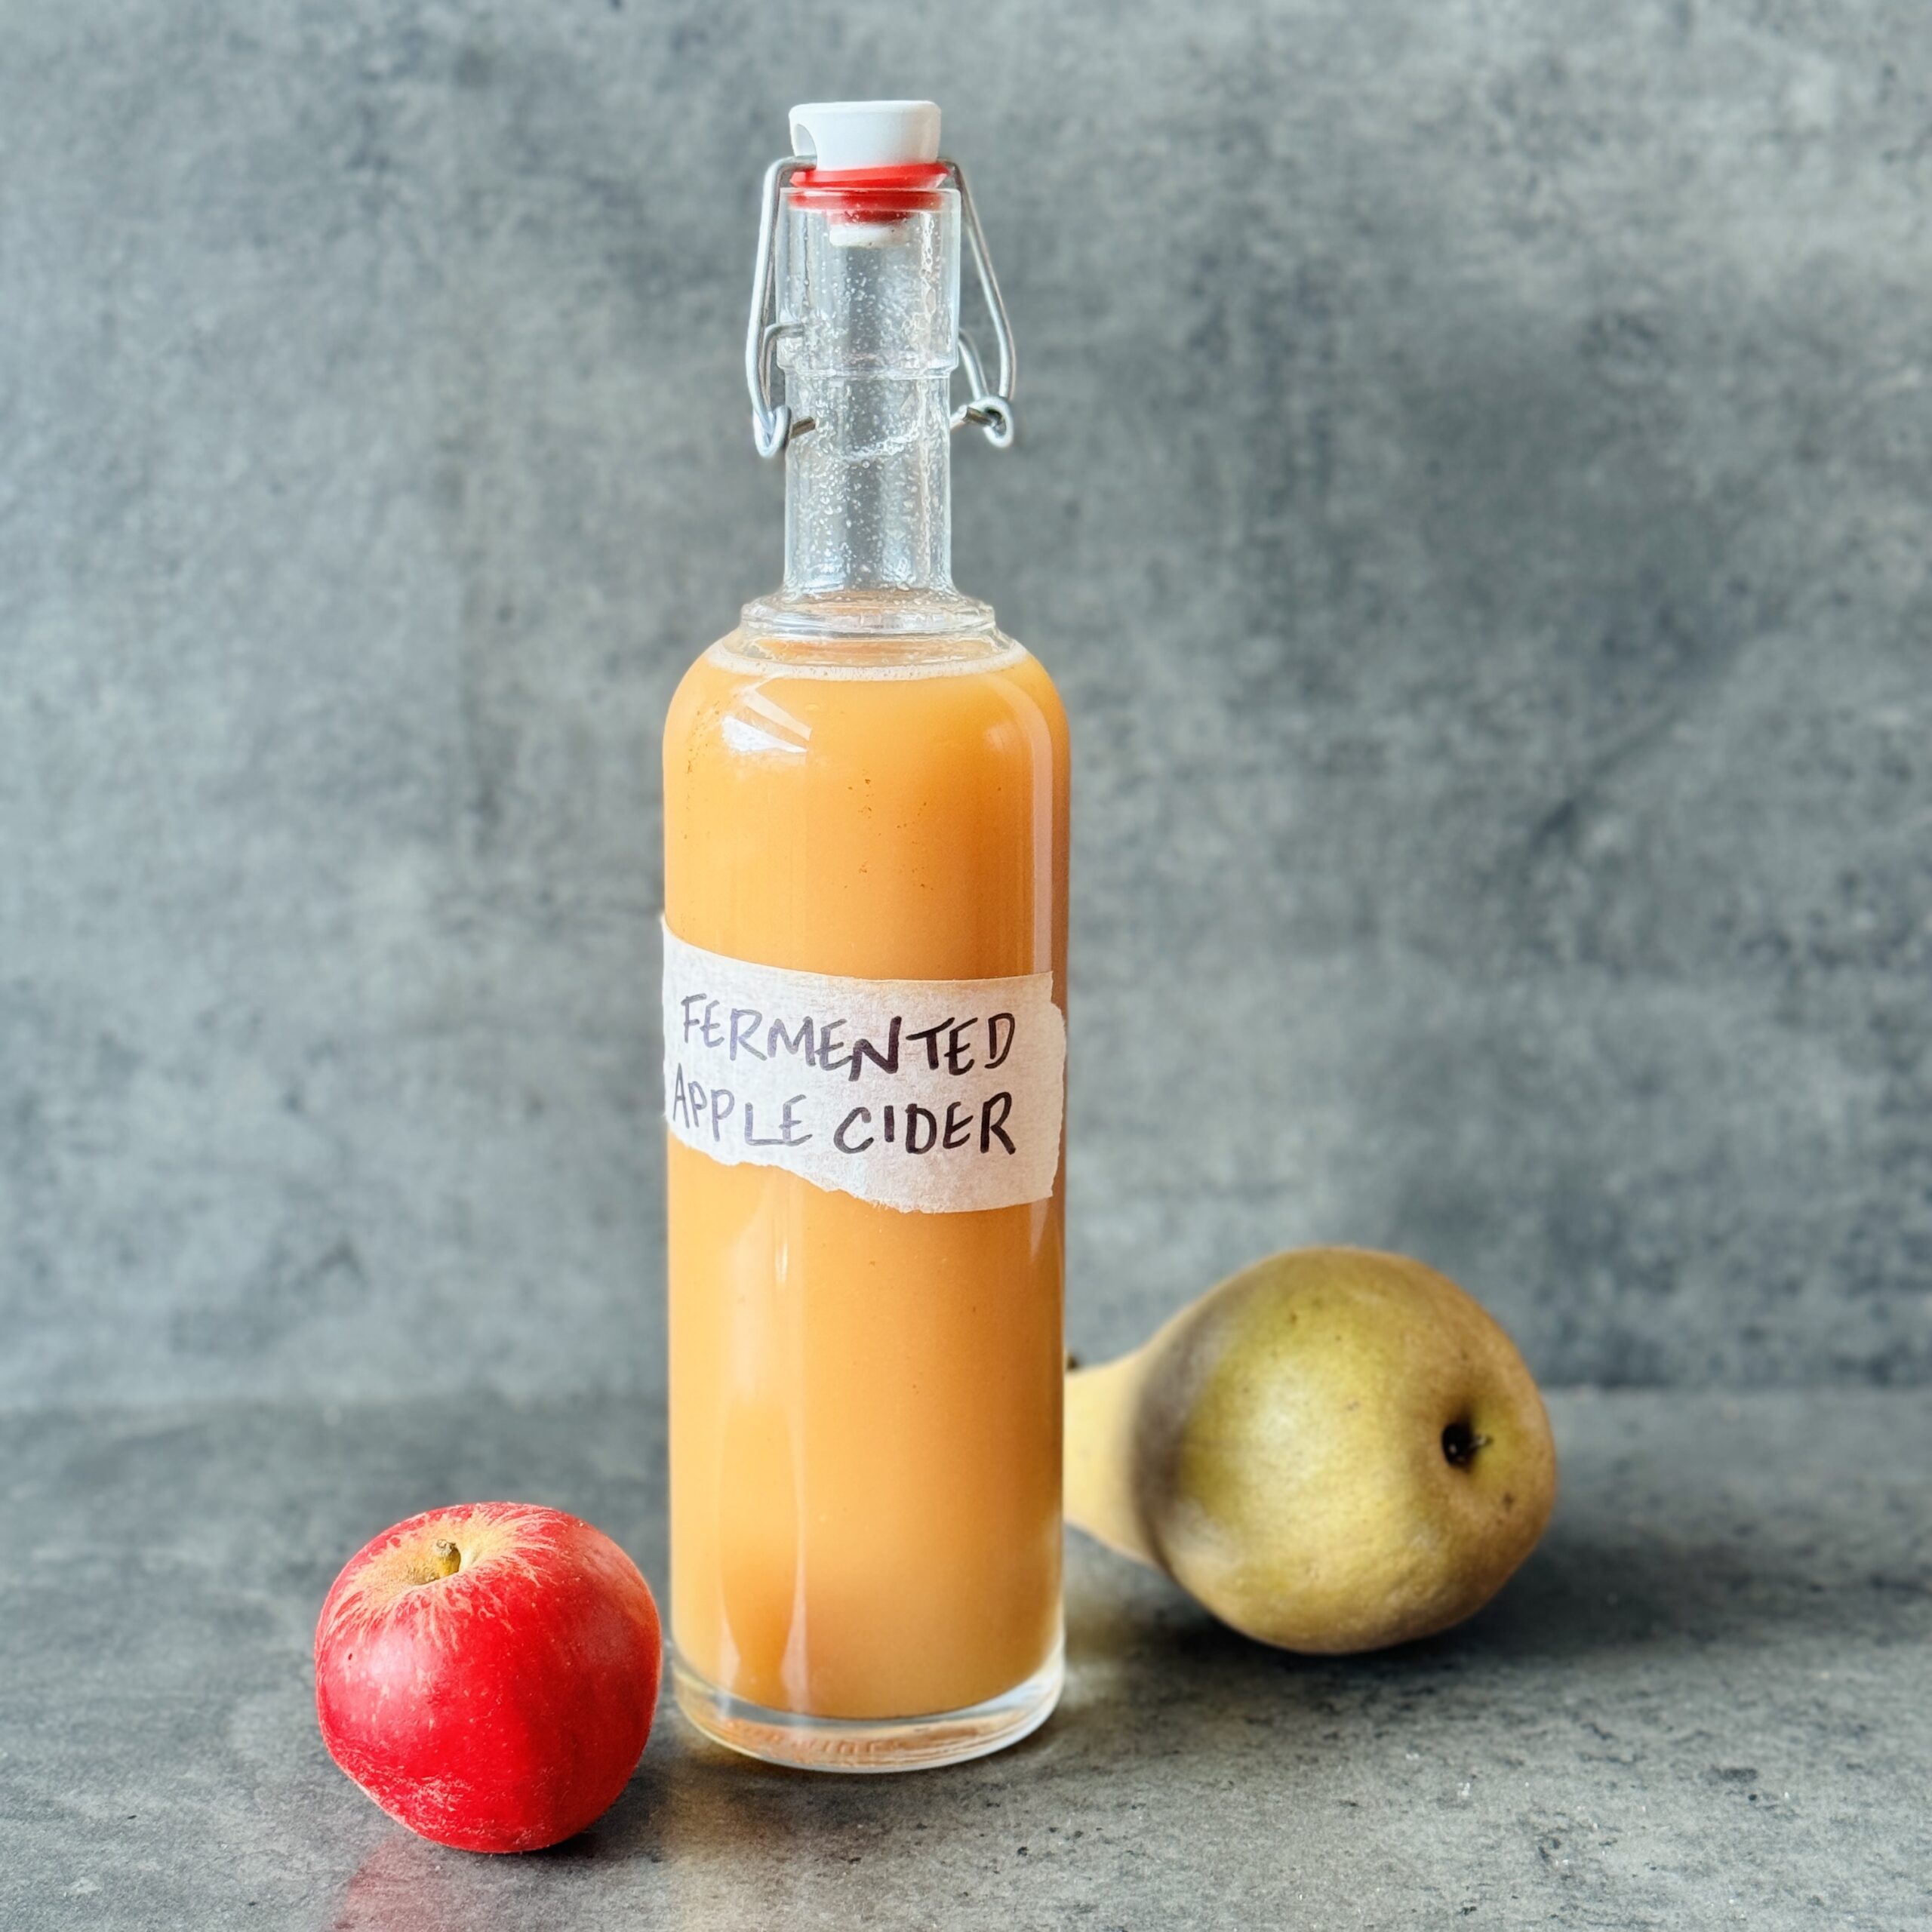
Fermented Apple Cider (Non Alcoholic)
Takes 6 days 30 minutes
Serves 10
Ingredients
- 20 apples 2kg approx
- 1-2 cinnamon sticks optional for flavor
- 1 tsp ground clove
- 1 x 5cm cubed piece of fresh ginger with skin on
Instructions
Juice the apples:
- Juice 16 of the apples ensuring to leave 4 full apples for fermentation. Finely dice the ginger keeping the skin on. Roughly chop the remaining 4 apples leaving the skin on.
Begin Fermentation:
- Pour the apple juice into a large, clean fermentation vessel (like a glass carboy or a fermenting bucket) and add the spices if you are using along with the chopped ginger and chopped apple. Leave about 10-15% headspace for bubbling during fermentation. There will be wild yeast on the apples and ginger which will start the fermentation process.
Fermenting Process:
- Let the juice ferment at room temperature (ideally around 18-22°C or 64-72°F) for 3 days, depending on how dry or sweet you want the cider. Taste periodically to check progress. The longer you leave to ferment the less sweet or dryer it will become
Secondary Fermentation (for Sparkling Cider):
- After the 3 days transfer the cider to bottles or bottles of choice, leaving a little room at the top of each bottle.
- Seal the bottles tightly and let them sit at room temperature for 2-3 days for secondary fermentation. The yeast will consume the natural sugars and produce CO2, naturally carbonating the cider. Make sure to burp them daily to release excess gas. To burp them just open the lid for 1 second to release any extra carbonation and close the lid again.
Chill and Serve:
- After 2-3 days, once you are happy with the degree of carbonation or degree of fizziness refrigerate the bottles to slow down fermentation. Let the cider chill for a day or more before serving.
The Happy Pear Podcast
In this episode, we sit down with Dr. Karen Gurney, a consultant clinical psychologist and certified psychosexologist, to dive into a conversation about sexual wellbeing and how it changes throughout the course of life—especially after having children.
Dr. Gurney is a leading expert in sexual health, currently serving as Head of Wellbeing Services at the renowned 56 Dean Street clinic and Director of The Havelock Clinic in London. She is also an author, TED speaker, and regular contributor to major publications like Vogue and Marie Claire. Dr. Gurney’s latest book, How Not to Let Having Kids Ruin Your Sex Life, has opened up conversations about the realities of sex in long-term relationships and marriage, and how to maintain intimacy while navigating the challenges of parenthood.
In this insightful discussion, Dr. Gurney shares her expert advice on how couples can foster healthy sexual relationships after having children, the psychological shifts that often occur in the postpartum phase, and the impact of societal expectations on intimacy. She also offers practical tools to reframe how we think about sex in marriage and long-term partnerships, helping couples reconnect and thrive sexually despite life’s many demands.

Episode 173
Main Topics Covered:
- Sex after kids: How the arrival of children can affect sexual intimacy, and how to rekindle desire while managing the pressures of parenthood.
- Reframing sex in long-term relationships: The importance of shifting your mindset about sex in marriage and understanding that desire changes over time.
- Common challenges faced by parents: The psychological and emotional toll of parenthood on intimacy, and how to navigate the changes as a couple.
- Practical tips for maintaining a healthy sex life: Simple yet effective strategies for improving sexual wellbeing, including communication, redefining intimacy, and managing expectations.
- Dr. Gurney’s new book: How Not to Let Having Kids Ruin Your Sex Life—an essential guide for couples looking to maintain connection and passion after starting a family.
Tune in for a candid, expert-driven conversation that sheds light on the realities of sex after kids, offering practical solutions for couples who want to keep their relationships intimate, vibrant, and fulfilling.
Lots of love,
Dave & Steve
SPONSORS & DISCOUNT CODES:
Namawell Juicers are AMAZING! They have absolutely revolutionised the juicing game. We have an exclusive 10% discount for you!
Enter the code HAPPYPEAR10
LINK: https://namawell.com/collections/juicers/products/nama-j2-cold-press-juicer?ref=thehappypear
VIVOBAREFOOT: Vivobarefoot Footwear have given our listeners an exclusive 20% discount and if you buy now you also get free access to their incredible course showcasing some of the biggest names in the health and wellness space.
Enter the code HAPPYPEAR20
LINK: https://www.vivobarefoot.com/uk/the-happy-pear
THE WHOLE HEALTH TRIBE – Join our community
LINK: https://eu1.hubs.ly/H0bmqxd0
THE HAPPY PEAR RECIPE CLUB – Blending health and happiness through a range of over 500 delicious plant-based recipes.
LINK: https://eu1.hubs.ly/H0bmqss0
Sign up to our Newsletter, for updates on our latest recipes, events, and news.
LINK: https://share-eu1.hsforms.com/1hKXaawjoQOONmJe4EXkCdwf92py
Produced by Sean Cahill & Sara Fawsitt
Available now from all good podcast providers:
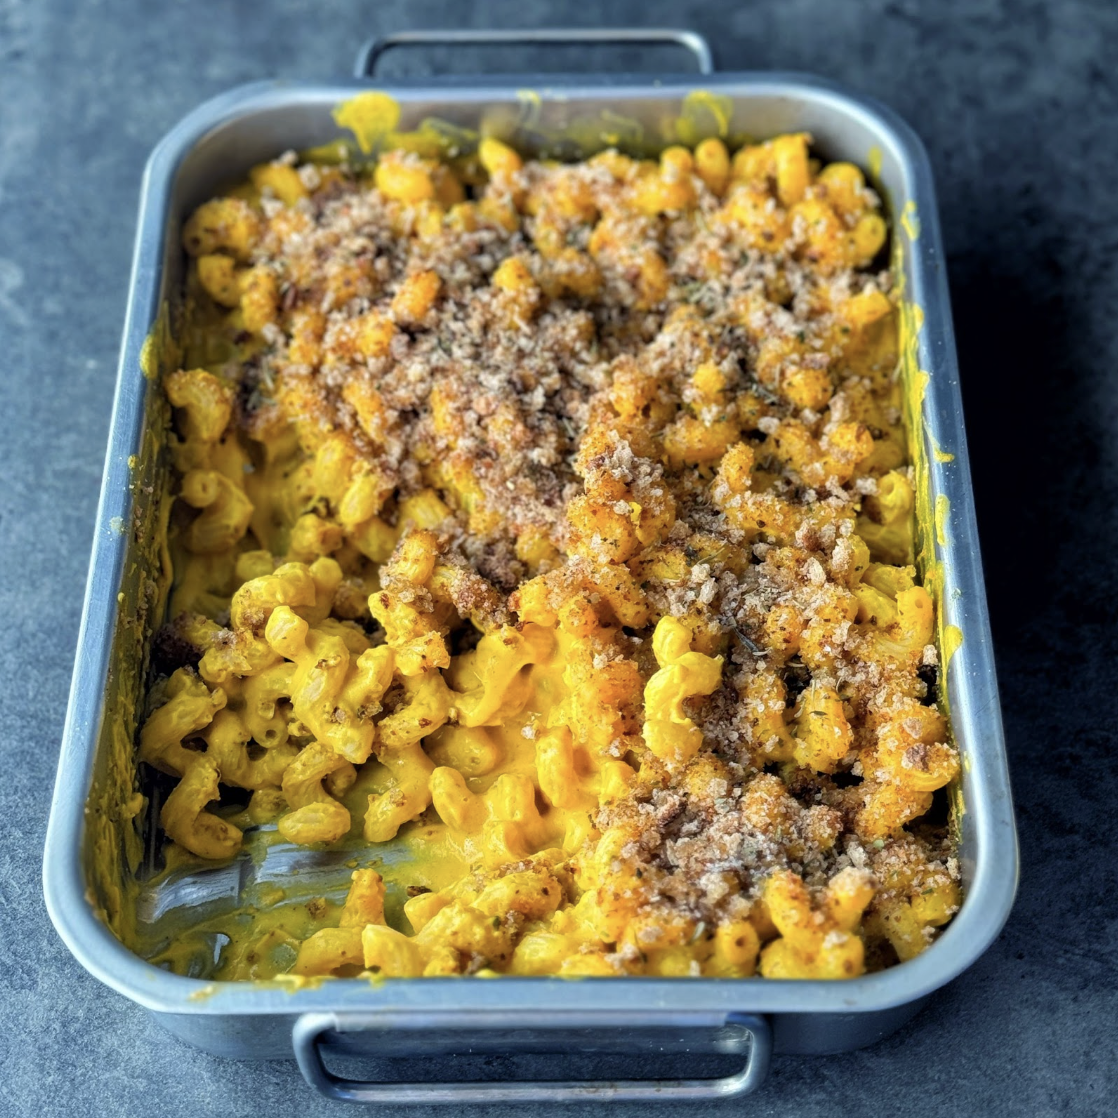
Healthier Pumpkin Mac & Cheese – Lower Fat
Takes 30 minutes
Serves 6
Ingredients
Macaroni:
- 300 g whole wheat or gluten-free macaroni about 3 cups dry
Pumpkin Cheese Sauce:
- 300 g pumpkin puree about 1¼ cups or freshly cooked pumpkin
- 60 g cashew nuts about ½ cup
- 3 tbsp nutritional yeast
- 240 ml plant-based milk 1 cup
- 1 tbsp lemon juice
- 1 tbsp Dijon mustard
- 1 clove of garlic
- ½ tsp smoked paprika optional, for a smoky flavour
- Salt and pepper to taste
Breadcrumb Topping:
- 40 g bread crumbs about ⅓ cup
- 2 tbsp oil
- Pinch salt
- 2 sprigs of thyme or ½ tbsp dried thyme
- 2 tbsp nutritional yeast
Instructions
- Prepare the pasta: Cook the macaroni according to package instructions. Drain and set aside.
- Make the sauce: In a blender or food processor, combine the pumpkin/ pumpkin puree, cashews, nutritional yeast, almond milk, lemon juice, Dijon mustard, garlic powder, onion powder, smoked paprika, salt, and pepper. Blend until smooth and creamy. Taste and adjust seasoning as needed.
- Heat the sauce: Pour the blended sauce into a saucepan and heat over medium-low heat, stirring frequently until the sauce thickens slightly (about 5-7 minutes). You want it to be warm but not boiling.
- Prepare Bread Crumb Topping: Combine the bread crumbs with oil, salt, and either chopped fresh thyme leaves (ensure to remove leaves from stalk) or dried thyme.
- Combine pasta and sauce: Add the cooked pasta to the sauce and stir until the pasta is fully coated.
- Assemble Dish: Transfer the pasta mixture to a casserole dish (24cm x 16cm x 4cm deep) , level it out, and evenly spread the bread crumb topping over it.
- Bake: Bake for 5 minutes in the oven or until the bread crumbs are golden brown or 3-5 minutes in an airfryer or until the breadcrumbs go golden.
- Serve and enjoy!

Triple Layer Chocolate Pistachio Bites
Takes 30 minutes
Serves 12
Ingredients
Chocolate Layer
- 200 g Dark chocolate 1¼ cups chopped or chips
Pistachio Cream Layer
- 150 g shelled pistachio nuts 1 cup
- 1 tbsp matcha powder
- 2 tbsp coconut oil
- 3 tbsp maple syrup
- 1 tsp vanilla extract
Date Marzipan Layer
- 100 g almonds ¾ cup
- 150 g pitted dates ¾ cup packed
- 2 tbsp coconut oil
- Pinch salt
Instructions
Melt Chocolate, layer into mould and freeze
- Chop the chocolate into small pieces and melt using a bain marie or microwave.
- Divide between all the squares in the mould. You want to fill each square approx ⅓ full with chocolate and use a small spoon to brush the chocolate up the sides a little so they form little cups.
- Put the chocolate filled moulds into the freezer so the chocolate hardens for 15 mins.
Make pistachio layer and layer on
- Add the shelled pistachio nuts to a food processor along with the coconut oil, maple syrup and vanilla extract and blend till it forms a silky smooth pistachio butter. This will take a few mins and if your food processor is heating up give it a little break.
- Once the chocolate is set, remove from the freezer and spoon a small amount of the pistachio butter onto each square. Again it should fill approx ⅓ of each cup, so now with the chocolate and pistachio butter the cups in the mould should be ⅔ full.
Blend nuts and dates
- Clean the food processor bowl and blend the almonds until they reach a bread crumb like consistency. Add the pitted dates and coconut oil and pinch of salt and blend until they come together into a smooth unified ball. This should take 2-3 mins.
Fill and cool to set
- Carefully divide this mixture between each of the squares, filling each one.
- Put in the fridge to set for 20 mins before removing each square and enjoying!
Notes
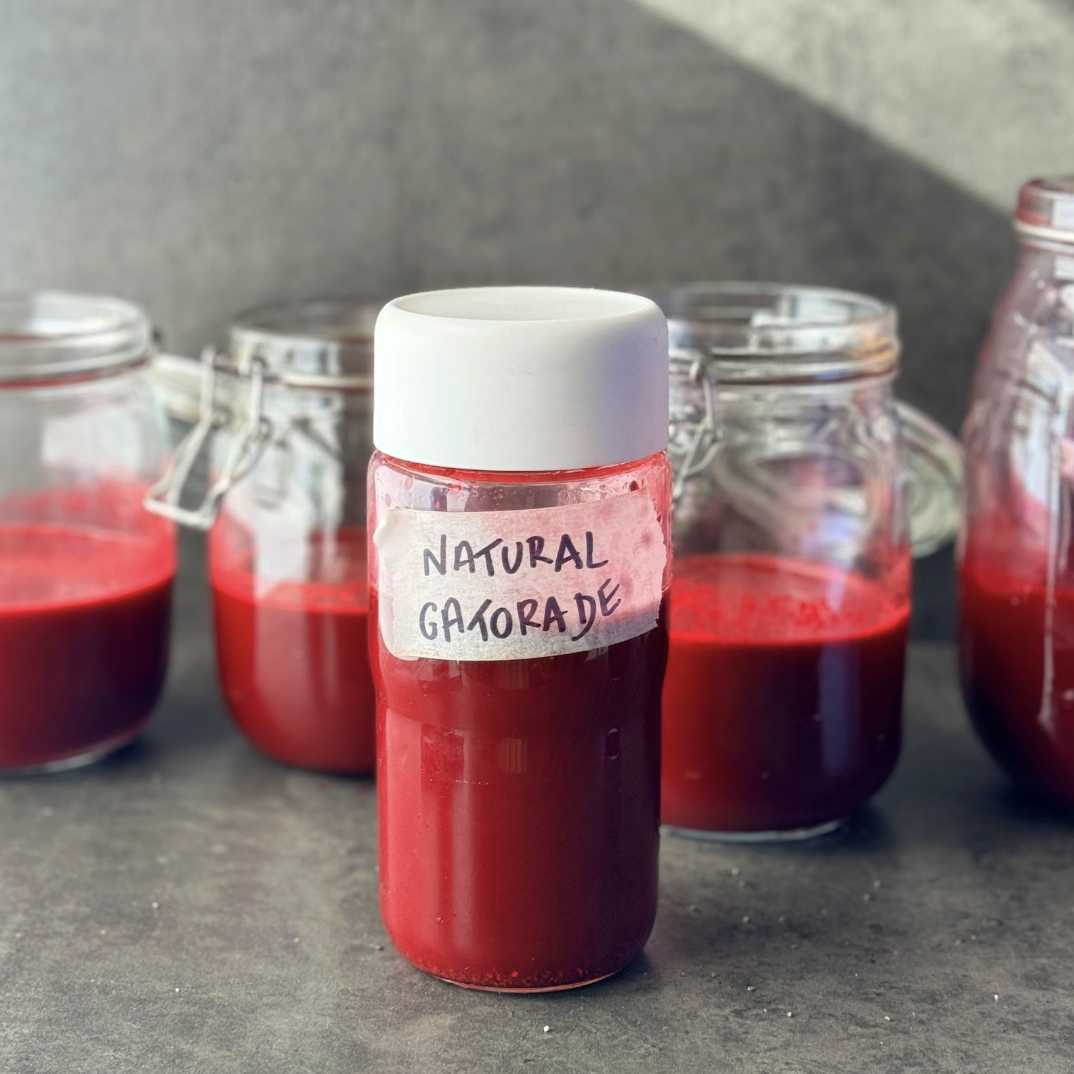
Natural Gatorade
Takes 20 minutes
Serves 10
Ingredients
- 4½ cups beet juice or juice from 6 medium beets
- 100 g spinach or kale 3 cups
- 2 cucumbers
- 2 large oranges
- 4 apples approx 600g
- 2 lemons
- 6- inch piece of fresh ginger
- 6 cm of Fresh turmeric or 1 tsp dried turmeric
- Pinch black pepper
- 1½ tsp sea salt or Himalayan salt
- 6 tbsp apple cider vinegar
- 1 Litre coconut water
- 4 tbsp Chia seeds – Omega-3 fatty acids fibre, calcium, magnesium, and antioxidants. Chia seeds will absorb liquid and form a gel, which adds texture and helps with hydration.
- Tart cherry juice 240ml/ 1 cup – This will provide anti-inflammatory and muscle recovery properties
Instructions
- Make the base juice: Peel the lemons and oranges. Juice the beet, kale, cucumbers, apples, oranges and lemon along with the ginger and turmeric.
- Add the rest of the ingredients: To the juice add the black pepper to help with the absorption of the main antioxidant in the curcuman in the turmeric, the coconut water, apple cider vinegar, chia seeds and the tart cherry juice.
- This drink is the perfect balance between sweet and savoury and it literally looks like blood. That is part of the reason why beetroot juice is so good and helps dilate your blood vessels encouraging optimum oxygen delivery!
The Happy Pear Podcast
In this episode we are joined by the brilliant Patrick Holford, a leading voice in the world of nutrition and alternative health. With over 36 books translated into 29 languages and decades of experience, Patrick is a British author, entrepreneur, and advocate for nutritional therapy. His work has helped shape modern views on the power of food and supplements to transform health, with regular appearances on UK and international television and radio.
In this engaging conversation, Patrick shares his wisdom on how to take control of your health through diet, lifestyle, and nutritional supplements. The episode dives deep into Patrick’s holistic approach to wellbeing, offering practical advice on how to implement small changes that make a big impact. From boosting brain power to supporting your immune system, Patrick’s insights are invaluable for anyone looking to improve their overall health.

Episode 172
Main Topics Covered:
- Patrick’s personal health journey and how he became an advocate for nutritional therapy.
- The connection between food, brain function, and mental health.
- How to enhance your immune system naturally.
- The role of supplements in modern diets—what to take and what to avoid.
- Practical tips on achieving optimal health through simple dietary changes.
- The science behind a low glycemic diet and how it can transform your energy levels.
- How stress impacts your body and what you can do to mitigate its effects.
Whether you’re new to alternative nutrition or a seasoned wellness enthusiast, this episode offers valuable takeaways that can help you live a healthier, more balanced life.
Lots of love,
Dave & Steve
SPONSORS & DISCOUNT CODES:
Namawell Juicers are AMAZING! They have absolutely revolutionised the juicing game. We have an exclusive 10%
Enter the code HAPPYPEAR10
LINK: https://namawell.com/collections/juicers/products/nama-j2-cold-press-juicer?ref=thehappypear
VIVOBAREFOOT: Vivobarefoot Footwear have given our listeners an exclusive 20% discount and if you buy now you also get free access to their incredible course showcasing some of the biggest names in the health and wellness space.
Enter the code HAPPYPEAR20
LINK: https://www.vivobarefoot.com/uk/the-happy-pear
THE WHOLE HEALTH TRIBE – Join our community
LINK: https://eu1.hubs.ly/H0bmqxd0
THE HAPPY PEAR RECIPE CLUB – Blending health and happiness through a range of over 500 delicious plant-based recipes.
LINK: https://eu1.hubs.ly/H0bmqss0
Sign up to our Newsletter, for updates on our latest recipes, events, and news.
LINK: https://share-eu1.hsforms.com/1hKXaawjoQOONmJe4EXkCdwf92py
Produced by Sean Cahill & Sara Fawsitt
Available now from all good podcast providers:
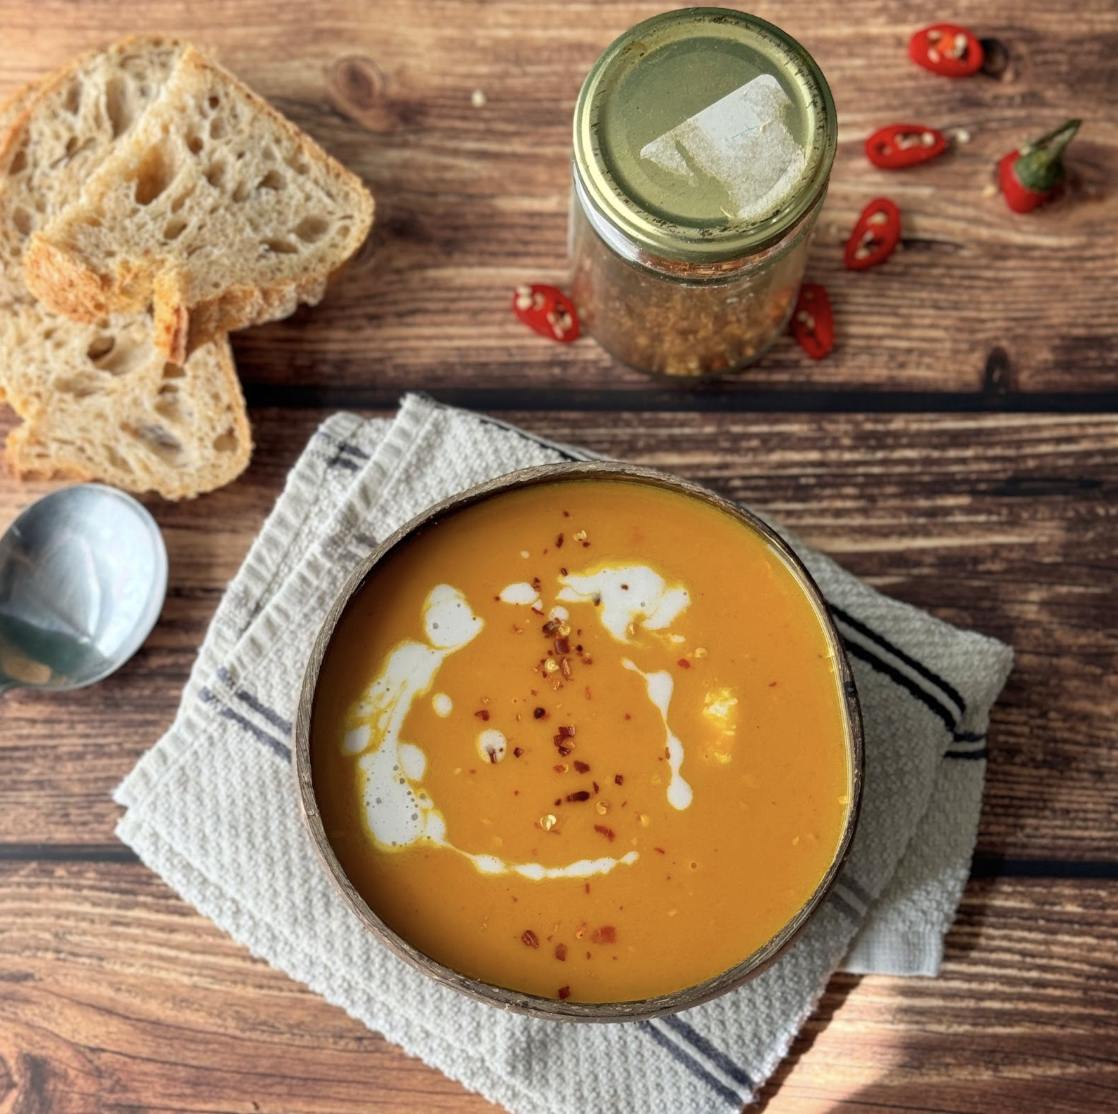
Comforting Pumpkin Soup
Takes 30 minutes
Serves 10
Ingredients
- 2 medium pumpkins approx 2kg
- 4 carrots
- 1 onion
- 10 g fresh ginger
- 3 cloves garlic
- 1 red chilli
- 1 x 400g tin of coconut milk 1.75 cups approx.
- 2 L water approx 8.5 cups
- 2 tbsp salt
- 2 tbsp tamari
- 1 lemon
Instructions
Prep the veg
- Peel and dice the onion, garlic and ginger. Carefully chop the pumpkins, remove the seeds and slice into bite sized pieces leaving the skin on. Finely dice ½ red chilli.
- Slice the carrots into rounds that are approx 1cm thick
Cook your base flavours
- In a large saucepan approx 5L add 1 tbsp of oil and put on high heat. Once hot add in the onion and ginger and cook for 3-4 mins. Add in the garlic and chili and cook for a further 3 mins.
Add in the carrots and pumpkin
- Next add in the sliced carrot and pumpkin followed by a generous pinch of salt and mix well. Add in 3 tbsp of water and mix well, reduce the heat to medium and put the lid on and leave to sweet for 5 mins without stirring.
Add in the rest of ingredients
- Add in the water, coconut milk, tamari and juice of ½ lemon and bring to a boil and leave to boil for 5 mins stirring occasionally.
Blend till smooth
- Using an immersion blender or stick blender blend the soup till super smooth. Taste and adjust the seasoning to your liking by trying to balance out the flavours by adding more salt, black pepper, lemon juice, tamari or chilli.
Serve and enjoy
- Serve with some fresh sourdough and a drizzle of coconut milk and enjoy!

Probiotic Elderberry Soda (Refined Sugar-free)
Takes 6 days 30 minutes
Serves 8
Ingredients
- 200 g Elderberries approx.1.5 cups
- 2 litres Water 8 cups
- 250 g Chicory root syrup 1.25 cups/ maple syrup/ date syrup/ brown rice syrup
- 1 tbsp cinnamon
- 2 apples
- 1 lemon organic
- 1 piece of fresh ginger about 5 cm, unpeeled
Instructions
- Pick and Clean elderberries : pick the elderberries and give them a good wash.
- Boil the elderberries with the syrup: In a large saucepan add 500ml of just boiled water along with the chicory root syrup, 1 tbsp cinnamon and the elderberries and bring to a boil, once boiling reduce to a simmer and leave to cook for 30 mins. Give it the occasional stir to avoid it catching and burning.
- Cool the Water: Add the remaining 1.5 litres (6 cups) of cold water to a fermentation jar or big pot along with the elderberry mixture and leave to cool the mixture down to lukewarm temperature (below 40 degrees celsius)
- Prepare the fruit and leave to bulk ferment: Chop the apple, lemon and ginger. And add to the fermentation jar or elderberry mixture along with the 2 tbsp of white wine vinegar and give them a gentle mix.
Start Fermentation:
- Cover and Ferment: Close the jar or cover the bowl with a clean cloth and let it sit at room temperature for 2-3 days. Stir the mixture once a day. You should start to see some bubbles forming, indicating that fermentation has begun.
Bottle and start secondary Fermentation:
- Strain and Bottle: After 2-3 days, strain the liquid through a fine mesh sieve or cheesecloth into clean, sterilised bottles. Make sure to squeeze the elderberries to draw out all the flavour you can. Seal the bottles tightly.
- Ferment Further: Leave the bottled probiotic elderberry soda at room temperature for another 3-4 days to build up carbonation, ensuring to burp or release excess gas every day. To burp just open the lid for 1-2 seconds and close it.
Serve:
- Final taste – taste and once you are happy with the degrees of fizziness transfer to the fridge to stop the fermentation.
- Serve: Carefully open the bottles to release the built-up carbonation, pour into glasses, and enjoy your naturally fizzy, alcohol-free elderflower champagne!
Notes
- Fermentation Time: The fermentation time may vary depending on the temperature and yeast activity. Monitor the bottles carefully to avoid over-carbonation. If the room is warmer, fermentation time will be quicker and if the room temperature is cooler it will take longer.
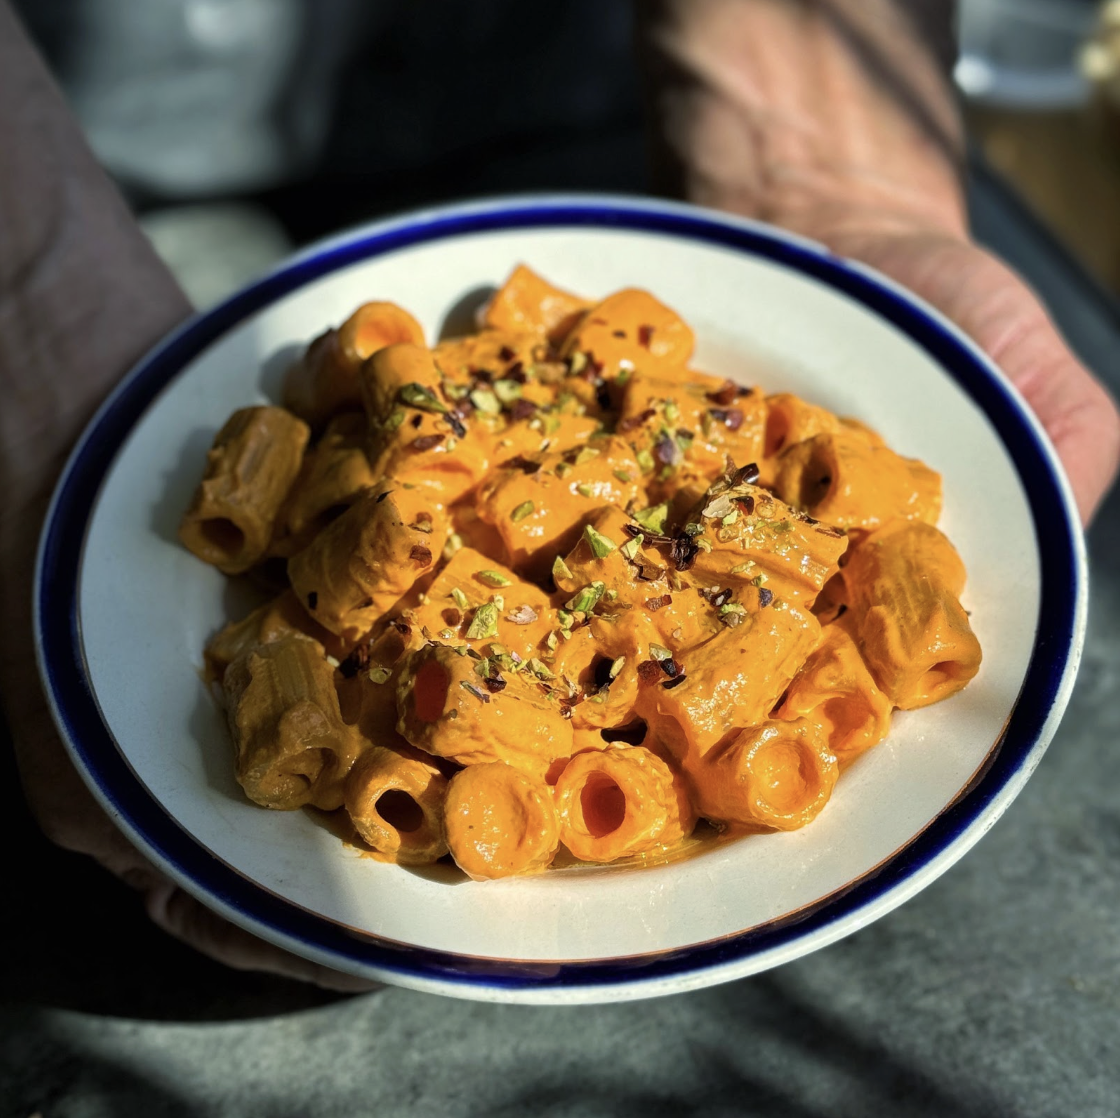
8 Mins High Protein Red Pepper Pasta
Takes 8 minutes
Serves 2
Ingredients
Pasta Sauce:
- 200 g firm Tofu
- 100 g Roasted red pepper
- 50 g Cashew nuts
- 2 tbsp olive oil
- 3 tbsp Pasta water
- 2 tbsp spicy red pepper pesto/ harissa or pesto of choice
- Salt to taste
Pasta:
- 200 g red lentil pasta
Instructions
- Start by filling a large saucepan with water and add 2 tbsp of salt and bring to a boil. Cook the pasta as per the pack instructions.
- To a blender add the roasted red pepper, tofu, cashew nuts, oil, spicy red pepper pesto and 2 tbsp of pasta water and blend till smooth.
- Drain and rinse the pasta and add back to the pan along with the sauce and cook on medium heat until it is hot.
- Taste and adjust the seasoning to your liking.
- Serve with some chilli flakes and a drizzle of olive oil for a delicious meal.
Notes
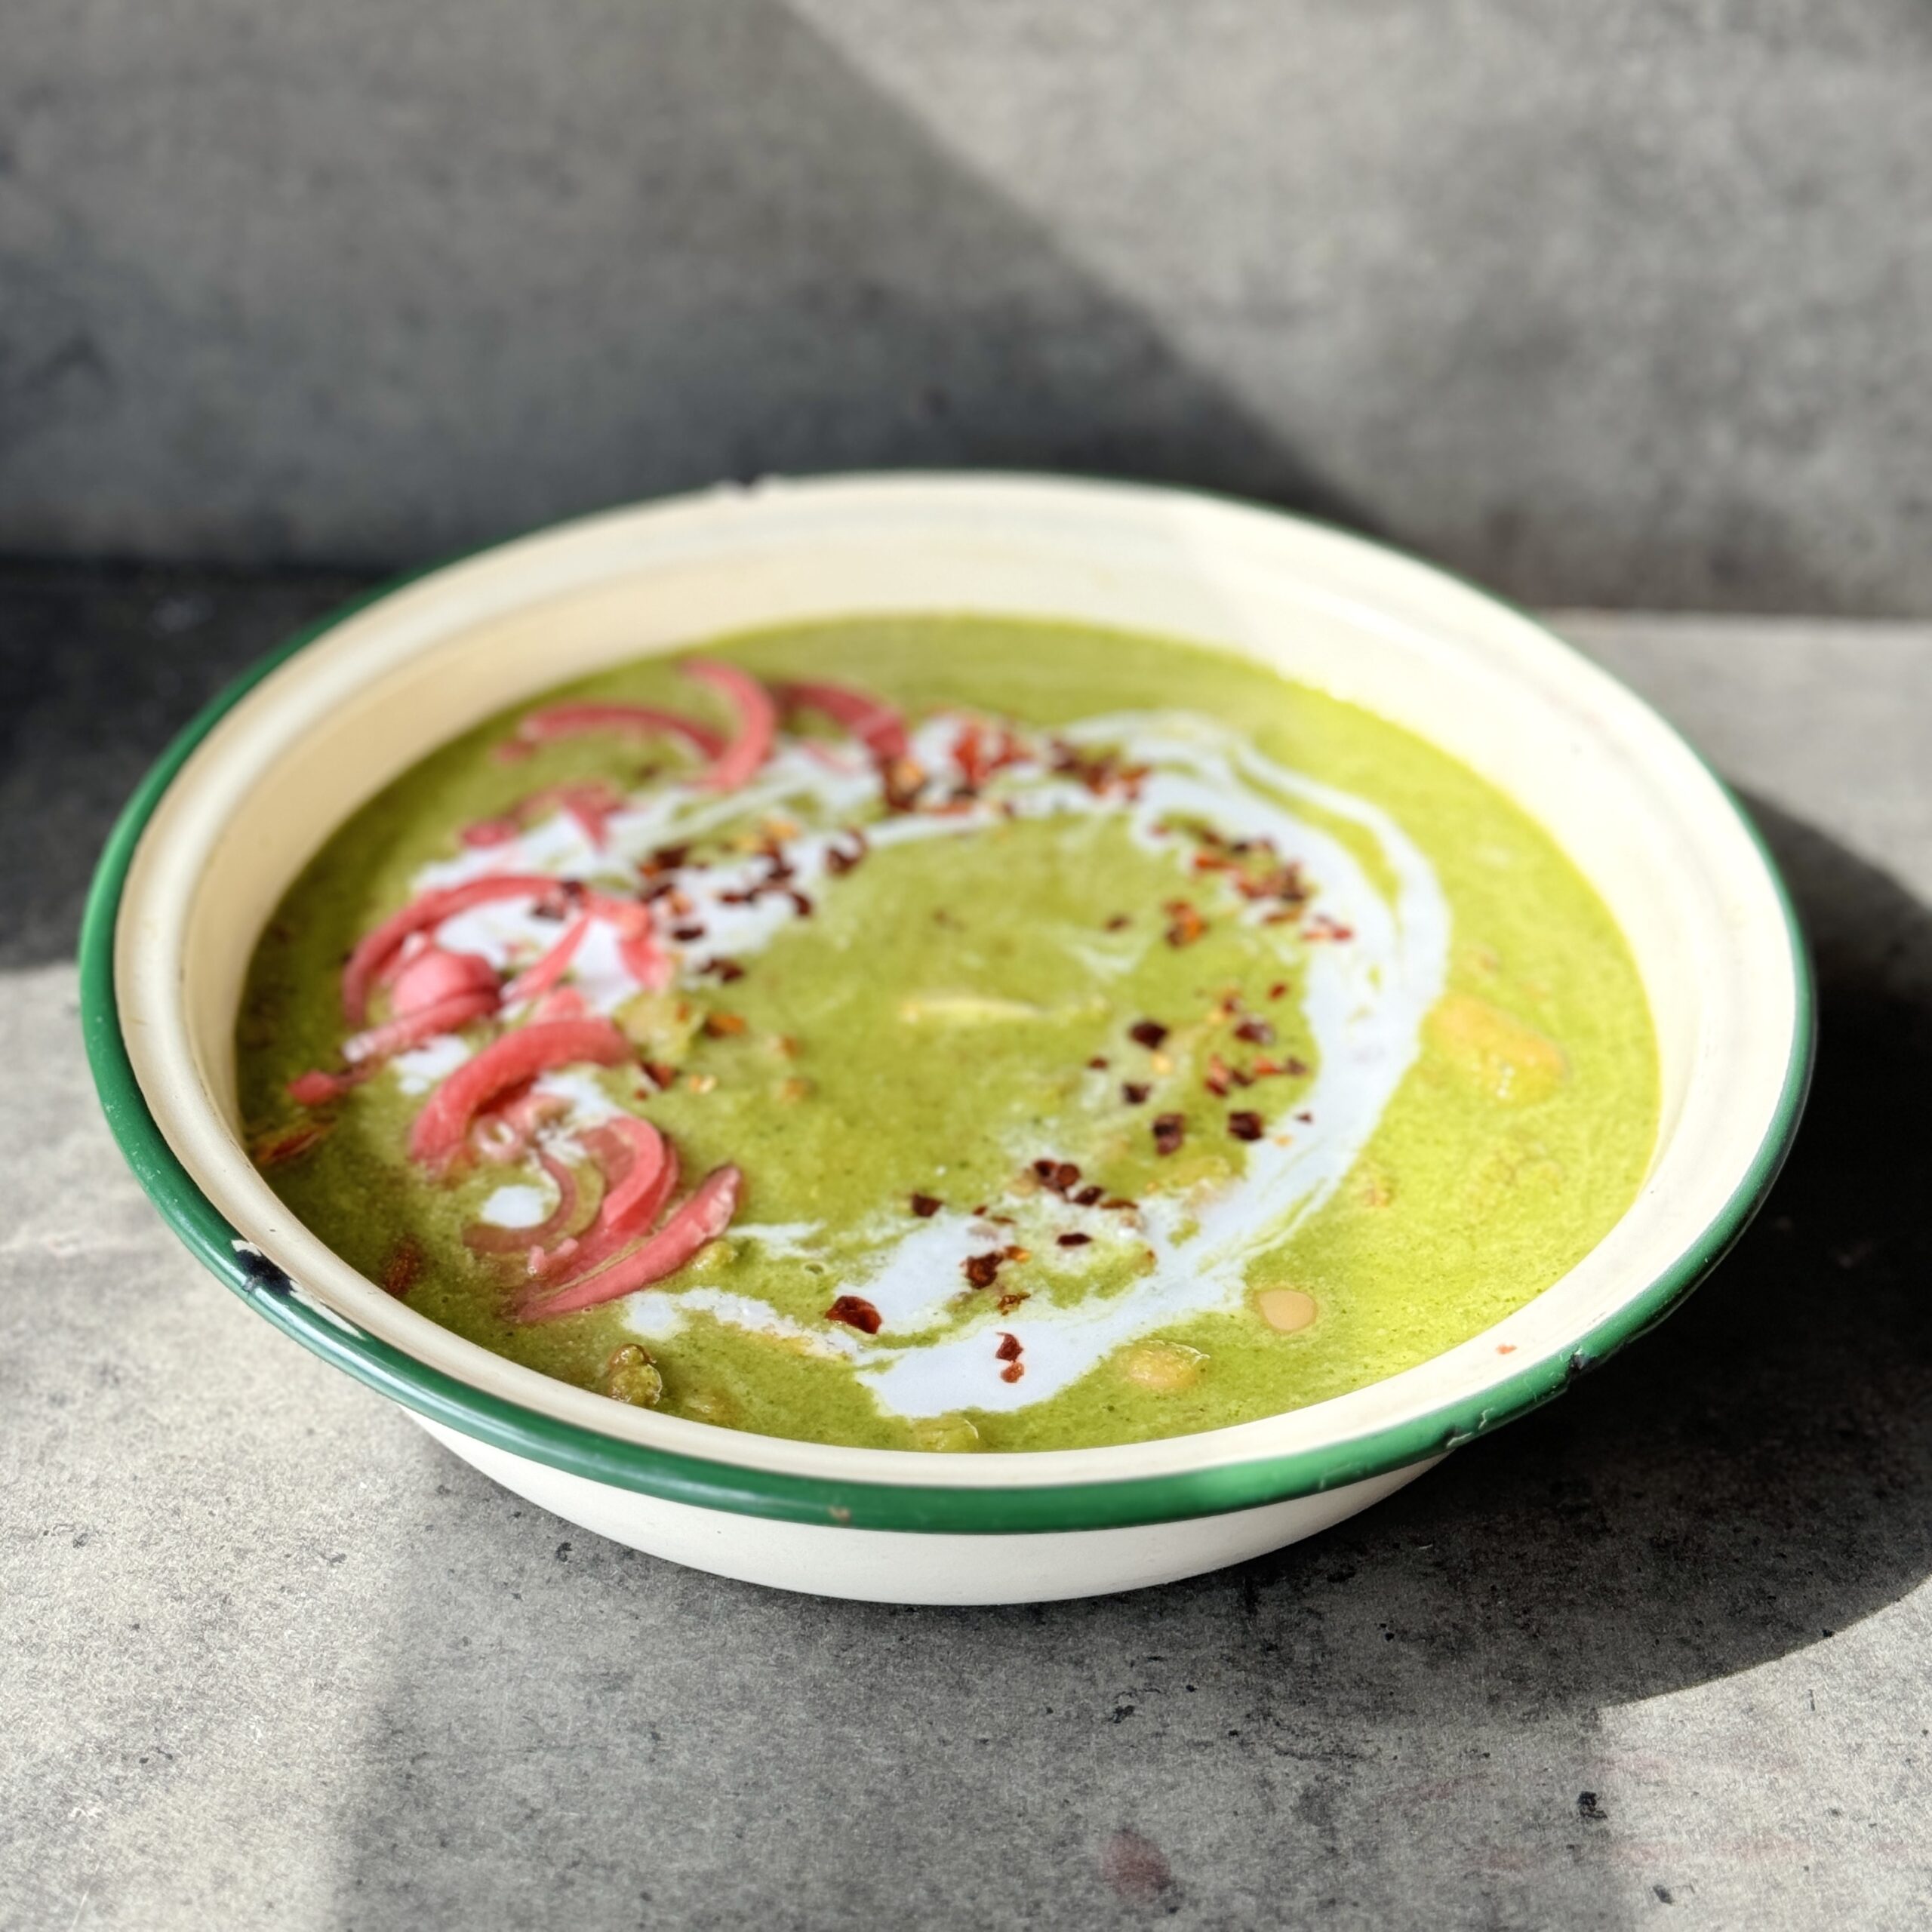
Supergreens Lentil Curry
Takes 10 minutes
Serves 2
Ingredients
Base Sauce:
- 2 cloves of garlic
- A thumb-sized piece of ginger approx. 1 tablespoon minced
- ½ a bunch of scallions green onions (approx. 4)
- ½ green chilli
- 2 tablespoons curry powder
- 2 teaspoons ground cumin
- 1 teaspoon salt
- 2 tablespoons tamari soy sauce
- 1 tablespoon maple syrup or liquid sweetener of choice
- ½ teaspoon black pepper
- 1 x 400g tin of coconut milk keep 3-4 tbsp for garnish
- Juice of ¾ of a lime
Supergreens:
- 100 g baby spinach approx. 4 cups or rocket (arugula) (approx. 4 cups)
- 100 g broccoli approx. 1 cup florets
- 1 small courgette zucchini (approx. 1 cup, chopped)
Beans & Pulses
- 1 x 400g tin of butter beans approx. 1¾ cups
- 1 x 400g tin of cooked lentils approx. 1¾ cups
Optional
- 10-15 cherry tomatoes
To Garnish:
- Chilli flakes
- Pickled red onion
- A small bunch of fresh coriander cilantro or other fresh herbs of choice
Instructions
Prepare the aromatics:
- Peel and finely chop 2 cloves of garlic and a 10g (0.35 oz) piece of ginger. Finely chop 4 scallions (green onions), removing any limp outer leaves, and chop ½ a green chilli.
Drain the beans and lentils:
- Drain and rinse the 400g (14 oz) tin of butter beans and 400g (14 oz) tin of cooked lentils thoroughly.
Prepare the vegetables:
- Chop 10-15 cherry tomatoes in half. Finely dice 100g (3.5 oz) of broccoli and 1 small courgette (zucchini).
Steam the greens:
- Fill and boil the kettle, then pour it over 100g (3.5 oz) of baby spinach (or rocket), the diced broccoli, and the diced courgette. Leave to sit for 5 minutes with a lid on.
Blend the sauce:
- Drain the spinach, broccoli, and courgette, then add them to a blender along with 1 x 400g (14 oz) tin of coconut milk (reserving 3-4 tbsp for garnish), ¾ lime juice, 2 tablespoons of curry powder, 2 teaspoons of ground cumin, 1 teaspoon of salt, 2 tablespoons of tamari/ soy sauce, 1 tablespoon of maple syrup, and ½ teaspoon of black pepper. Blend until smooth.
Cook the sauce:
- Pour the blended sauce into a medium saucepan or frying pan and heat on high heat. Taste and adjust seasoning to your liking.
Add the remaining ingredients:
- Once the sauce is warm, add the drained butter beans, lentils, and halved cherry tomatoes. Stir to combine.
Simmer the curry:
- Bring the curry to a boil, stirring occasionally to ensure it doesn’t stick to the pan. Once boiling, reduce the heat and simmer for 2 minutes.
Garnish and serve:
- Remove the curry from the heat and garnish with chilli flakes, pickled red onions, and freshly chopped coriander (cilantro). Serve hot.
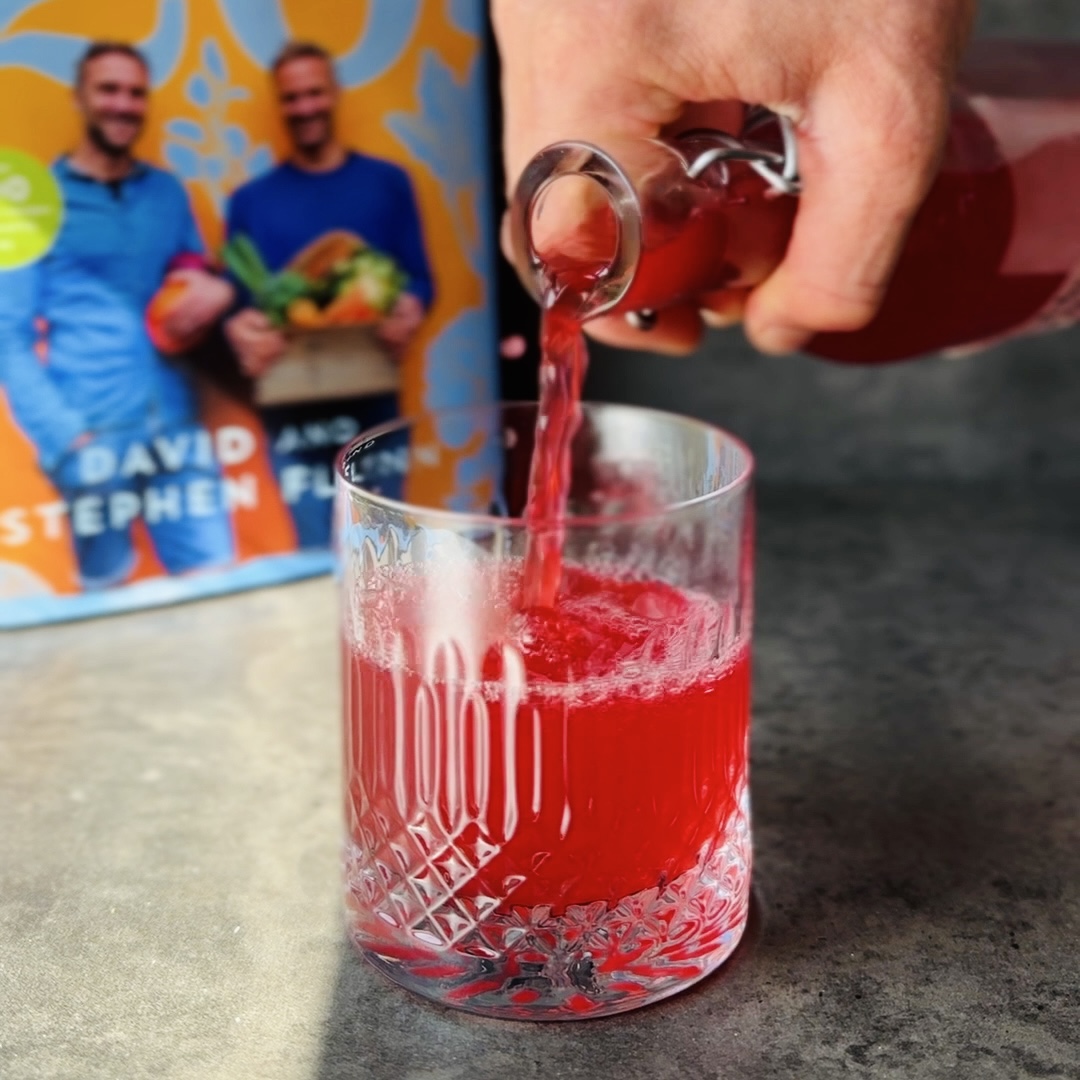
Probiotic Blackberry Soda (alcohol free)
Takes 6 days 30 minutes
Serves 8
Ingredients
- 200 g blackberries
- 2 litres water 8 cups
- 250 g Sugar 1.25 cups
- 2 tbsp White wine vinegar
Instructions
- Pick and Clean blackberries : pick the blackberries but do not rinse as the natural yeasts on them are essential for fermentation.
- Boil the Water and sugar: In a large bowl add 500ml of just boiled water along with the sugar and give it a good stir until all the sugar has dissolved.
- Cool the Water: Add the remaining 1.5 litres (6 cups) of cold water to the bowl to cool the mixture down to lukewarm temperature.
- Add blackberries and vinegar: Add the blackberries, and 2 tbsp of white wine vinegar to the sugar water mixture and give them a gentle mix.
- Transfer to a large jar or bowl
Start Fermentation:
- Cover and Ferment: Close the jar or cover the bowl with a clean cloth and let it sit at room temperature for 2-3 days. Stir the mixture once a day. You should start to see some bubbles forming, indicating that fermentation has begun.
Bottle and start secondary Fermentation:
- Strain and Bottle: After 2-3 days, strain the liquid through a fine mesh sieve or cheesecloth into clean, sterilised bottles. Make sure to squeeze the blackberries to draw out all the flavour you can. Seal the bottles tightly.
- Ferment Further: Leave the bottled blackberry champagne at room temperature for another 3-4 days to build up carbonation, ensuring to burp or release excess gas every day. To burp just open the lid for 1-2 seconds and close it.
Serve:
- Final taste – taste and once you are happy with the degrees of fizziness transfer to the fridge to stop the fermentation.
- Serve: Carefully open the bottles to release the built-up carbonation, pour into glasses, and enjoy your naturally fizzy, alcohol-free elderflower champagne!
Notes
- Fermentation Time: The fermentation time may vary depending on the temperature and yeast activity. Monitor the bottles carefully to avoid over-carbonation. If the room is warmer, fermentation time will be quicker and if the room temperature is cooler it will take longer.
- Safety: Use sturdy bottles designed for carbonation to prevent any risk of explosion.
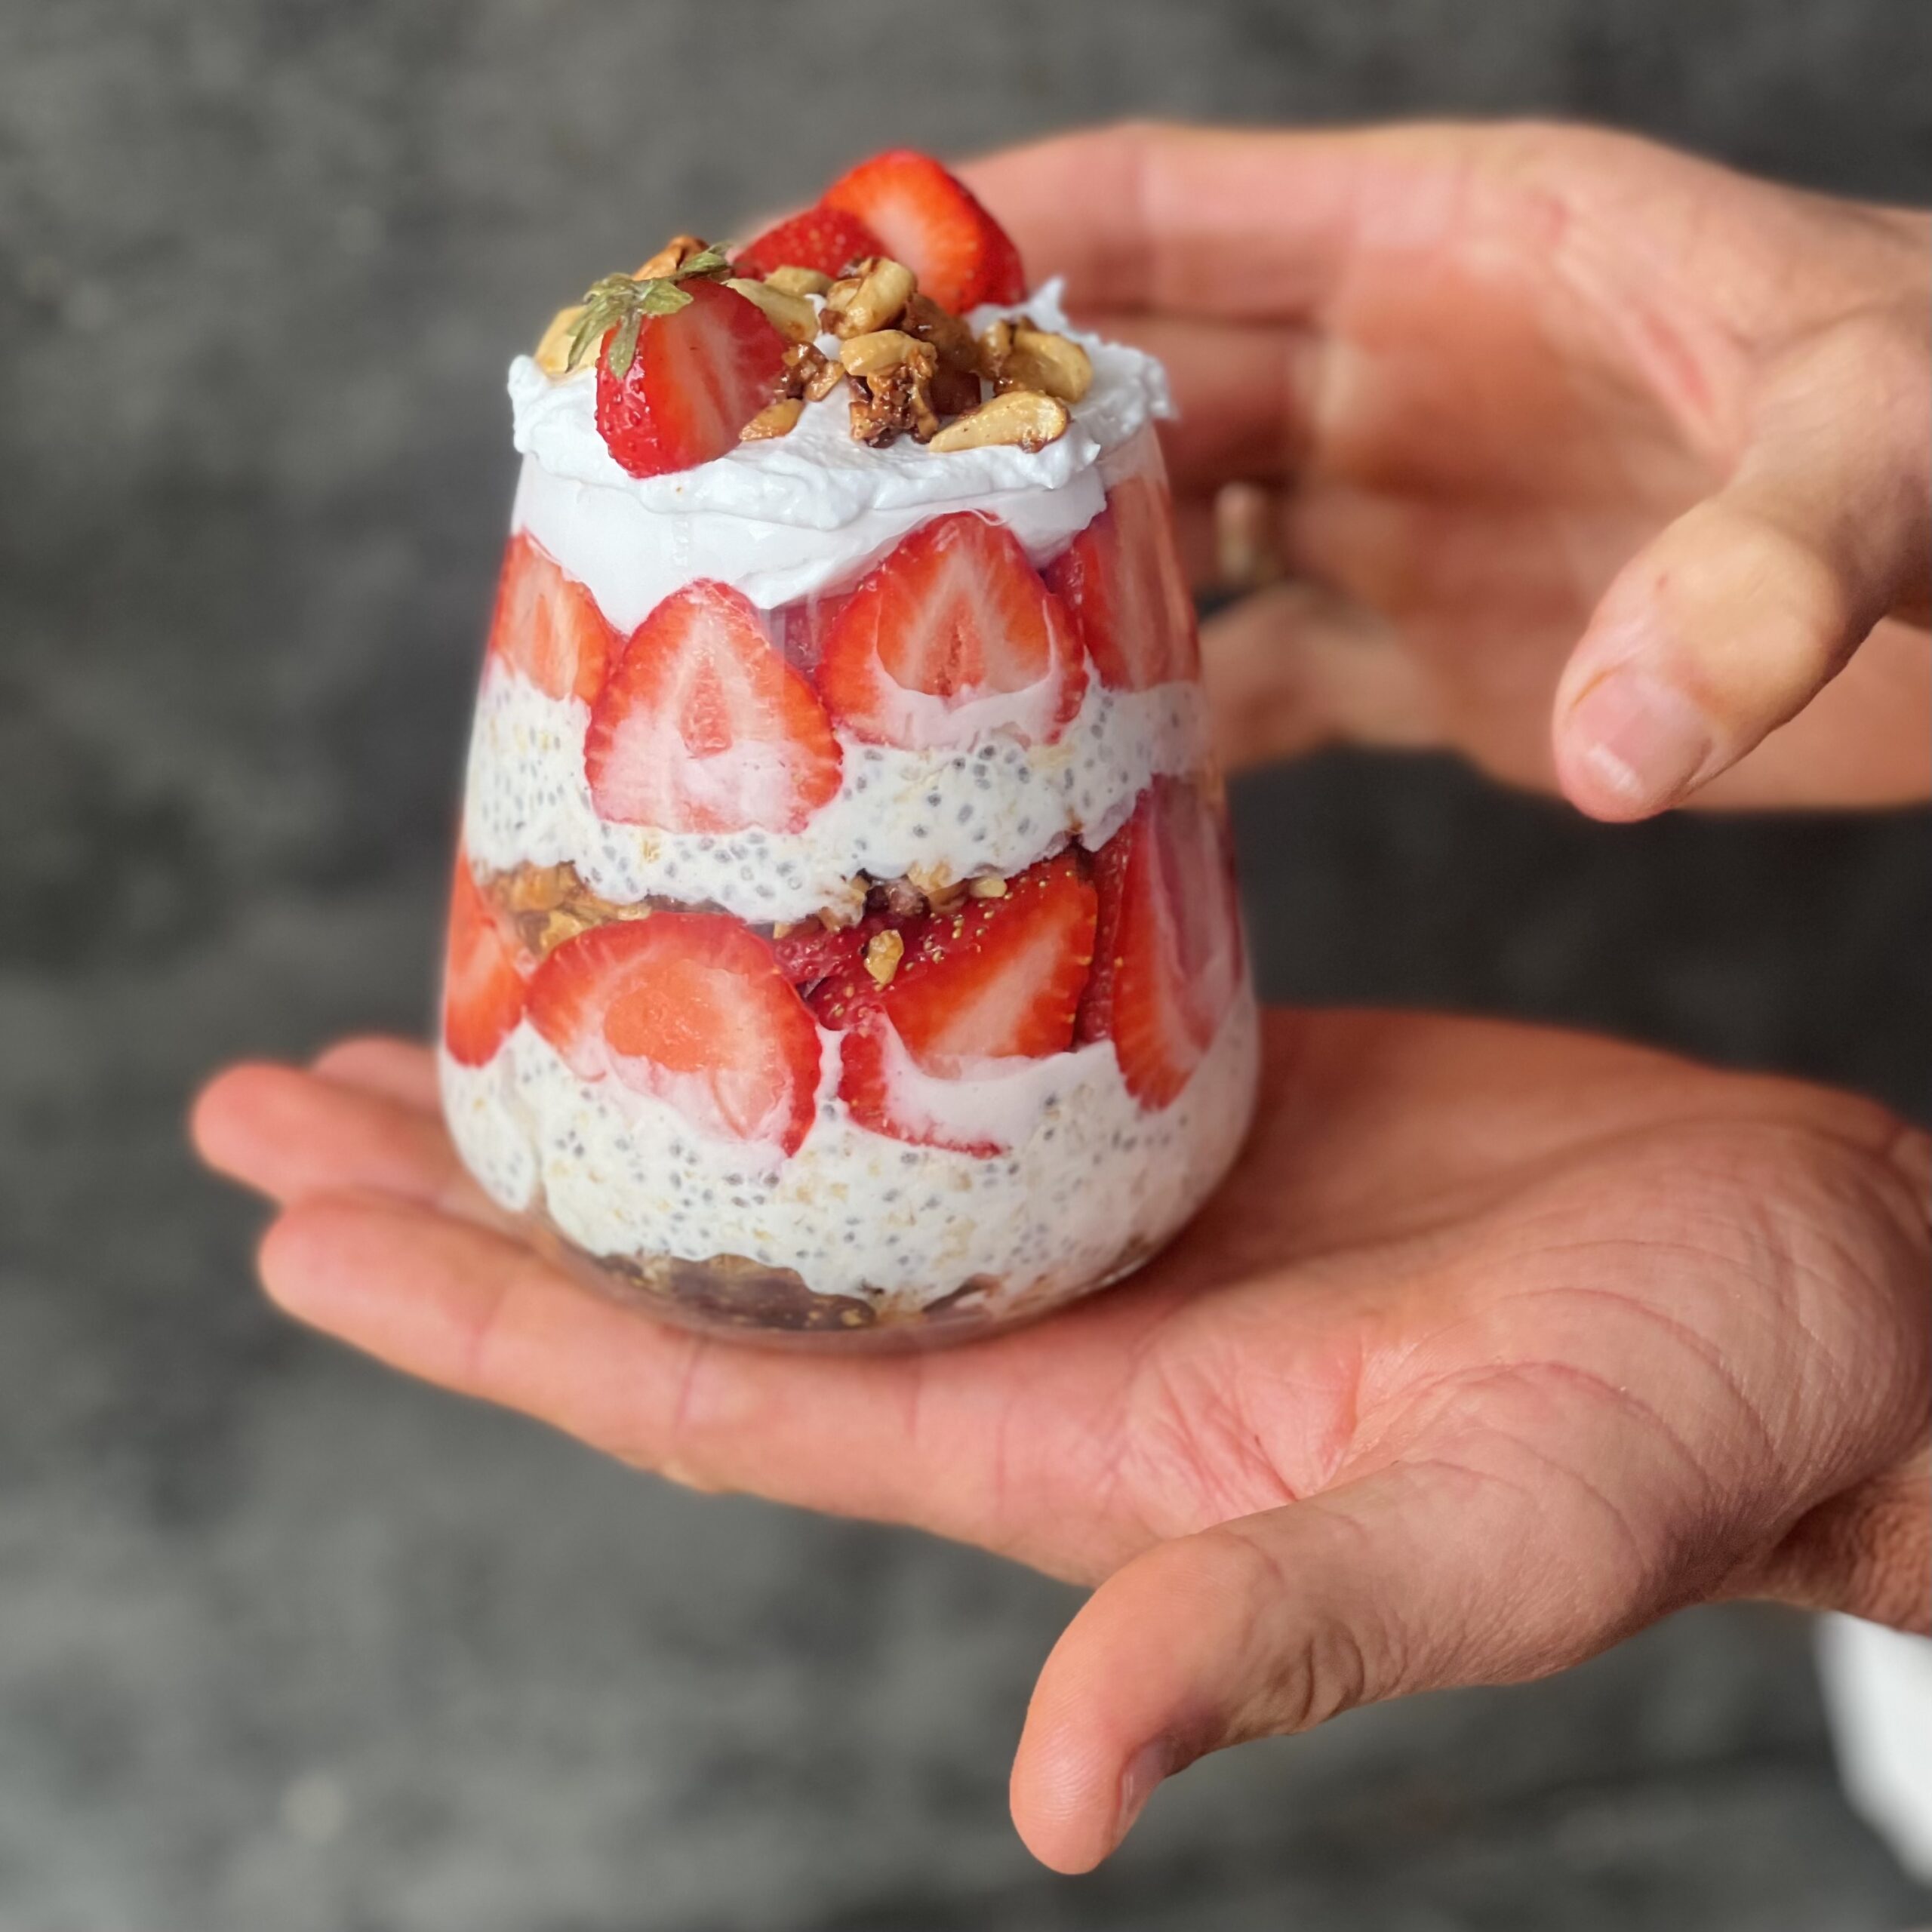
Strawberry Shortcake Overnight Oats
Takes 15 minutes
Serves 2
Ingredients
Creamy Overnight Oat Mix
- 100 g oat flakes 1 cup
- 150 ml oat milk ⅔ cup
- 100 ml yoghurt plant-based (⅓ cup + 1 tbsp)
- 3 tbsp chia seeds
- ½ tsp vanilla extract
- Pinch of salt
Cashew Biscuit Base
- 100 g cashew nuts ¾ cup
- 1 tbsp coconut oil
- 1 tbsp maple syrup
- Pinch of salt
Decoration
- 200 g fresh strawberries 1 ½ cups, sliced
Instructions
Make overnight oat base
- Combine all the ingredients for the overnight oats in a bowl, mix well and leave to sit for 5 mins while you make the rest of the elements
Make cashew biscuit base
- Roughly chop the cashew nuts and heat a non stick pan on medium heat, toast the cashew nuts for 5-8 mins stirring regularly until they start to go golden brown, add the coconut oil and maple syrup and mix to coat each nut, cook for a further minute and remove from the heat and transfer to a plate to cool.
Slice the strawberries
- Slice the strawberries lengthways
Layer up 2 glasses
- To layer up, take 2 x 250ml glasses and the key here is that there will be 6 layers.
- Start with a layer of the cashew biscuit base, next add a small layer of overnight oats, followed by sliced strawberries, make sure to push the sliced strawberries against the glass and follow them all the way around. Fill any gaps with some more strawberries, and begin the next layer once again with the cashew base, next overnight oats, and finish with another layer of sliced strawberries and a nice dollop of coconut yoghurt on top. Decorate with a sprinkle of the cashews and some sliced strawberries on top. Enjoy!
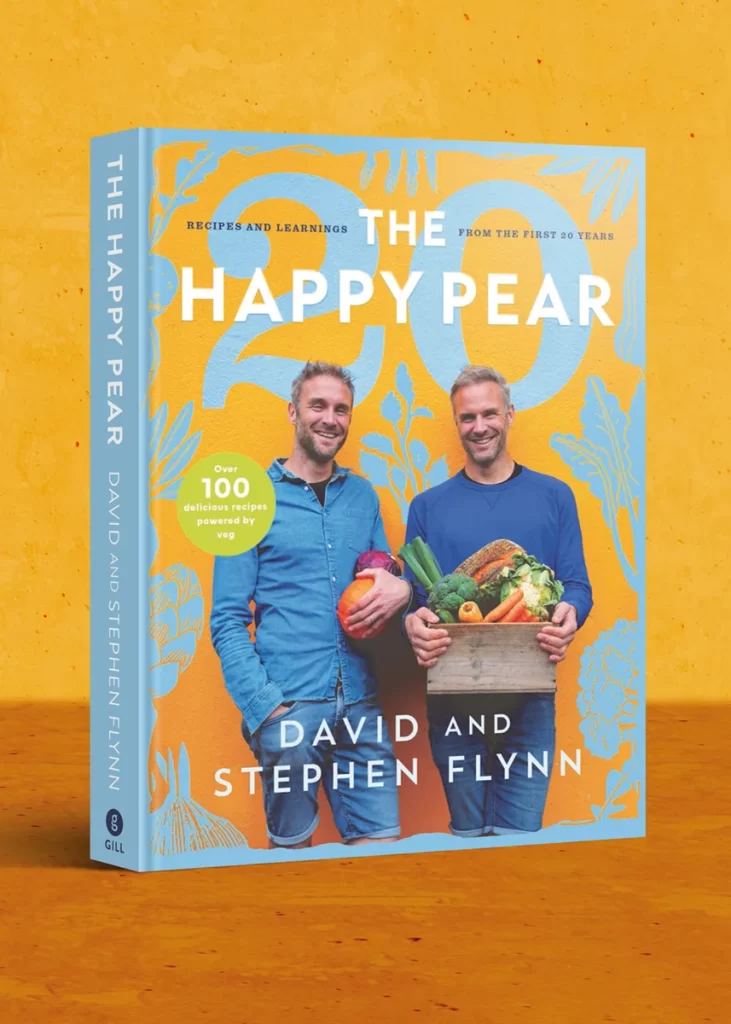
Ireland and UK Tour 2024/2025
Back in 2004, we opened a little veg shop in our home town of Greystones with a dream of starting a plant-powered revolution! For 20 years, The Happy Pear has been all about spreading health, happiness, and seriously delicious food. With over 15 million products sold, 6 bestselling cookbooks, and 15+ online courses under our belts, we’ve learnt so much on our journey!
At the start of 2025, we hit the road with our latest book, The Happy Pear 20: Recipes and Learnings From the First 20 Years. What was in store was a a fun-filled tour packed with stories from our wild journey, tips for better living, and cooking demos (at select spots!). We shared wisdom, laughs, and plenty of plant-based goodness with all of our community and loved meeting all of you!
What an amazing experience!
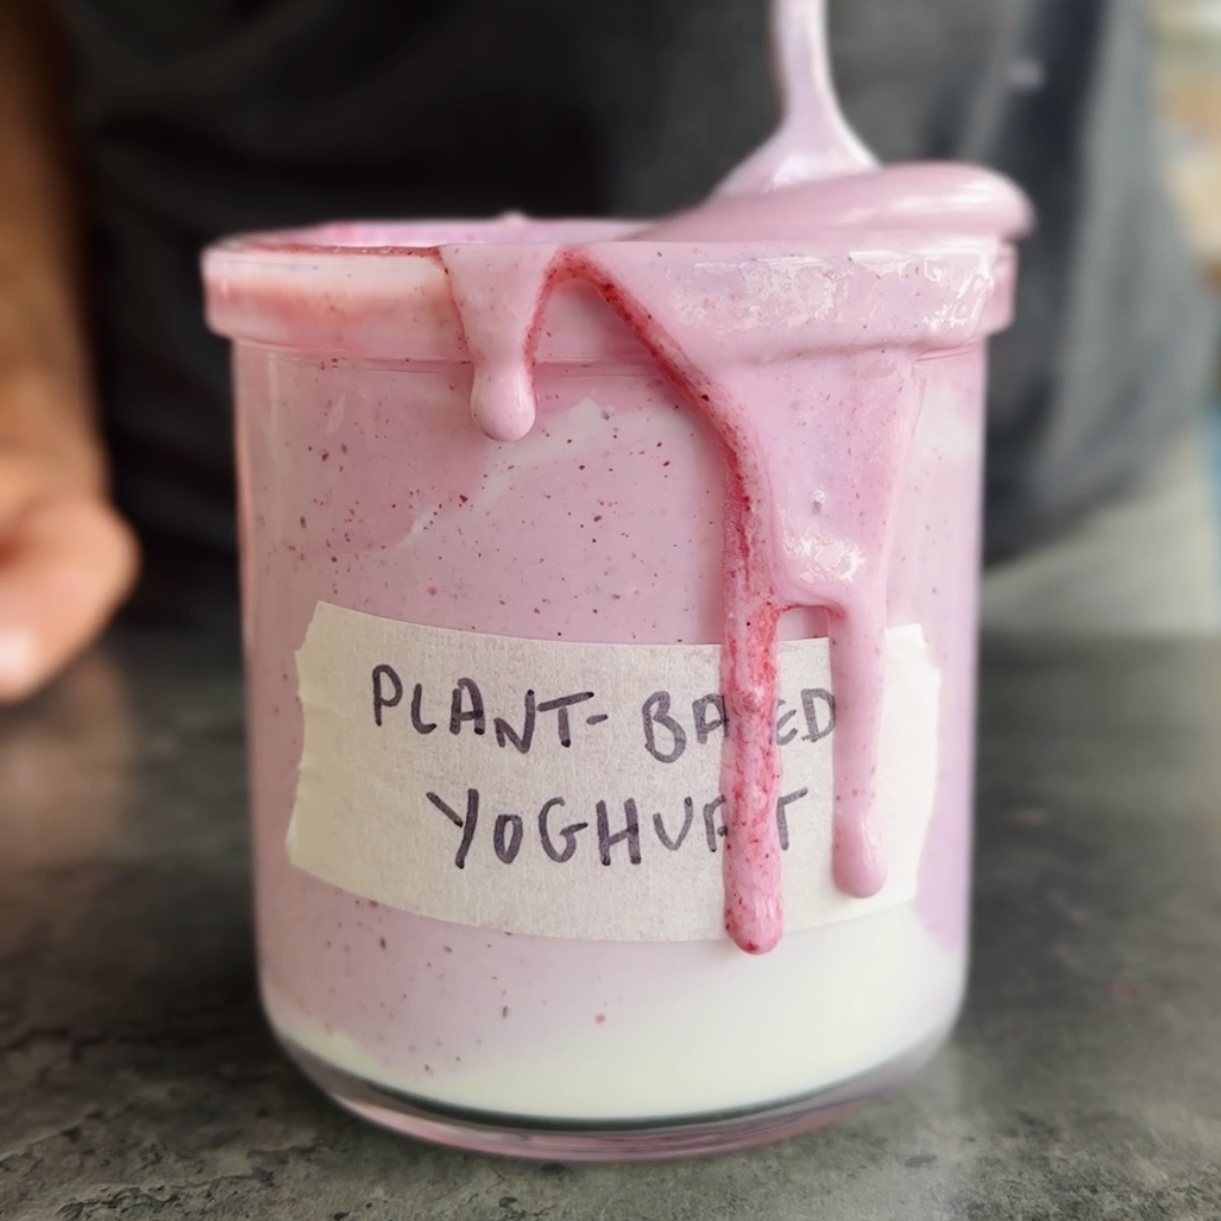
Plant-based Yogurt
Takes 3 days 5 minutes
Serves 8
Ingredients
- 1 litre approx 4 cups of plant-based milk (we used soy)
- 4 tablespoons of plant-based yogurt we used soy
Instructions
- Mix together your plant-based milk and 4 tablespoons of plant-based yogurt in a sterile jar.
- Leave to ferment at room temperature for 3-4 days. The longer you leave it to ferment the more acidic it will become.The milk should have thickened up and be yogurt-like.
- Once you are happy with the texture and degree of acidity, add any sweeteners or flavour agents. Simply mix through and taste and adjust to your taste.
- Store in the fridge for up to a week. The yogurt will continue to ferment just at a slower rate. Taste and adjust any seasoning till you reach a flavour you like.

Homemade Cherry Cola – Naturally Fermented
Takes 7 days 40 minutes
Serves 8
Ingredients
Fruits and Vegetables:
- 1 medium apple organic, unwashed, for wild yeast
- 1 medium orange organic, unwashed
- 1 lemon organic, unwashed
- 1 lime organic, unwashed
- 1 piece of fresh ginger about 5 cm, unpeeled
Flavourings:
- 1 cinnamon stick
- 1 vanilla bean split
- 4 star anise pods
- 2 cloves
- 1 tablespoon coriander seeds
- 1 teaspoon allspice berries or ground allspice
- 350 g approx. 2.5 cups frozen or fresh cherries
Sweetener:
- 250 g 1.25 cups brown sugar (you could also use coconut sugar)
Water:
- 2 litres 8.5 cups filtered water
Instructions
Prepare the Ingredients:
- Roughly chop the apple, orange, lemon, and lime, keeping the peels on as they contain wild yeasts. Remove the stone from the cherries if using fresh cherries
- Slice the ginger thinly.
Make the Base:
- In a large pot, combine the cinnamon stick, vanilla bean, star anise, cloves, coriander seeds, pitted cherries and allspice berries. Next add in the brown sugar
- Add the filtered water and bring to a boil.
- Once boiling, reduce the heat and let it simmer for about 20-30 minutes to extract the flavours.
- Leave to cool to room temperature or below 38 degrees C so that the yeast stays alive.
Add the Fruits for Fermentation:
- Once the base has cooled to room temperature, transfer it to a large, clean glass jar or fermentation vessel.
- Add the chopped apple, orange, lemon, lime, and ginger to the jar. The fruits should be added unwashed to ensure the wild yeast on their skins remains intact.
- Cover the jar with a clean cloth or cheesecloth secured with a rubber band to allow airflow while preventing contaminants.
- Place the jar in a warm, dark place (around 20-25°C / 68-77°F) for 2-4 days, stirring occasionally. You’ll start to see bubbles forming, indicating fermentation.
Strain and Bottle:
- After the fermentation period, strain out the solids using a fine-mesh sieve or cheesecloth.
- Pour the liquid into clean, airtight bottles, leaving some headspace at the top.
- Seal the bottles and let them ferment at room temperature for another 1-3 days, checking daily for carbonation. Be careful with pressure buildup in the bottles to prevent them from exploding.
Refrigerate and Serve:
- Once the desired level of carbonation is achieved, refrigerate the bottles to slow down the fermentation.
- Serve chilled and enjoy your naturally fermented cola!
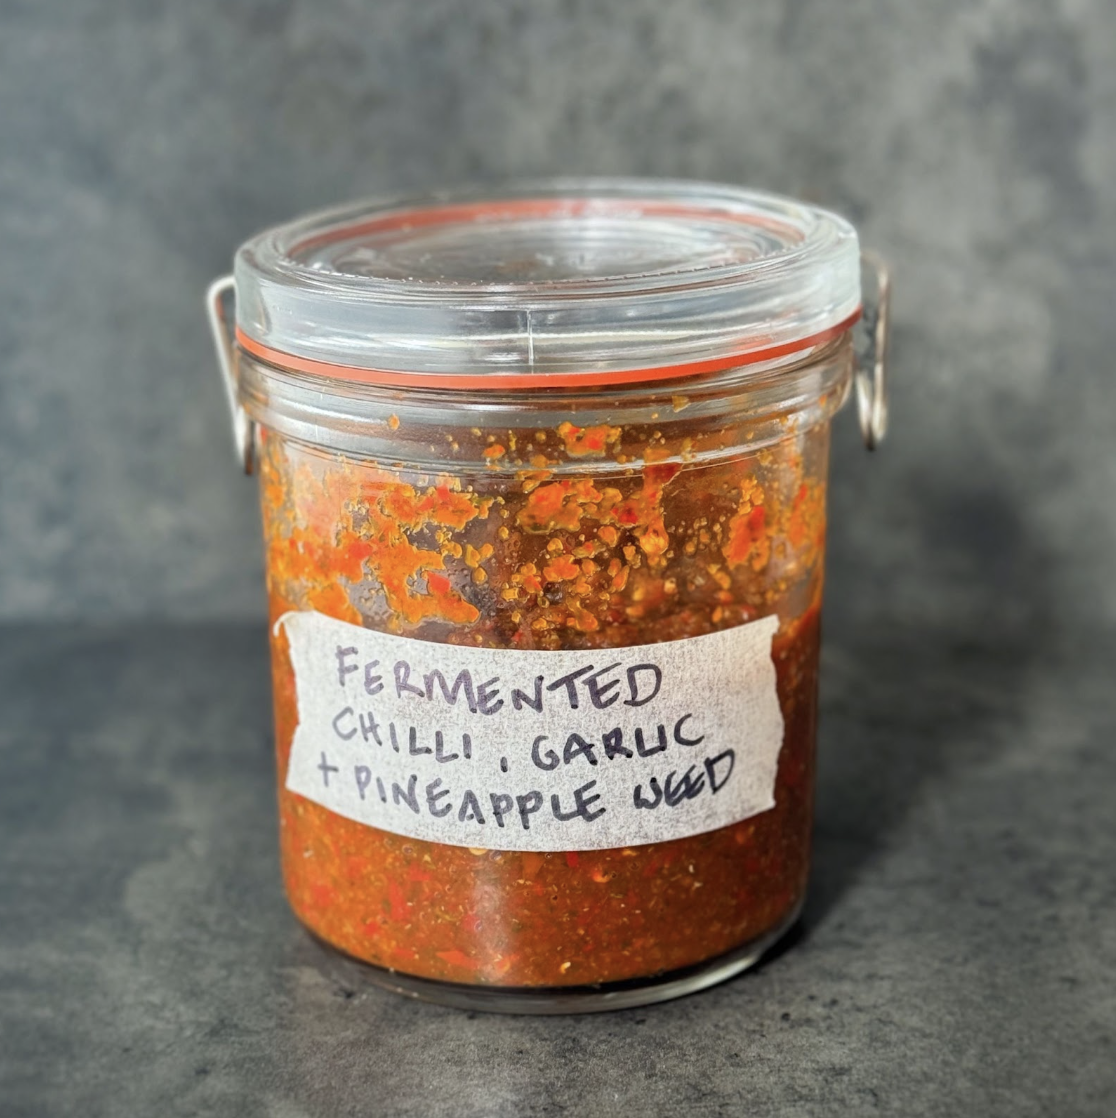
Fermented Chilli & Garlic Paste
Takes 7 days 15 minutes
Serves 10
Ingredients
- 150 g chilli about 1 cup
- 150 g garlic about 1 cup
- 20 g Herbs of choice – we used pineapple weed coriander, parsley, basil, or chive would work great (about ⅓ cup)
- 6 g salt about 1 tsp
To season after fermentation
- 4 tbsp Tamari
- 7 tbsp Maple syrup
- 4 tbsp olive oil
- 6 tbsp vinegar
- 1 tsp salt
Instructions
Make the Sauce
- Peel the garlic and roughly chop the chillies, if you are using any herbs, roughly chop them.
- Add the chilli, garlic, salt and herbs to a food processor or blender and blend till smooth.
- Transfer to a jar with a lid and add in the paste and cover tightly with the lid.
- Leave to ferment for a week.
Season:
- After the week’s fermentation, taste to understand how the fermentation has altered the flavours. The flavours should have mellowed and it should have developed some acidity.
- We seasoned ours by adding all our seasoning ingredients – mix well and enjoy!
- Taste and adjust the seasoning to your liking.
- Store in the fridge and it will keep for 4 weeks.
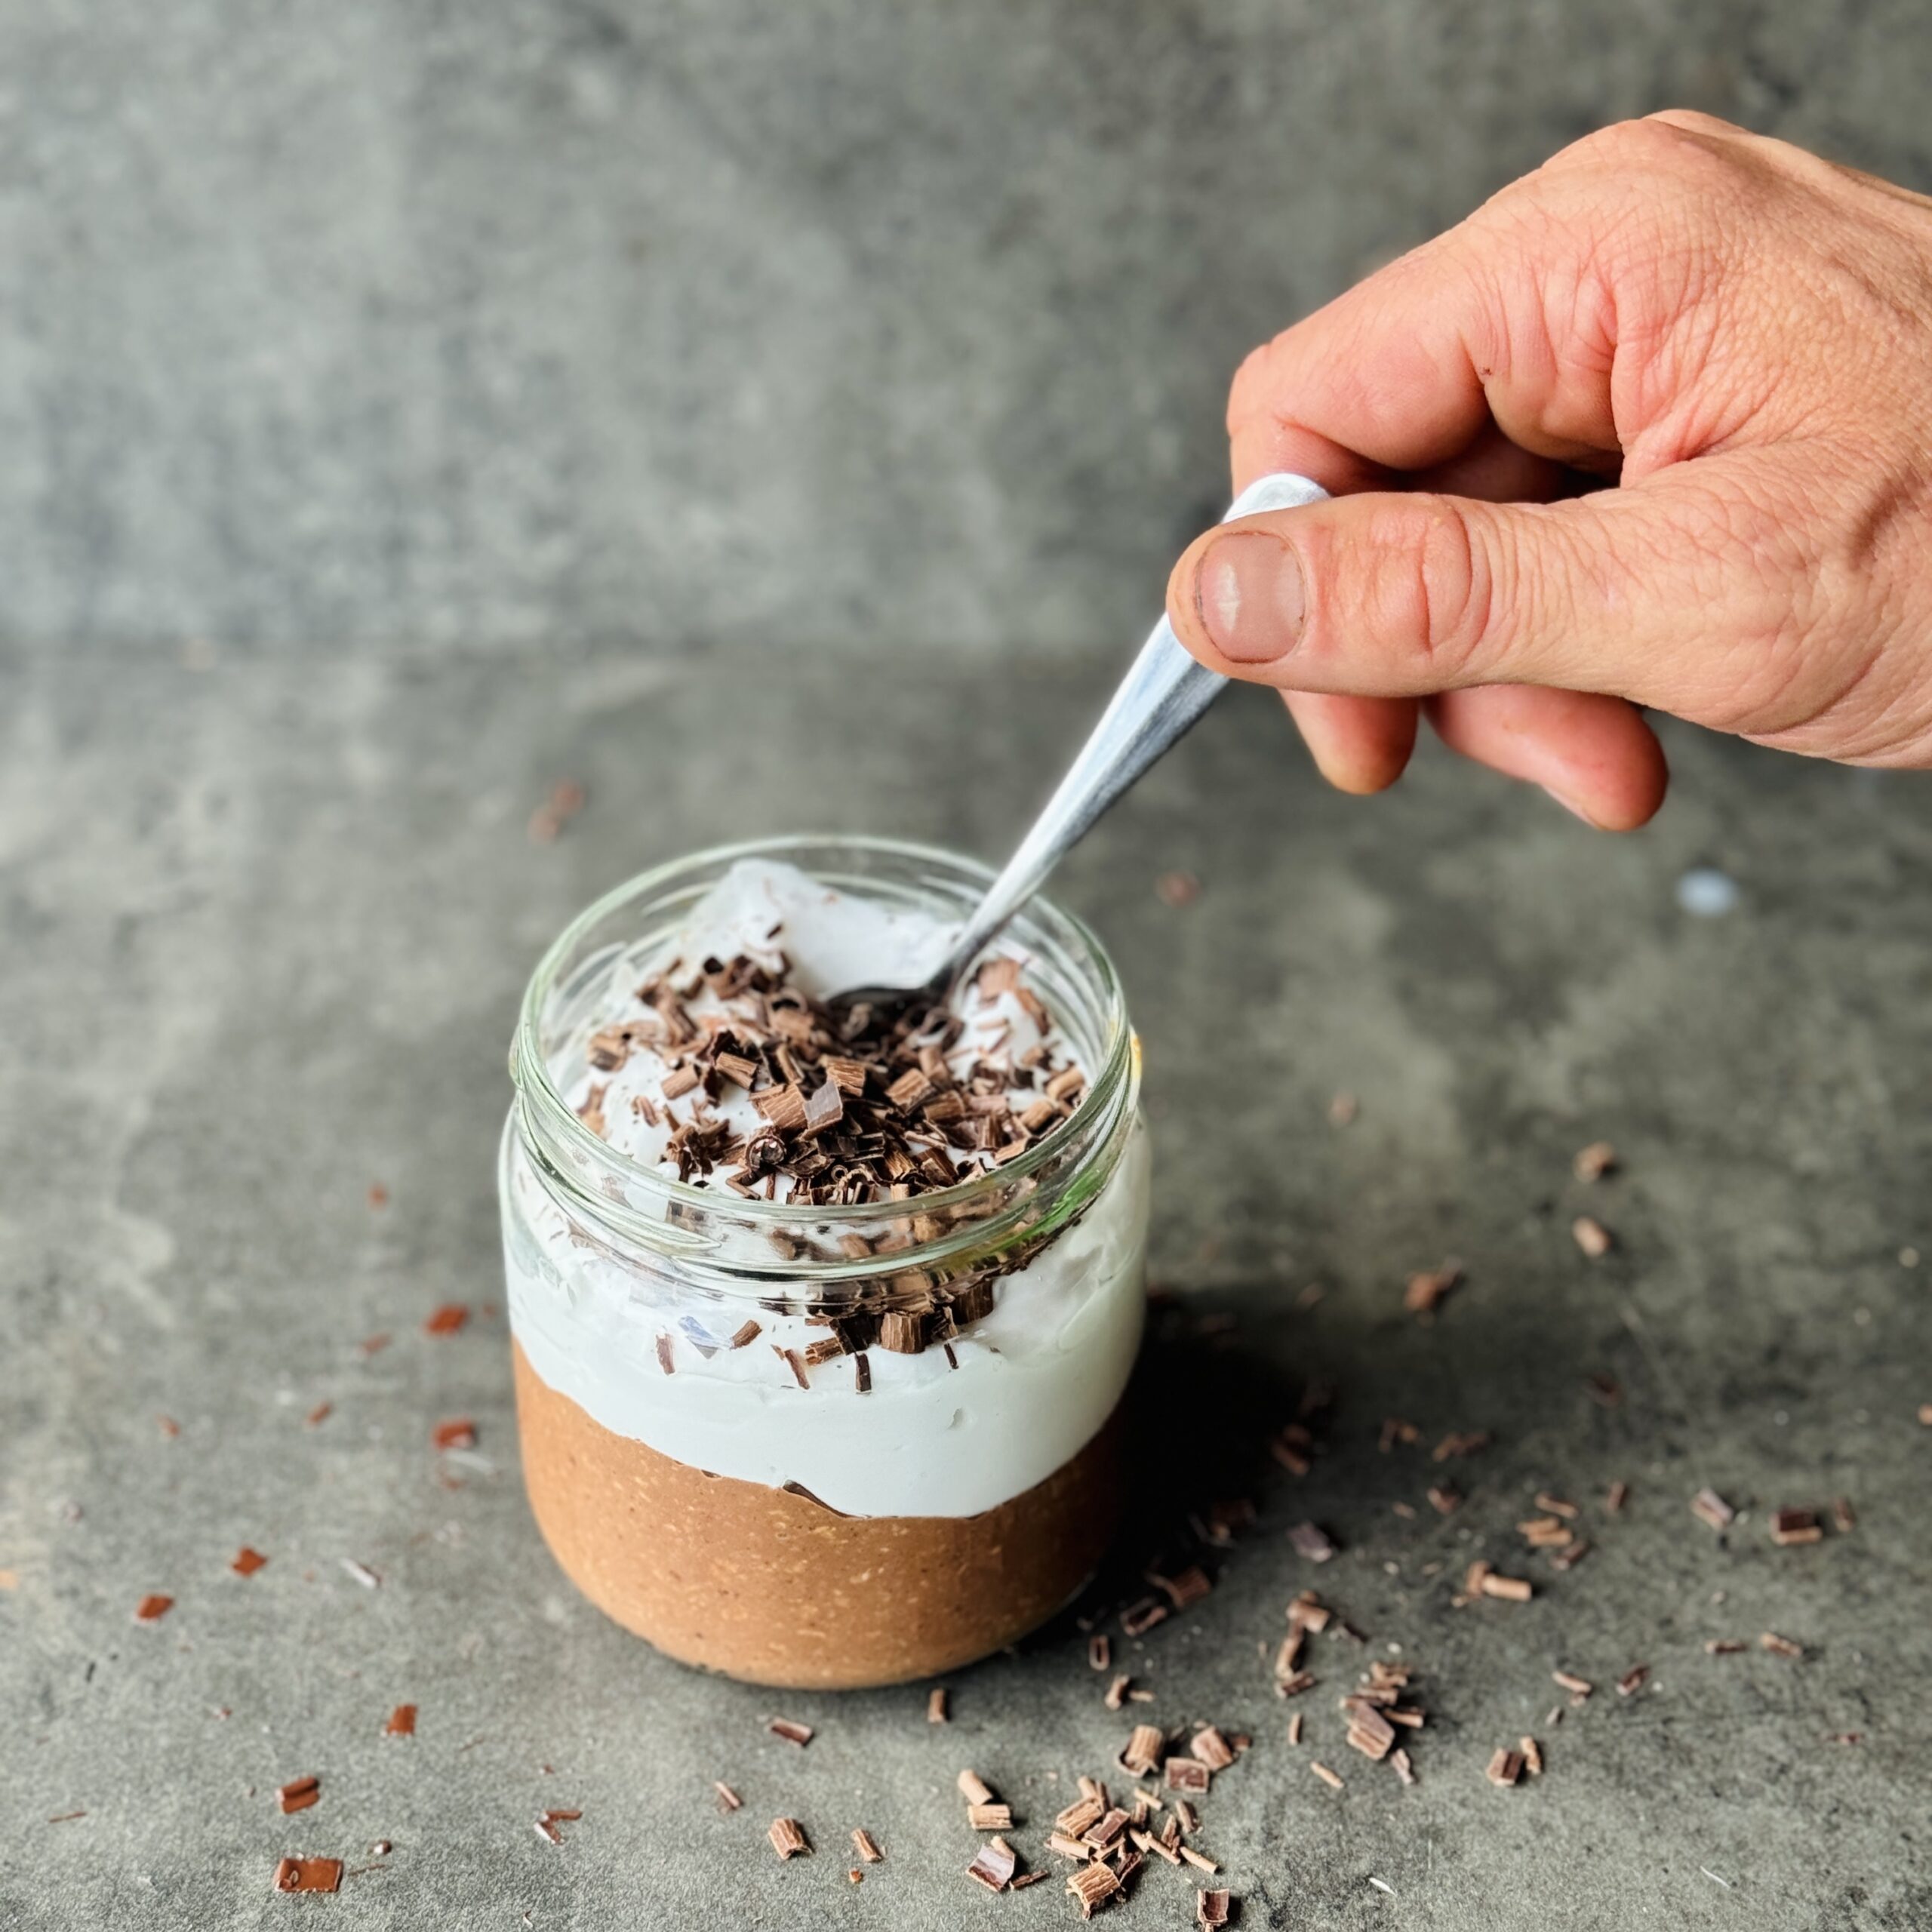
Brownie Overnight Oats
Takes 25 minutes
Serves 2
Ingredients
Overnight Oat Mix:
- 50 g oat flakes ½ cup
- 1.5 tbsp cocoa powder
- 1 tbsp almond butter or nut butter of choice
- 100 ml oat milk ⅓ cup
- 1 tsp vanilla extract
- 1-2 tbsp maple syrup
- Pinch of salt
Garnish:
- To serve: 200g coconut yoghurt or yoghurt of choice ¾ – 1 cup
- To garnish: 2 tbsp chocolate chips or cocoa nibs
Instructions
- Combine all the overnight oat mix together in a bowl and whisk it together with a fork.
- Leave to sit for 20 minutes or overnight in the fridge.
- Divide the mix in 2 between 2 glasses leaving half of them free for the yoghurt.
- Divide the yoghurt between the 2 glasses and smooth it out.
- Top with the choc chips or cocoa nibs.
- Enjoy!
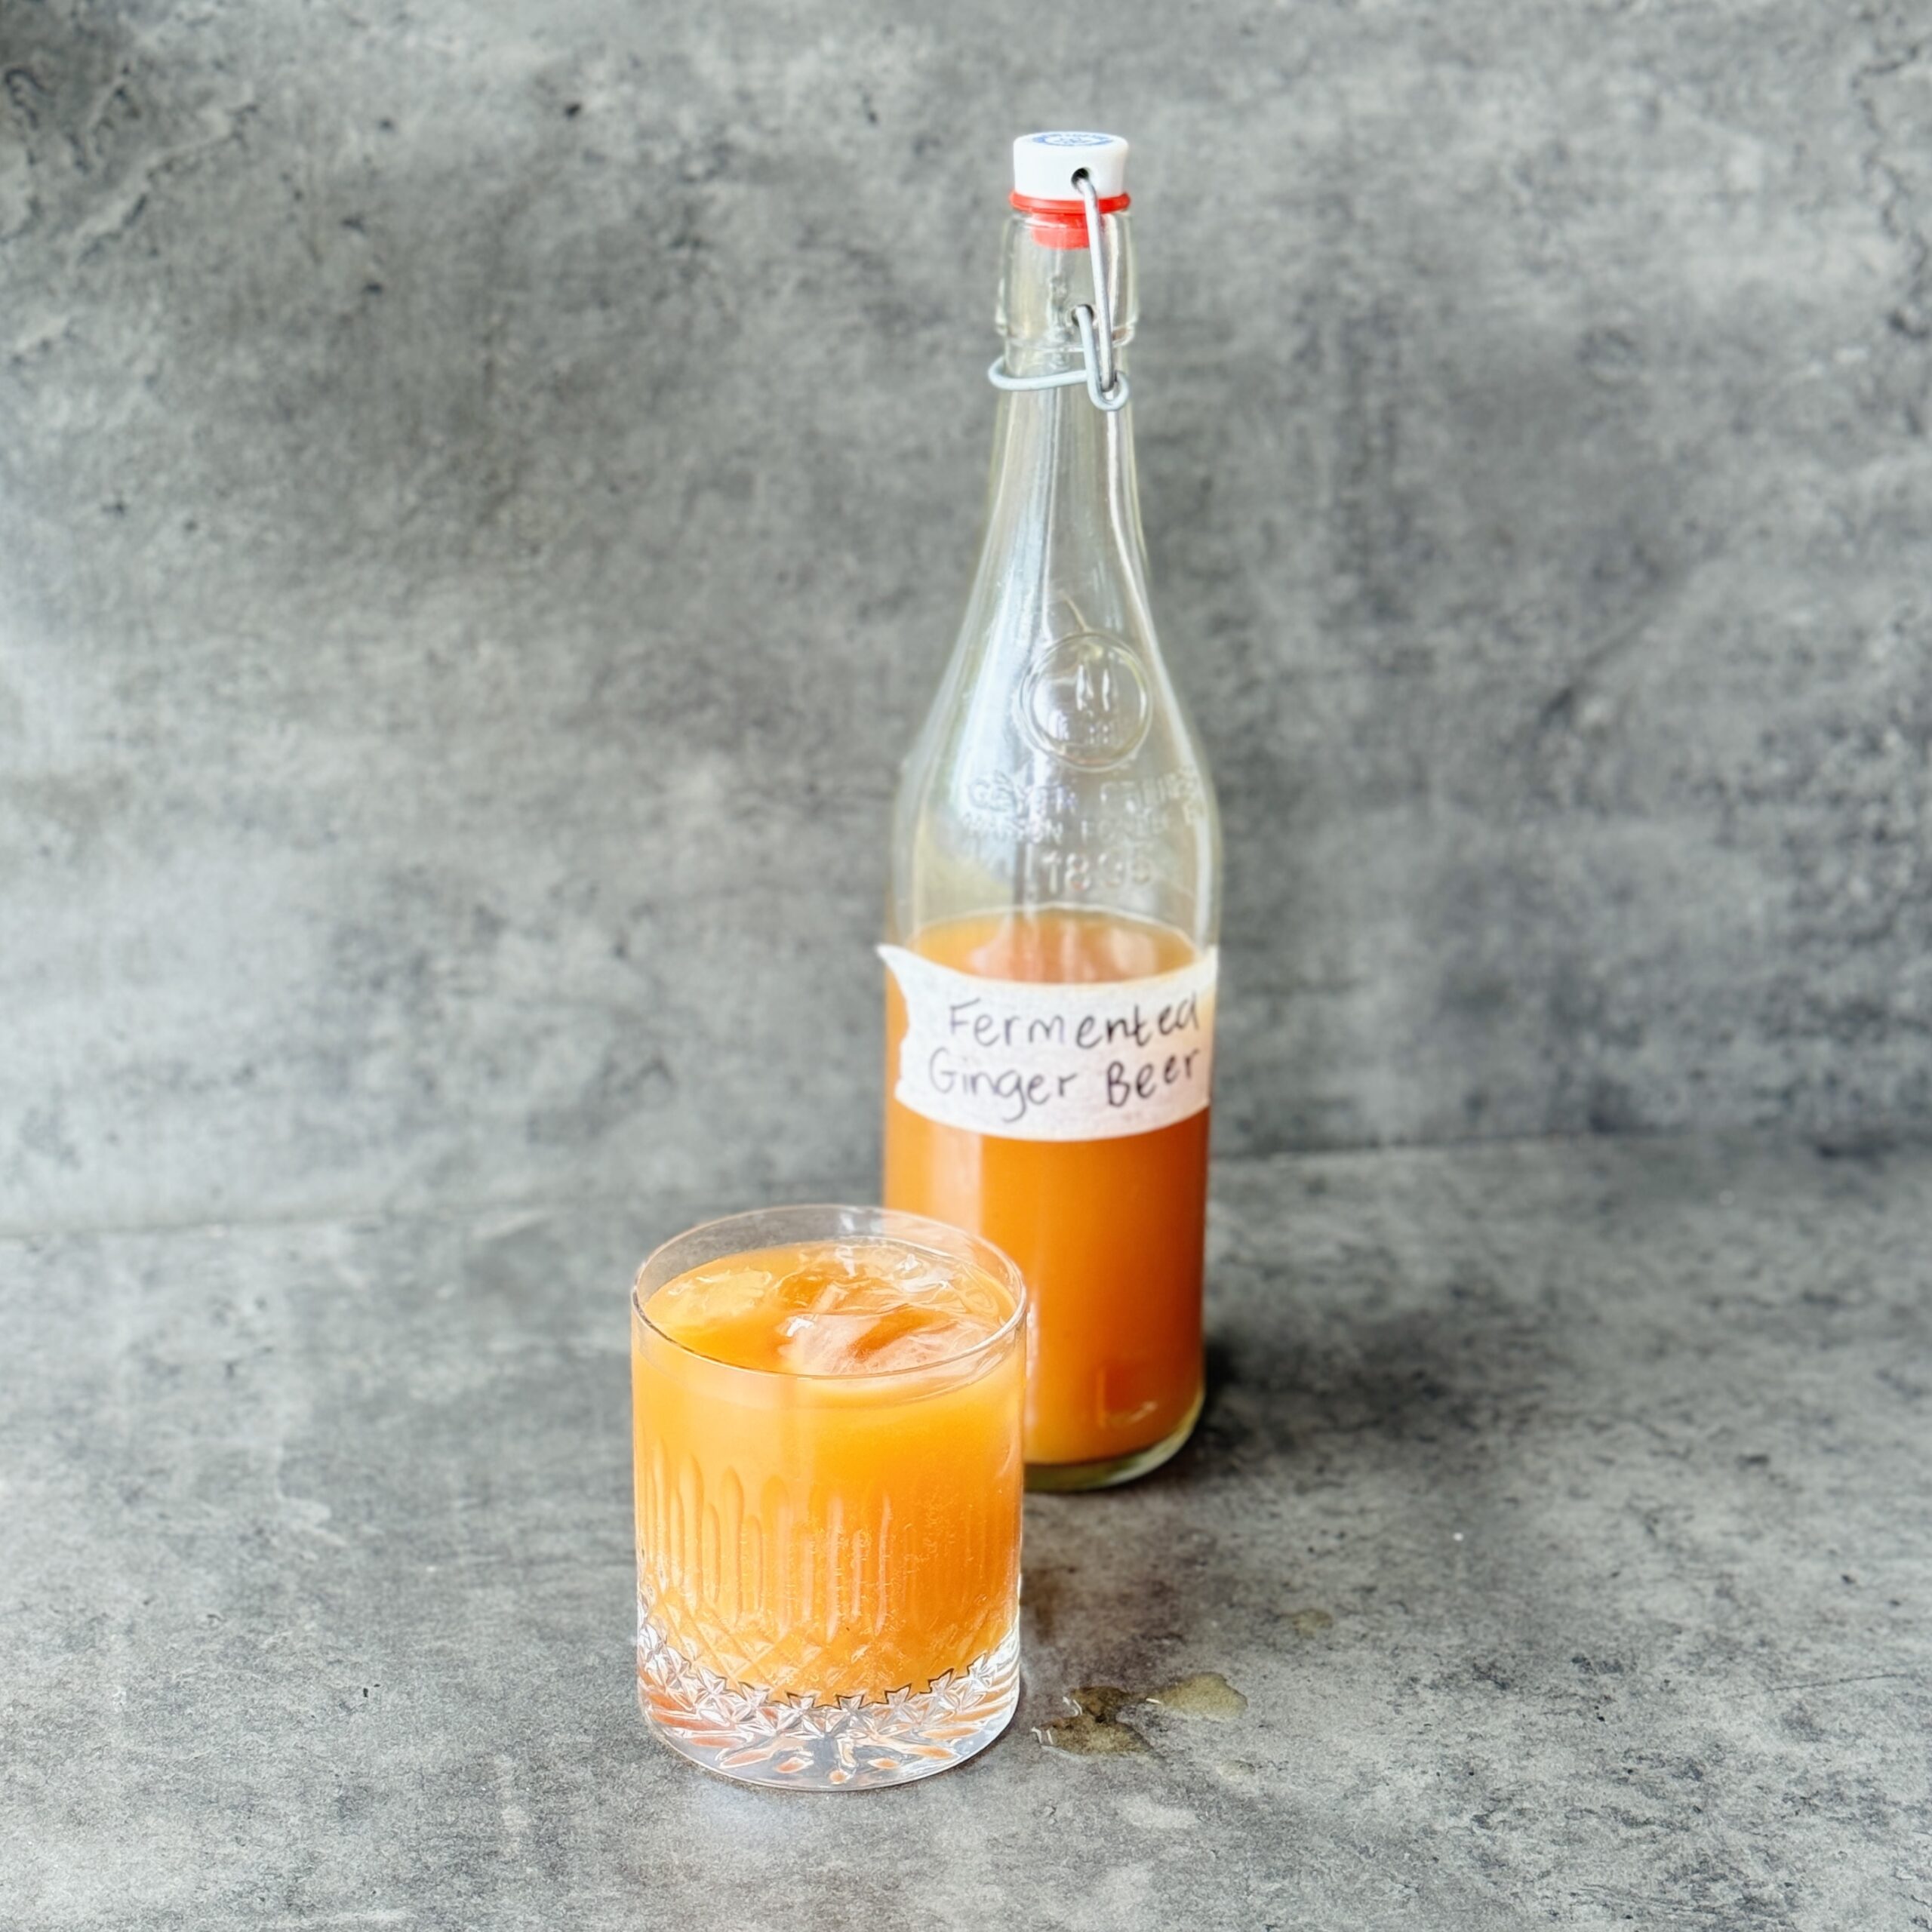
Naturally Fermented Ginger Beer (Non-Alcoholic)
Takes 6 days 20 minutes
Serves 10
Ingredients
For the Ginger Bug:
- 50 g fresh ginger finely grated (about 2 inches),
- 50 g granulated sugar about 1/4 cup
- 500 ml water 2 cups
For the Ginger Beer:
- 100 g fresh ginger finely grated (about 4 inches)
- 150 g brown sugar / coconut sugar 3/4 cup
- Juice of 2 lemons
- 2 litres water 8 cups
- 120 ml or 1/2 cup ginger bug liquid strained
- Additional water for topping up if needed
Instructions
Step 1: Prepare the Ginger Bug
- Day 1: In a clean jar, combine 50g of grated ginger and 50g of sugar with 500ml (2 cups) of water. Stir well to dissolve the sugar. Cover the jar with a cloth or paper towel secured with a rubber band to allow airflow while keeping out dust and insects.
- Days 2-5: Each day, add 1 tablespoon of grated ginger and 1 tablespoon of sugar to the jar, stirring well each time. After 3-5 days, you should notice bubbles forming, indicating that the ginger bug is active and ready to use.
Step 2: Make the Ginger Beer
- Brew a strong sweet ginger tea : In a large pot, combine 100g of grated ginger, 150g of sugar, and 500ml (2 cups) of water. Bring the mixture to a boil, then reduce the heat and let it simmer for about 10 minutes to extract the ginger flavour.
- Cool the Mixture: Remove the pot from heat and add in the remaining 1.5 litres of water to allow the ginger mixture to cool to room temperature.
- Add the Ginger Bug: Add approx about 1/2 cup of your ginger beer, don’t worry if you include osme of the ginger pieces, this will just add to the ginger flavour.
- Ferment the Ginger Beer:
- Pour the cooled ginger tea mixture into a large, clean plastic or glass bottle (leaving some space at the top for expansion).
- Add the juice of 2 lemons and the ginger bug liquid.
- Seal the bottle with a tight lid and let it sit at room temperature for 2 to 3 days.
- 2nd fermentation to increase carbonation:
- Strain and using a funnel pour into smaller bottles, approx 250-500ml bottle with lids, close the lids and leave to ferment at room temperature for 2-3 days ensuring to burp each day to prevent them overflowing due to excess carbonation
- Monitor Fermentation: Check the bottle daily. When it feels firm to the touch (indicating carbonation), carefully open it to release some pressure, then reseal. If it’s very fizzy, move it to the refrigerator to slow down the fermentation.
Step 3: Serve and Enjoy
- Once chilled, your ginger beer is ready to drink! Serve it over ice and enjoy the refreshing, naturally fizzy ginger beer.
Tips:
- Ginger Bug Care: You can keep your ginger bug alive by continuing to feed it with ginger and sugar every few days. Store it in the refrigerator if you’re not using it regularly, and take it out to feed before using it again.
- Customise Flavour: Adjust the amount of ginger and sugar in the ginger beer according to your taste preferences.
The Happy Pear Podcast
In this enlightening episode, we are thrilled to welcome Gaia Ferreira, an internationally renowned speaker, life coach, and author, celebrated for her profound work in personal development, wellness, and mindfulness. With over two decades of experience, Gaia has guided countless individuals on their journey towards a more fulfilled and balanced life. Her approach integrates a deep understanding of human behaviour with practical strategies that empower people to unlock their full potential.

Episode 171
Gaia’s expertise spans a wide range of topics, from mastering mindfulness to cultivating resilience, and her teachings have inspired a global audience to embrace a more conscious and intentional way of living. In this conversation, Gaia shares her invaluable insights and practical advice, making this episode a must-listen for anyone seeking personal growth and a deeper connection with themselves.
Main Topics Covered:
- The Power of Mindfulness: Gaia discusses how mindfulness can transform your everyday life, offering practical tips to incorporate mindfulness into your daily routine.
- Building Resilience: Learn how to develop mental and emotional resilience to navigate life’s challenges more effectively.
- Personal Development Strategies: Gaia shares key strategies for personal growth, including goal-setting, habit formation, and the importance of self-awareness.
- The Mind-Body Connection: Explore the profound connection between mental and physical well-being, and how nurturing this relationship can lead to a more balanced and healthy life.
- Overcoming Limiting Beliefs: Gaia delves into the common limiting beliefs that hold us back and offers guidance on how to overcome them to achieve your full potential.
- The Role of Gratitude: Discover the transformative power of gratitude and how it can shift your mindset to a more positive and abundant state.
- Gaia’s Personal Journey: Get a glimpse into Gaia’s own path of self-discovery and how her experiences have shaped her approach to coaching and teaching.
Join us for an inspiring and transformative conversation that will leave you equipped with the tools and insights to elevate your life. Whether you’re at the beginning of your personal development journey or looking to deepen your practice, this episode with Gaia Ferreira offers wisdom and guidance for all stages of the path.
Lots of love,
Dave & Steve
SPONSORS & DISCOUNT CODES:
Namawell Juicers are AMAZING! They have absolutely revolutionised the juicing game. We have an exclusive 10%
Enter the code HAPPYPEAR10
LINK: https://namawell.com/collections/juicers/products/nama-j2-cold-press-juicer?ref=thehappypear
VIVOBAREFOOT: Vivobarefoot Footwear have given our listeners an exclusive 20% discount and if you buy now you also get free access to their incredible course showcasing some of the biggest names in the health and wellness space.
Enter the code HAPPYPEAR20
LINK: https://www.vivobarefoot.com/uk/the-happy-pear
THE WHOLE HEALTH TRIBE – Join our community
LINK: https://eu1.hubs.ly/H0bmqxd0
THE HAPPY PEAR RECIPE CLUB – Blending health and happiness through a range of over 500 delicious plant-based recipes.
LINK: https://eu1.hubs.ly/H0bmqss0
Sign up to our Newsletter, for updates on our latest recipes, events, and news.
LINK: https://share-eu1.hsforms.com/1hKXaawjoQOONmJe4EXkCdwf92py
Produced by Sean Cahill & Sara Fawsitt
Available now from all good podcast providers:
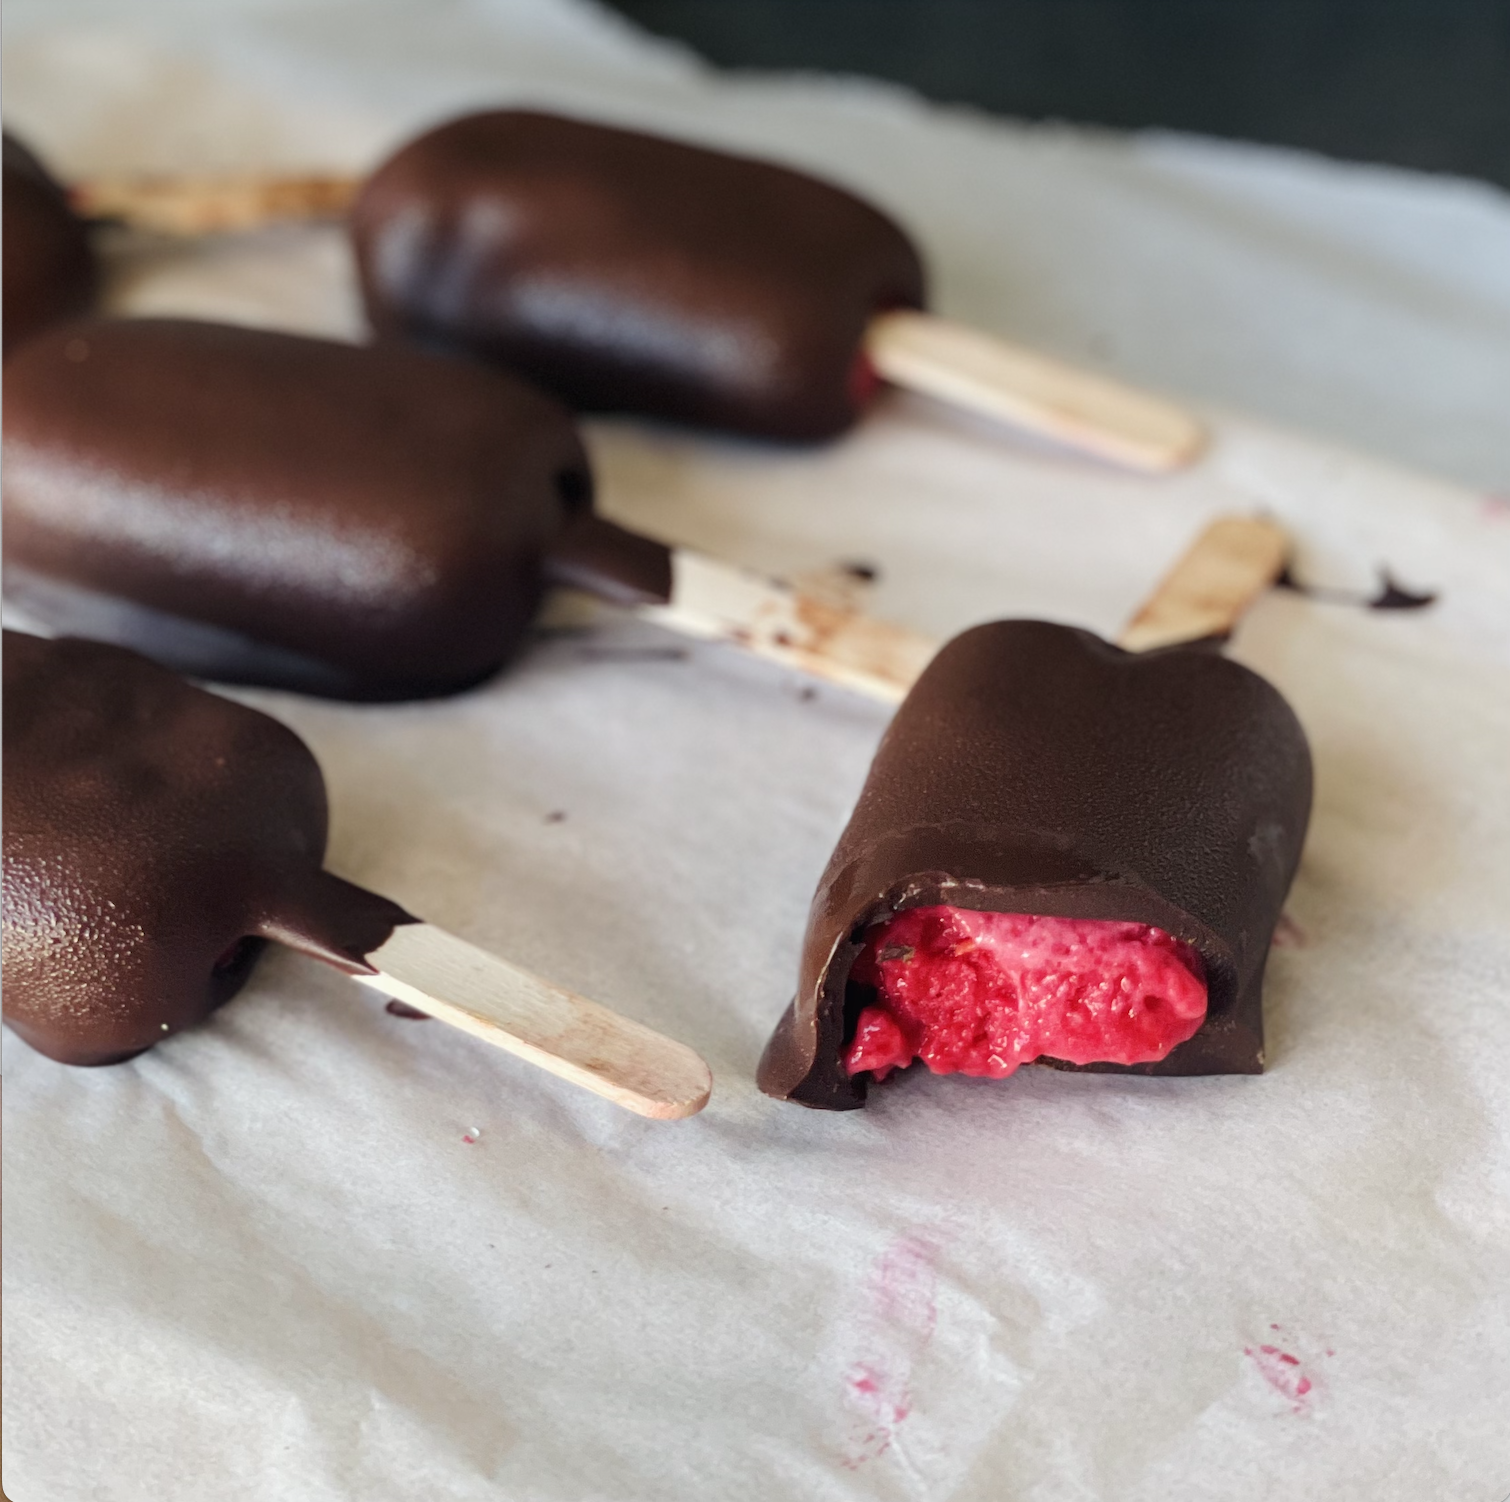
Raspberry Sorbet Magnums
Takes 1 hour 20 minutes
Serves 8
Ingredients
- 1 x 300g packet of frozen raspberries 2.5 cups
- 3 frozen bananas
- Silicone ‘magnum’ ice cream type moulds
- Wooden ice cream sticks
- 200 g dark chocolate 1.25 cups
Instructions
- Make the sorbet: Put the frozen fruit into the hopper of your Nama juicer with the sorbet attachment in place, close the lid to the hopper and turn it on to process. Alternatively you could try blending the fruit using a food processor or blender.
- Fill the sorbet into the moulds: Using a tablespoon spread the raspberry sorbet into the silicone moulds, being sure to spread them out and fill each mould fully.
- Add the ice cream sticks: Insert an ice cream stick into each mould.
- Freeze the raspberry layer: Place the silicone moulds with the raspberry sorbet in the freezer and freeze for 4 hours.
- Melt the chocolate: melt the chocolate using a water bath/bain-marie or by heating in a microwave.
- Dip the Raspberry sorbet ice creams in the melted chocolate: Dip each raspberry sorbet ice creams individually in the melted chocolate making sure to cover all sides.
- Leave to set on some baking parchment: The chocolate should set almost immediately, if not leave to set on the baking parchment. If necessary return to the freezer.
- Enjoy!
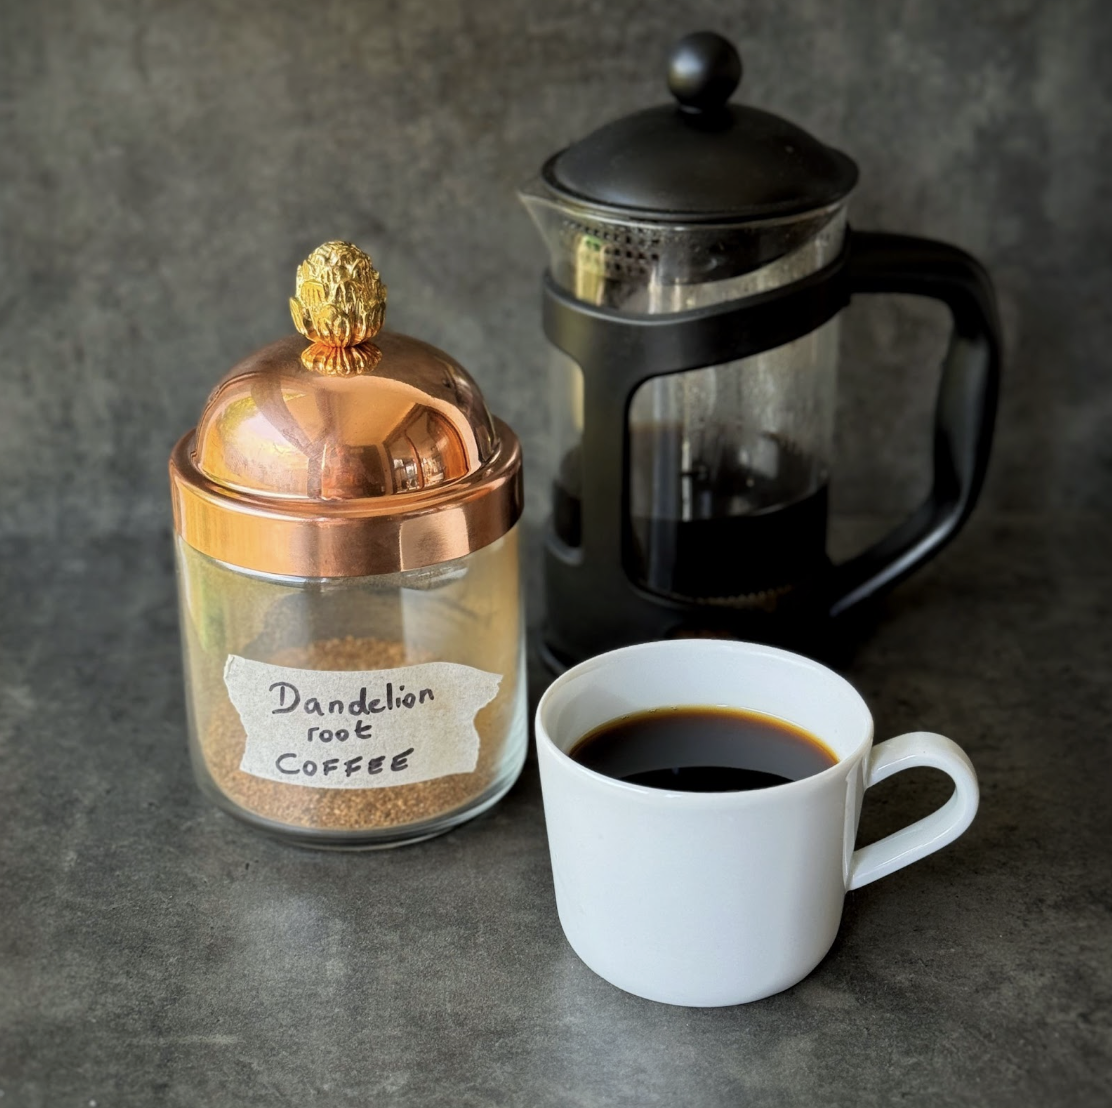
Dandelion Root Coffee
Takes 1 hour
Serves 2
Ingredients
- 400 g dandelion roots approx 3 cups
Instructions
Harvest and Clean the Roots
- Harvest the Roots: Dig up dandelion roots from an area free of pesticides and other contaminants. The best time to harvest is in the fall or early spring when the roots are most nutrient-dense.
- Clean the Roots: Thoroughly wash the roots to remove dirt and debris. Use a brush to scrub them clean under running water.
Prepare the Roots
- Chop the Roots: Cut the cleaned roots into small, uniform pieces. The smaller the pieces, the faster and more evenly they will roast.
- Dry the Roots: Spread the chopped roots on a baking sheet and leave them in a dry, well-ventilated area for a few days, or until they are completely dry. This can also be done in a dehydrator at a low temperature.
Roast the Roots
- Preheat the Oven: Preheat your oven to 180°C (350°F).
- Roast the Roots: Spread the dried dandelion root pieces evenly on a baking sheet. Place the sheet in the preheated oven.
- Monitor the Roasting: Roast the roots for about 30-40 minutes, stirring occasionally to ensure even roasting. The roots should turn dark brown and have a coffee-like aroma. Be careful not to burn them.
- Cool the Roots: Once roasted, remove the roots from the oven and let them cool completely.
Grind and Brew
- Grind the Roots: Use a coffee grinder to grind the roasted roots into a fine powder. Store the ground roots in an airtight container.
- Brew the Coffee: To make dandelion root coffee, use about 1-2 tablespoons of the ground root per cup of water. Brew it just like regular coffee using a French press, coffee maker, or by simmering it on the stove for 10-15 minutes and then straining.
Tips
- Adjust the Roast: You can adjust the roasting time depending on your preference for a lighter or darker roast.
- Add Flavour: Consider adding spices like cinnamon or nutmeg during brewing for extra flavour.

Last week I wrote about the idea of becoming more embodied, of moving more from our heads back into our multisensory bodies. This week I wanted to get really practical and give you some ideas of some ways to become more embodied.
5,4,3,2,1 sensory game
A lovely exercise I often do when walking down the street is the 5-4-3-2-1 sensory awareness game. This simple but powerful practice helps shift my attention away from the constant chatter of the mind and back into the rich, multisensory experience of the present moment.
It works like this: First, I take a moment to slowly look around and notice 5 things that I can see. Then I focus on 4 things that I can hear, these might be a car passing by, a bird singing in the distance, a cat meowing, someone speaking across the street. Next is to become aware of 3 things that I can feel via touch, the clothes I am wearing, the feel of my feet in my shoes, are there any subtle pains in my body.
Moving on I tune into 2 things I can smell, it can be a passerby’s perfume, the scent of a flower, a lovely dinner smell wafting out of a neighbours house. Our sense of smell is deeply connected to the limbic system, the emotional control centre of the brain, so engaging it can evoke a sense of grounding and calm. Finally, I try to identify 1 distinct taste in my mouth, even if it’s just the subtle flavour of my own saliva, this is often the hardest!
This simple 5-4-3-2-1 practice is a lovely way to interrupt the constant flow of our thoughts and tune into the immediacy of our physical experience. By systematically engaging each of our senses, we can cultivate a greater sense of presence, connection, and embodied awareness in our daily lives.
Breath
I remember Steve & I went interrailing across Europe one summer when we were in College. We were sitting in a train carriage travelling across the Czech Republic and quite a mystical guy entered our carriage. He had a vibe going on, he was really present and there was something very alluring about him. I remember he was Swiss and he told us about a 10 day silent meditation retreat he had been on called Vipassana that had transformed his life for the better..

At the time, Steve and I were the quintessential searchers, searching for more meaning so naturally we both felt drawn toward this! A year later we were volunteering in one of these Vipassana meditation centres in Massachusetts for a number of months and we had both sat one of these 10 day silent meditation retreats. The crux of the practice from my understanding was that the breath is the most immediate access point that we have to becoming present and aware of the vast world of sensations that you feel on your body at any moment. While you are reading this, right now, become more aware of your breath, are you breathing shallow or deep? Are your breaths long or short? As you tune into your breath, very often you can become aware of the subtle flow of energy around your body.
I believe the breath provides the easiest way to get ‘out of your head’ and ‘back in your body’. I wrote a previous happier Column on Breath and the opportunity tuning into our breath more can have. This primal life force flowing through us becomes a gateway, reminding us that we are not just disembodied minds, but fully embodied, sensing creatures. Meditation and mindfulness are two practices that typically use the breath as a touchstone to becoming very aware of all the sensations that are happening in your body here and now. That is why meditation, mindfulness and any form of breathwork can be incredible tools at reconnecting you and bringing you back into your body.
Dance
My daughters have regularly referred to my dance skills as deeply embarrassing! Both Steve and me in our heads are fantastic dancers but in reality we are usually perceived as wild lunatics! Our brother Mark is a DJ, back when we were in our 20’s Mark used to DJ in nightclubs in Dublin and we used to love to go support him. We would take our veg van and head in for the night, sleep in the van after and then go straight to Dublin fruit market at 5am! I remember so distinctly, Steve and I were such enthusiastic dancers that we would get a tap on the shoulder consistently and a young guy would say to us ‘mate, do you have any pills’?!! We didn’t drink or take any pills, we just loved the feeling of letting loose on the dance floor and literally losing ourselves to the music.

Dancing is one of the most ancient and universal forms of human expression, with a rich history that stretches back thousands of years across cultures. From ritual dances performed to honour the divine, to joyful celebrations marking rites of passage, to communal festivities that bring people together – dance has long been inextricably woven into the fabric of the human experience. Psychologically, the act of moving our bodies in sync with music has been shown to stimulate the release of endorphins, foster a sense of connection, and induce altered states of consciousness – all of which can contribute to a profound experience of embodied freedom and transcendence.
As a 44-year-old man who grew up primarily focused on sports, dancing did not come as naturally to me. However, after giving up alcohol at age 21, I found myself turning to dance as a way to stay energised and engaged at parties, rather than simply sitting on the sidelines. Over the years, I’ve come to deeply appreciate dance as one of the greatest joys that exist. When you lose yourself to the rhythm and flow of the music, the sense of freedom and unity that arises is truly second to none. Whereas many adults only dance a few times a year, such as at weddings after copious amounts of alcohol, I believe dance is an essential human experience that can help us fully engage our bodies and spirits, lifting us up in a deeply embodied way.
Growing some of your food
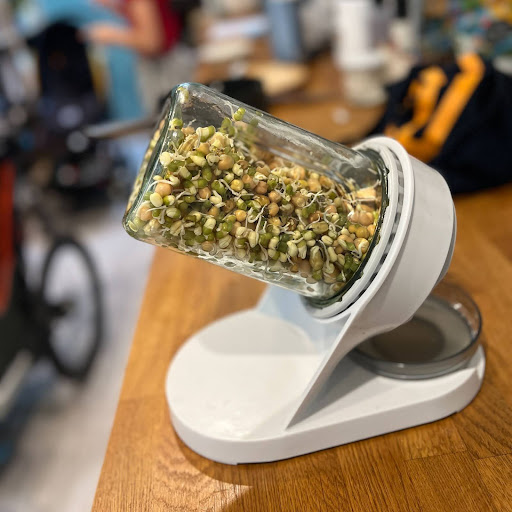
Last week I started sprouting again. I am growing some of the most nutritious food possible in a large jar on my kitchen counter! A friend, Doug Evans, who wrote the book ‘how to grow sprouts’ visited us last week to be a guest on our podcast. He inspired me to get back sprouting. There is something deeply connecting about growing our own food, we appreciate it more, do not waste it, and get to pour our love and energy into it over a period of time. I believe growing food gives us a wonderful opportunity to become more embodied.
These activities all have the power to reconnect us with the incredible sensory experience of being fully present in our physical bodies.There are literally millions of things you can do to become more embodied from walking, running, cycling, yoga, going to the gym etc that all bring you back in more awareness of the incredible multi sensory body that you inhabit.
When we live more embodied, we cultivate a deeper sense of presence, aliveness, and connection. We become less caught up in the incessant chatter of the mind and more attuned to the rich tapestry of sights, sounds, textures, and sensations that are always available to us. This embodied awareness can help reduce stress, enhance our appreciation for the world around us, and infuse our lives with a greater sense of wonder and vitality.
My main point here is that when you are ‘living more in your body’ you are more likely to be present, aware in the here and now and less likely to be caught up with anxieties etc. What do you think? What do you do to become more embodied? Are there specific things you do to bring you back in your body?
As always, thanks again for taking the time to read this. If you enjoyed it you can find my other Happier Articles here.
Have a lovely week, Dave x
More ‘Happier’ Articles



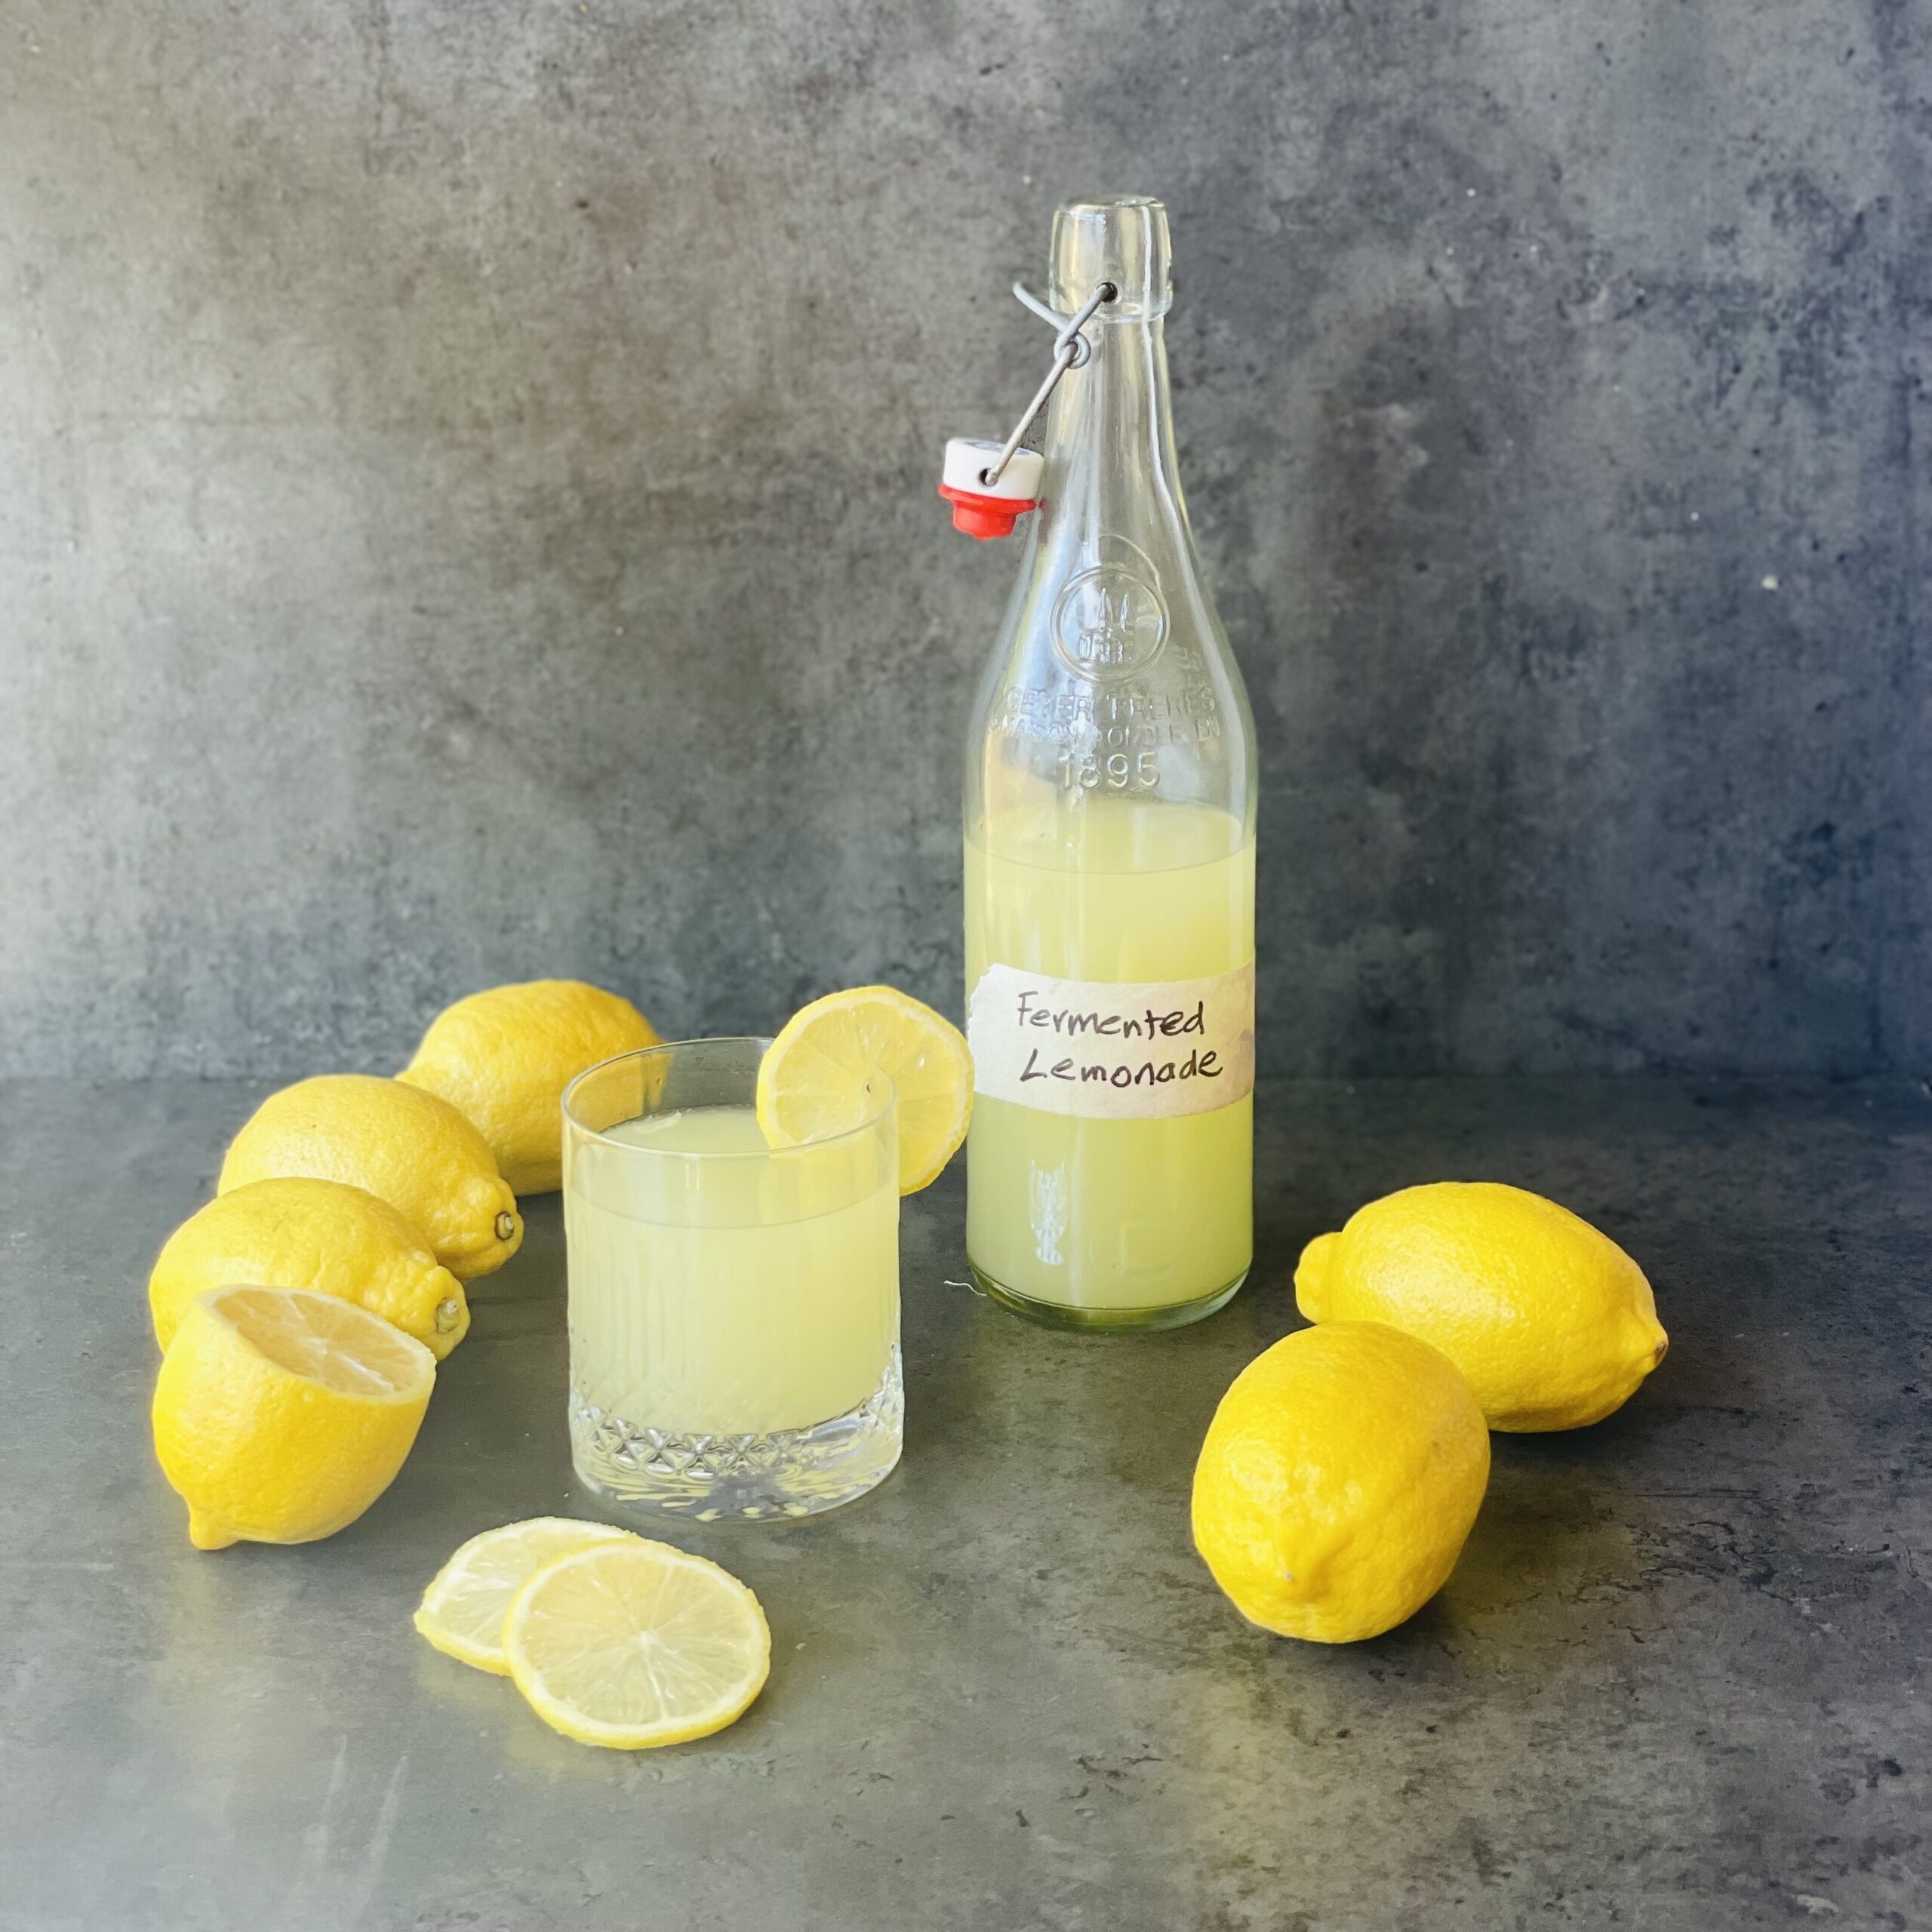
Homemade Fizzy Fermented Lemonade
Takes 7 days
Serves 1.2
Ingredients
- 6-8 lemons unwaxed and ideally organic lemons
- 60-120 grams of sugar adjust to your taste preference
- 1 litre of water
Instructions
- Combine the ingredients: In a large jar or pitcher, squeeze in the juice of all the lemons and add this juice, the sugar, and water. Stir until the sugar is fully dissolved.
- Add the lemon peels: Add the juiced lemon peels to the mixture. The natural yeast on the lemon skins will help kickstart the fermentation process.
- Close the lid or cover the jar: Close the lid on the jar or cover the jar loosely with a cheesecloth, paper towel, or coffee filter. This allows air to circulate while keeping out dust and debris.
- Ferment at room temperature: Let the mixture ferment at room temperature (around 21-24°C) for 3 days, stirring occasionally. You’ll start to see small bubbles forming, indicating the fermentation is taking place.
- Sieve to remove the peels: Sieve the lemons and pips and strain the liquid. Use a funnel to transfer the lemonade to 2 x 500ml bottles or small jars with lis and close the lid and leave to ferment for 3 days at room temperature. This will help to build up for carbonation.
- Burp the lemonade each day: natural carbonation will start to build up so you will have to open the lid to release the pressure and just close. Repeat this each day for the 3 days.
- Refrigerate to stop fermentation: Once the lemonade is nice and fizzy transfer to the fridge to stop fermentation
- Enjoy your fermented lemonade: Enjoy your homemade fermented lemonade! It will keep in the fridge for 1-2 weeks.
- Tips:
- Make sure to use organic, unwaxed lemons so you get the full benefit of the natural yeast on the skins.
- The longer you ferment, the more sour and carbonated it will become.
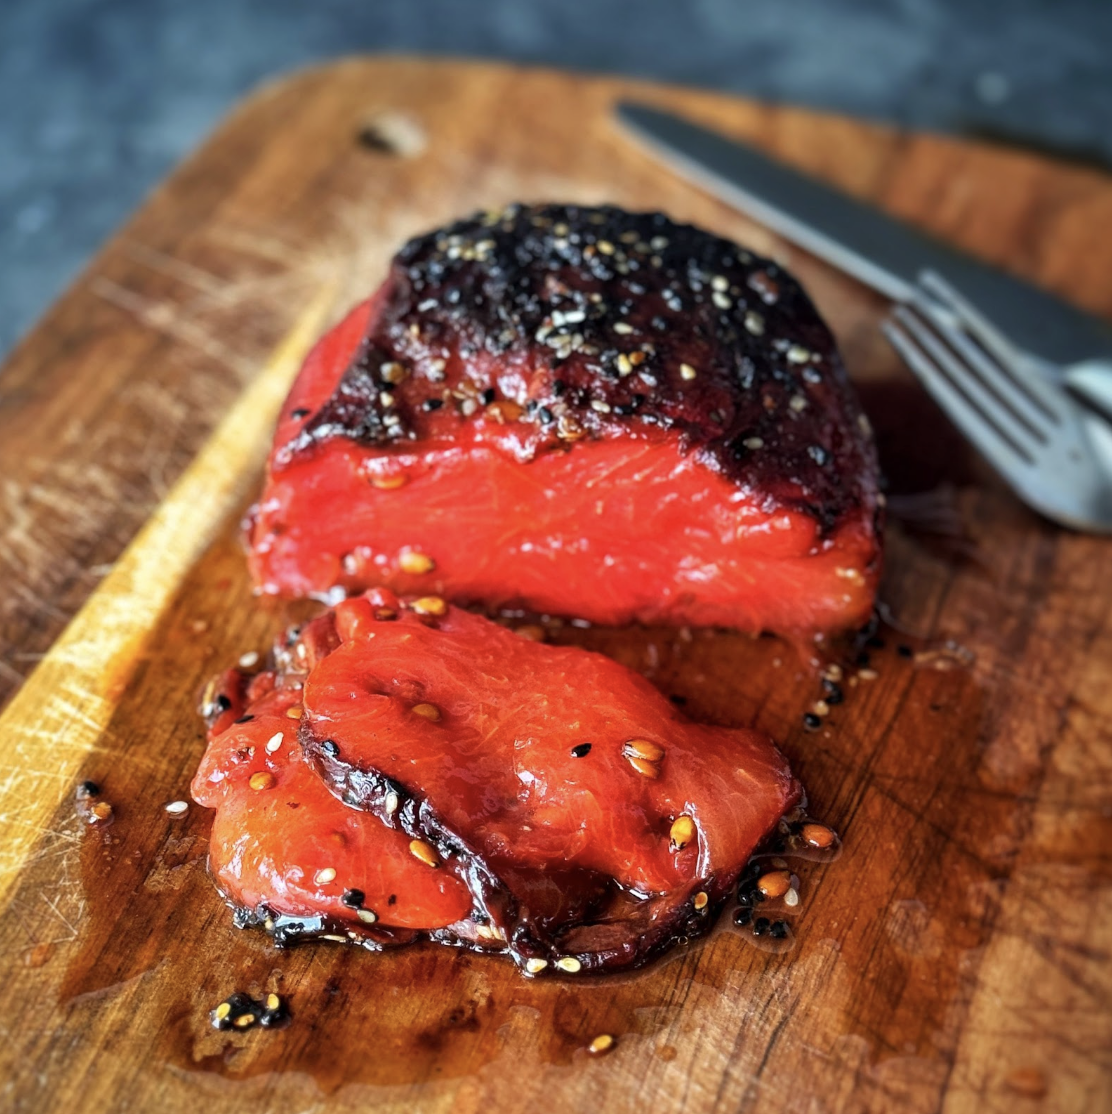
Plant-based Tuna Steak
Takes 2 hours 40 minutes
Serves 500
Ingredients
- 1 baby watermelon
Dressing:
- 1 tbsp sesame oil
- 1 clove garlic
- 3 cm cube piece of ginger approx 8g
- 2 tbsp tamari/ soy sauce
- 1 tbsp maple syrup
- 1 tsp mirin or vinegar of choice
- 1 tbsp black sesame seeds
- 1 tbsp white sesame seeds
Instructions
- Preheat the oven to 190 degrees C
- Using a small knife carefully remove the skin of the baby watermelon.
- Add to a baking tray and bake for 2 hours turning the melon every 30 mins so that it cooked evenly.
- After 2 hours it will have developed a light skin and started to lightly brown around the edges, time to make your dressing.
- Peel and finely grate the ginger and garlic, add in the rest of the ingredient for the dressing and mix well.
- Remove the baked watermelon from the oven and using a pastry brush, brush all the exposed watermelon in a generous coating and baking for 10 mins. Remove and turn the watermelon and brush with the dressing and bake again for 10 mins. Finally remove again and brush with the last layer of the dressing again with a generous layer and bake for a final 10 mins
As I sit on the padded floor of my 11-month-old daughter Fia’s room, I marvel at her embodied state of being. She is fully engaged with her primitive, mammal mode of exploring movement and discovering what her body can do. Fundamentally embodied, Fia is sensing, feeling, and interacting with her environment through the innate wisdom of her physical form. She is fully engaged and present in her body, marveling and curious.

This column is building on last weeks’ ‘Happier’ Column titled The Comfort Trap where I laid out the idea that our excess of modern comforts could likely be contributing to less fulfilment, joy and happiness. With the massive rise of humans sitting for a prolonged amount of time, and most work nowadays being office based, I sometimes think that – as a society – we are starting to see our bodies as simply a vehicle to transport our brains around. Today’s column is about the idea of becoming more physically embodied as a way to feel a little happier. In essence, to move more from our heads to our hearts and bodies, to become more ‘embodied’ and maybe a little bit more whole.
Dis-embodied?
The other day, I was walking down the street and counted 10 people who I walked past who had their head buried in their phone nearly walking into me or a lamp post! I have definitely been guilty of doing that too, so I am definitely not judging. It just made me even more aware of how modern life with all its alluring screens and fancy technologies is drawing us away from our physical form and the wonder of the world around us.

I can’t help but believe that reclaiming this sense of physical embodiment could be a key to greater happiness and fulfilment. I believe that when we are fully present in our senses, attuned to the rhythms and needs of the body, we are more likely to experience the richness of the here and now. All great sages say the same thing: that life happens here and now, and I believe that fully inhabiting our body and engaging with our senses is key to this.
A few years ago, Steve and I went to an event in London. It was in an industrial estate in North London in a private show kitchen and it blew us away. It was a sensorial dinner. The first course we were given nose pegs and invited to put them on. The chef explained that our sense of smell (olfactory glands) is directly linked to our taste. This is why wine tasters slurp their wine, to get more air passing across the surface of the wine so they can ‘taste’ the wine via their nose!
But back to the story: the first course we put on these nose pegs and were given a black jelly and asked to guess what we could taste. Neither of us could taste a thing. When we removed the nose peg and tasted again, our taste receptors were flooded with an explosive taste of red berries, the black colour was simply to mislead us. The evening progressed with another course where we had to wear headphones with certain music that influenced the taste and we had to rub our hand on a rough surface while eating our dessert to show how touching a rough surface makes us experience more of a crunch like taste

The sensorial dinner experience really emphasised the power of fully engaging our senses to be present in our bodies and delight in the richness of the moment. It made us acutely aware that modern life, for all its wonders, often pulls us away from this embodied state of awareness, keeping us trapped in the distracted, busy hum of daily routines. By reconnecting to the wisdom of our physical form, we can cultivate a greater sense of aliveness, presence, and connection – key ingredients for a happier human experience.
Is the body just a means to transport our brain around?
At the moment, a part of me is slightly worried that much of modern life relegates the body to a mere vehicle for the brain. Yet the body and brain are inextricably linked, connected by the same nervous system. By becoming more embodied, life has the potential to become richer in the true sense of the word – not just materially, but in our ability to connect more deeply, feel more intensely, and harmonise with ourselves, one another, and the natural world. Moving beyond seeing the body as secondary to the mind opens up profound possibilities for self-awareness, belonging, and joy.
Wrapping it up
I invite you to reflect on your own relationship to your body. What practices or experiences help you to feel more grounded, alive, and present in your physical form? Whether it’s mindful breathing, dancing, hiking in nature, or simply making a concerted effort to unplug from screens, I believe that by doing so we are nurturing an essential aspect of the human experience.
For in doing so, we just may unlock the keys to a richer, more joyful existence. I’m curious to hear your thoughts – what helps you to feel more embodied?
Next week I plan to write about my favourite ways to become more embodied! Thank you so much as always for reading, I greatly appreciate it.
Have a lovely weekend.
Dave x
More ‘Happier’ Articles
The Happy Pear Podcast
This week we are joined by the incredible Kirsty Gallagher, a renowned astrologer and author of the Sunday Times bestseller, The Goddess Path. With over 20 years of experience in astrology, meditation, and spirituality, Kirsty has empowered countless individuals to reconnect with their inner selves and navigate life’s challenges with grace and wisdom. Her unique approach combines ancient wisdom with modern insights, making her a beloved guide in the world of self-discovery and personal growth.

Episode 170
Main Topics Covered:
- Kirsty’s Journey: Discover Kirsty’s path to becoming an astrologer and spiritual guide. She shares her early influences, the transformative experiences that led her to embrace astrology, and how she has built a successful career helping others find their true paths.
- Astrology 101: Kirsty breaks down the basics of astrology for beginners, explaining the significance of zodiac signs, birth charts, and planetary alignments. She offers practical advice on how to start incorporating astrology into your daily life.
- The Goddess Path: Dive into the themes of Kirsty’s bestselling book, The Goddess Path. Learn about the ancient goddess archetypes and how they can inspire and empower you in modern times. Kirsty discusses the importance of reconnecting with the divine feminine and embracing your inner goddess.
- Moon Magic: Explore the powerful influence of the moon on our emotions, behaviors, and spiritual practices. Kirsty shares insights on moon phases, rituals, and how to harness lunar energy for personal growth and manifestation.
- Practical Tips for Everyday Life: Kirsty provides actionable tips on how to integrate astrology and spirituality into your daily routine. From setting intentions to mindful living, discover simple practices that can bring more clarity, balance, and joy into your life.
Join us for a captivating conversation with Kirsty Gallagher that will leave you feeling inspired and equipped with new tools to enhance your spiritual journey. Whether you’re a seasoned astrology enthusiast or a curious beginner, this episode is packed with wisdom and practical guidance that you won’t want to miss.
Lots of love,
Dave & Steve
SPONSORS & DISCOUNT CODES:
Namawell Juicers are AMAZING! They have absolutely revolutionised the juicing game. We have an exclusive 10%
Enter the code HAPPYPEAR10
LINK: https://namawell.com/collections/juicers/products/nama-j2-cold-press-juicer?ref=thehappypear
VIVOBAREFOOT: Vivobarefoot Footwear have given our listeners an exclusive 20% discount and if you buy now you also get free access to their incredible course showcasing some of the biggest names in the health and wellness space.
Enter the code HAPPYPEAR20
LINK: https://www.vivobarefoot.com/uk/the-happy-pear
THE WHOLE HEALTH TRIBE – Join the community
LINK: https://eu1.hubs.ly/H0bmqxd0
THE HAPPY PEAR RECIPE CLUB – Blending health and happiness through a range of over 500 delicious plant-based recipes.
LINK: https://eu1.hubs.ly/H0bmqss0
Sign up to our Newsletter, for updates on our latest recipes, events, and news.
LINK: https://share-eu1.hsforms.com/1hKXaawjoQOONmJe4EXkCdwf92py
Produced by Sean Cahill & Sara Fawsitt
Available now from all good podcast providers:
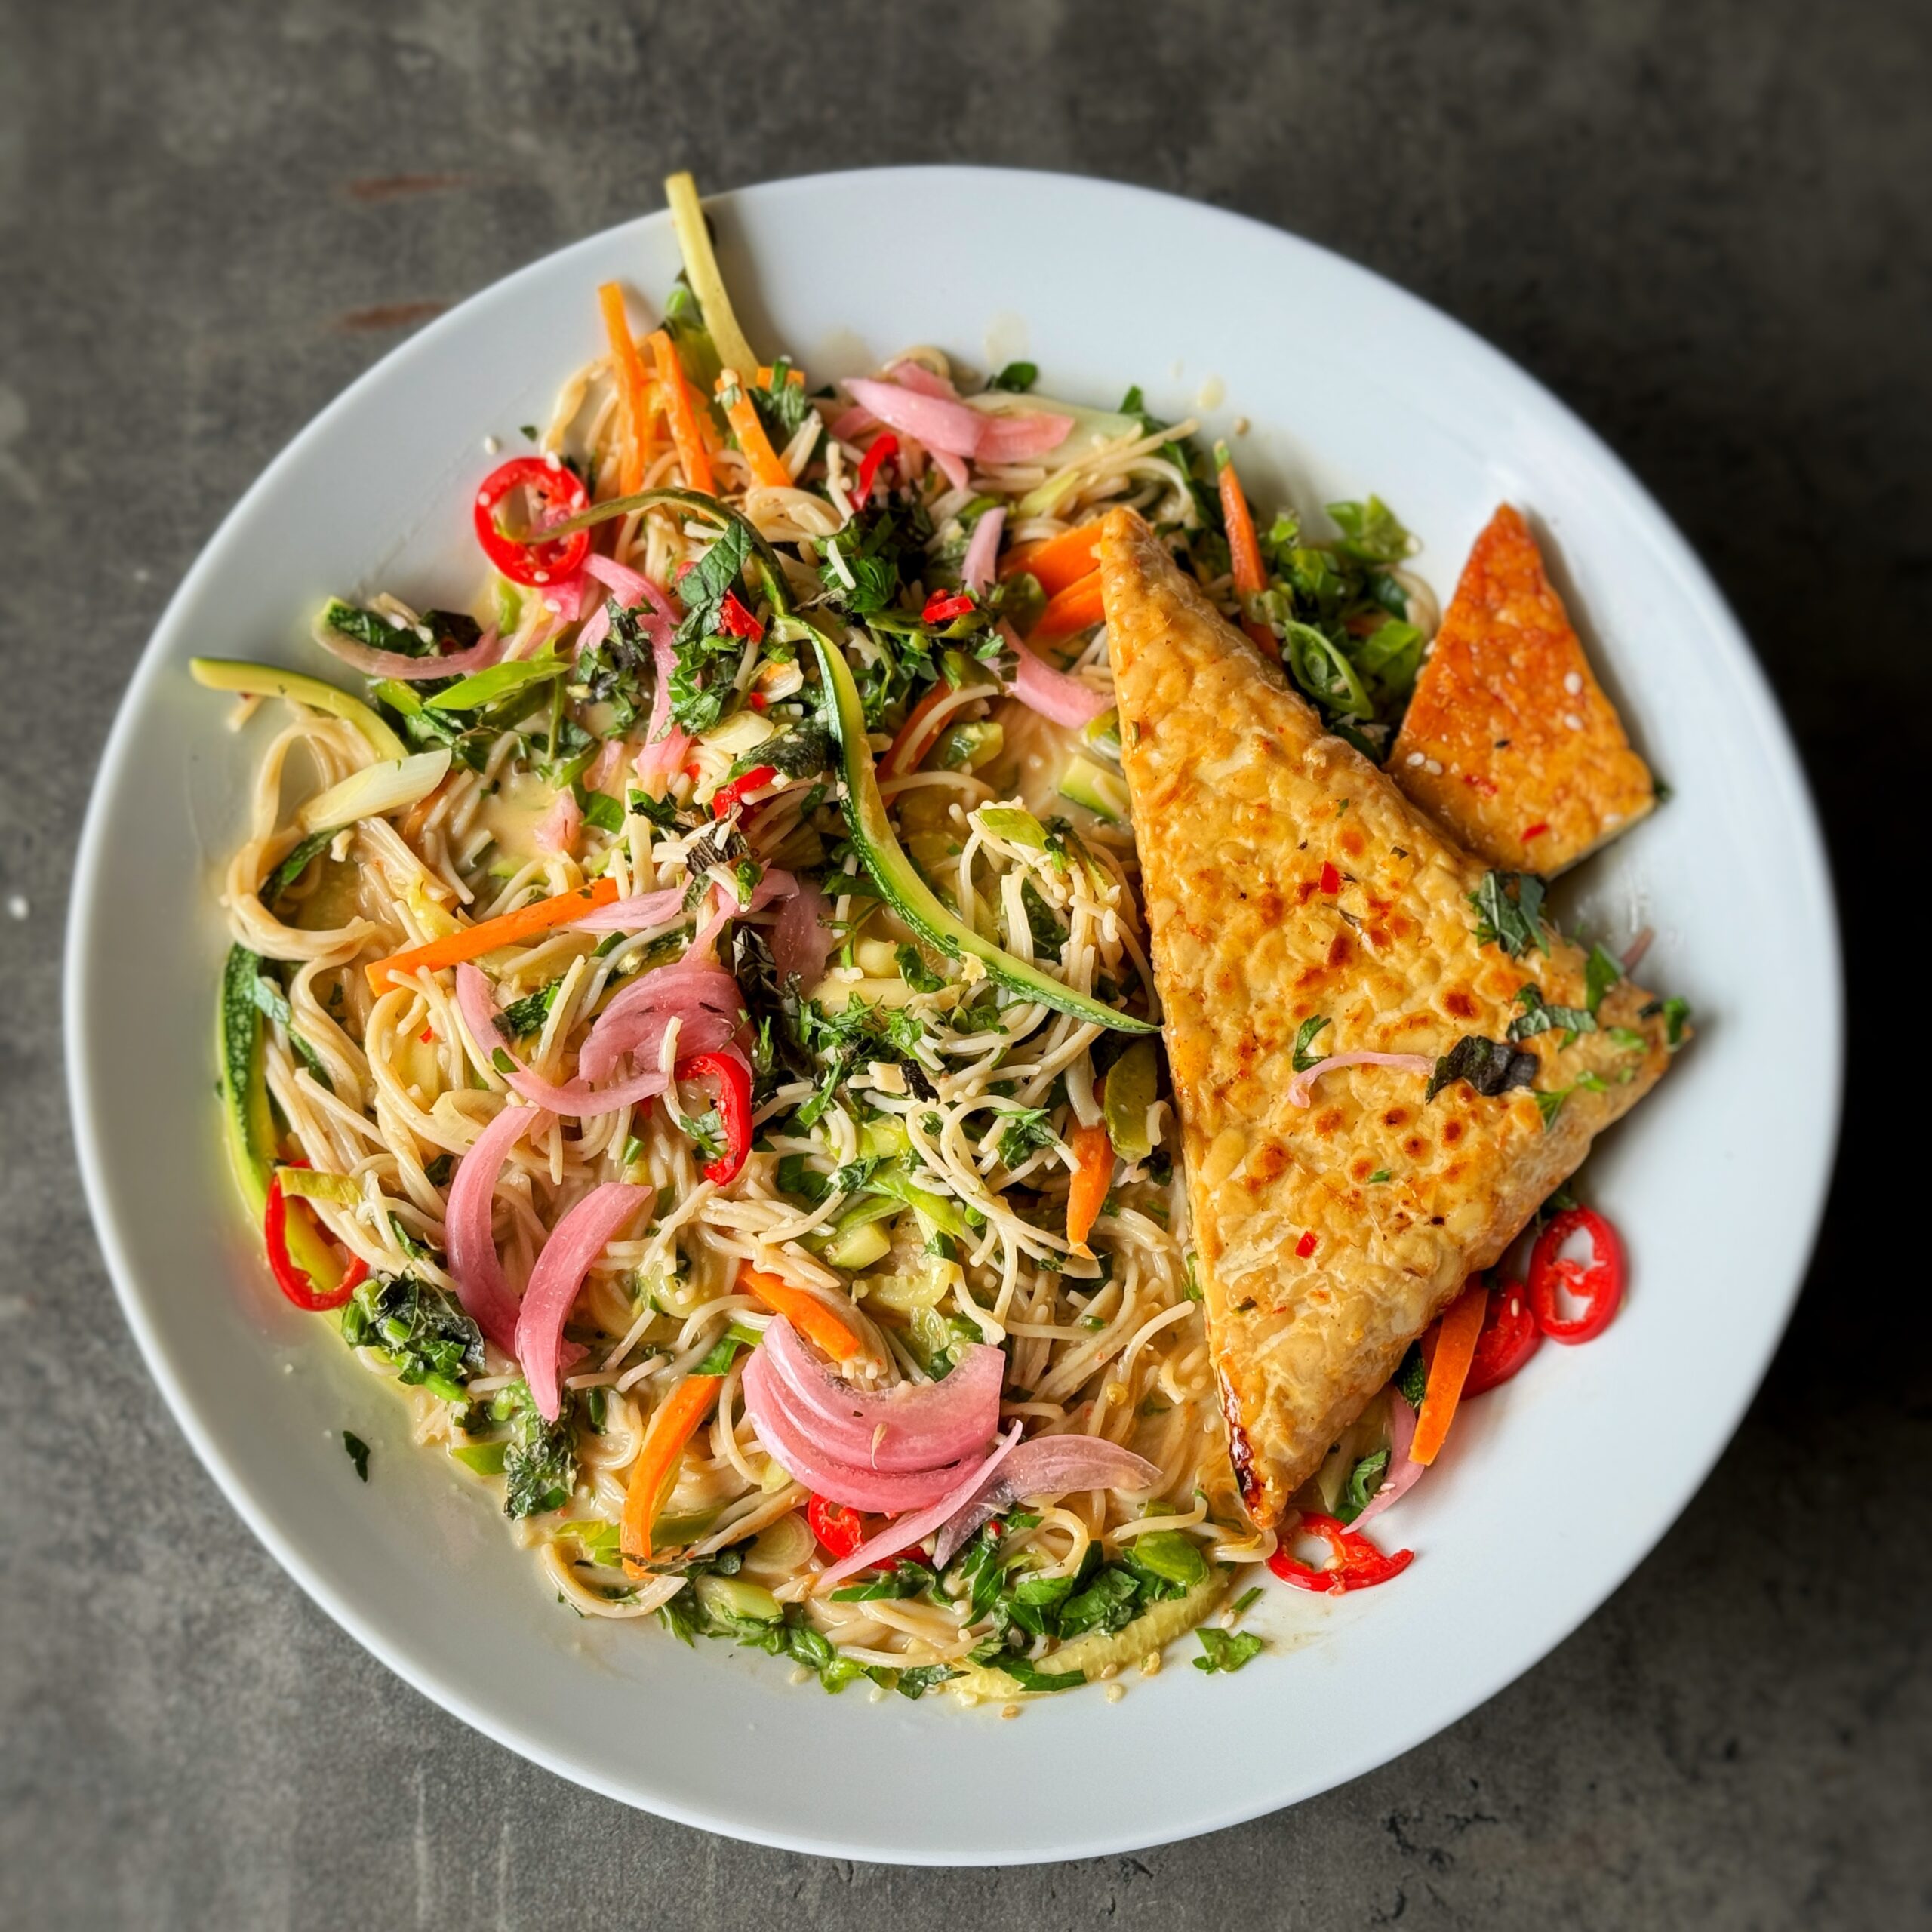
10 Minute Thai Noodles
Takes 10 minutes
Serves 3
Ingredients
- 250 g noodles of choice we used brown rice vermicelli
- 300 g tempeh/ tofu/ mushrooms
- 1 tin of coconut milk
- 400 ml veg stock
- ½ thumb sized piece of ginger 10g
- 1 large clove of garlic
- 1 lime
- 3 tbsp tamari or soy sauce
- 2 tbsp maple syrup
- 1 red chilli
- 20 g fresh herbs coriander and parsley or what ever you like and have available
- 1 carrot
- 1 courgette
- 1 bunch of scallions/ spring onions
To serve:
- Pickled red onions
- 2 tbsp sesame seeds
Instructions
Cook the noodles:
- Cook the noodles according to the pack instructions and drain and rinse
Sear the tempeh
- Heat a large non stick frying pan on high heat and slice the tempeh/ tofu into a thin slice that is approx ½-1 cm thick, we got 4 nice triangle shaped pieces. Once the pan is hot add 1 tbsp of oil followed by the tempeh. Fry the tempeh for 3 mins on each side until it starts to sear and go lightly golden.
Make the sauce
- Into a blender add the ginger, garlic, coconut milk, juice of ½ lime, tamari, maple syrup, ½ red chilli and blend till smooth.
Prepare the veg:
- Slice the carrot and courgette into thin match stick slices or jullienne slices, finely slice the spring onions and herbs and slice the remaining half a chilli into thin slices.
Finish the tempeh/ tofu
- Add in 3 tbsp of the sauce to the tempeh and turn to cook on both sides until it starts to caramelise slightly. This should take approx 1-2 mins.
Cook the veg
- Remove the tempeh/ tofu and set aside and add in the matchstick shaped carrot, courgette followed by a pinch of salt and the spring onions/ scallions cook for 2 minute moving them around the pan continuously.
Bring the dish together
- Add in the remaining coconut based sauce and the veg stock, followed by the cooked noodles and bring the dish together. Squeeze in the remaining half a lime, add in the chopped herbs and season to your liking.
Garnish and enjoy
- Divide between 2-4 large bowls and garnish with some pickled red onions and a sprinkle of sesame seeds, followed by a piece of tempeh on top
Enjoy!
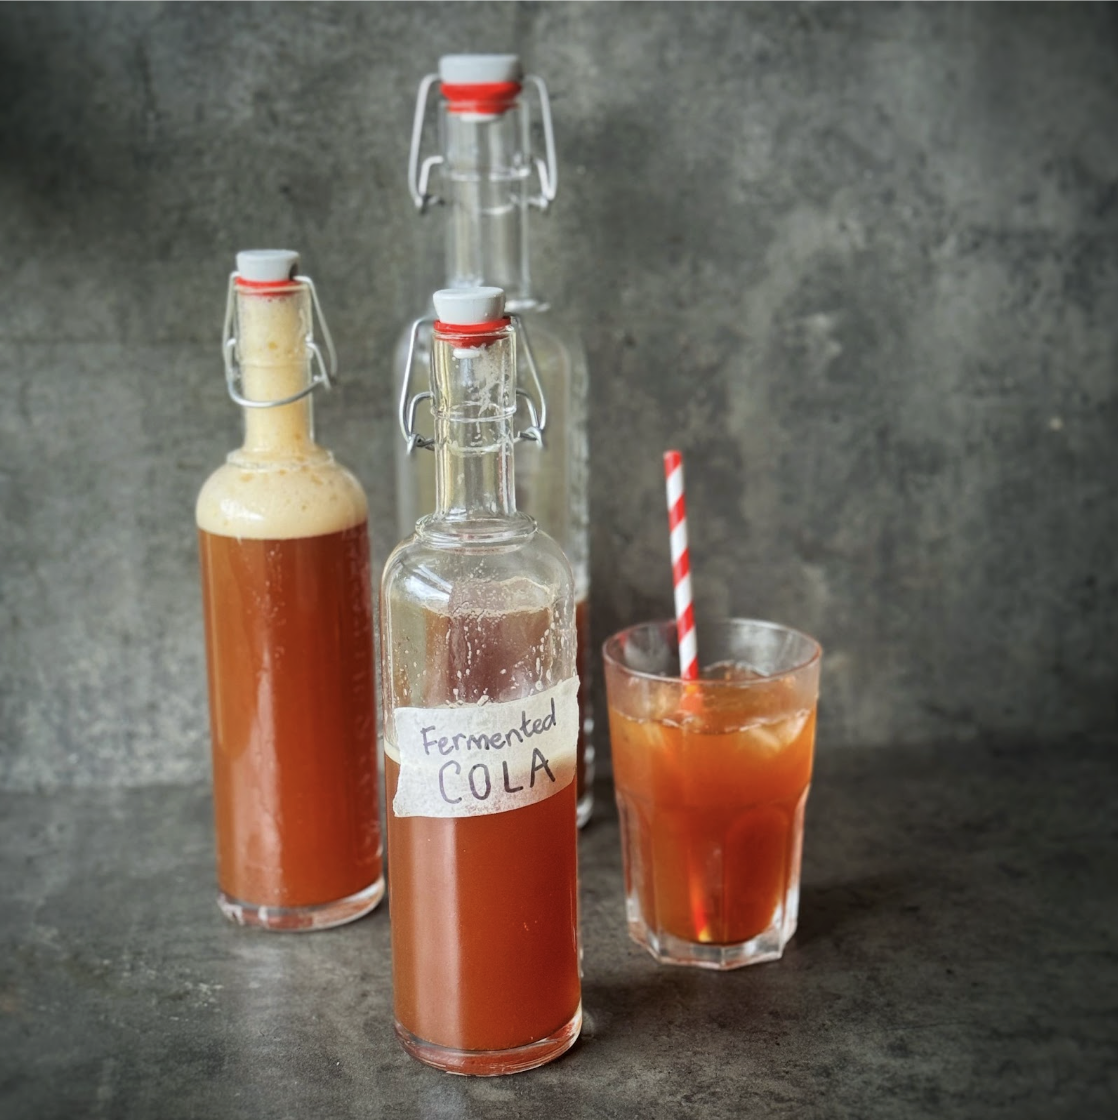
Naturally Fermented Homemade Cola
Takes 7 days 40 minutes
Serves 2
Ingredients
Fruits and Vegetables:
- 1 medium apple organic, unwashed, for wild yeast
- 1 medium orange organic, unwashed
- 1 lemon organic, unwashed
- 1 lime organic, unwashed
- 1 piece of fresh ginger about 5 cm, unpeeled
Flavorings:
- 1 cinnamon stick
- 1 vanilla bean split
- 5 star anise pods
- 6 cloves
- 1 tablespoon coriander seeds
- 1 tablespoon allspice berries or ground allspice
Sweetener:
- 250 g 8.8 oz coconut/ brown sugar
Water:
- 2 litres 2 quarts filtered water
Instructions
Prepare the Ingredients:
- Roughly chop the apple, orange, lemon, and lime, keeping the peels on as they contain wild yeasts.
- Slice the ginger thinly.
Make the Base:
- In a large pot, combine the cinnamon stick, vanilla bean, star anise, cloves, coriander seeds, and allspice berries.
- Add the filtered water and bring to a boil.
- Once boiling, reduce the heat and let it simmer for about 20-30 minutes to extract the flavours.
Add the Sweetener:
- Add the coconut sugar/ brown sugar to the pot and stir until completely dissolved.
- Remove the pot from heat and let the mixture cool to room temperature.
Add the Fruits for Fermentation:
- Once the base has cooled to room temperature, transfer it to a large, clean glass jar or fermentation vessel.
- Add the chopped apple, orange, lemon, lime, and ginger to the jar. The fruits should be added unwashed to ensure the wild yeast on their skins remains intact.
- Cover the jar with a clean cloth or cheesecloth secured with a rubber band to allow airflow while preventing contaminants.
- Place the jar in a warm, dark place (around 20-25°C / 68-77°F) for 2-4 days, stirring occasionally. You’ll start to see bubbles forming, indicating fermentation.
Strain and Bottle:
- After the fermentation period, strain out the solids using a fine-mesh sieve or cheesecloth.
- Pour the liquid into clean, airtight bottles, leaving some headspace at the top.
- Seal the bottles and let them ferment at room temperature for another 1-3 days, checking daily for carbonation. Be careful with pressure buildup in the bottles to prevent them from exploding.
Refrigerate and Serve:
- Once the desired level of carbonation is achieved, refrigerate the bottles to slow down the fermentation.
- Serve chilled and enjoy your naturally fermented cola!
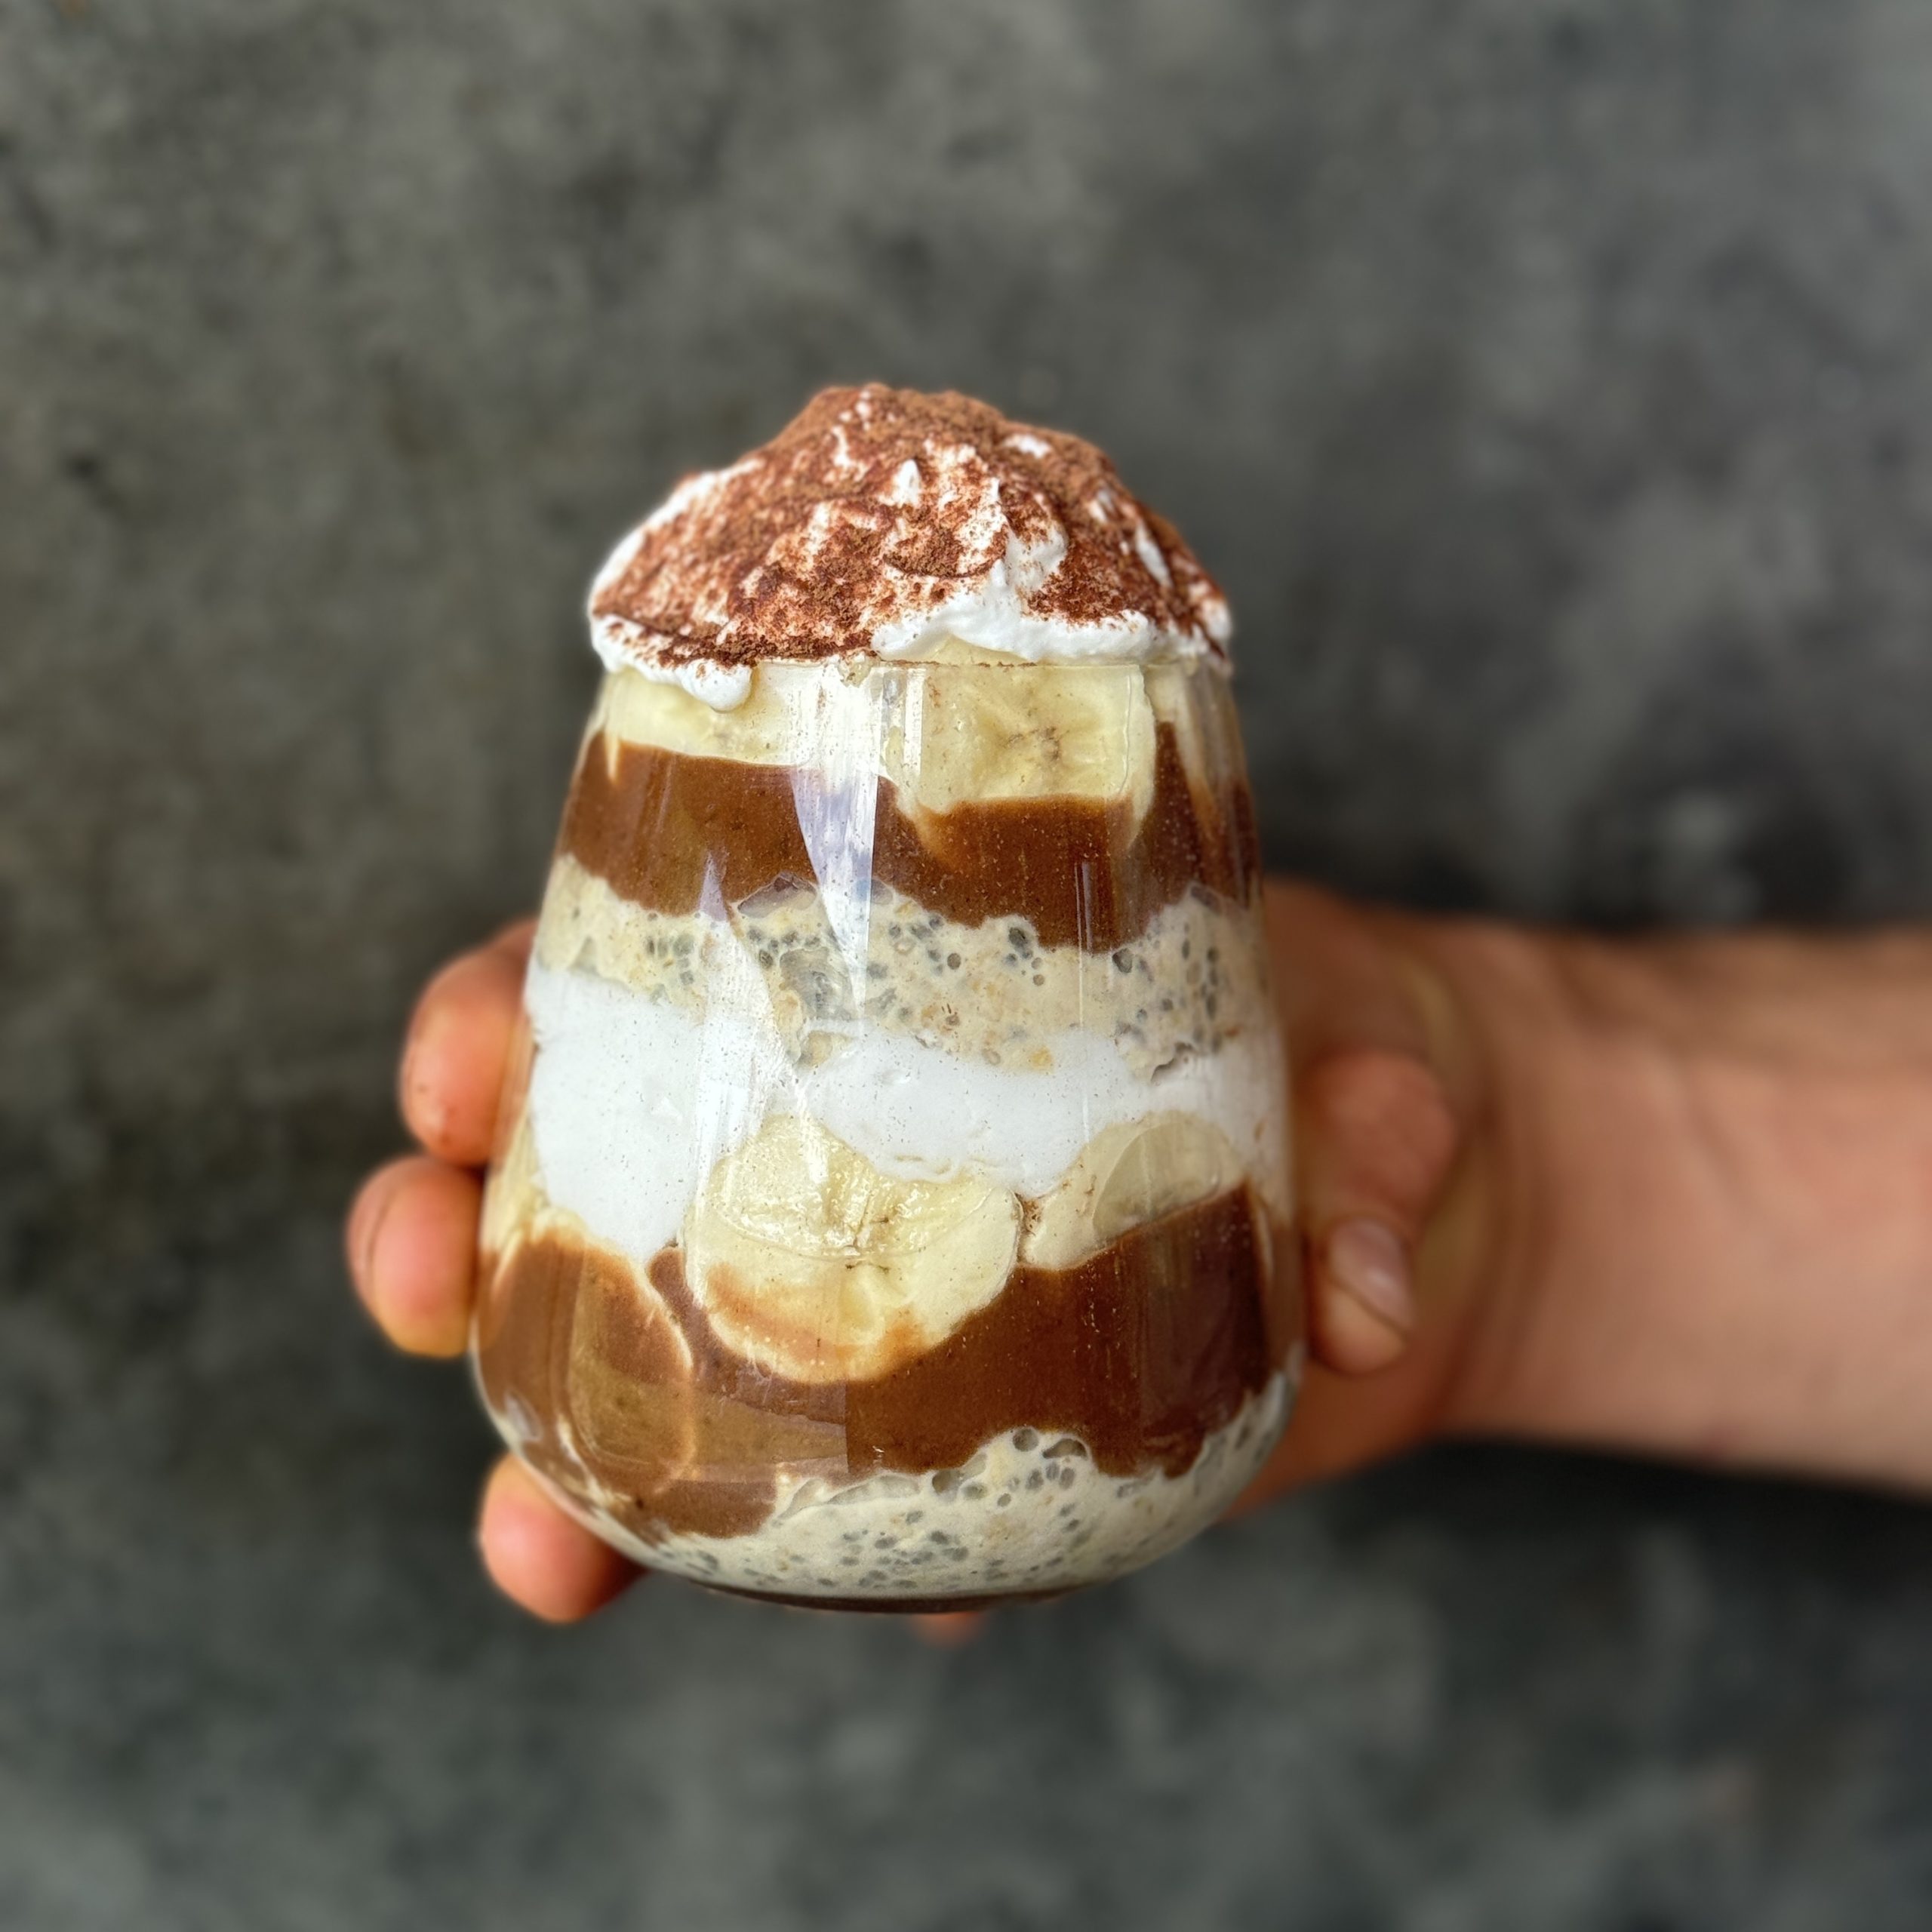
Banoffee Overnight Oats
Takes 9 minutes
Serves 4
Ingredients
Ingredients
Date Caramel:
- 150 g 5.3 oz pitted dates
- 350 ml 11.8 fl oz boiling water (for soaking dates)
- 100 ml 3.4 fl oz water (for blending)
- 1/2 tsp vanilla extract
- 2 tbsp 30 g / 1 oz almond butter
- Pinch of salt
Bircher Muesli:
- 250 g 8.8 oz oats
- 40 g 1.4 oz raisins
- 20 g 0.7 oz chia seeds
- 600 ml 20.3 fl oz oat milk
- A pinch of ground cinnamon
Caramelised Almond Sprinkle:
- 50 g 1.8 oz flaked almonds
- 2 tbsp 30 ml / 1 oz maple syrup
Other:
- 200 ml 6.8 fl oz coconut yoghurt (approx. 10% fat content)
- 2 bananas
Instructions
- Soak the Dates: Cover 150 g (5.3 oz) of pitted dates with 350 ml (11.8 fl oz) of boiling water and leave to soak for 5 minutes.
- Prepare the Bircher Muesli: In a large mixing bowl, combine 250 g (8.8 oz) of oats, 40 g (1.4 oz) of raisins, 20 g (0.7 oz) of chia seeds, 600 ml (20.3 fl oz) of oat milk, and a pinch of ground cinnamon. Stir well and leave to soak for at least 20 minutes, or overnight for best results.
- Caramelise the Almonds: In a non-stick pan over medium heat, toast 50 g (1.8 oz) of flaked almonds until golden brown, about 4-6 minutes. Drizzle 2 tbsp (30 ml / 1 oz) of maple syrup over the almonds and stir to coat evenly. Continue cooking until the syrup caramelises and coats the almonds, then remove from heat.
- Create Date Caramel: Drain the soaked dates and transfer them to a food processor. Add 100 ml (3.4 fl oz) of water, 2 tbsp (30 g / 1 oz) of almond butter, 1/2 tsp of vanilla extract, and a pinch of salt. Process until you achieve a smooth, caramel-like consistency.
- Slice the Bananas: Peel and slice 2 bananas into coins.
- Assemble the Oats: In clear glasses or jars, create the layers. Start with the date caramel, dividing it evenly between the glasses. Follow with a layer of the soaked Bircher muesli mixture. Add a layer of banana coins on top of the muesli. Spoon approximately 50 ml (1.7 fl oz) of coconut yoghurt over the bananas in each glass. Finish by sprinkling the caramelised almonds on top.
- Serve and Enjoy: Serve the Banoffee Overnight Oats immediately, or refrigerate until ready to eat. The flavours will meld together beautifully when allowed to set overnight. Enjoy your healthful and delicious treat!